

How to Draw Captain America
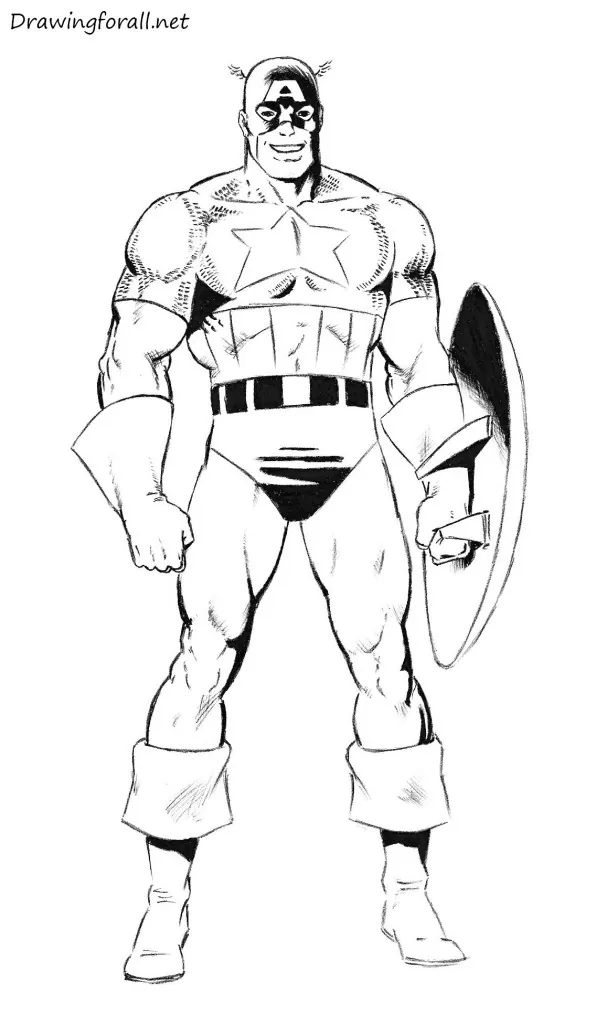
We have prepared another tutorial devoted to comic book-style drawing. Here, we will show you how to draw Captain America – one of the greatest heroes from the Marvel Universe.
How to draw Captain America step by step
Step 1: Sketch the superhero’s figure guidelines
First, draw the stick figure. We need this construction to establish the character’s proportions, pose, and position on the paper. The main proportions are:
- Human height is equal to approximately seven head lengths;
- The shoulders are about two to two and a half head widths across. This rule generally applies to male figures, while female shoulders are usually narrower. Since we are drawing Captain America, making the shoulders three head widths across would not be a mistake;
- The shoulders are much wider than the pelvis. This rule applies only to male figures;
- The arms should reach about one-quarter of the distance between the waist and knees. Note that the stick figure does not yet include the hands;
- As mentioned above, the superhero’s height is equal to approximately seven head lengths. The legs account for four of those head lengths.
You can use these rules for almost any superhero. For example, you can draw Thor, using the same proportions.

Step 2: Build the body volume
Now add volume to the stick figure. The main parts of the body resemble simple geometric shapes. The neck is a short cylinder, although only part of it is visible. The torso should taper from the shoulders toward the waist. The pelvis resembles a triangle.
This diagram shows how to construct the contours of the arms. The main shoulder muscles are:
- Deltoid muscle;
- Biceps;
- Triceps.
These muscles form the main contours of the upper arm. Number four marks the forearm. Note that the forearm should taper toward the hand, marked as number five.

Now consider the legs. Each leg is divided into:
- The thigh;
- The shin;
- The foot.
Each part has a distinct shape. The thigh is very wide near the pelvis and narrows smoothly toward the knee. The shin has a characteristic curve formed by the calf, or gastrocnemius, muscle. Muscles such as the calves, forearms, and core help form a complete athletic figure.

Without the labels:

Step 3: Add the facial guidelines
The main contours of the figure are ready. Now mark the face. First, draw the vertical line of facial symmetry. Since the head faces forward, this line should pass through the exact center of the face.
Then add a horizontal line to mark the position of the eyes. This is the highest horizontal guideline. Place the nose and mouth guidelines below it.
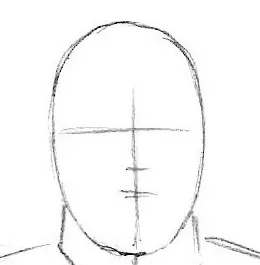
The full figure:

Step 4: Draw the mask of Captain America
Continue working on the face using the previous guidelines. Outline the mask. Around the nose and lower face, its edges consist of straight lines and angular shapes. Do not forget the small wings and the openings for the eyes.
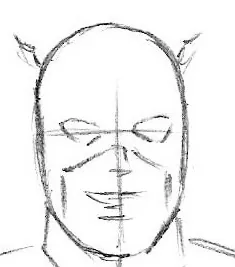
The full figure:

Step 5: Refine the hero’s face details
Refine the face by darkening the lines from the previous step. Draw the ears and add details to the eyes.
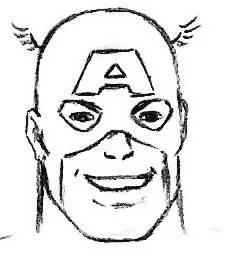
The full figure:

Step 6: Detail the chest and emblem
Now detail the body. First, draw the pectoral muscles. Together with the deltoids, these muscles form the upper contours of the torso. Use the existing body construction as a guide. Below the pectoral muscles, outline the area covered with vertical stripes.

Then outline the neck. Here, it appears as several vertical lines between the jaw and chest muscles. Complete this stage by drawing the large star on the chest.

Step 7: Refine the arm and hand
This is a difficult tutorial. Refine the first arm by detailing the main muscle groups that form the shoulder contours. Notice the rounded forms of the biceps and deltoid.
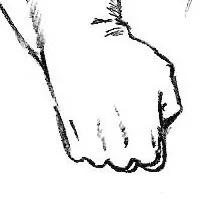
Most of the forearm is hidden by the glove, so outline only the glove and fist. This can be challenging because the human hand is one of the most mobile parts of the body. For additional guidance, review our tutorial on drawing hands.
The full figure:

Step 8: Draw Captain America’s shield arm
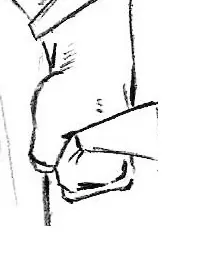
Now refine the other arm. The rounded form of the deltoid is more pronounced here. Do not forget the Y-shaped lines around the inner elbow. Use rounded lines to draw Captain America’s shield. The fist is also visible from a slightly different angle.
The full figure:

Step 9: Refine the legs and boots
The drawing of the First Avenger is nearly complete. Draw the pelvis and legs. First, outline the belt, then darken the triangular pelvis area.
Next, refine the leg contours. Define the quadriceps, which occupy almost the entire front of each thigh.
Below each thigh is the knee joint, including the kneecap. Because the kneecap is visible beneath the skin, include its contours. Then draw the boots. Do not forget the trim around the bottom of each boot and the short horizontal folds in the material.

Step 10: Add comic-style shadows
The Captain America drawing is nearly complete. The only remaining task is to add shadows. The final result uses a classic comic book style with solid, high-contrast black areas. Create these shadows in two stages:
- Outline the shadow shapes with a hard pencil;
- Fill the outlined areas with black using a soft pencil.
This tutorial about one of the most American superheroes is complete. Share it if you enjoy comics and drawing.

Spiderman comic please