How to Draw a Skier
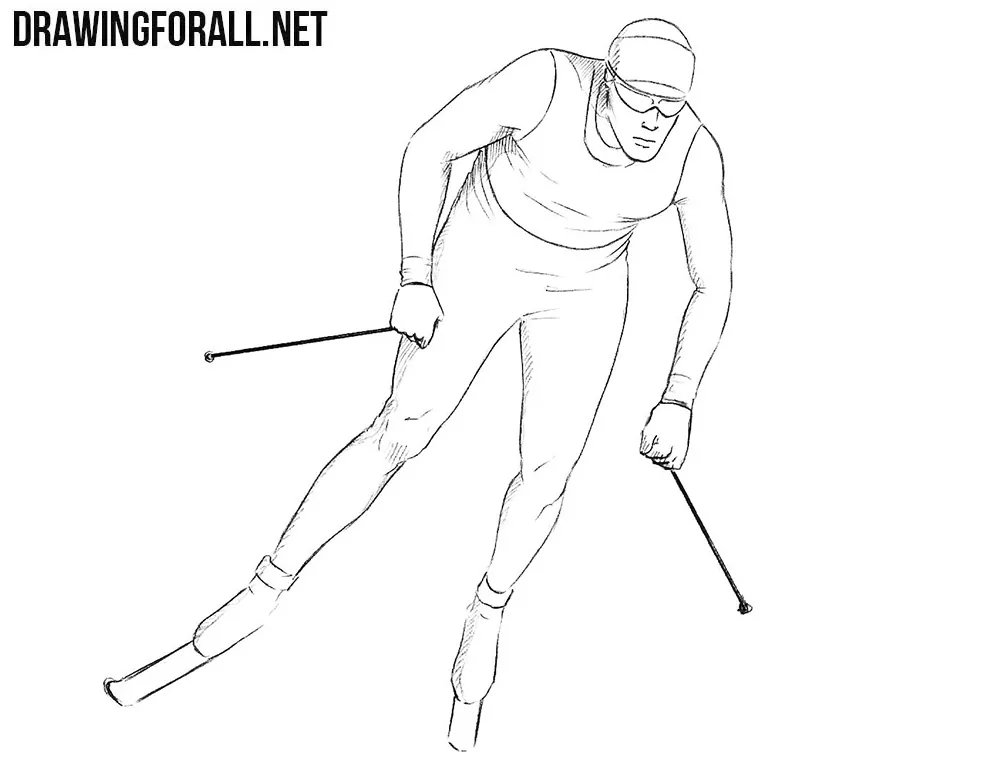
Hello everybody! We decided to make drawing lessons about representatives of various professions and different sports. We have already shown you how to draw a doctor, an artist and a karate fighter. Today we want to show you how to draw a skier.
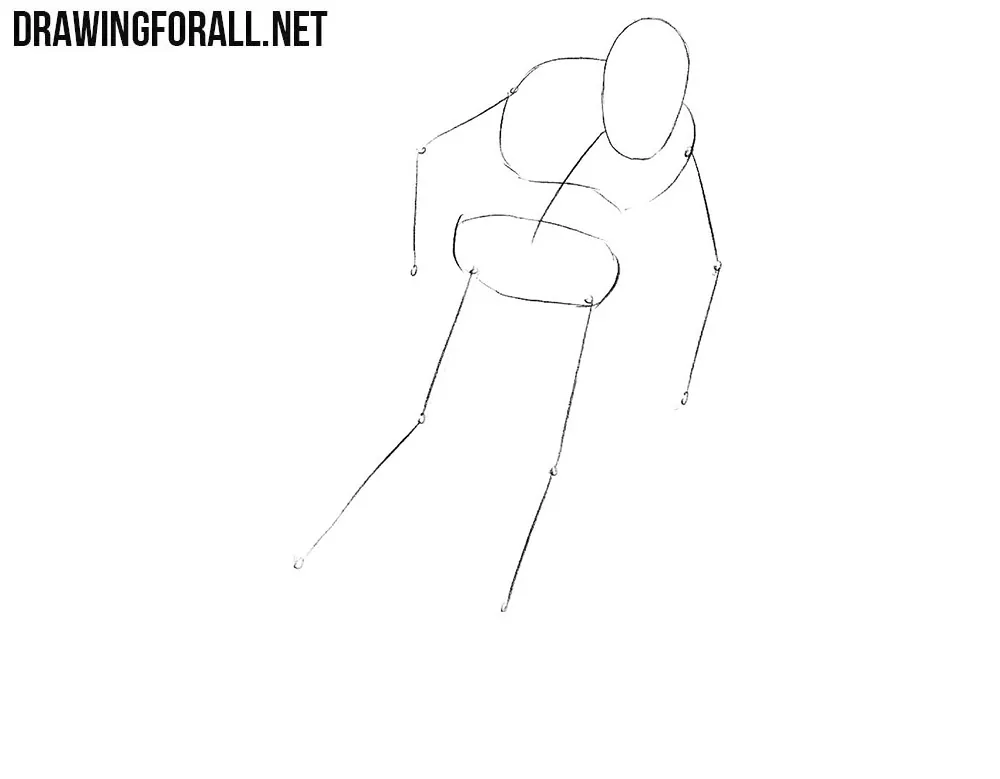
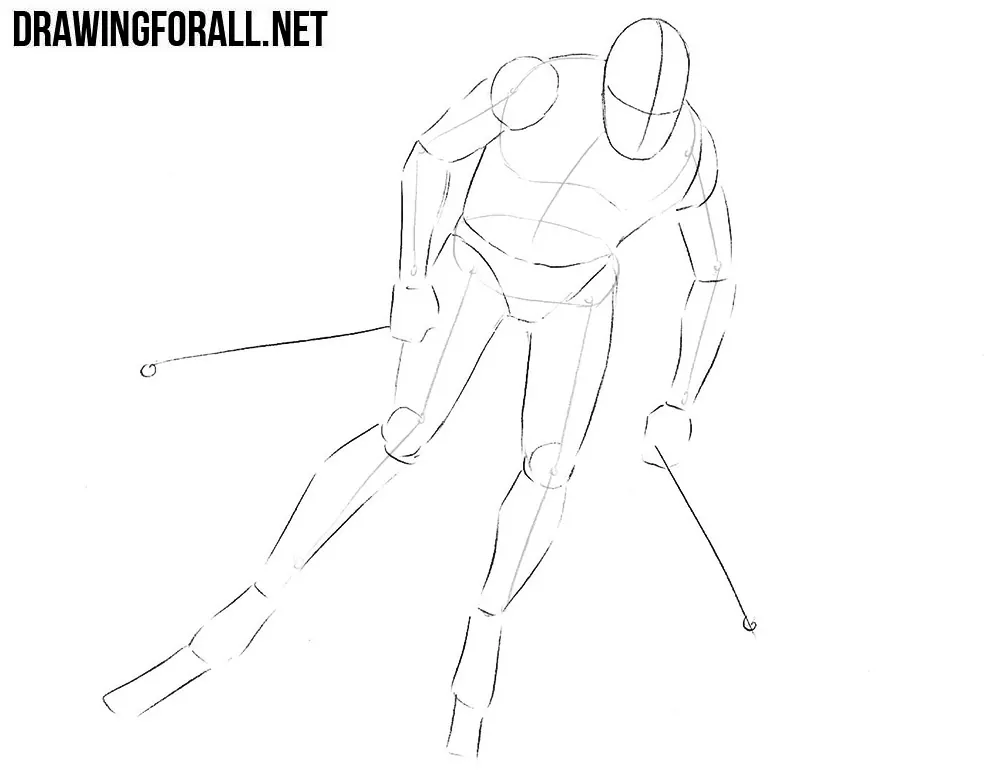
Step 1
Our skier will be in a very characteristic position – he is sliding down the slope. The head is slightly lowered, the back and knees are slightly bent. First of all sketch out the head in the form of an oval. Next, using a slightly curved line draw mark the spine (neck is not visible from behind the head). Draw the chest and pelvis. At the end of the step sketch out the bent arms and legs.
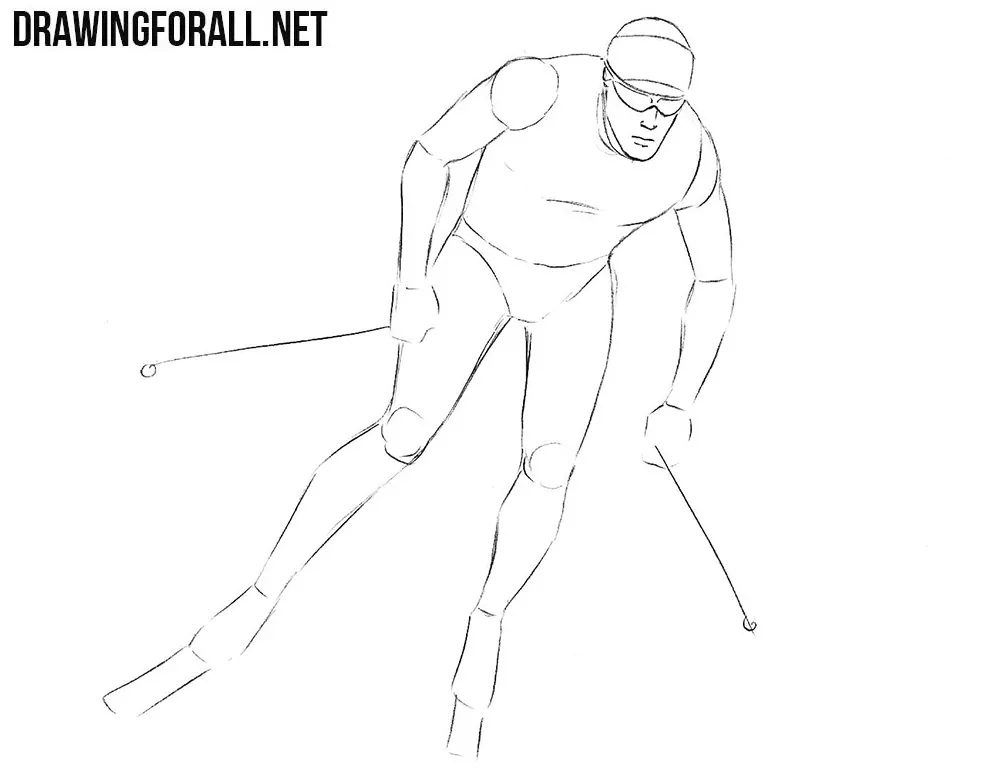
Step 2
Draw lines of symmetry of the face that intersect in the region of the bridge of the nose. Since our skier looks down, the lines will intersect slightly lower than if the skier looked straight. Next, outline a slightly bent torso and a triangular pelvis. Add volume to the arms and legs with simple geometric shapes. In the hands we are drawing ski poles and under the feet we are drawing the skis.
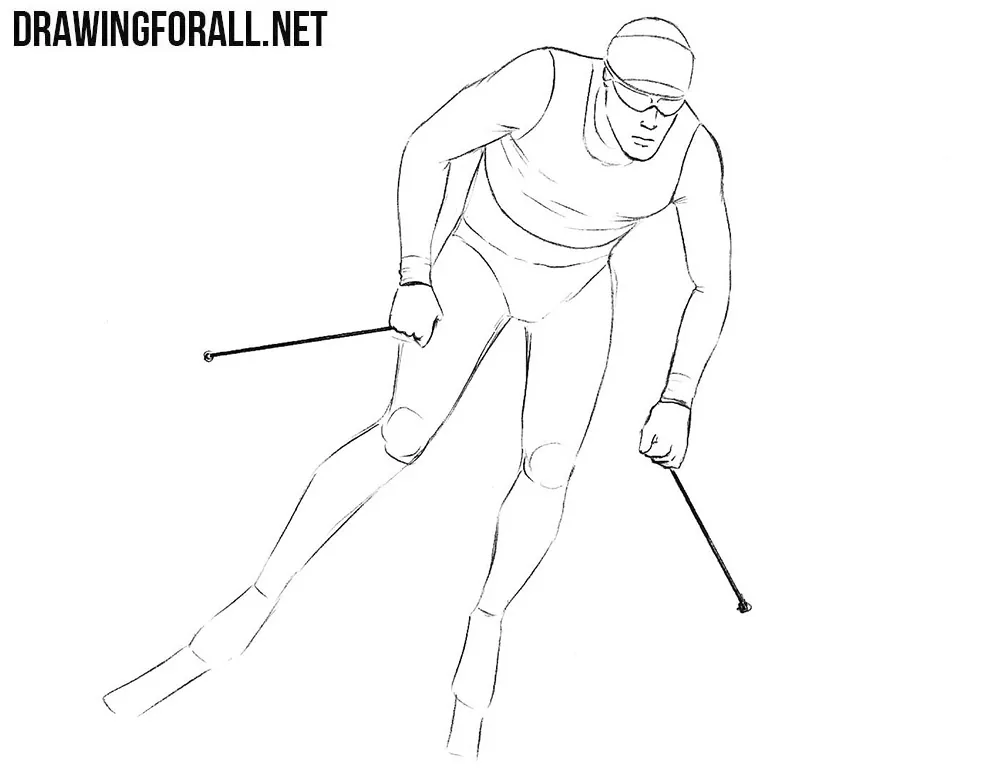
Step 3
Now we start working with the details. First of all, using light lines, sketch out a hat, glasses, nose and mouth. Connect the geometric shapes from the previous step with the help of smooth lines to make the shape of the skier’s body more realistic.

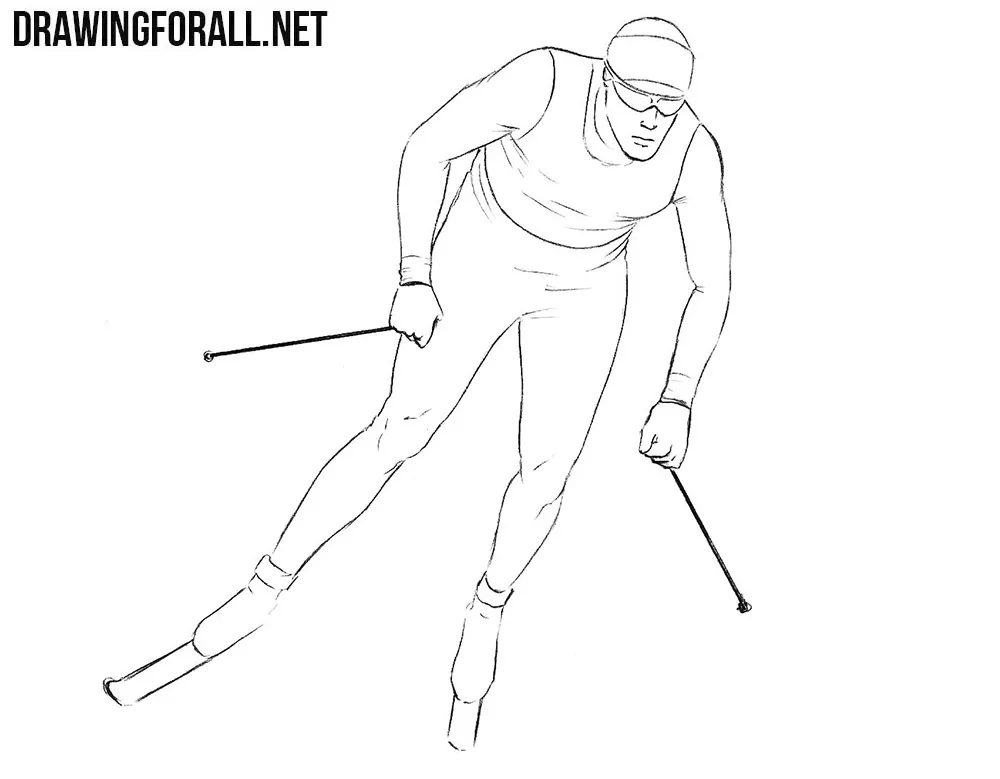
Step 4
Let’s start working with the final details. At the top of the head draw the hat and glasses. A little lower draw the nose and mouth. Carefully draw out the outlines of the face, jaw and cheekbones.
Step 5
Continue the lesson about how to draw a skier. Here we will draw the upper body. Remove all the guidelines and accurately draw out the shape of the torso and arms. Add some folds in the areas of bends. Also do not forget to draw the outline of the skier’s uniform.
Step 6
Let’s go down a bit and work with the bottom of our skier’s body. With the help of smooth and slightly curved lines draw the outlines of the skier’s legs. The legs should be quite massive and muscular, so do not forget to draw the outlines of the muscles visible under the clothes. Draw skis (which from this point of view look rather short) and erase all the remaining guidelines.
Step 7
Skier’s drawing is ready. Now we need to make it more voluminous and realistic. For this we will draw shadows using hatching. First, imagine that light falls from the upper right corner of the sheet, which means that we draw hatching in those areas where the light does not fall.
We hope that your skier looks as good as ours. If you do not like the result of your work, then just repeat the step where you made a mistake, because only practice can make you a great artist.