

How to Draw a Dog Nose
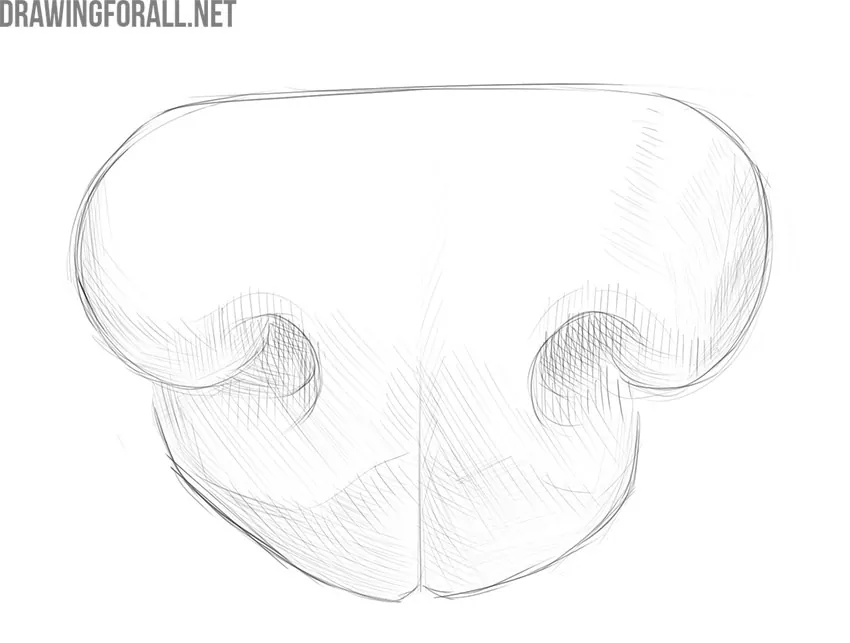
To be able to draw animals, you need to be able to depict their body parts. In this step-by-step tutorial, we will show you how to draw a dog nose from the front.
So this guide will be very useful for those who want to practice drawing dogs realistically. Along with drawing a human nose or lips, drawing a dog’s nose can be considered a basic drawing exercise.
How to draw a dog nose step by step
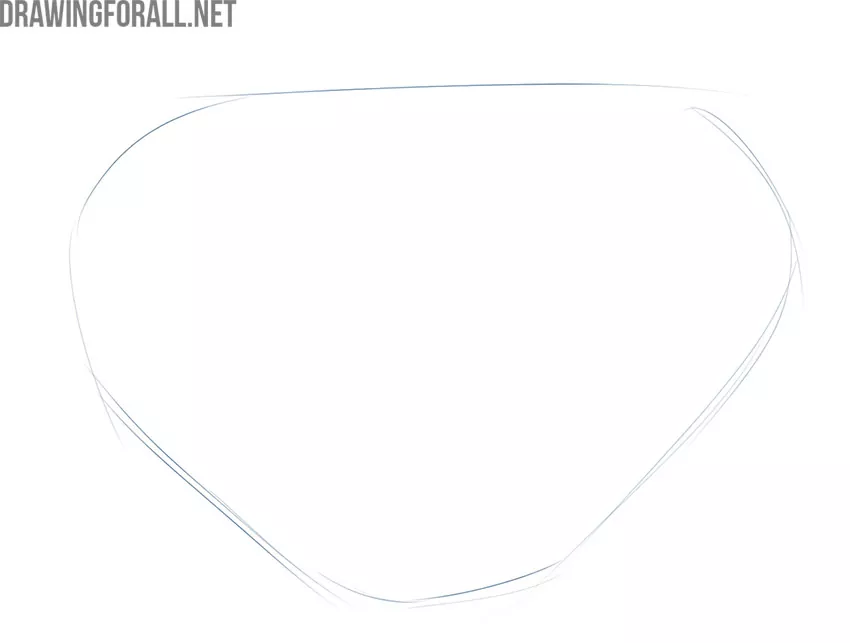
Step 1: Sketch the nose shape
Start by drawing a shape that resembles an inverted truncated cone. It also looks like the outline of the Superman sign. Arrange this shape according to your composition. If you are drawing the entire dog, this shape should be at the front of the head. Here, the shape is located in the center of the sheet of paper.
Step 2: Mark the nostrils
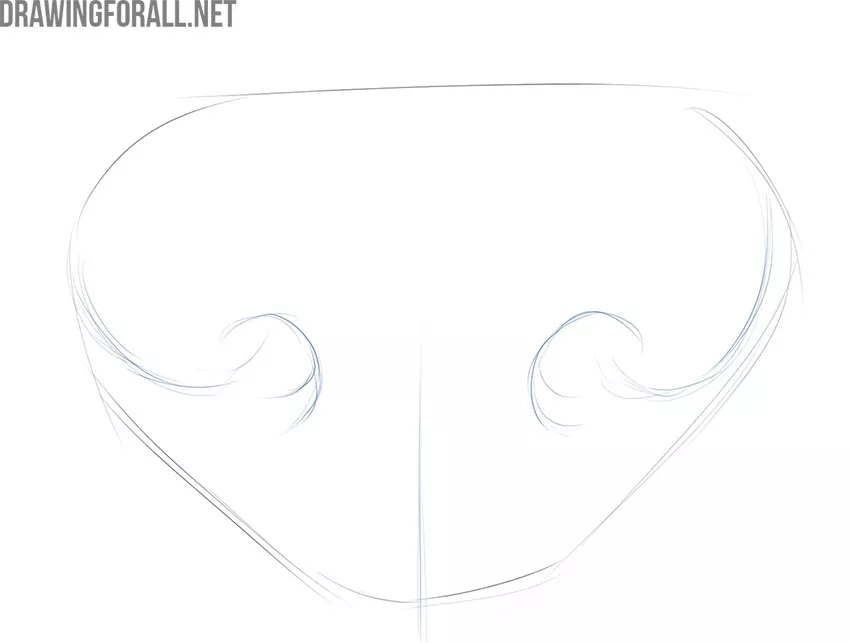
The dog’s nose isn’t too complicated, is it? Now let’s add some basic details. First, draw a vertical line that divides this shape into two equal parts. After that, draw the rough outlines of the nostrils. Use smooth, rounded lines without pressing hard on the pencil.
Step 3: Refine the nose contours
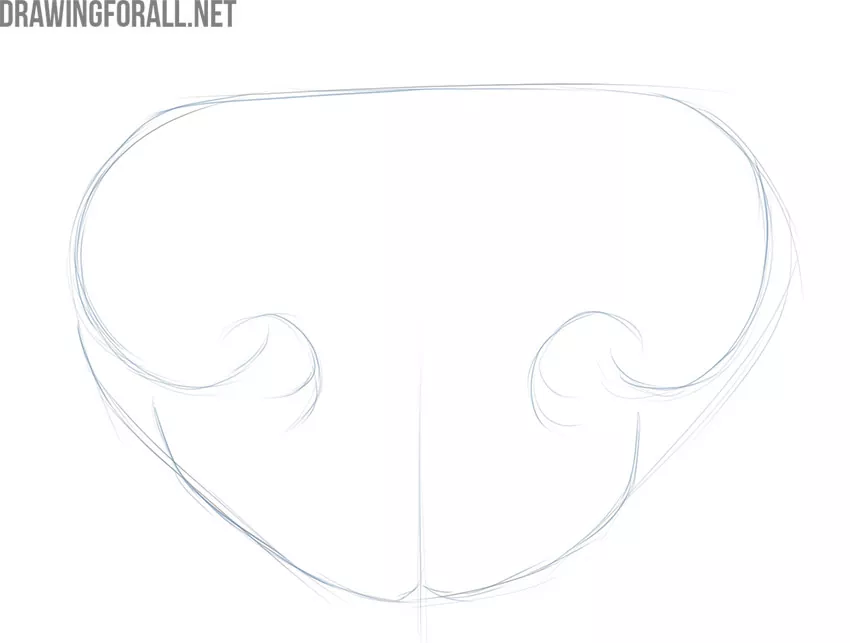
Connect the rounded shapes that represent the nostrils to the bottom of the drawing. Trace the bottom edge of the sketch to create a natural shape for the dog nose. Notice the small triangular cutout that lines up with the vertical centerline. Note how the vertical lines connect with the lines of the nostrils. There should be no sharp lines or pronounced bends. Try to make the lines as smooth and natural as possible.
Step 4: Clean up the outline
Now the basic shape of the dog’s nose is complete. Delete the unnecessary lines and check the final contours for symmetry and accuracy. However, you should not strive for perfect symmetry, which is rarely found in nature.
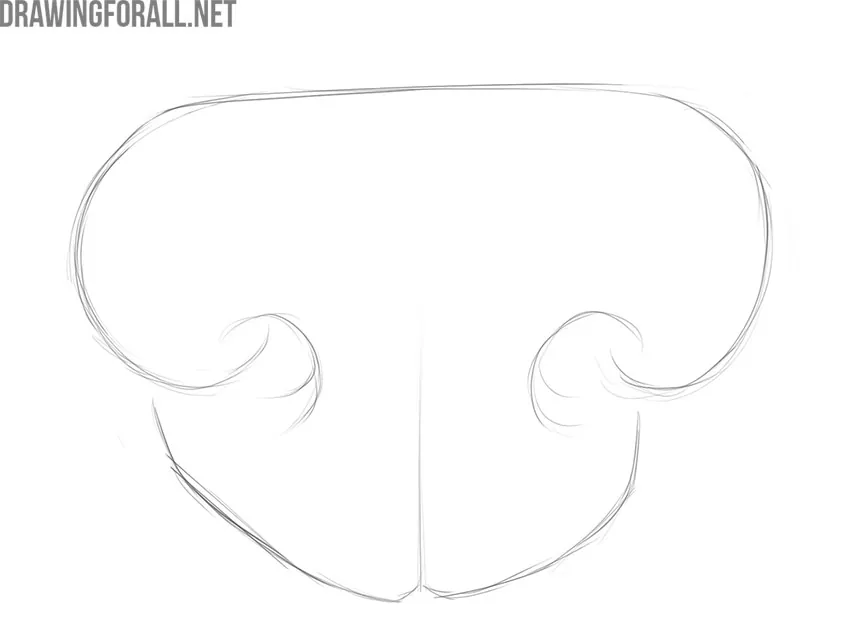
Step 5: Draw the shadows on the dog’s nose
Use a single layer of hatching to create light shadows. Two-layer crisscross hatching will help create darker shadows. The most intense shadows are located inside the dog’s nostrils.
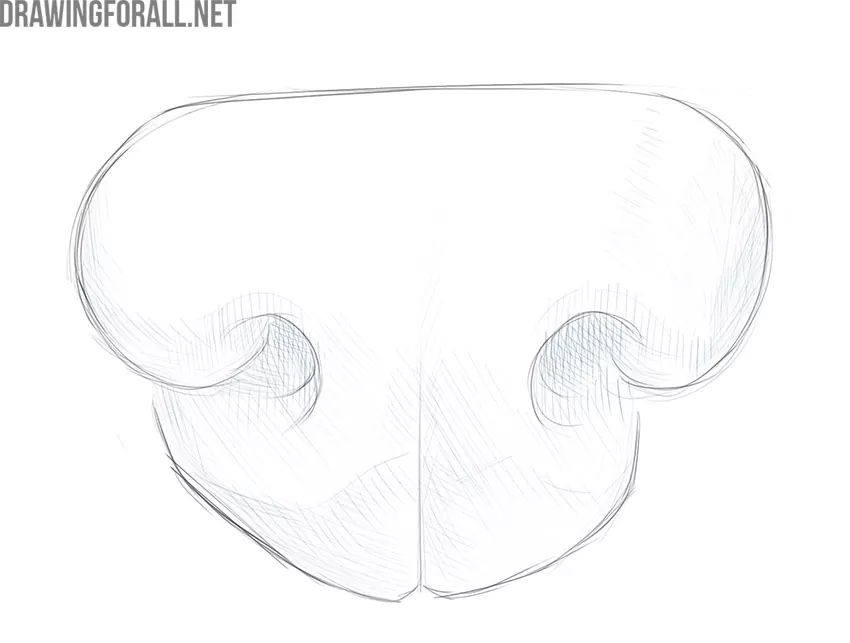
Step 6: Finish the dog nose
Finally, double-check all the contours and shapes. Erase any remaining construction lines drawn earlier to make the dog nose drawing look more finished. Increase contrasts if necessary and add more midtones.
We hope this was a helpful tutorial. If you want to practice drawing other animal body parts, be sure to check out the dog paw drawing tutorial and the cat eyes drawing tutorial.


so cool
thank you, i was struggling to draw my dogs nose, and you have managed to simplify it! I will be a frequent user of your site!
Thank you so much for taking that so I can now draw my dogs nose
You’re very welcome. Enjoy drawing!
My dogs nose has been a challenge to get right, and now it’s not:)
Thanks, Helen! Happy to hear you got it right.