How to Draw a Dog Paw
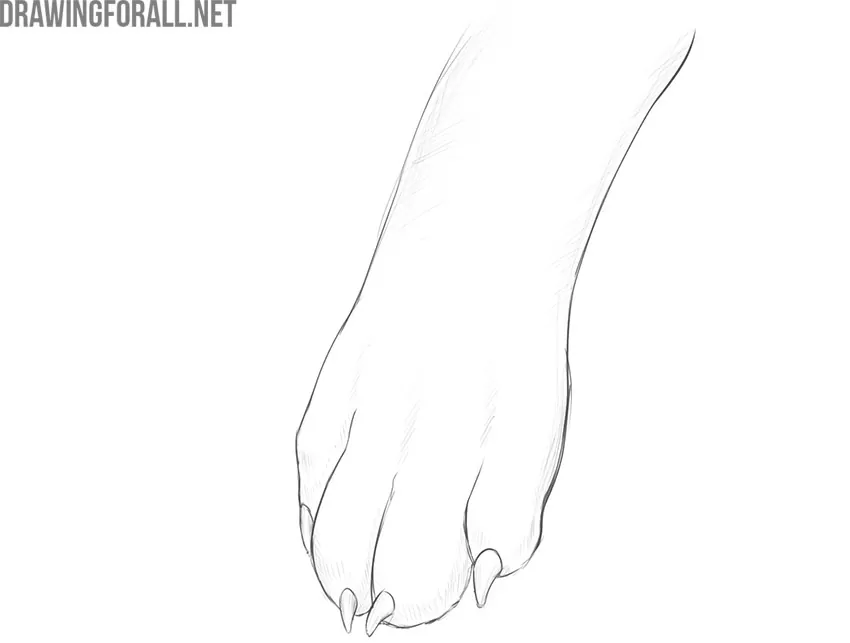
This tutorial will show you in detail how to draw a dog paw and help you develop a useful skill for drawing dogs in general.
Details are very important, just as important as the overall form. This is one of the basics of drawing. Whatever animal you draw, it is useful to know how to draw its individual parts.
We previously showed you how to draw a dog’s head, and now we will show you how to draw its paw.
A dog’s leg is very flexible and can bend in different directions and take different positions. We will first show you how to draw a dog paw in a basic position and then explain how to adapt it to the position you need.
How to draw a dog paw step by step
Step 1: Sketch the paw outline
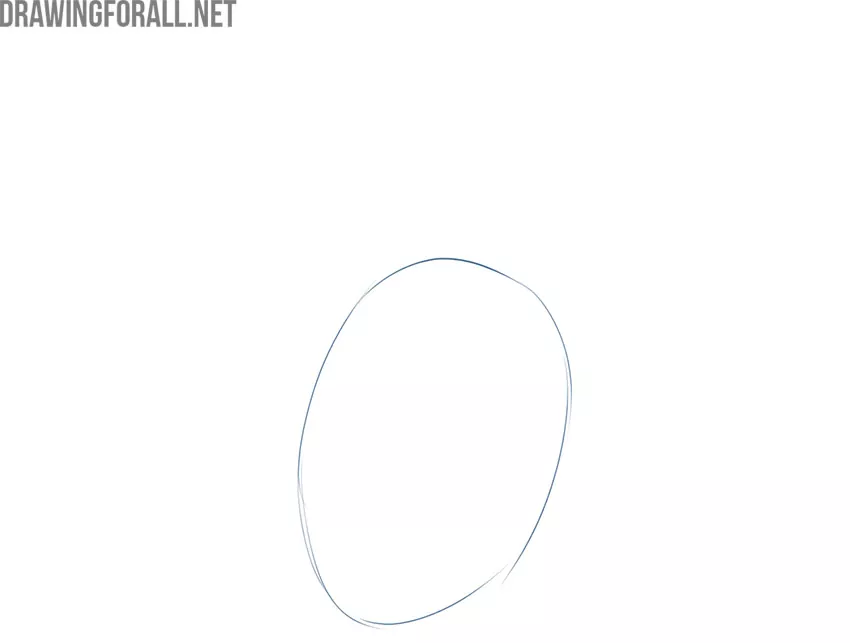
First, draw the rough outline of the dog’s paw. Choose a suitable location for the paw on the piece of paper, and then draw a large oval. As you can see, this shape is not symmetrical. Note how it tapers slightly toward the bottom.
Step 2: Add the leg and toes
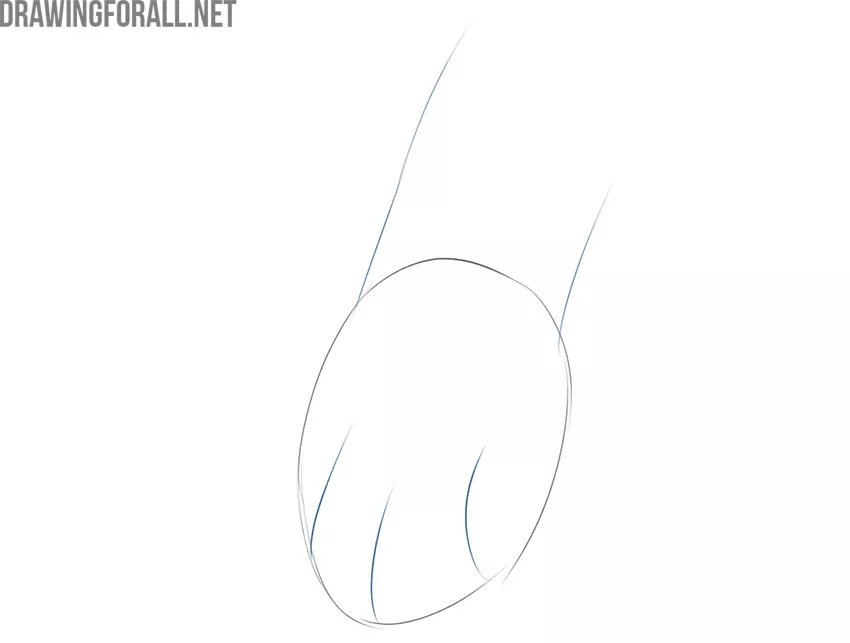
Add the outlines of the dog’s lower leg using two slightly angled lines. As you can see, the lines are not perfectly straight, but they are roughly parallel. Also, divide the lower edge of the dog’s paw with three smooth, short lines to mark the toes. Try to draw these lines without pressing hard on the pencil.
Step 3: Draw the small claws
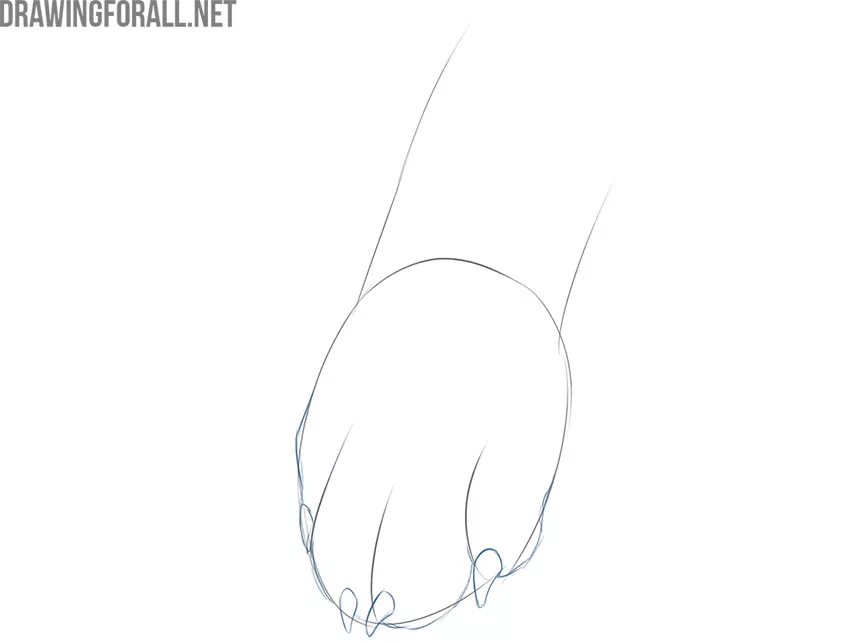
Draw small, rounded claws near the tips of the toes. Keep them fairly short and rounded to give the dog paw a natural appearance.
Step 4: Refine the paw contours
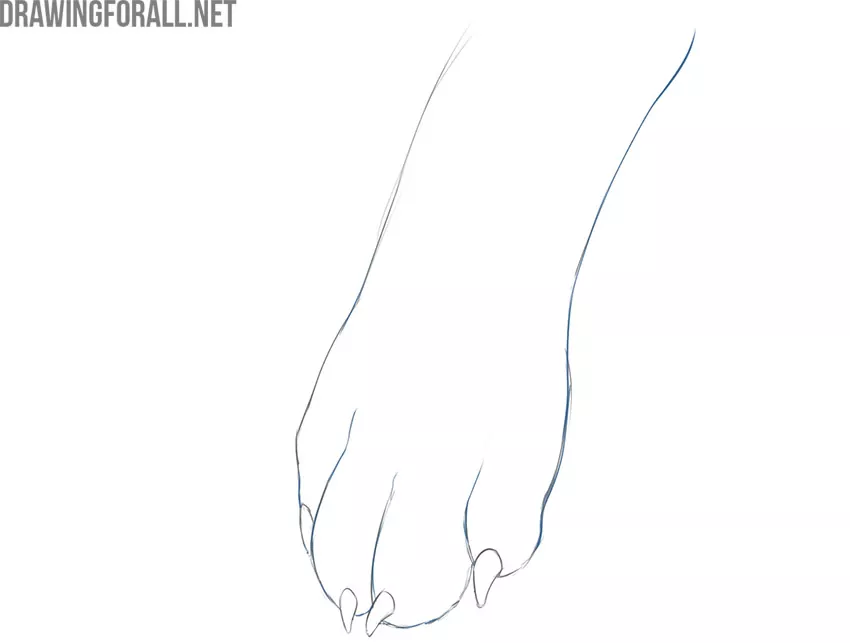
Delete the extra guidelines that we drew earlier. Refine the final contours with clear lines. Check your dog paw drawing for mistakes and inaccuracies.
Step 5: Add shadows and texture
Add small, light shadows to complete the paw drawing. Short diagonal hatching will help suggest the texture of smooth fur. Use two layers of crossing hatching in the darkest areas.
When drawing a dog paw, remember that it will not always hang down as it does in the steps above. Most often, the paw rests on the ground.
To draw it in this position, repeat almost the same steps, but turn the lower leg so that it runs more vertically.
Then sketch the paw on a different plane, keeping the principles of linear perspective in mind. This position can often be seen when drawing a sitting dog.
Practice different positions and angles of the dog’s paws to develop your animal drawing skills further.