

How to Draw a Fox Face
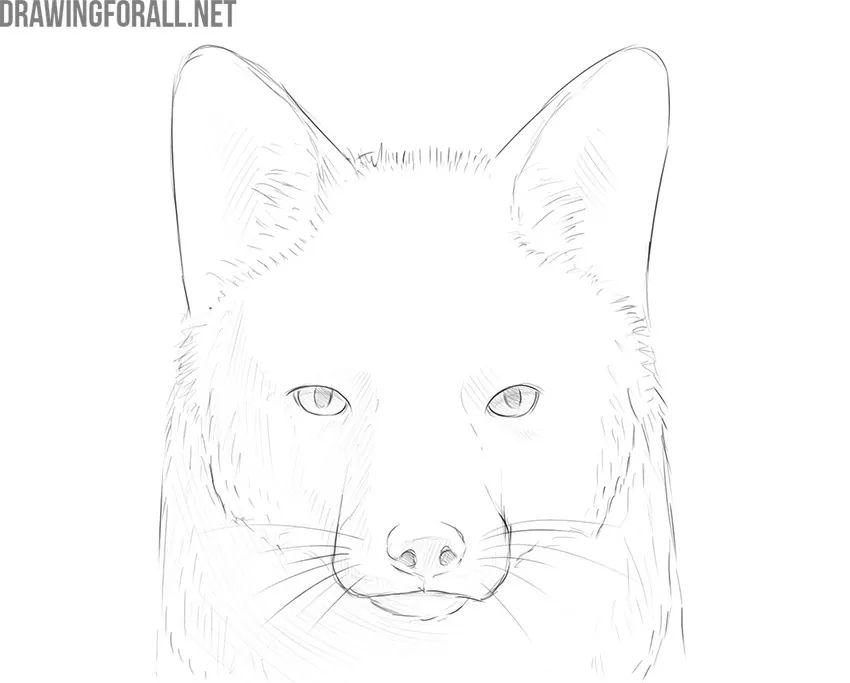
How to draw a fox face? We will try to answer this question here. To do this, we have prepared a short tutorial that consists of nine simple steps.
With this guide, you can portray almost any fox head. There are many varieties of foxes in the world, but their appearance and general anatomy are very similar.
Once you know how to draw an animal’s head in detail, you can apply the same principles when drawing a full-body fox.
How to draw a fox face step by step
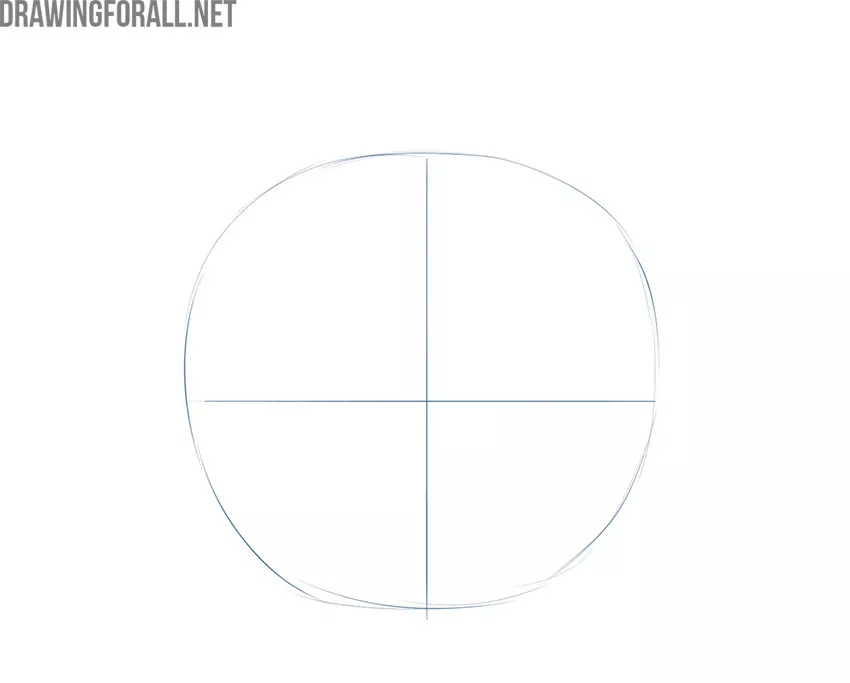
Step 1: Draw the head guides
First, let’s draw a large oval in the center of the sheet. Then draw two intersecting lines. A vertical line will help keep the face symmetrical, while a horizontal line will mark the location of the eyes.
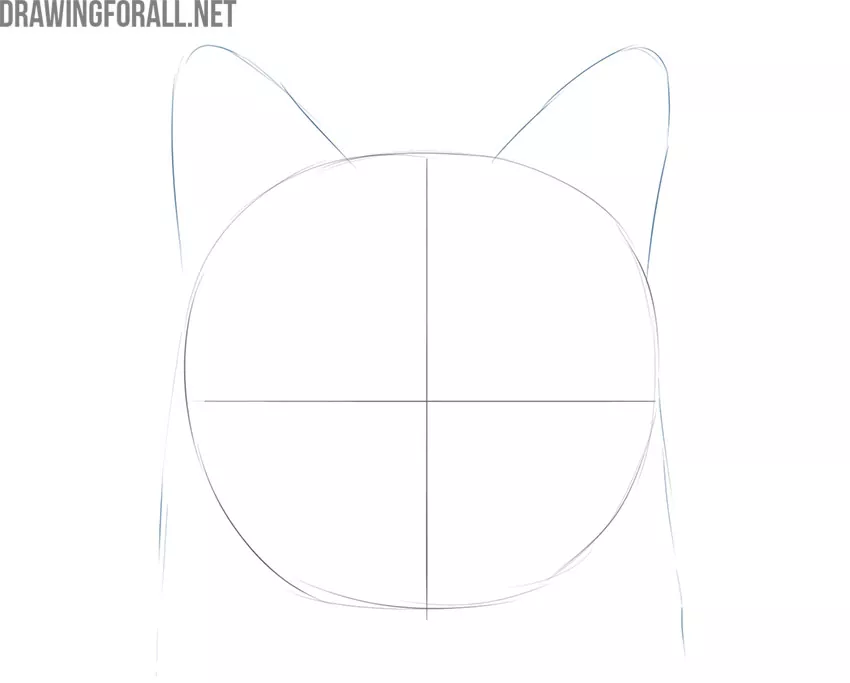
Step 2: Add the ears and neck
Foxes have excellent hearing, so they have large, sensitive ears. Draw the outlines of the ears as two triangles with rounded corners. Then add two oblique lines at the bottom of the head to outline the neck.
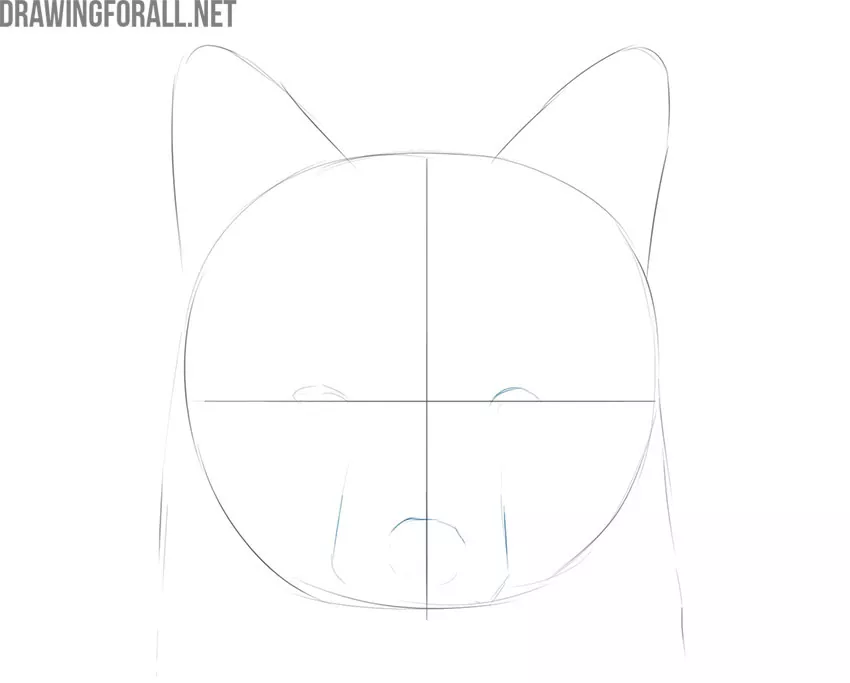
Step 3: Sketch the eyes and nose
To make the fox face drawing more lively, let’s sketch the facial features. Use the horizontal guideline in the center of the oval to place the eyes. Draw two small arcs above this line, then sketch the fox’s narrow nose.
Step 4: Complete the fox eyes
Now continue working on the eyes. Close the two arcs from the previous step to form two small ovals along the horizontal line. Also, don’t forget to add a pair of pupils. The expression and direction of the gaze depend on the placement of the pupils.
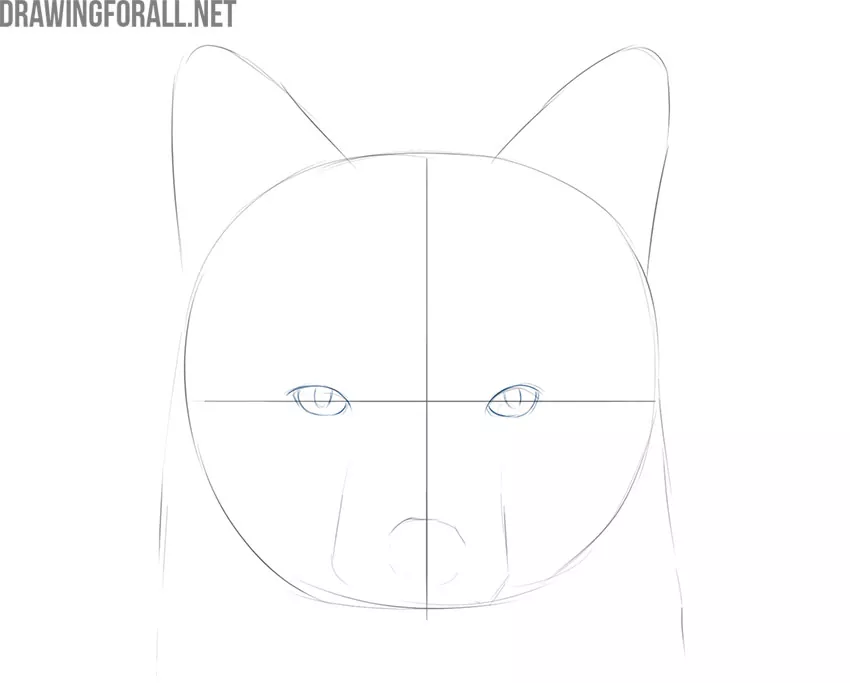
Step 5: Draw the muzzle details
It’s time to finish the lower part of the face. Add more details to the fox’s nose and mouth. Outline the cheeks with short strokes. Then refine the nose, which resembles a mushroom. Finally, draw a wide arc beneath the nose.
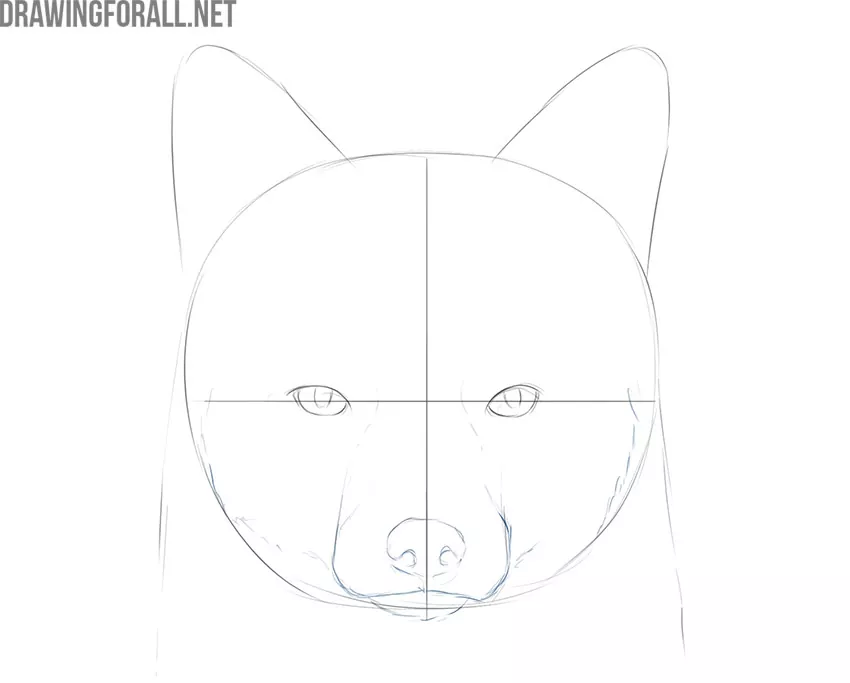
Step 6: Add the fox fur
Foxes have thick, warm fur. We will not draw every hair in detail, but we can suggest the fur with short, clear strokes around the face and neck.
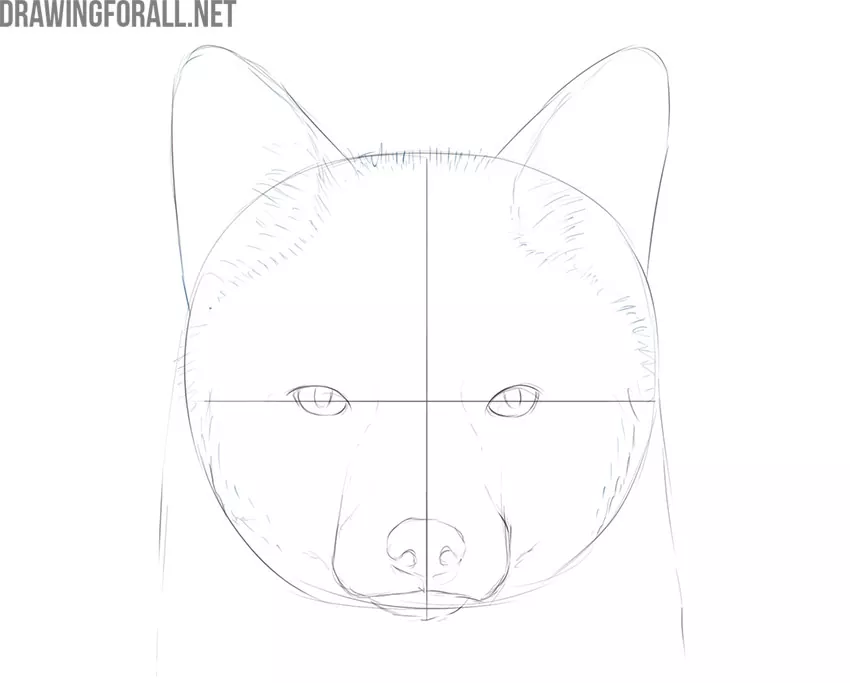
Step 7: Remove guides and add whiskers
Now remove the extra guidelines from the previous steps. After that, add more short strokes to suggest the fox’s fur and draw the whiskers.
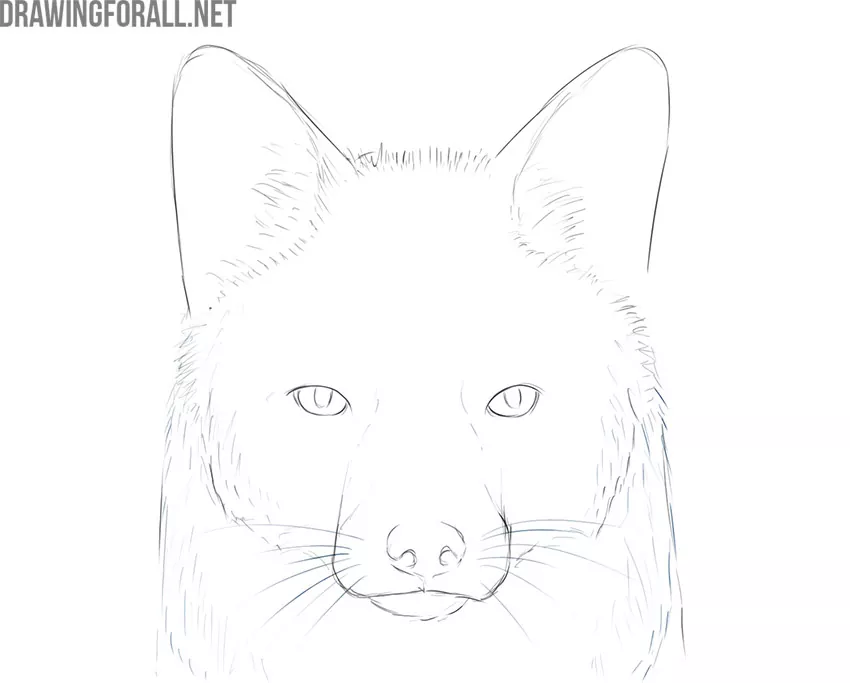
Step 8: Add shadows to the face
Shadows will make the fox face look more realistic and complete. Add small shadows inside the ears, around the eyes, and on the nose. Also shade the larger areas of the neck and cheeks.
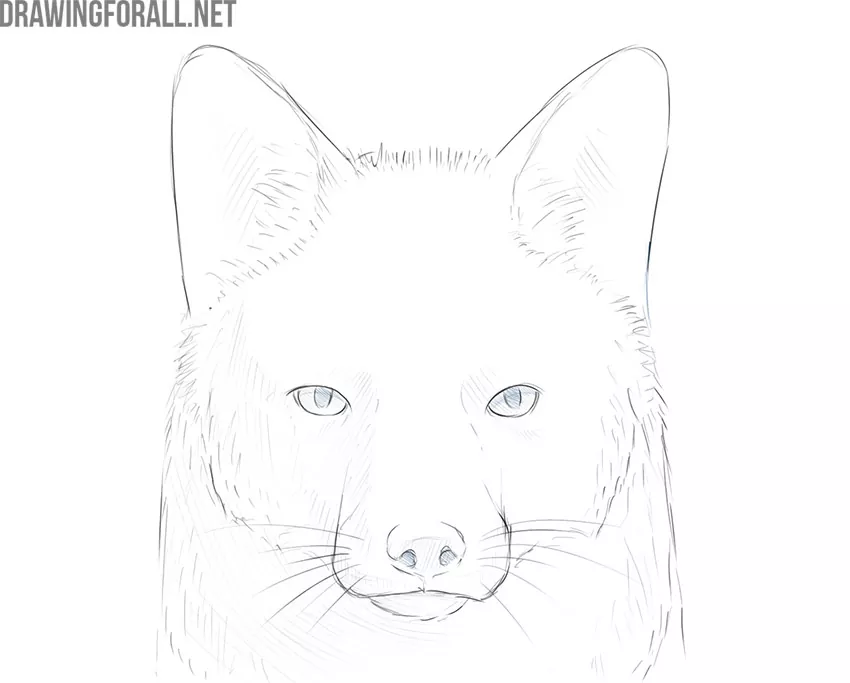
Step 9: Check the finished drawing
If you followed the steps carefully, you should now have a finished fox face drawing. Check the main contours, facial features, fur, and shadows, and correct anything that needs adjustment.
It is important to understand that many closely related animals have very similar head anatomy. To explore this further and practice the skills from this tutorial, try drawing a wolf’s face and sketching a dog’s head at a slight angle.



this is awesome
cool
Super hard but looks so good
It is fantastic and looks beautiful.