

How to Draw a Horse Face
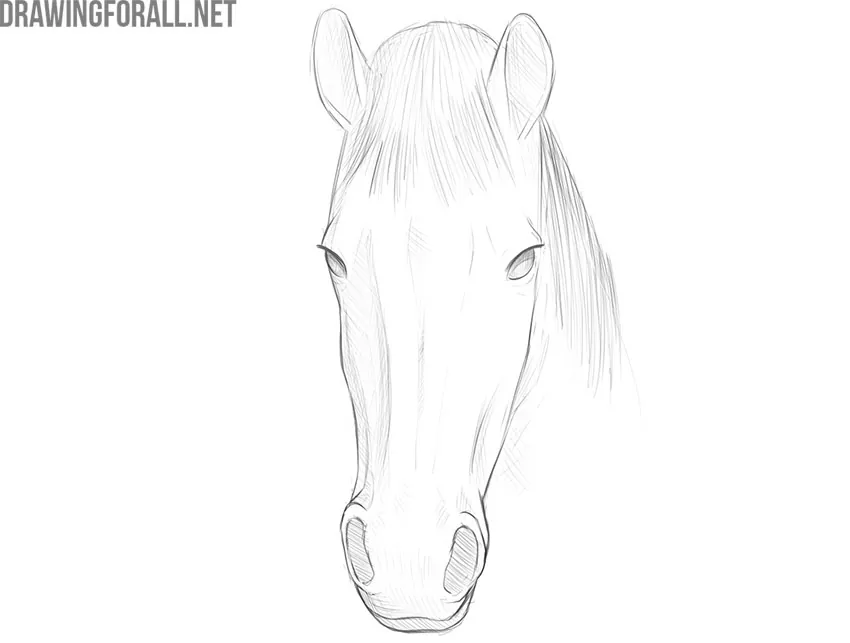
The horse is one of the most beautiful and graceful animals in the world. That is why we created this guide on how to draw a horse face.
This tutorial on how to draw a horse face will be somewhat similar to our previous tutorial on drawing a horse head. This lesson is actually a revised and improved version of the previous lesson. Here we tried to make the process of drawing a horse face even more intuitive and simple.
If you follow all the steps, you will end up with a fairly realistic horse face drawing.
Step 1
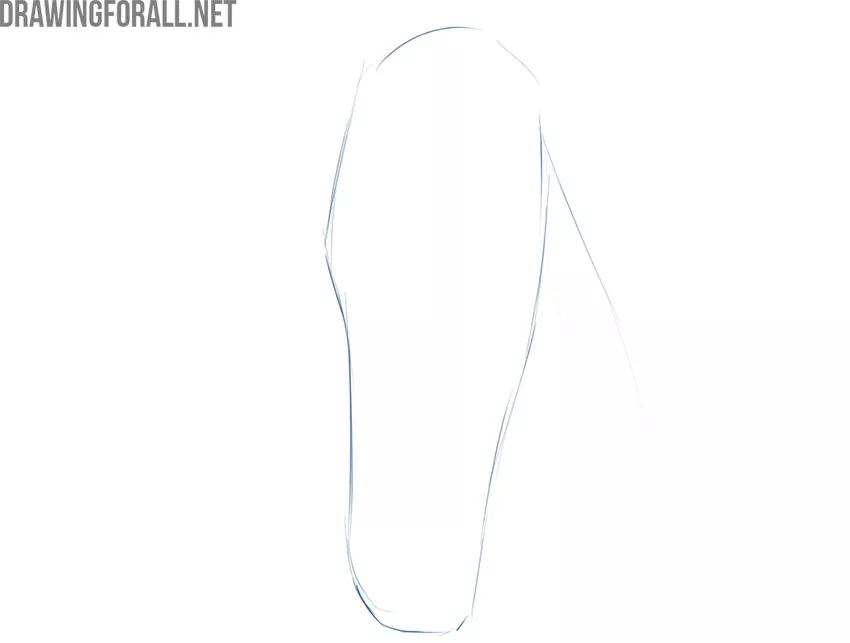
First, we sketch out the outlines of our horse’s head. It looks like an elongated, rounded shape with a wide top and a tapered bottom. Please note that this shape does not have to be symmetrical.
Step 2
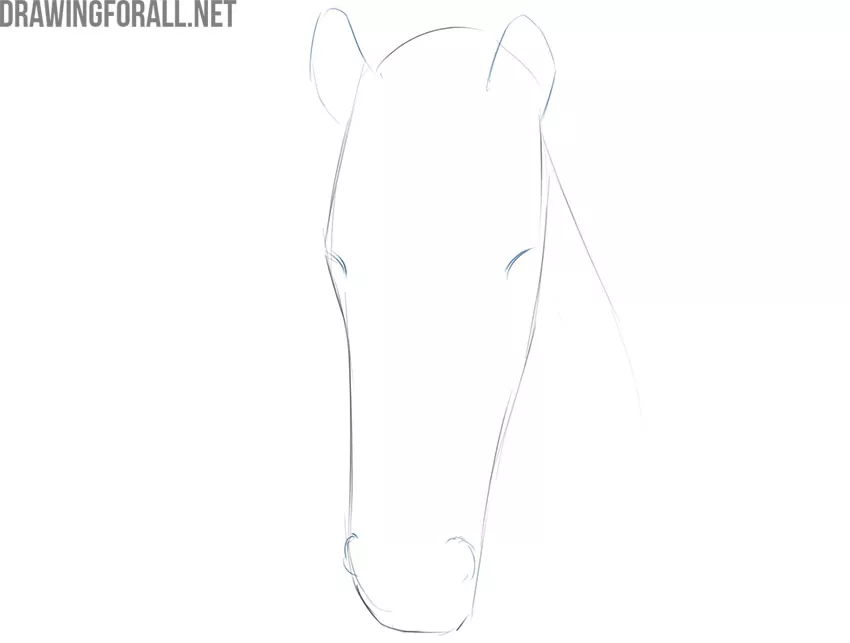
Let’s sketch out the basic details of the horse’s face. On top of the head are the ears, which look like two small trapezoids. The eyes will be located a little lower – we will outline the location of the eyes using a pair of smooth short lines. At the end of the step, we outline the outlines of the nostrils.
Step 3
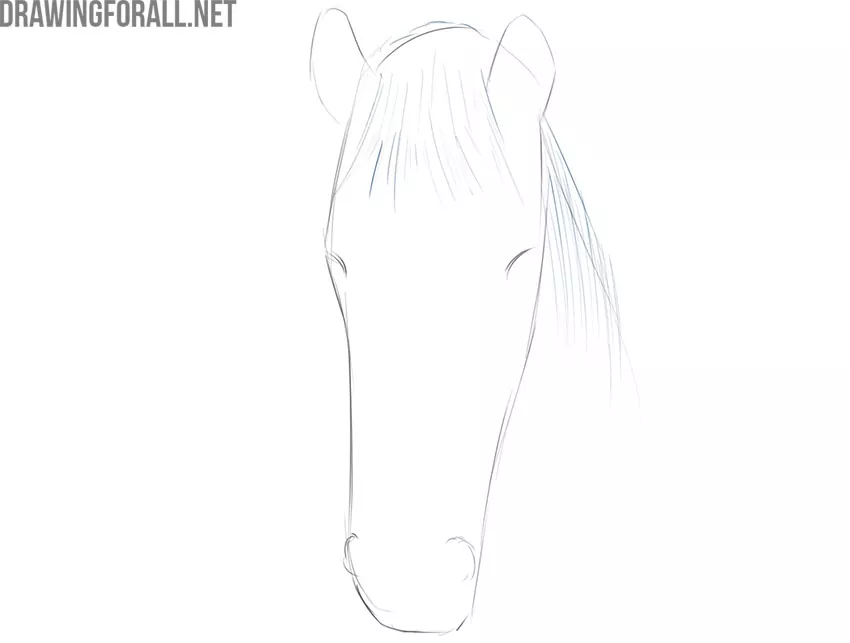
So, we continue the guide on how to draw a horse face. The mane is the decoration of any horse. You can see horses with incredibly beautiful manes in various cartoons, however, in reality, it looks like a lush lock of long hair. Let’s draw it.
Step 4
Many people notice the amazing beauty of the horse’s eyes. Let’s draw this important part of the face in this step. Use rounded shapes that are almond-shaped. These shapes should be positioned slightly diagonally.
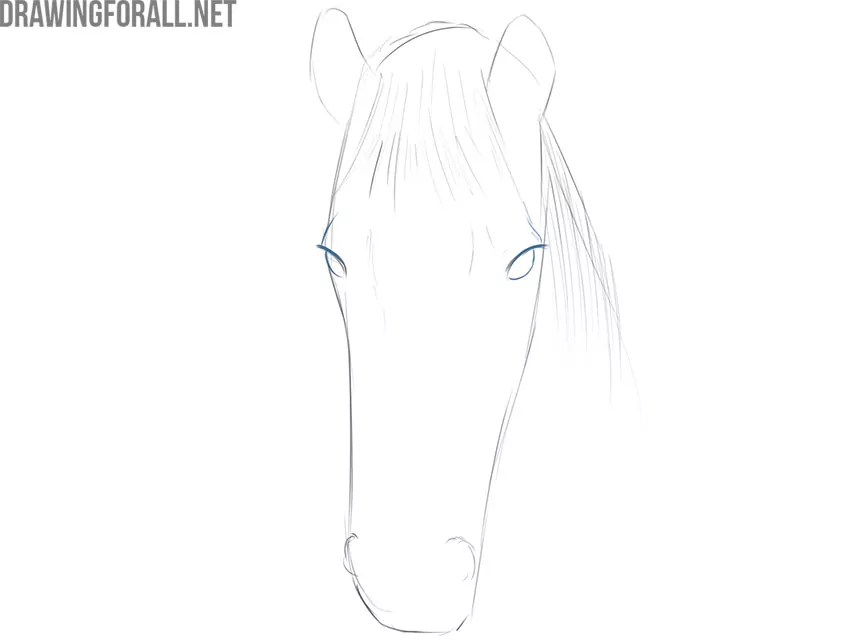
Step 5
In this step, we will give the necessary shape to our horse’s head drawing. To do this, we will slightly expand the base contours in the eye area, and then indicate a noticeable narrowing towards the teeth.
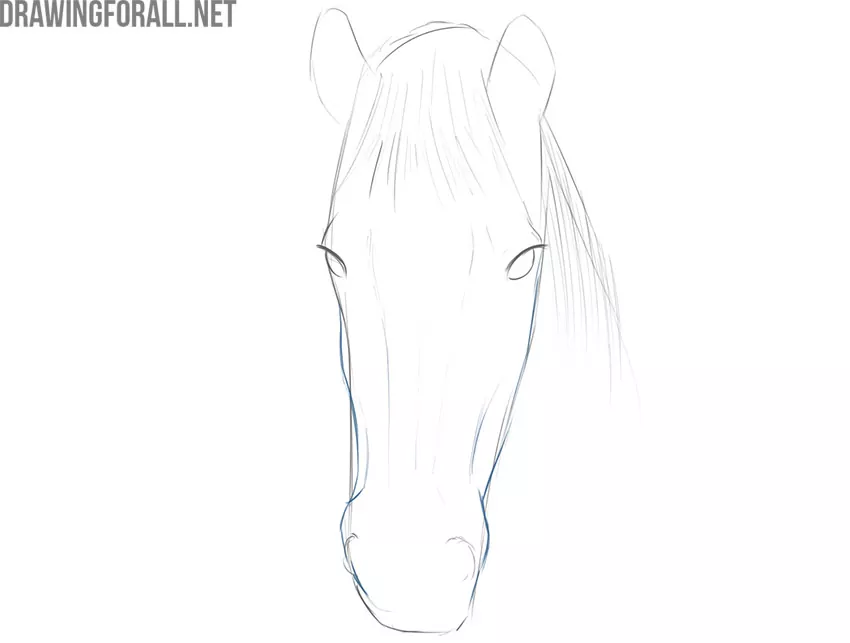
Step 6
So we are getting closer to the end of this horse face drawing tutorial and now we will depict one of the final details. It is a pair of nostrils that appear as asymmetrical ovals and a wavy line separating the upper jaw and lower jaw.
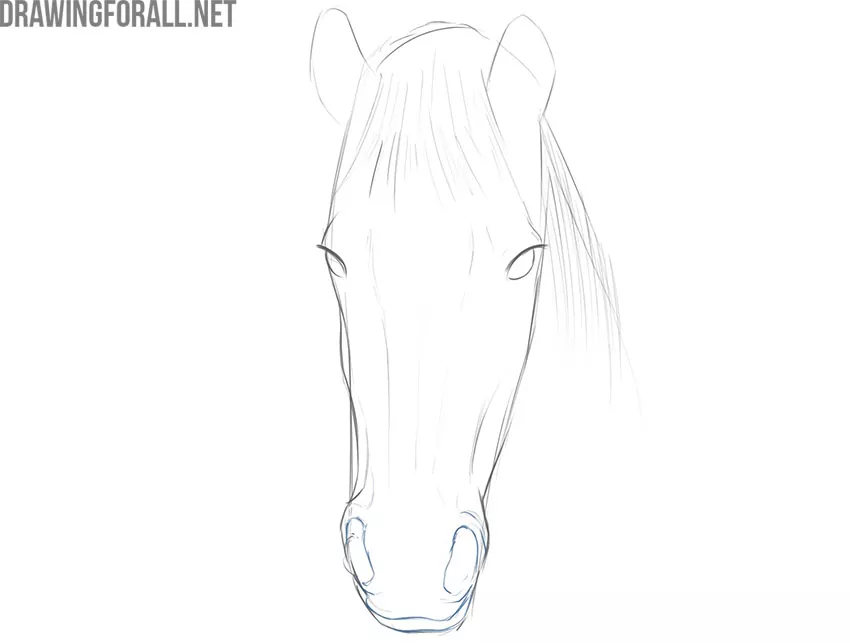
Step 7
We hope that you are not too tired of this guide about drawing a horse face. We’re getting close to completion. In this step, we will add the final outlines of the mane and lines with which we indicate the inner parts of the auricle.
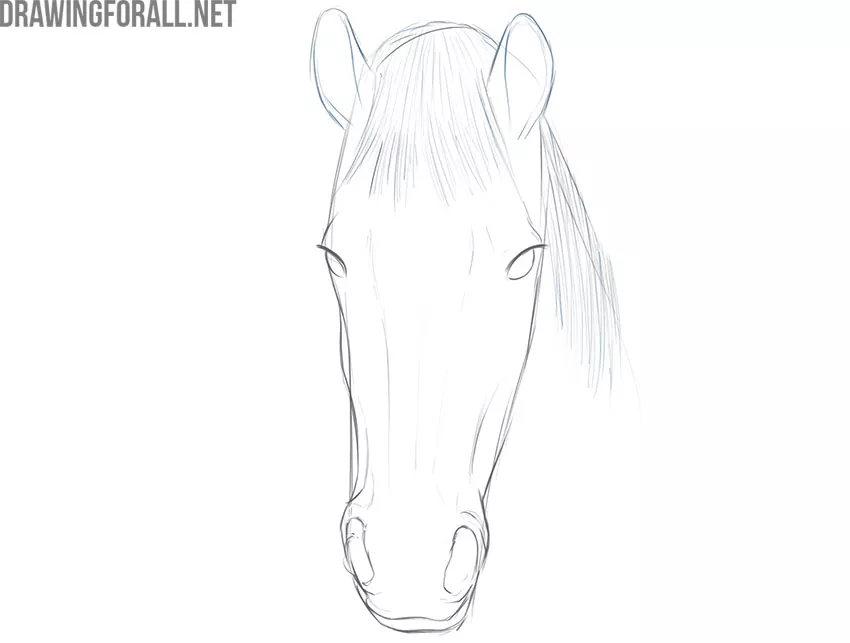
Step 8
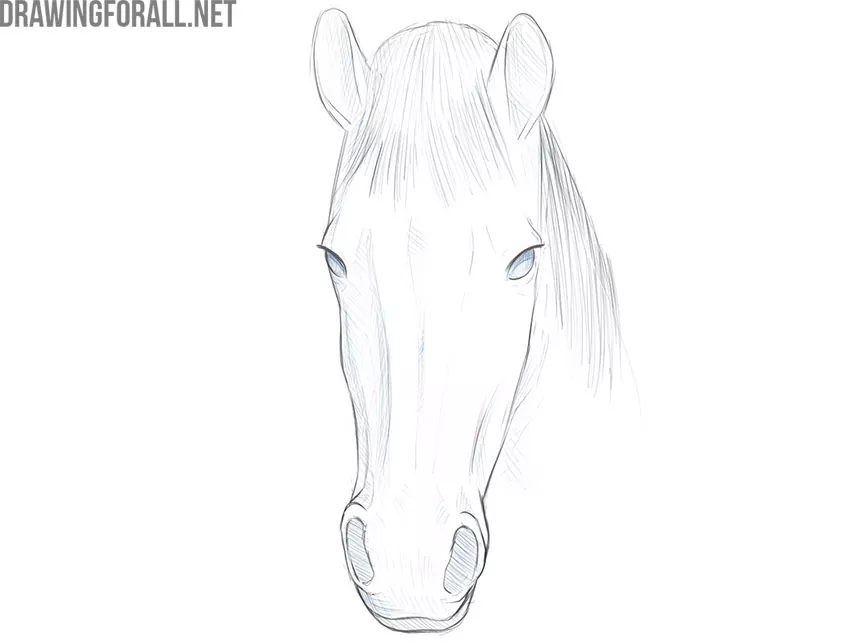
In this step, we will do a little bit of shadow work. To draw a shadow, you need to cover the area that needs to be shaded with light shading. You can first outline the boundaries of these areas and then add hatching. If you don’t want to paint shadows, feel free to skip this step.
Step 9
In this step, we can remove the extra lines from our horse face drawing and make the final lines more contrasting. As a result, we should get something similar to our sample:
This drawing guide about drawing a horse face, like all the other tutorials on Drawingforall.net, was divided into several very easy steps, in order to achieve the maximum simplicity and accessibility of the lesson for artists of any skill level. Do not forget to write in the comments about how convenient this lesson seemed to you. This will help us create very cool and quality guides.




Brilliant tutorial. Easy to follow and the results are great. It helped me see the horses face as a series of linked shapes rather than an impossible aim. Tried it and first time got excellent results. Thank you
How first time using this website I love it
great
Easy to follow step by step Brilliant for first time drawing 👍
This skills are so interesting
really easy and enjoyable ….. loved it xxx
Thank you for helping to refine the lines of a horse head.
pretty good tutorial I approve
my bff will love it bc her horse recently passed
Sad
I LOVE HORSES!!!!!!!!!!!
hard to find something that I like but love