How to Draw a Dog
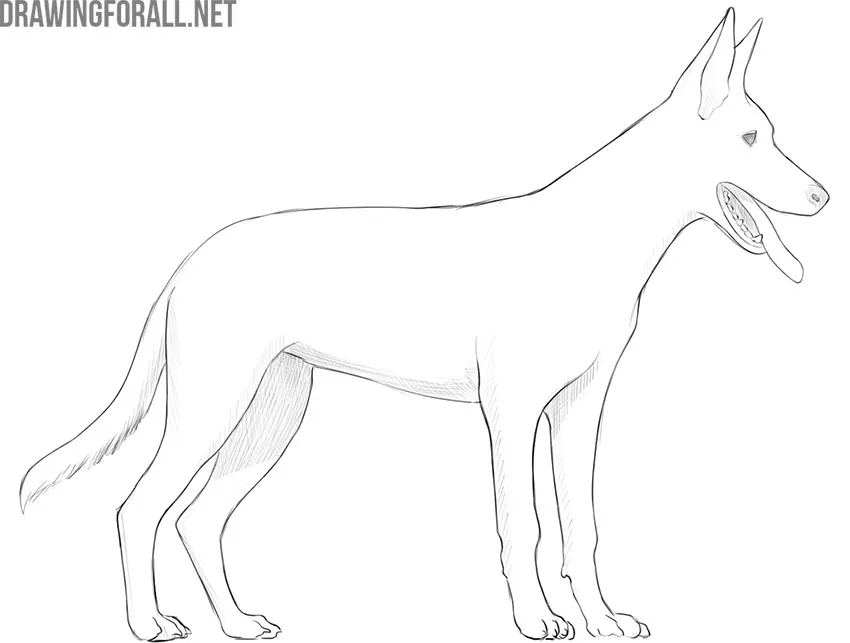
In this drawing tutorial, we will show you how to draw a dog step by step. The steps will be simple and the result will be realistic.
In order to draw a dog using this drawing tutorial, you can use both a pencil and paper and a drawing tablet.
We will show you how to draw a dog smoothly, starting with the most simple and general geometric shapes and moving on to finer details. We will show you how to gradually and systematically create a completed drawing of a dog on a piece of paper.
So, if your art supplies are ready, then let’s get down to the instruction on how to draw a dog.
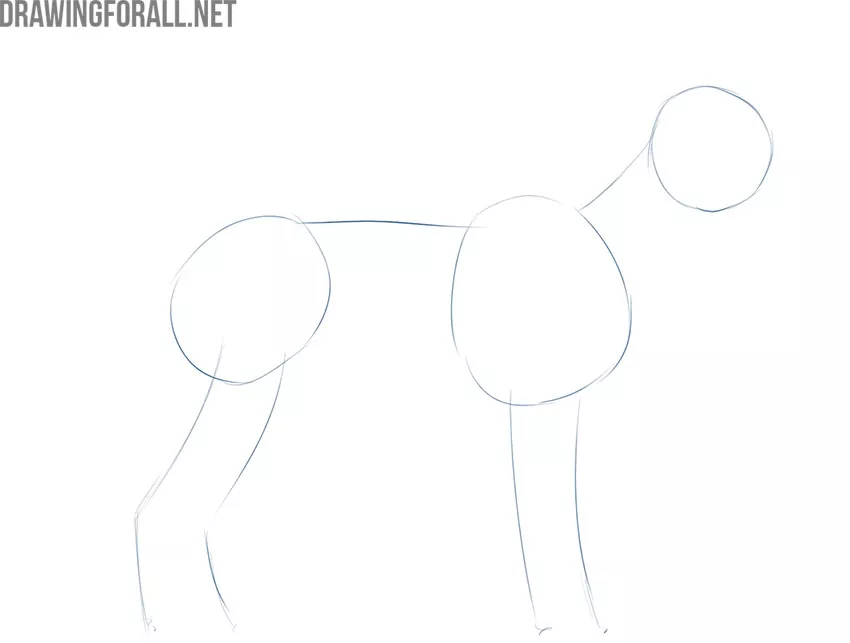
Step 1
In order to draw a dog correctly, you need to start with the simplest forms and gradually move to more complex ones. First, draw the head, ribcage, and pelvis using circles. Next, sketch out the neck, spine, and legs using simple lines.
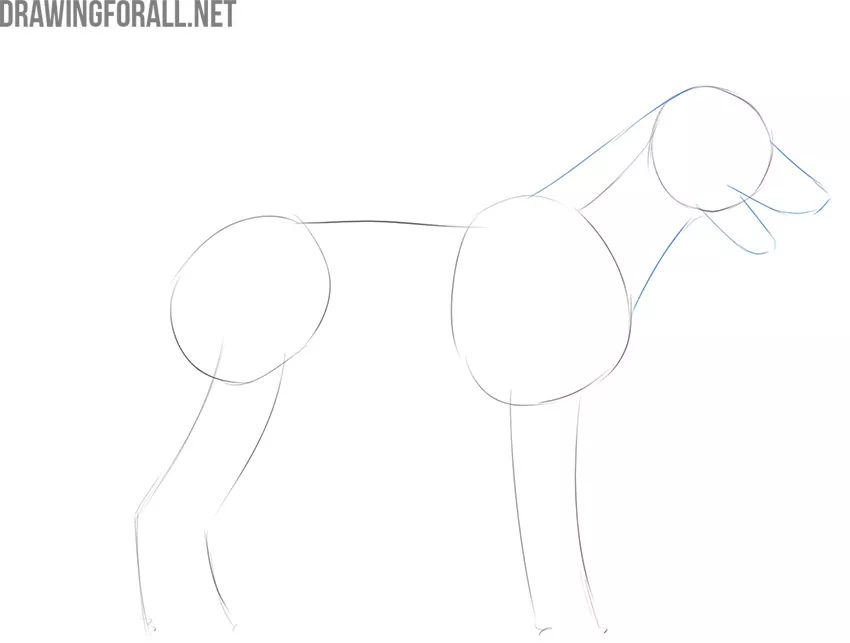
Step 2
Starting from the second step of the lesson on how to draw a dog, we will already begin to add the most basic details. First of all, sketch out the muzzle. Next, use two lines to sketch the neck, connecting the head and chest.
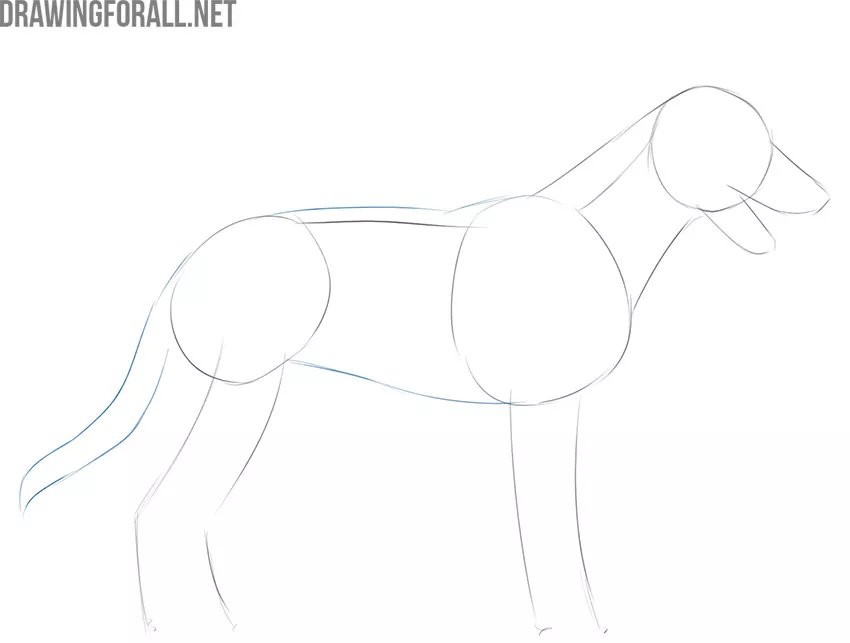
Step 3
Now, using two more lines, connect the ribcage and pelvis, creating the outlines of the torso. Next, outline the tail as the artists of Drawingforall.net did in the example below.
Step 4
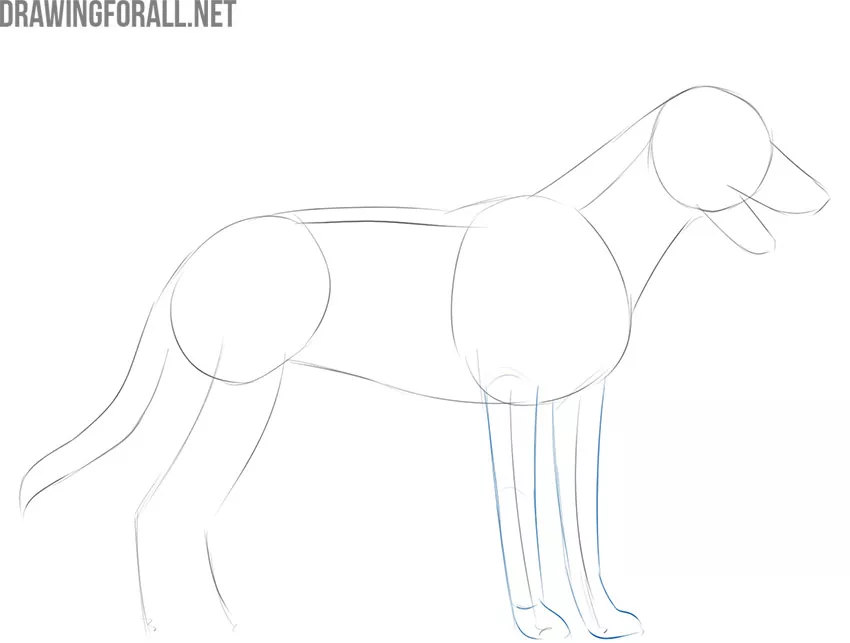
Now let’s start adding volume to the dog’s legs. Using the guidelines from the first step, sketch the front legs. The lines in this step should be light, almost invisible.
Step 5
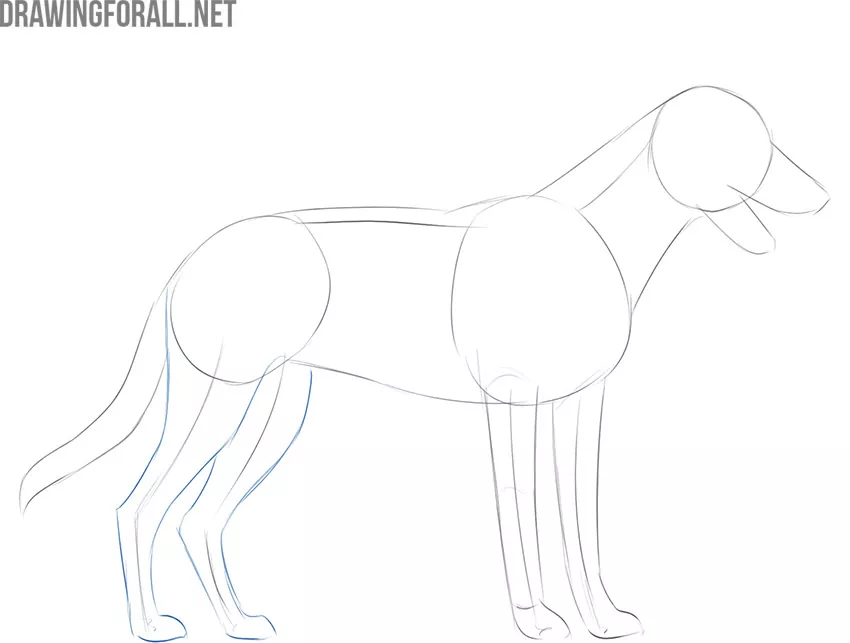
Sketch out hind legs in the same way. Please note that the front and hind legs of the dog are quite different from each other in shape.
Step 6
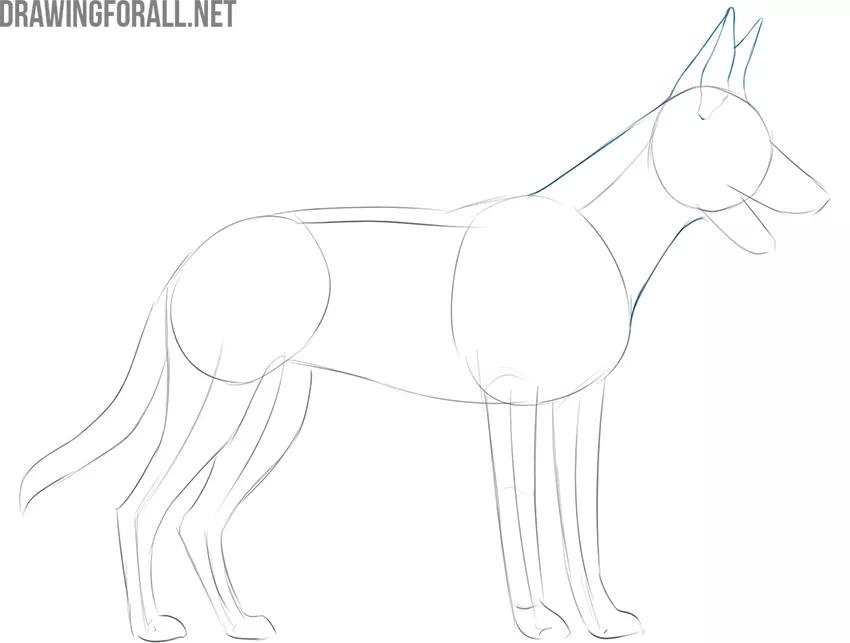
Starting from this step, we will start drawing the dog in more detail. Start from the top of the head, carefully sketching out the ears. Next, give the neck a more neat and finished look.
Step 7
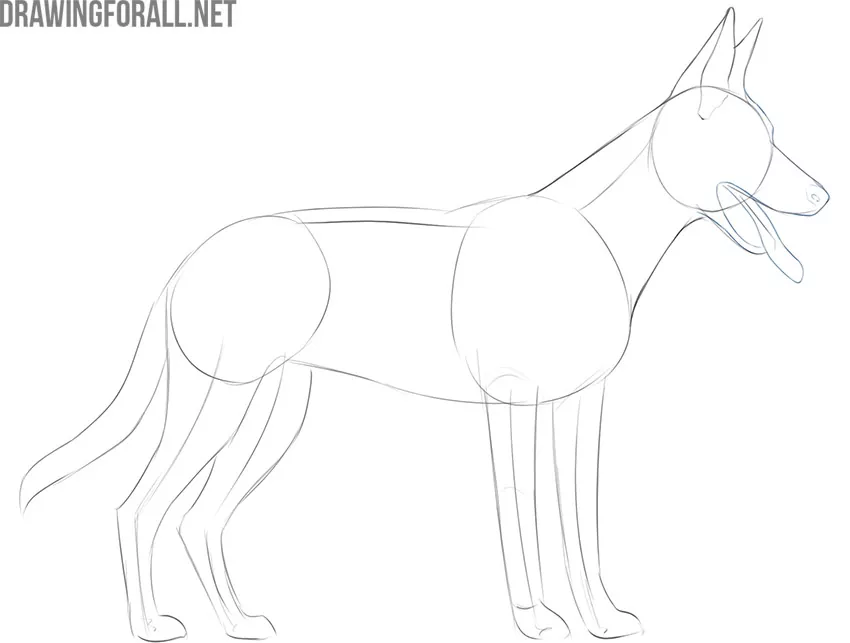
Now sketch out the forehead of the dog and carefully draw out the face, giving it a finished and clean look. In the same step, draw the dog’s nose and long tongue.
Step 8
Now draw the final details of the dog face. Draw the eye first. Next, sketch out the bottom row of teeth. Note that the top row of teeth is not visible due to the fact that it is covered by the upper lip.
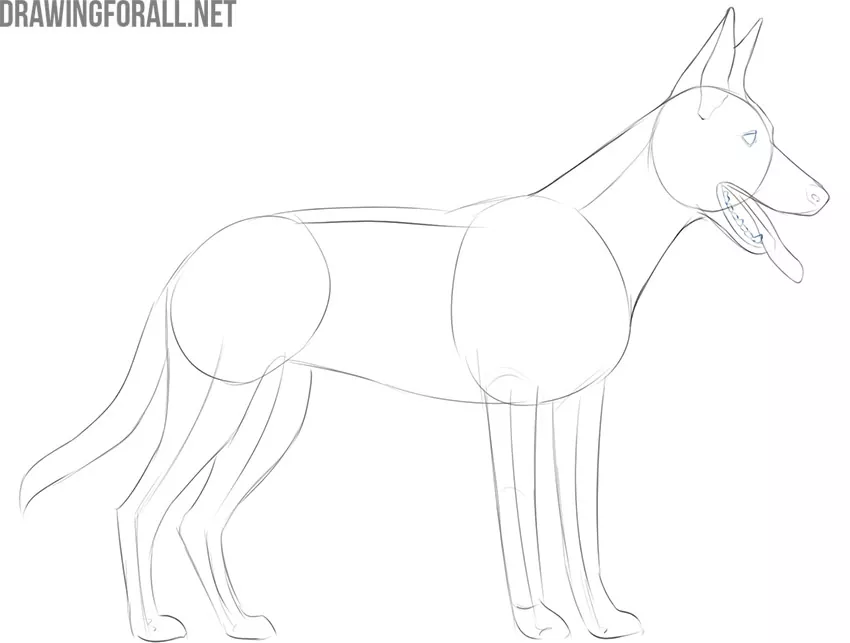
Step 9
Now let’s go back to the legs again and give them a complete look. Be sure to draw the thickenings in the tendon area and don’t forget to draw the fingers.
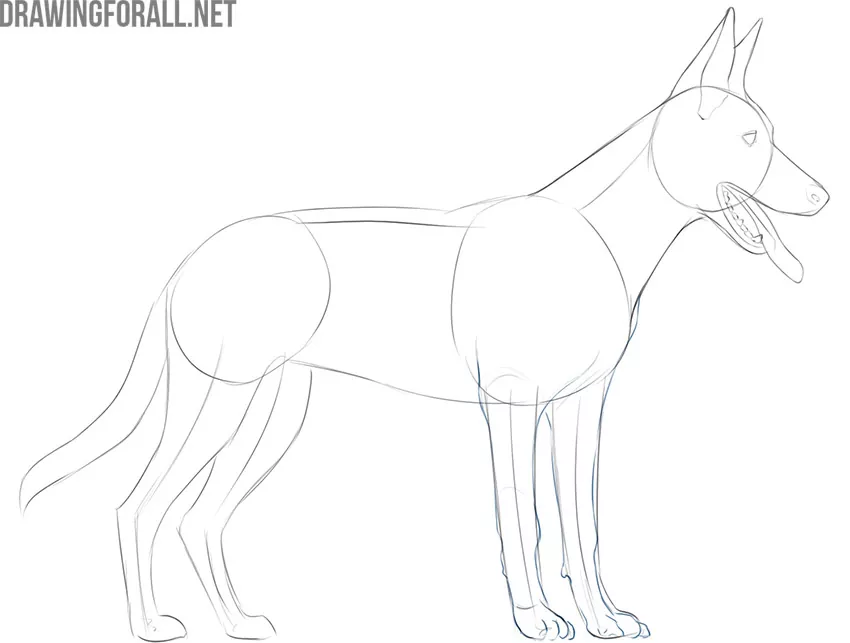
Step 10
Gently draw the thickenings in the ligament area. Draw the fingers as shown in the example from the artists of Drawingforall.net.
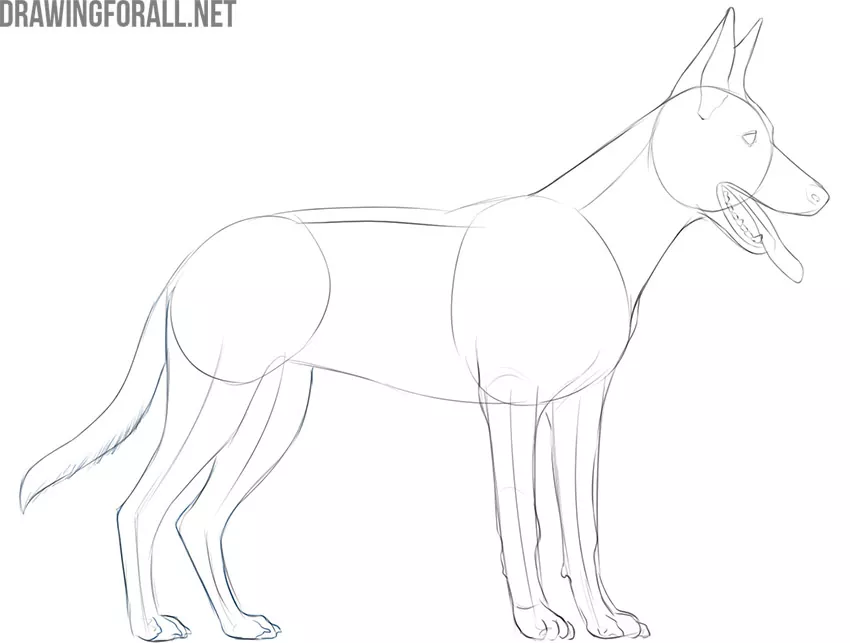
Step 11
Erase all unnecessary construction lines drawn in the first steps and draw shadows. To draw shadows most accurately and correctly, check out our articles on light and shadow and hatching.
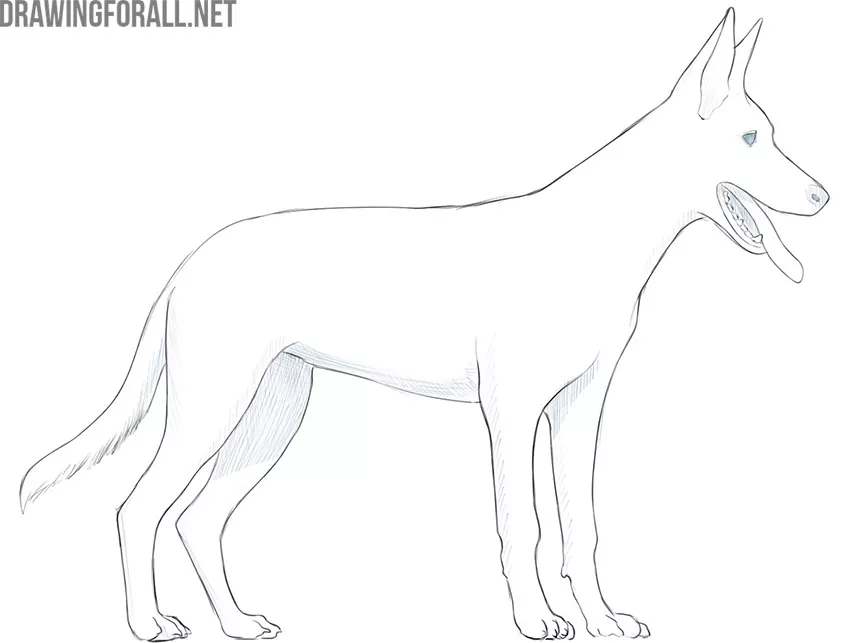
Step 12
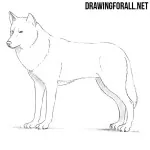
To check your dog drawing is correct, compare it to our example. If you find mistakes, then fix them by returning to the step at which this mistake was made.

So, it’s time now to consolidate the knowledge gained in this drawing lesson. First, try drawing the dog from a different angle using the steps above. Next, try drawing a different breed of dog and creating more complex shadows.


nice
I drew it but it looks way better on my computer than on my paper it looks so weird on my paper i drew it kinda bad tho I am going to try better on a different paper