How to Draw a Building
Regardless of your skill level, this tutorial will show you how to draw a building and teach you the basics of architectural drawing.
In this case, it is important to draw straight lines accurately and maintain the correct relative dimensions. Even a small mistake in symmetry can significantly distort the entire drawing.
There are also several aspects you should understand before drawing a three-dimensional object. Parts of the object that are closer to the viewer should appear darker and have stronger contrast.
Additionally, closer parts of the object appear larger, while distant parts are drawn smaller. These techniques are discussed in our article on aerial perspective – be sure you are familiar with this concept before drawing the building.
You can also apply linear perspective techniques when drawing this building and other three-dimensional objects. We have also created a separate guide on linear perspective for a more detailed explanation.
How can you make your final drawing look more three-dimensional and realistic?
Of course, with the help of light and shadow. Since we are drawing a real three-dimensional object, we also need to depict shadows on the surface on which it stands. In addition, shadows on the walls of the building will help create a more lively and realistic image.
So let’s start this tutorial and learn how to draw a building. We have tried to adapt these steps for beginners.
How to draw a building step by step
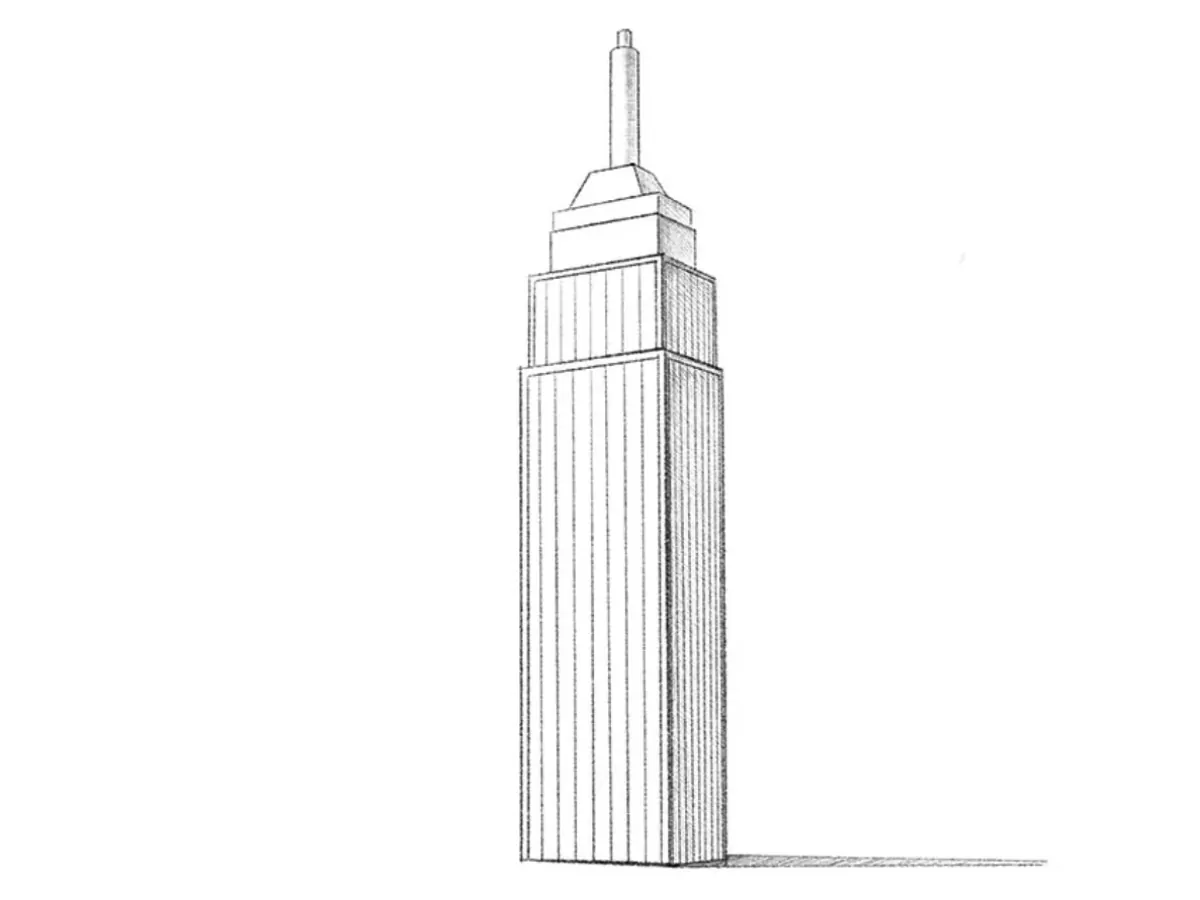
Step 1: Sketch the basic shape
First, draw several simple straight lines as shown here. The shape should resemble a long, elongated parallelogram. This is the basic and most important step, so try to make the lines as straight as possible. Ideally, avoid using tools such as a ruler.

Step 2: Add the upper section
Then add another, smaller shape to the top of the drawing. The vertical lines of the two shapes should not align with each other. However, the horizontal lines must remain parallel. Make sure both of these forms share the same perspective.

Step 3: Draw another level of the building
Draw a third shape on top of the previous section. Create the effect of a uniform narrowing toward the top. Be very precise about keeping the horizontal lines parallel, as this is essential when drawing a building.

Step 4: Draw the building roof
Next, draw the upper part of the building. Here the shapes are even smaller than in the previous step. At the very top, draw a small trapezoid. The entire structure should taper upward gradually. Note that this section is the shortest of all the parts.

Step 5: Draw the building spire
Now add a small cylinder at the very top of the structure. Its small size emphasizes the scale of the remaining parts. Make sure this detail follows the same perspective as the rest of the building and does not stand out from the overall structure.

Step 6: Refine the outer edges
Evaluate all the previous steps. Check that all lines are correct and parallel. The drawing should resemble a building composed of several stepped levels. If everything looks correct, add the framing lines shown here. Emphasize the side edges by drawing lines that follow the corners.

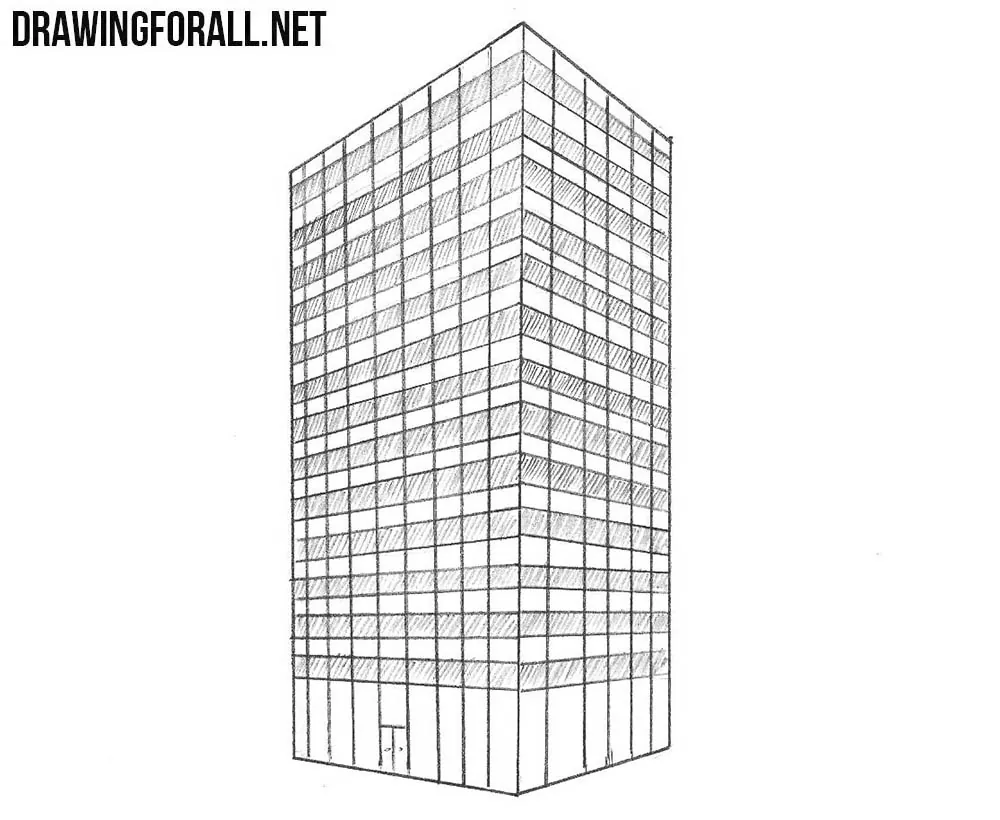
Step 7: Add the window lines
Use long vertical lines placed at equal distances from each other to represent the windows on the surface of the building. The window lines should lie on the same planes as the walls and follow the linear perspective of the overall form.

Step 8: Draw shadows on the building
Determine which side of the building receives the most light, and place the shadows on the opposite side. The shadows should appear as diagonal hatching that is most noticeable near the edges. Be sure to add shadows on the ground as well. Without them, the building will appear to float in the air.

Step 9: Finish the drawing
Check your building drawing and evaluate its symmetry, scale, and overall appearance. If you notice any mistakes, correct them. At this stage, you can also strengthen the contrast, add highlights, and include additional shadows to make the drawing appear more three-dimensional.

As we mentioned earlier, drawing a building is not the easiest task. If your result is not what you expected, identify the step where the mistake occurred and correct it. The later steps are usually easy to adjust, while the first construction steps are much more difficult to fix.
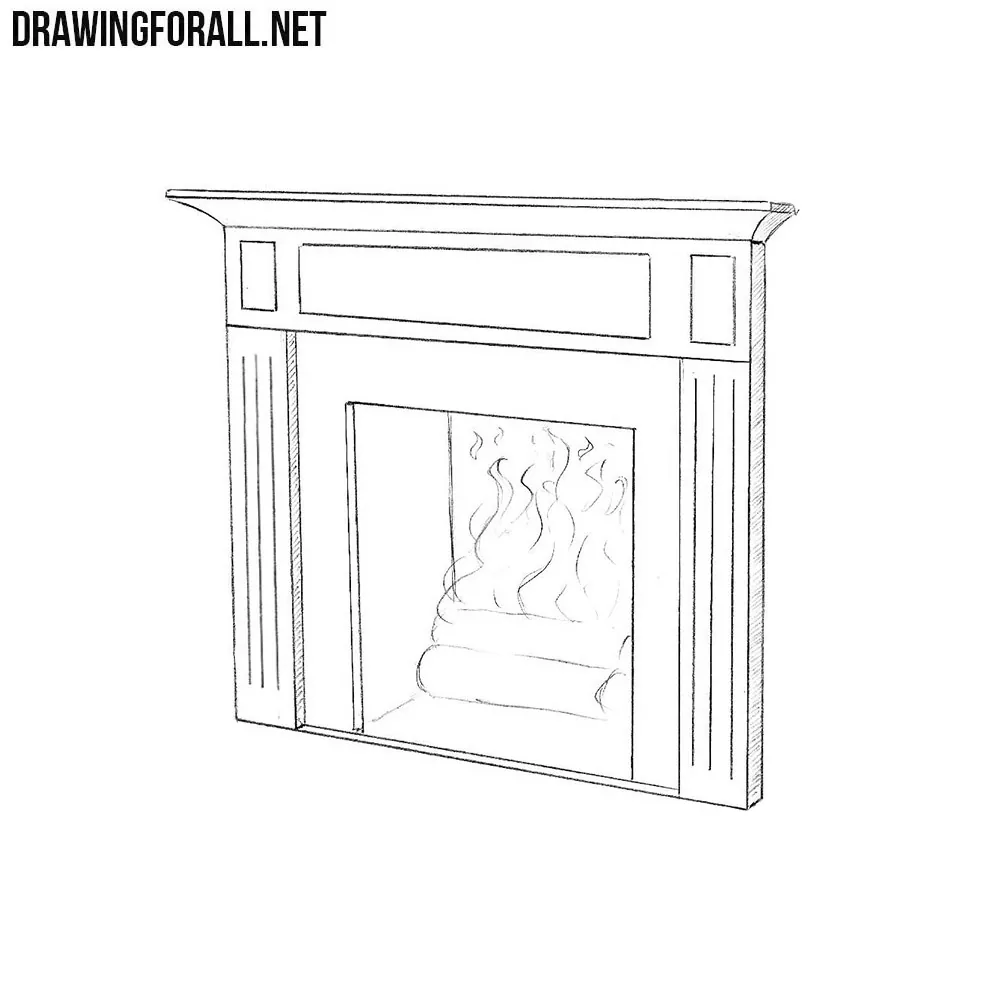
You can always draw other objects with straight lines to practice your skills – for example, drawing an interior. Also, don’t forget to visit our Architecture category for more buildings and man-made objects.
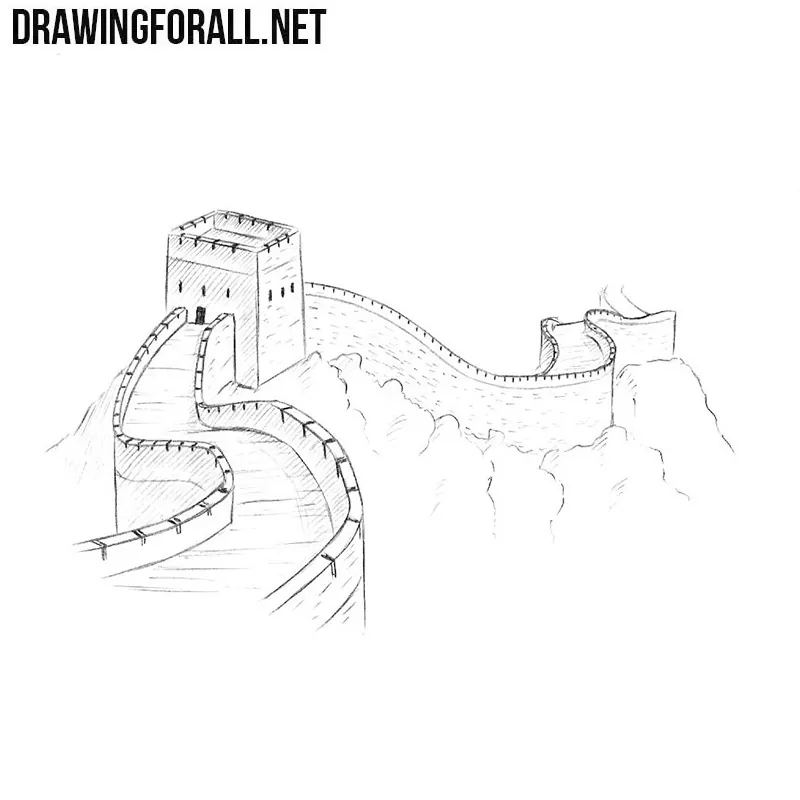
You can also use these techniques to draw many other buildings. We intentionally kept the details minimal so that you can change the shape of the spire or add extra buildings, flags, or other architectural details.
Drawing buildings is a very important skill that will help you if you want to create an urban-style comic. You’ve probably seen Spider-Man swinging between the skyscrapers of New York or Batman watching from the rooftop of a gloomy Gotham skyscraper.
And, of course, drawing buildings is one of the most fundamental skills in architectural drawing.
We look forward to your feedback. Let us know what you found most difficult about this drawing tutorial. We will take your suggestions into account to make our future tutorials even better. See you again on the pages of our website!


Thank you
thank you