How to Draw a Crossbow
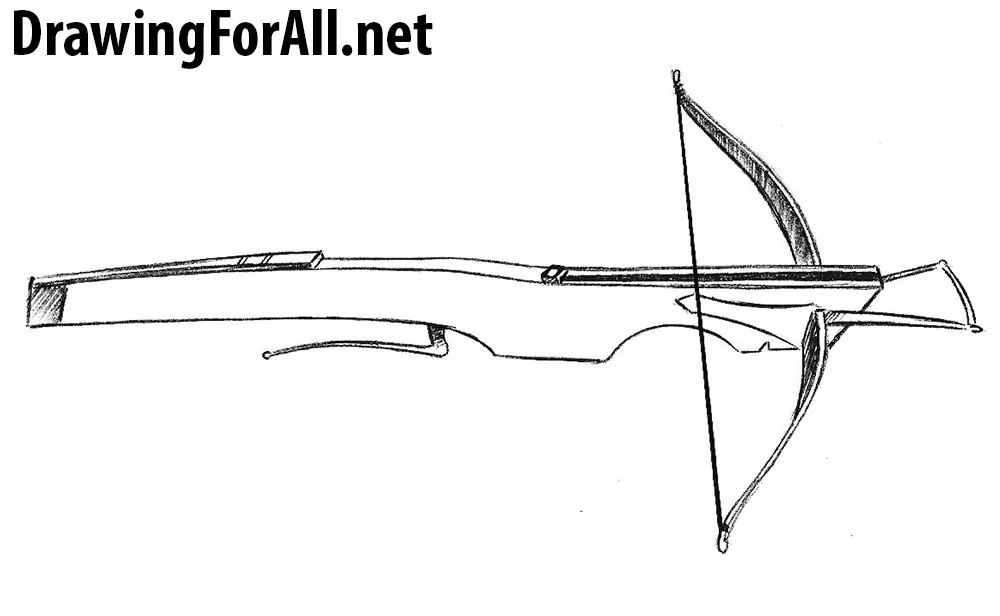
Hello dear readers and welcome to the drawing tutorial on how to draw a crossbow! Crossbow – is a combat and sporting throwing weapons, which in fact is a bow, equipped with special mechanism. As you can see this is classic medieval crossbow, which was used along with two-handed swords and a claymore.
Step 1
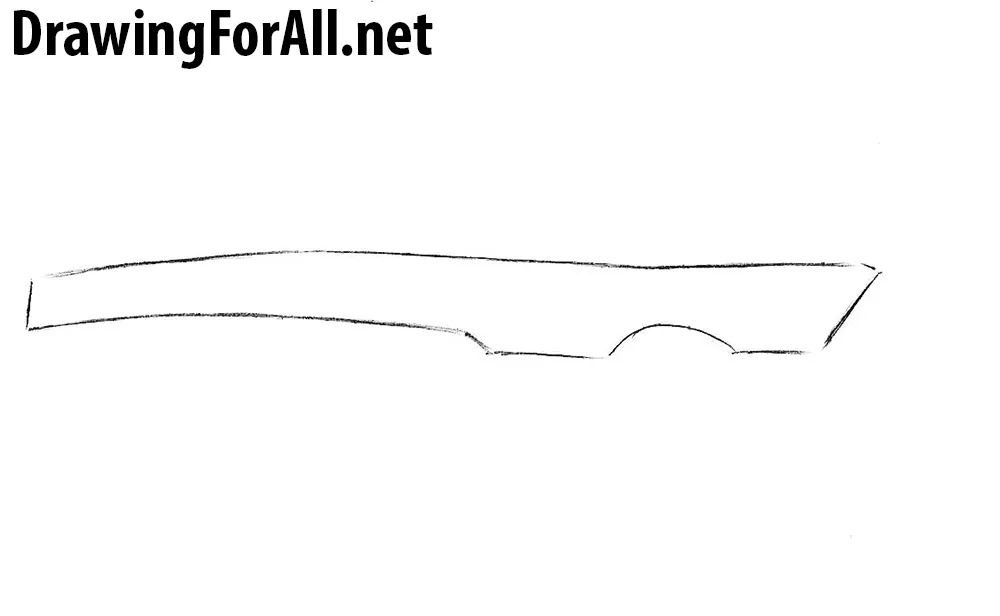
So, first of all outline the general contours of the crossbow as shown in our example.
Step 2
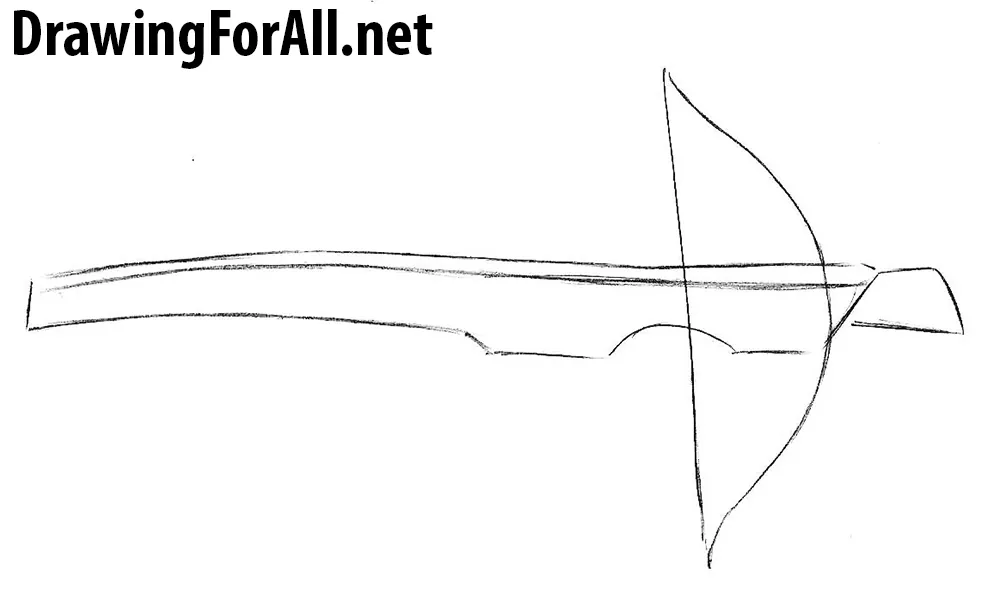
Sketch out the limb, string of the crossbow and cocking stirrup. The general outlines are ready, let’s start adding details.
Step 3
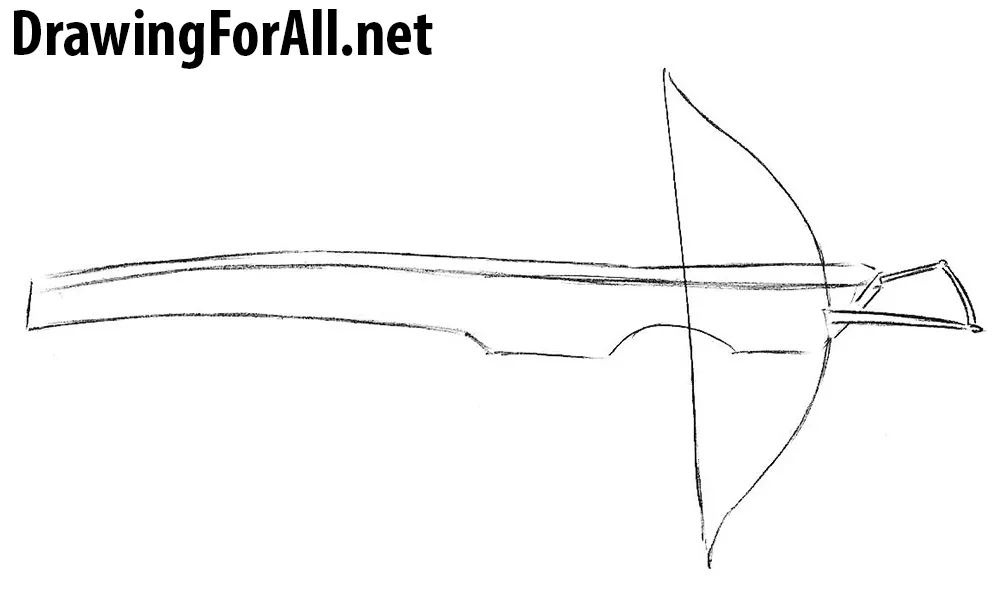
A very short and easy step – carefully draw out the cocking stirrup and front part of the crossbow.
Step 4
Draw out the limb making it detailed and three-dimensional as in our example.
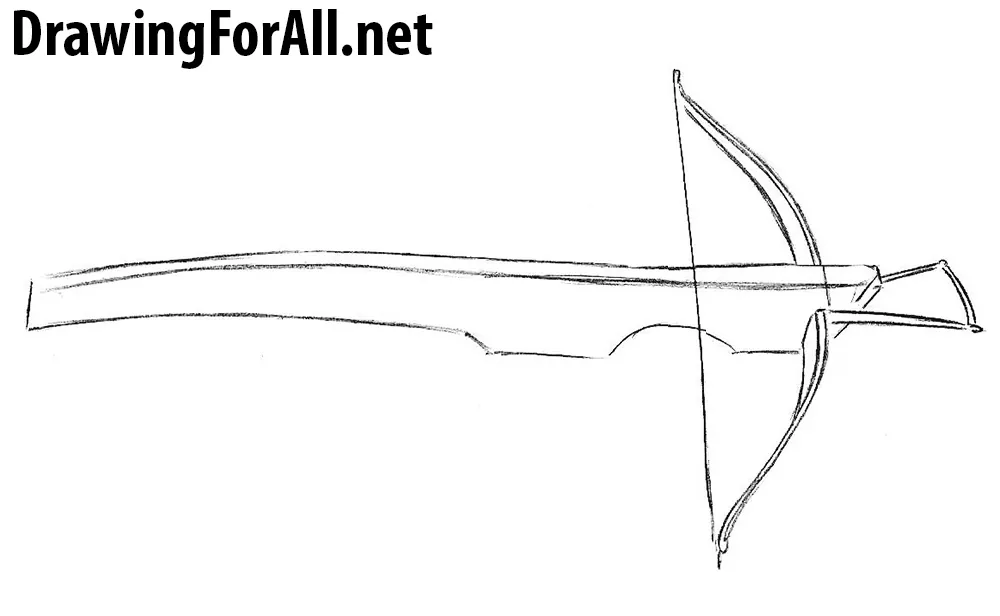
Step 5
Draw out the details at the top such as flight groove and nut. Erase unnecessary lines from the front part.
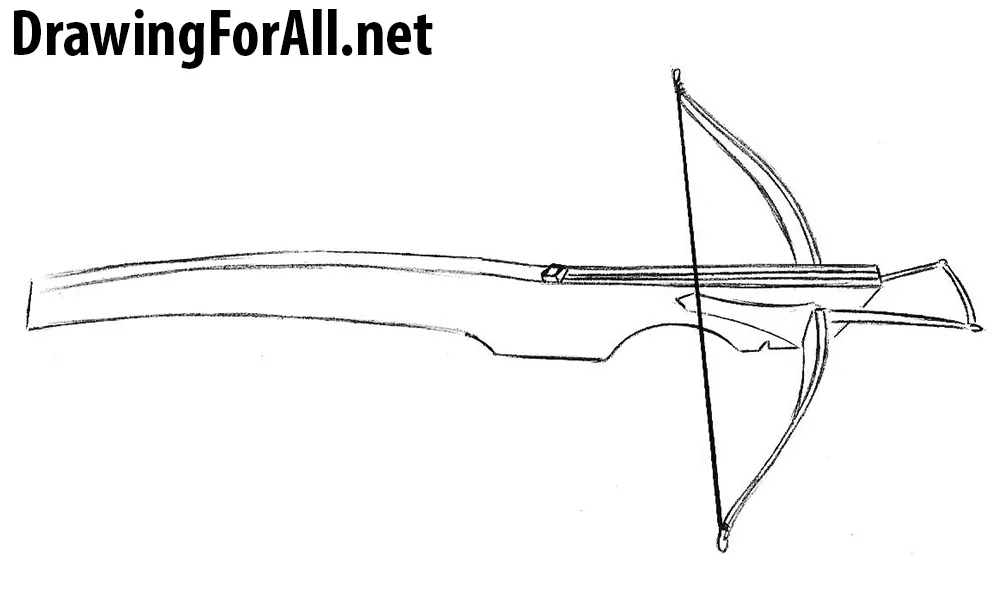
Step 6
Draw out the rear part, consisting of tiller and trigger. Erase all guidelines to make the drawing of crossbow clean.
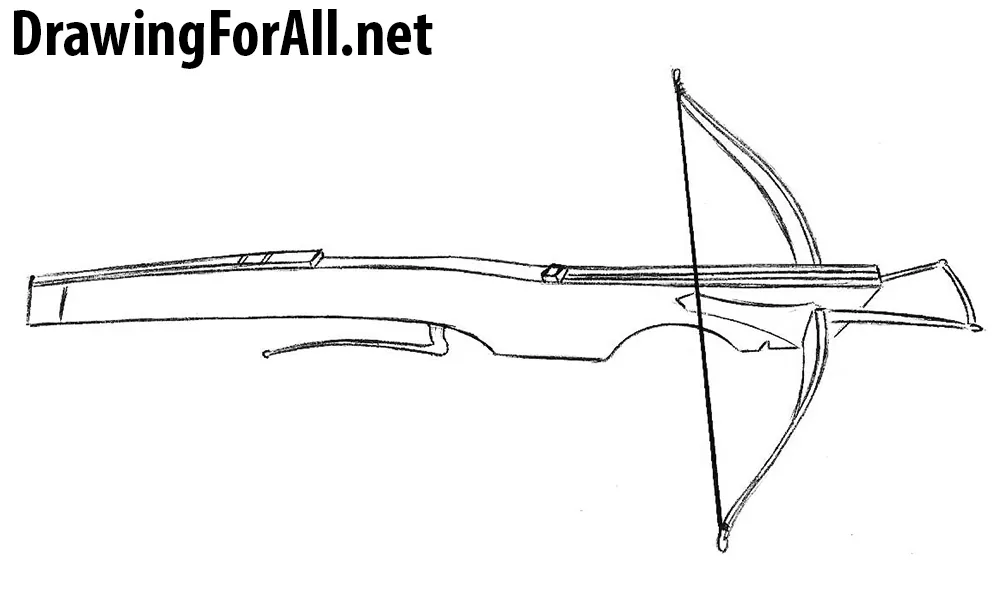
Step 7
Add some shadows using classic hatching.

The lesson about how to draw a crossbow came to an end. Don’t forget that we have a bunch of drawing tutorials dedicated to weapons, especially medieval weapons, such as longsword and flail.



Thank you so much. You’ve helped me with a project for school 🙂