

How to Draw a Cylinder
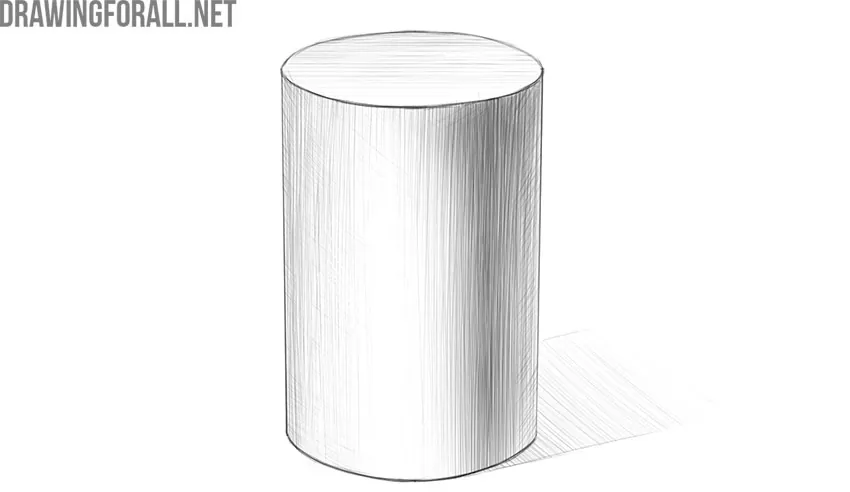
To be able to draw complex objects, you first need to learn how to depict simple shapes. By knowing how to draw a cylinder, you can depict cylindrical objects such as arms and legs.
It should be noted that there are some difficulties in drawing cylinders. For example, this geometric figure may turn out uneven and asymmetrical, and the top and bottom edges may not look natural.
By following the tips in this tutorial and working through the steps of this article, you can learn how to construct a correct and convincing cylinder.
How to draw a cylinder step by step
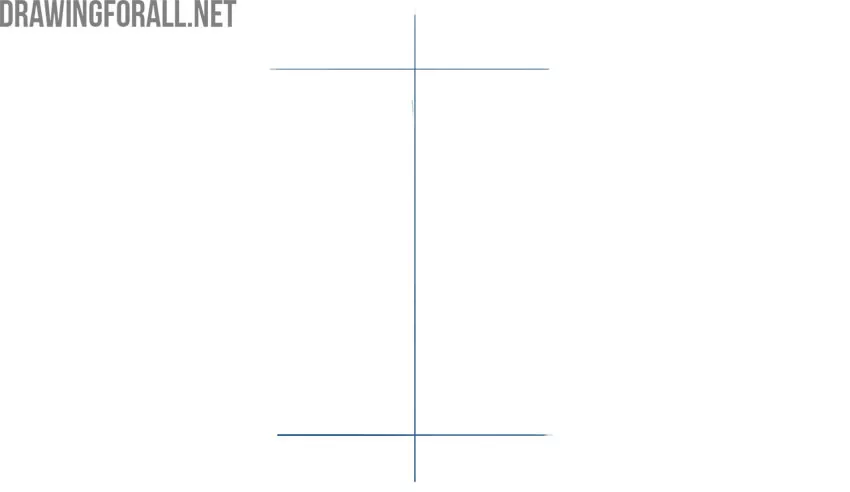
Step 1: Mark the cylinder guides
Drawing a cylinder is very similar to drawing a cone. First, draw a vertical centerline. Then, in the upper and lower parts, draw two horizontal lines that will pass through the upper and lower bases of the geometric figure.
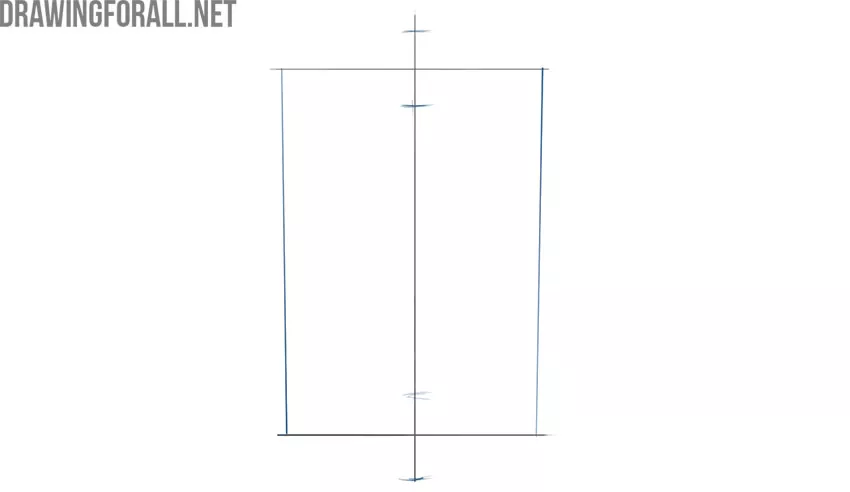
Step 2: Outline the cylinder sides
Connect these horizontal lines on the sides using two vertical lines that will become the side edges of the cylinder. At the top and bottom of the vertical centerline, mark the far and near edges of the upper and lower bases with a couple of simple strokes.
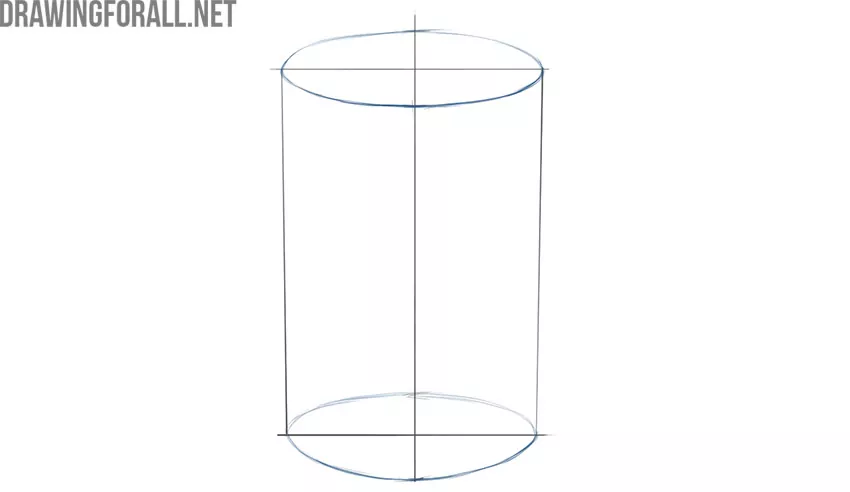
Step 3: Draw the cylinder bases
Now, using the strokes from the previous stage, carefully draw the top and bottom faces of the cylinder. Note that, according to the laws of linear perspective, the top face should be flatter than the bottom. Keep in mind that we are drawing a three-dimensional object, so think of the cylinder as a solid form in space to make the result look natural.
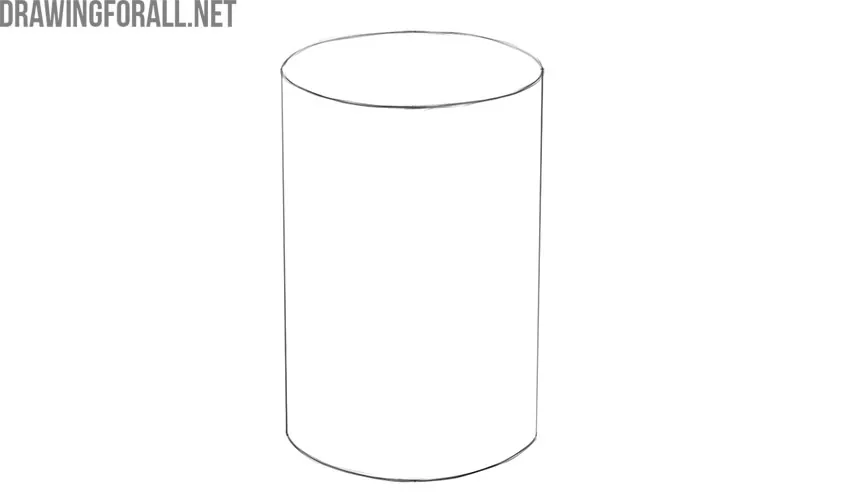
Step 4: Refine the cylinder outline
Now remove the extra construction lines and give the sketch a cleaner and more complete look. If the cylinder drawing does not look symmetrical enough but you cannot see what is wrong, look at it in a mirror, and the mistakes will become more noticeable.
Step 5: Add the first shadows
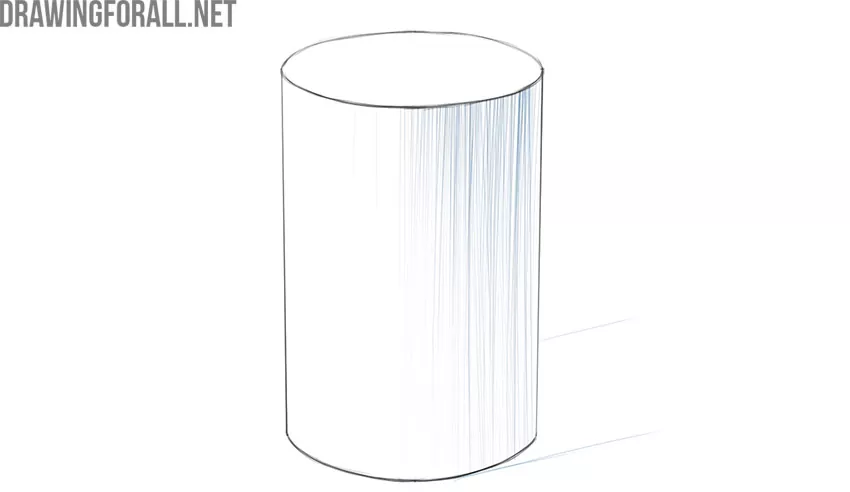
To draw the shadows correctly, keep in mind that we are depicting a three-dimensional cylinder on a flat surface. With this in mind, carefully begin shading the darkest areas, following the rules of drawing light and shadow. Also, do not forget to outline the cast shadow.
Step 6: Deepen the cylinder shadows
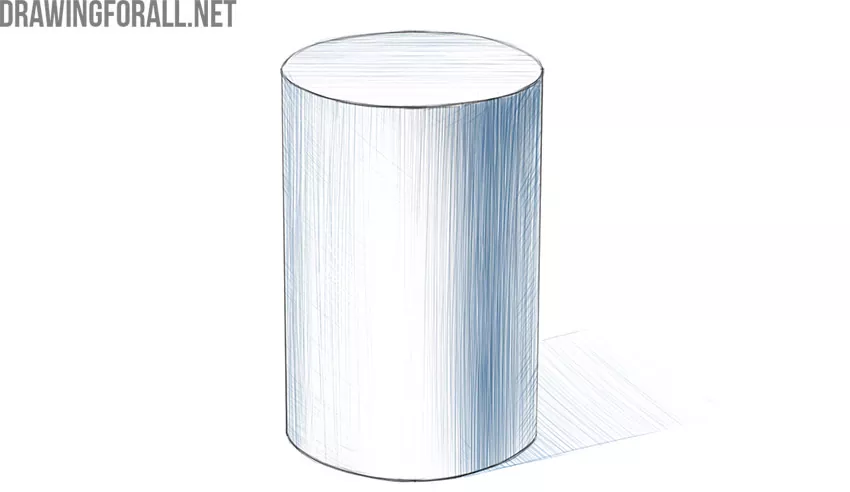
Continue adding shadows, making them denser and darker. To make the cylinder look more three-dimensional, apply the shading according to the form of the geometric figure. In addition to the shadows on the geometric shape itself, add the cast shadow on the surface where the cylinder rests so it does not appear to float in the air.
Step 7: Complete the geometric shape
If you followed all the steps in this cylinder drawing tutorial, your artwork should look similar to the finished result. If you made a mistake, go back to the stage where it happened and fix it.
The cylinder is the basis for many more complex forms. Even when drawing the human body, we use a variety of simple geometric forms. The limbs, for example, can be simplified into modified cylinders.
For this reason, learning to construct cylindrical forms correctly and add shadows that show their volume is an important part of drawing both the human figure and the objects around us.
So, keep everything we covered in this tutorial in mind and use these drawing basics to construct more complex forms. Then move on to organic forms, using cylinders and other simple shapes to build arms, legs, and more complex parts of the human body.





nice tutorial 🙂
Very nice 👍👍👍🙂🙂 thanks for the nice help
nice