

How to Draw a Cone
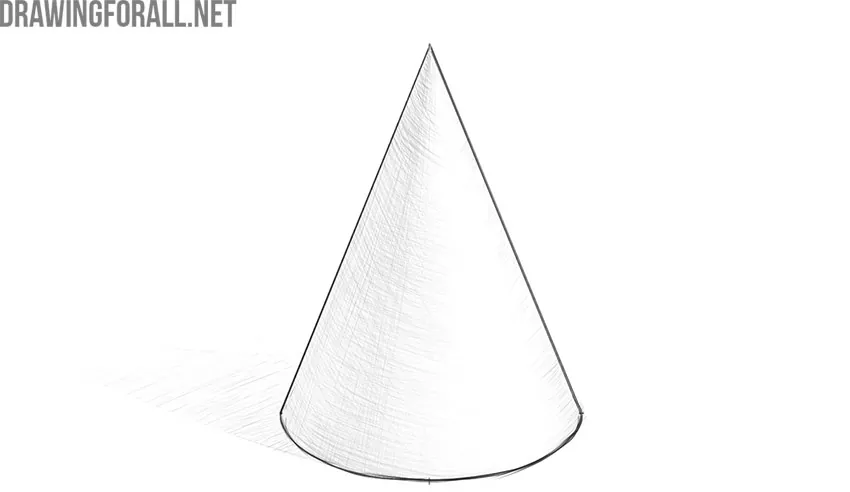
Having learned how to draw a cone, you can not only more easily depict objects close in shape to this geometric figure, but also practice drawing shadows.
This geometric shape is clearly more difficult to draw than drawing a ball, but with the fairly simple steps below, you can learn how to construct this geometric shape quickly and accurately.
How to draw a cone step by step
Step 1: Mark the cone guides
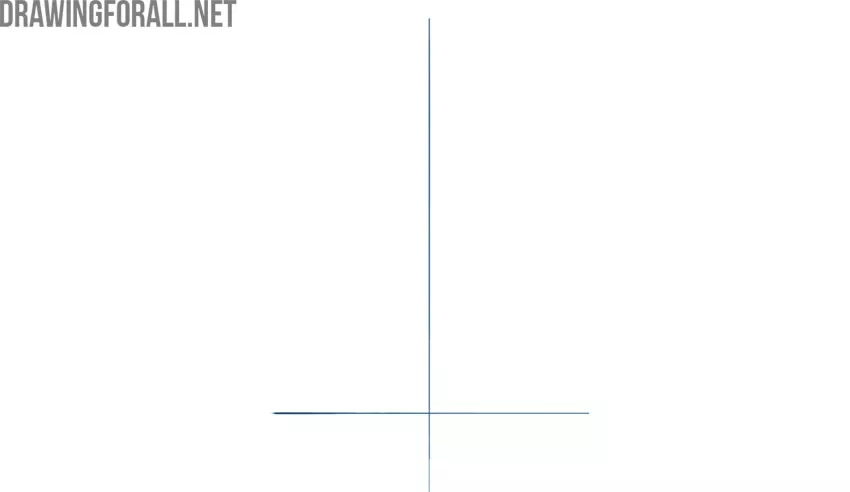
First, draw a horizontal line that will run through the center of the base of the cone. Next, from the center of this line, draw a long vertical line that will be the central axis of the geometric shape. These are just preparatory lines, so they should be barely visible.
Step 2: Draw the side edges
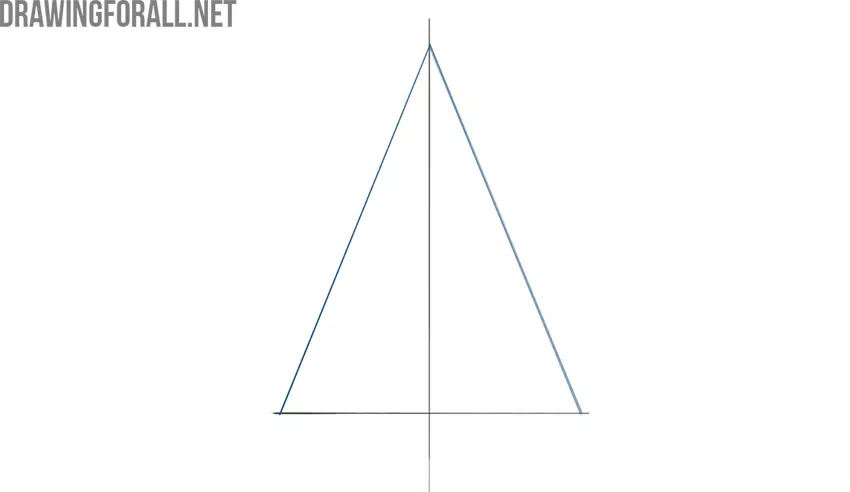
Now draw two lines that start at the top of the vertical line, extend down to the sides, and meet the horizontal line at equal distances from the center. Make sure the cone looks even and symmetrical.
Step 3: Outline the cone base
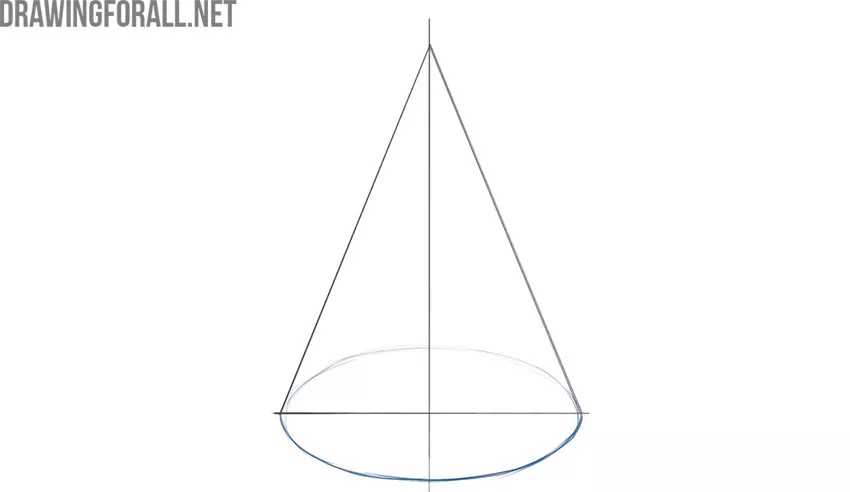
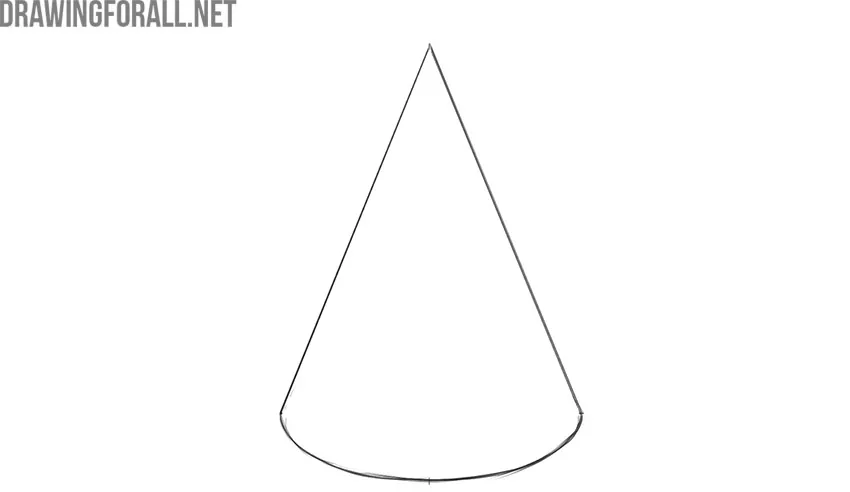
This stage will be a little more difficult. Using very smooth lines, draw the base of the cone, which looks like an ellipse. The front part of the geometric figure visible to us should be darker than the part hidden from view. To check the symmetry of the sketch, look at it in a mirror.
Step 4: Refine the cone outline
Now, with the help of an eraser, remove all the unnecessary construction lines created in the first steps. If the cone does not look even enough, carefully correct the required areas. If everything looks correct, proceed to the next stage, where we will start drawing shadows.
Step 5: Shade the cone
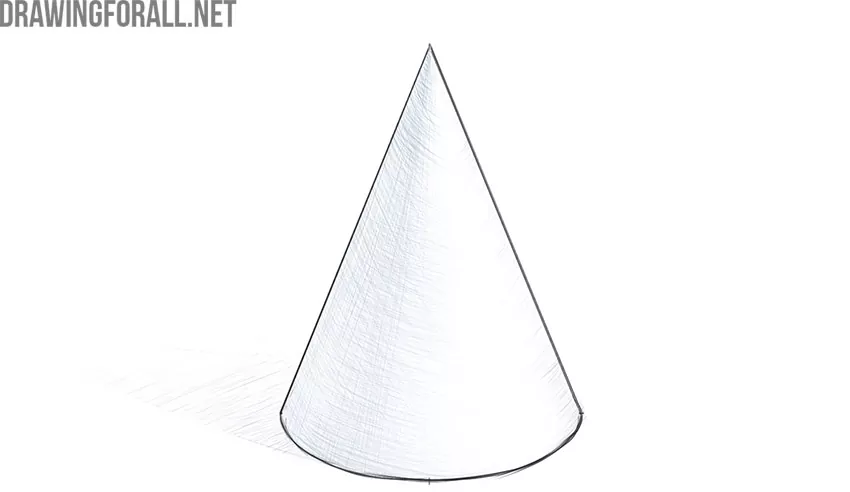
As with the ball and a cube, shadows must follow the shape of the cone so that this geometric figure looks three-dimensional. To learn how to depict shadows correctly, visit our detailed article about drawing light and shadow.
Step 6: Complete drawing the cone
Check your artwork carefully. If you have made any mistakes, correct them by returning to the point where the mistake was made.
If you did everything right and your cone drawing looks good, do not stop practicing. To draw like a real artist, you need to practice often.
Draw the cone from different angles and in different lighting. To make practice easier, you can buy a gypsum cone or make one from a sheet of paper.
Try to create more complex compositions using simple geometric shapes. For example, draw a cube or sketch a sphere in the background or foreground. Make sure that all these shapes are placed on the same plane and have convincing tonal and size relationships.


