How to Draw a Monocular
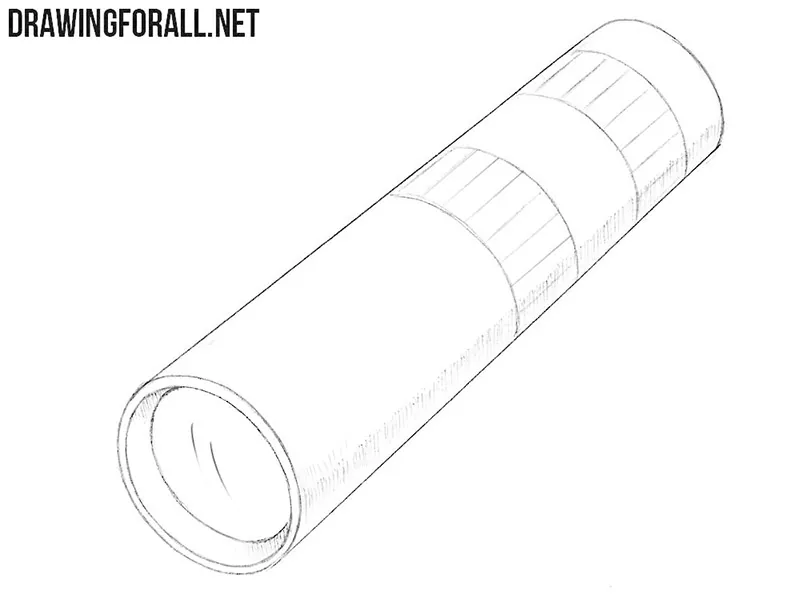
A monocular is a very simple optical device to draw because its basic shape is essentially a cylinder with a few additional details. In this tutorial, we will show you how to draw a monocular and gradually give this simple cylindrical form a more realistic and believable appearance.
The drawing consists of only a few steps. At the end, we will add shadows to show the volume of the body and highlights to convey the glass surface of the lens.
How to draw a monocular step by step
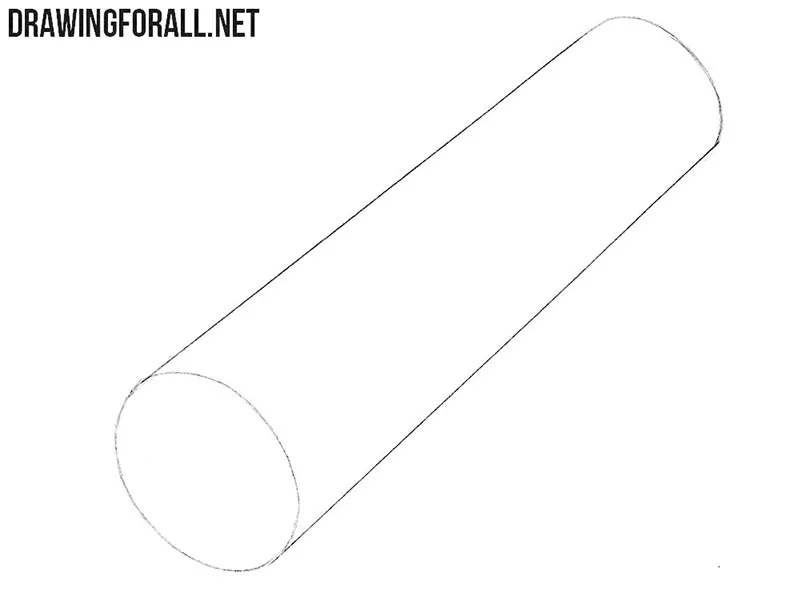
Step 1: Draw the cylindrical body
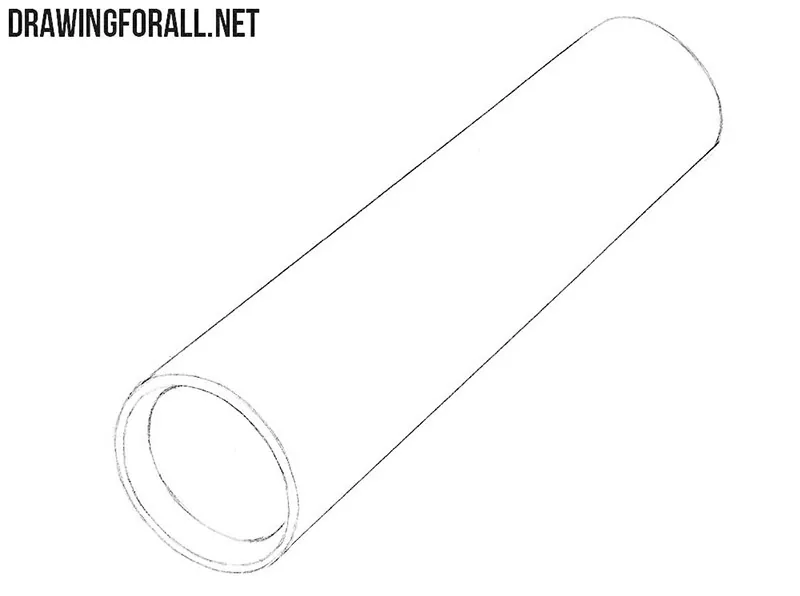
We begin many drawing tutorials by drawing a simple cylinder, and this instruction is no exception. To draw the cylinder correctly, first sketch two simple straight lines. Then, on one side, draw an oval, and on the other side, add a C-shaped curve. Keep these lines fairly light because we will add more details in the next steps.
Step 2: Add the front lens
Now let’s turn this simple cylinder into something more like a monocular. To do this, depict the outlines of the front section and draw the lens inside it. Use smooth curved lines. The new details should be at the same plane as the main cylindrical body. At this stage, the general shape of the monocular should already be finished.
Step 3: Draw the focusing ring
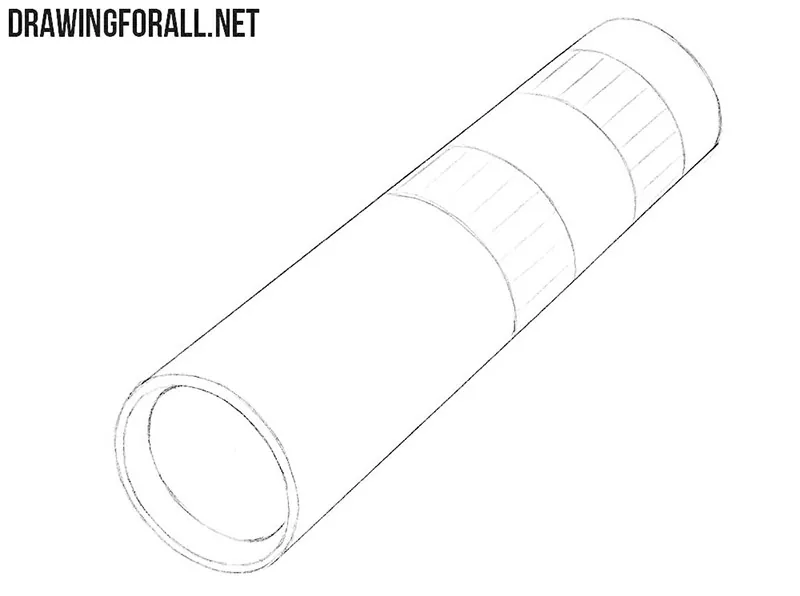
Now add the focusing ring around the body of the monocular. Draw it with several simple transverse and longitudinal lines. This will help show its textured surface. The ring shout follow the cylindrical form of the optical device. You can also refine the remaining contours before moving to the final stage.
Step 4: Add shadows and highlights
The monocular drawing is almost complete, and we just have to make it look more dimensional and finished. Add shadows to the body with light hatching, placing them mainly on the areas that receive less light. Then draw a few highlights on the lens to show its glass surface.
Drawing other optical devices
Above, we showed you how to draw a monocular using four elementary steps. But using similar principles, you can also sketch a telescope or even draw binoculars by adding a second optical tube and connecting the two parts together.
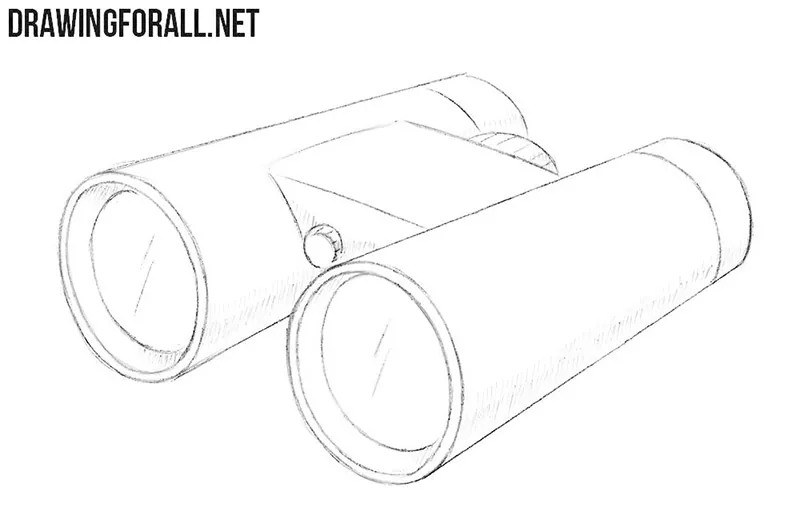
Optical devices of this type can have very different shapes and details. Try making the body longer or shorter, change the shape of the focusing ring, or draw the monocular from another angle.
Using very similar principles, you can draw a telescope, which also has a long cylindrical body but a more complex construction. Or draw a spyglass, another simple optical device with an even more characteristic elongated shape.
You can also place the monocular in the hands of a sailor, traveler, or another character. This will turn a simple drawing of a separate object into part of a more complete scene.