How to Draw Scissors
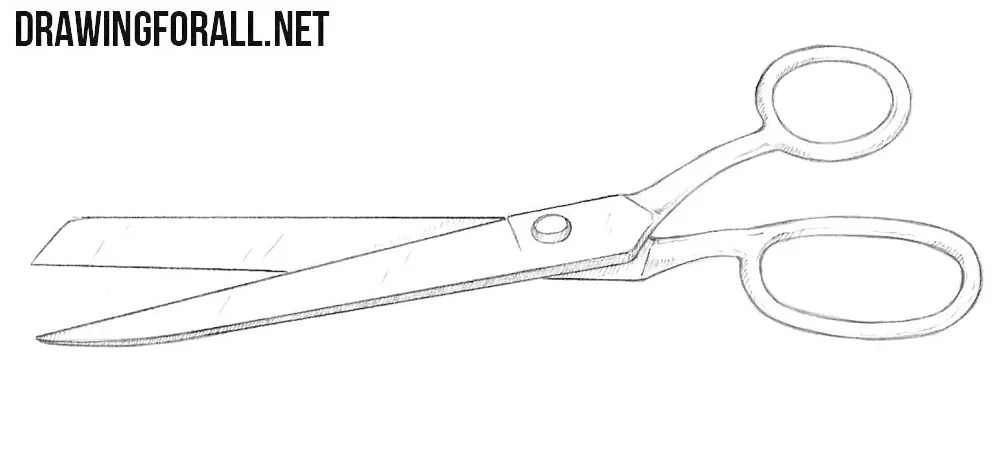
Scissors are one of those objects that can be surprisingly easy to draw incorrectly if you do not know the right approach. In this tutorial, you will learn how to draw scissors using a very simple but effective method.
We will show you how to construct the blades and handles one at a time, first with simple forms, then refine the details and add basic shadows and highlights.
How to draw scissors step by step
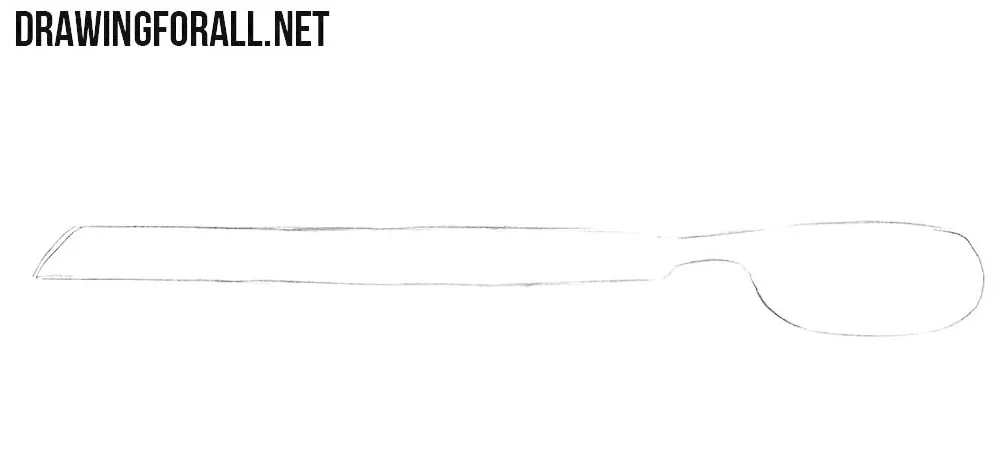
Step 1: Sketch one blade and handle
Scissors consist of two blades. First, sketch one blade and its handle, including the outline of the finger hole. Position the blade horizontally with its tip pointing to the left and the handle on the right. Use two long, almost parallel lines for the blade, and join them at the tip with a short slanted line.
Step 2: Sketch the other scissor half
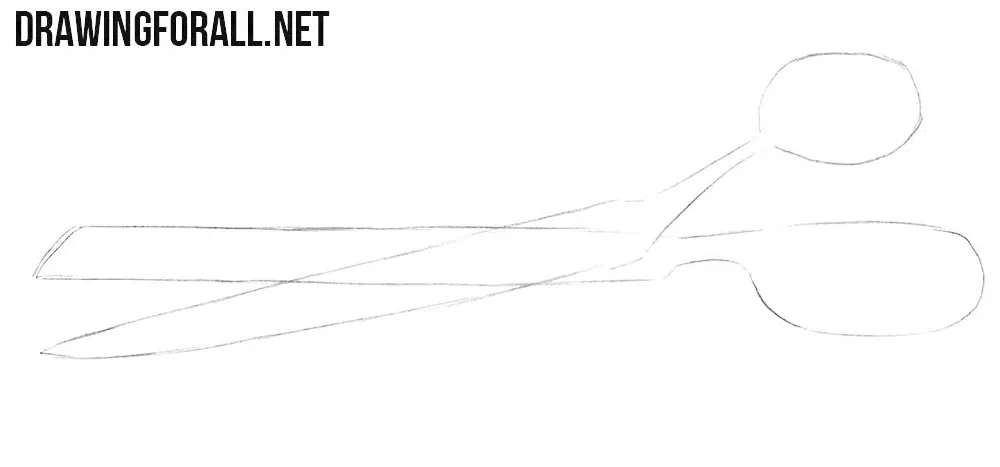
Now draw the other half of the scissors, which also consists of a blade and a handle with a finger hole. Both halves should cross at one common point. This is where the screw and the axis of rotation will be located. The basic scissors sketch is complete, and next we will refine the details.
Step 3: Refine the blades and screw
Trace the blades with clear, dark lines. Draw their edges and the screw holding them together. Treat each blade as a thin, flat piece of metal. Add a second line just inside the lower contour of the front blade to mark its narrow bevel. Define the angular base of this blade near the handles, and place the screw on its broad surface.
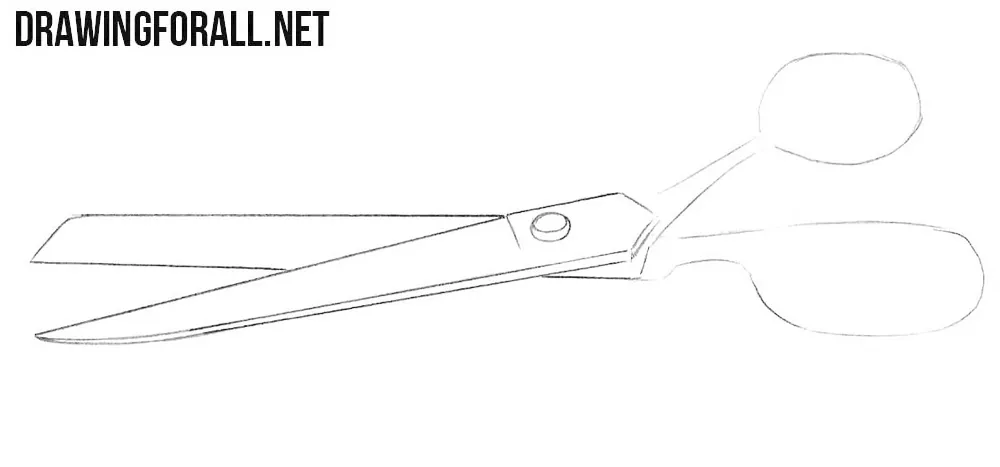
Step 4: Refine the handles and holes
Now continue the lines of the blades to carefully outline the scissors’ handles. Next, draw the finger holes. They can be the same size or different sizes. For this shape, make the upper hole nearly circular and stretch the lower hole horizontally. Follow each loop’s outer contour with a smaller closed curve inside it. Remove the remaining light sketch lines around the handles and their openings.
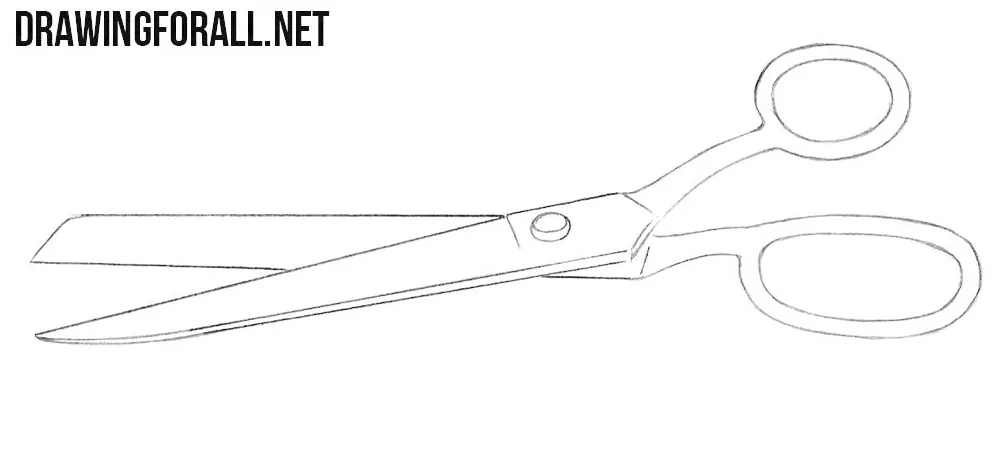
Step 5: Add shading and blade highlights
To make the scissors look more realistic, add shadows using hatching and indicate highlights on the blades with short strokes. Shade the narrow bevel along the lower edge of the front blade with closely spaced strokes. Darken the small overlapping areas near the pivot and the lower side of the screw head. Add light hatching along selected sections of the finger holes’ inner edges and the curves where the loops meet the handles.
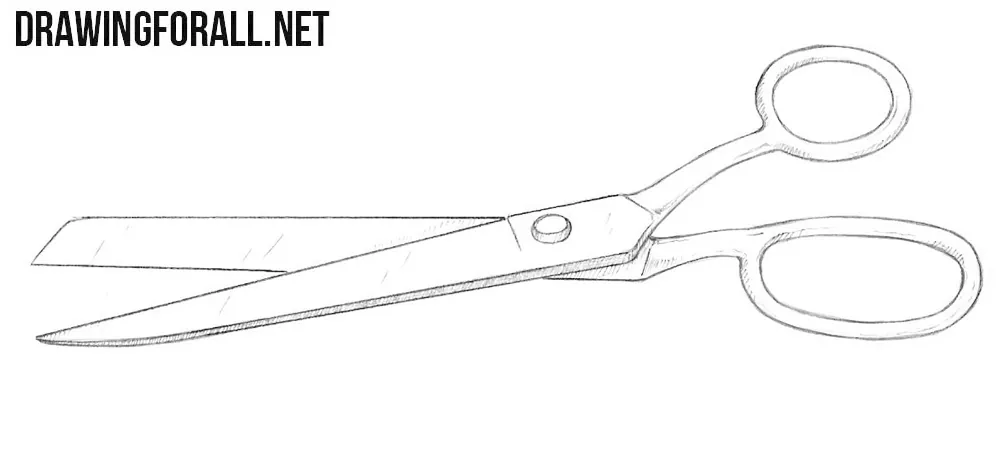
Scissors are a fairly complex subject because when drawing them, you need to maintain the proportions and symmetry of two separate halves, each of which has its own details.
If you want to start with something simpler, try drawing a kitchen knife, which is similar in drawing method to one half of a pair of scissors.
You can also combine these objects in a single simple composition. Arrange knives, scissors, spoons, and other objects in still lifes, and add food, cups, and drinks as well.