How to Draw a Grill
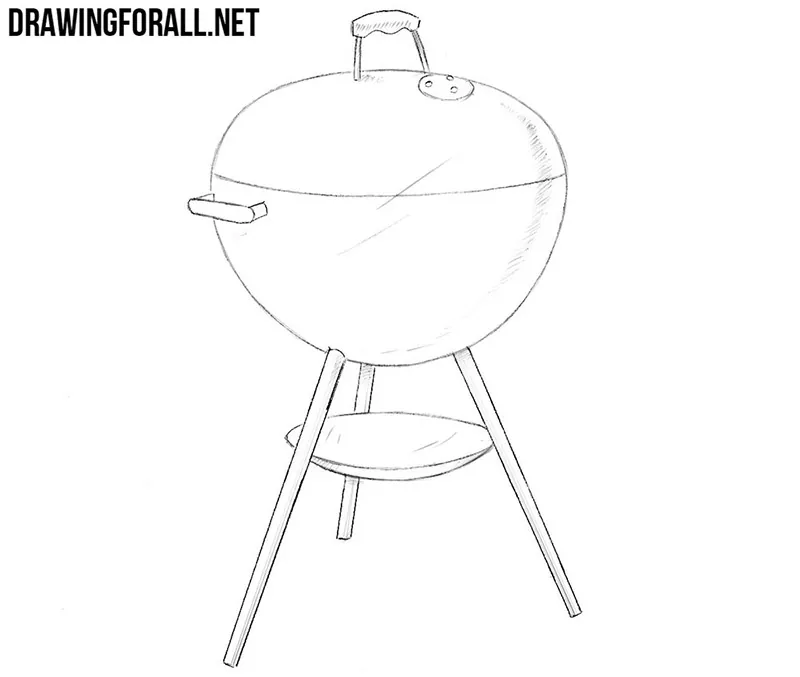
If you looked at the preview of our article, you probably thought that today we will draw a UFO. By the way, do you believe that?
In fact, today there will be a slightly different topic for this drawing lesson. As you can see, today we will tell you about how to draw a grill.
We drew a lot of things that are cooked on the grill, but we didn’t draw the grill itself. Let’s start drawing to correct this injustice!
Step 1
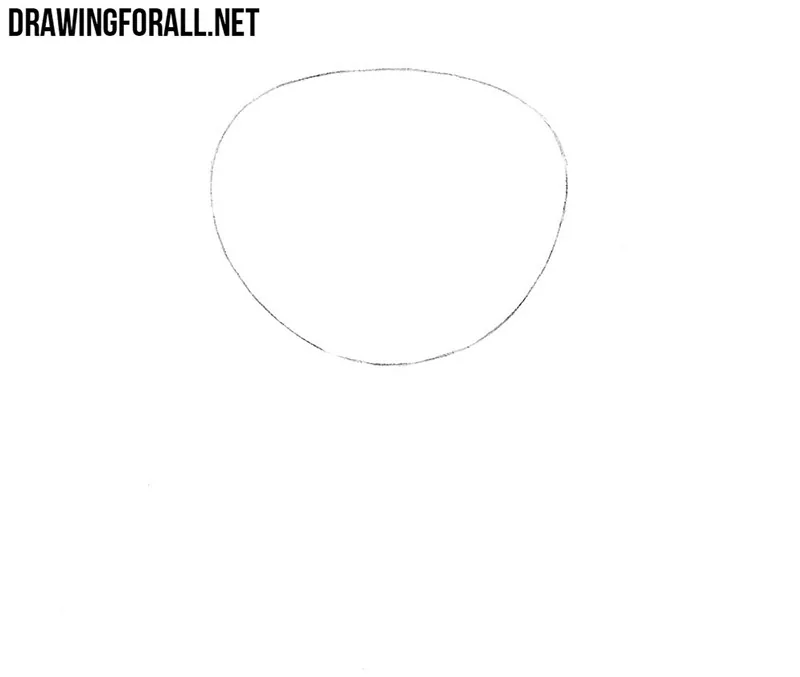
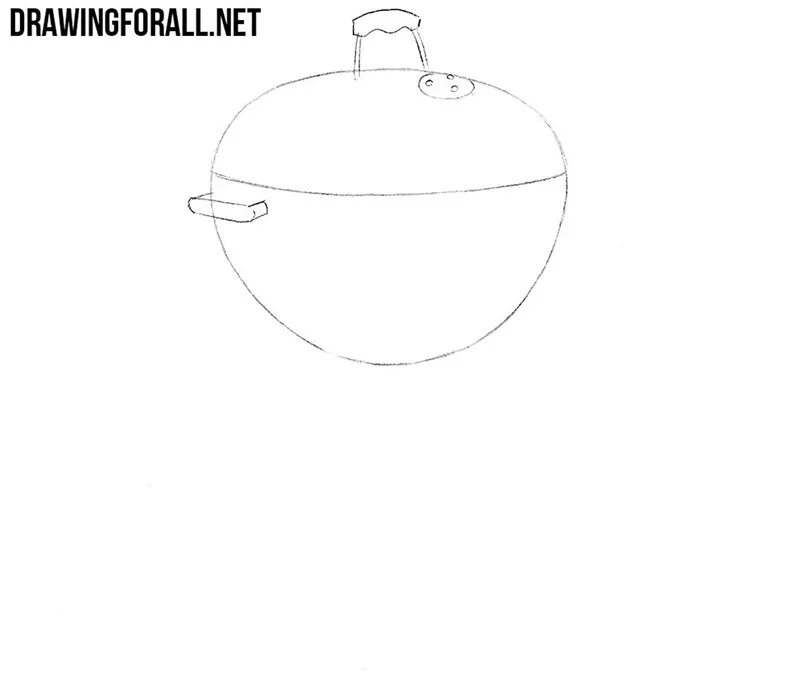
First, draw a rounded object.This figure has a smooth narrowing downwards. By the way, these are the contours of the grill bowl. Position this shape in the center of the paper.
Step 2
Let’s draw the handles for our grill. You can see one handle that is located on the lid of the grill. The second handle is located on the side. The upper handle is a larger piece. Do not forget to draw three small circles in front of the handle that is located on the lid of the grill.
Step 3
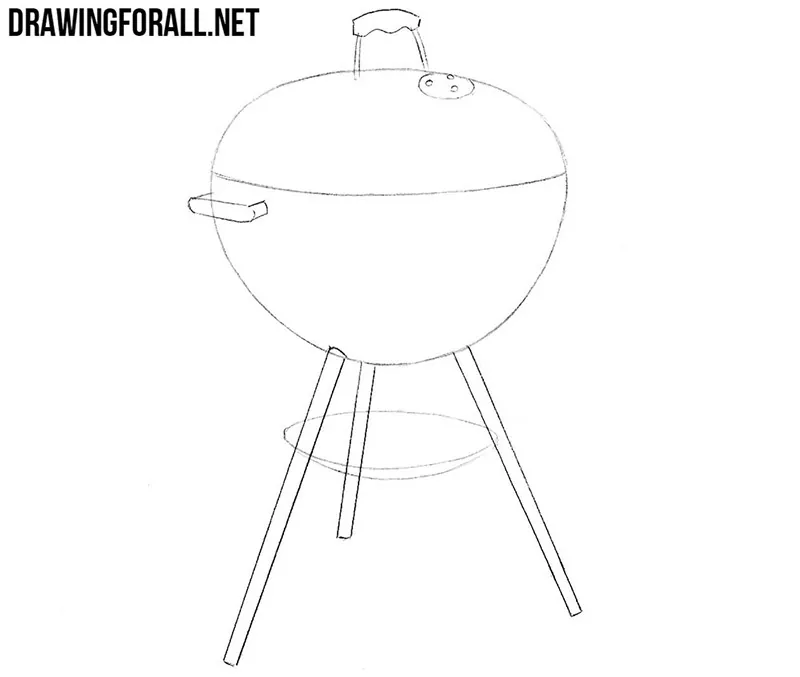
Let’s draw the pillars of our grill. The back pillar should be shifted to the side. As you can see, the pillars are of different lengths. In fact, this is due to the angle.
Step 4
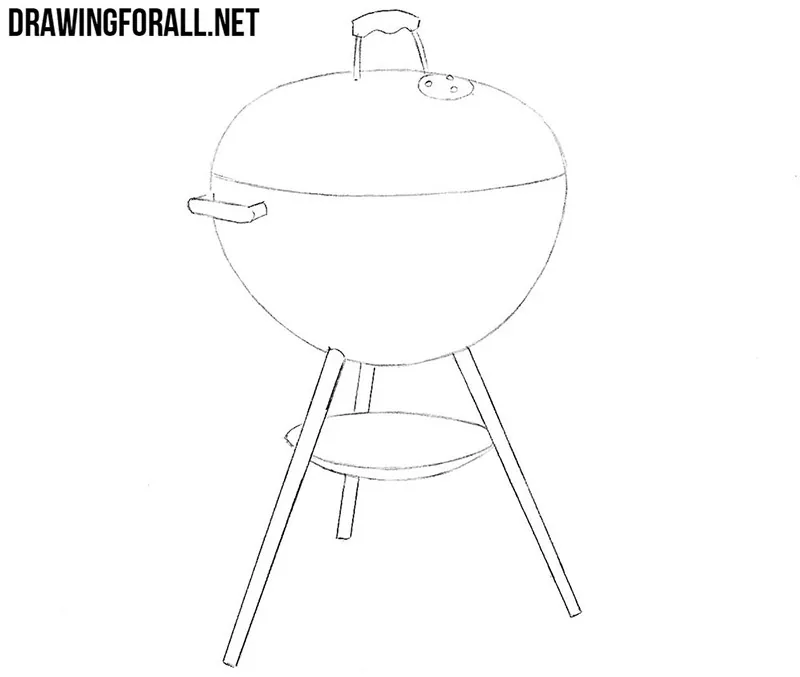
So we continue the grill drawing guide. We erase the extra lines that are inside the contours of the handles and stands from the bottom. Circle the whole grill with clear, confident lines.
Step 5
As you can see, we are at the end of the guide on how to draw a grill step by step. And in this step we will make this drawing more voluminous and realistic. To do this, we of course use the shadows that will be applied with the help of the classic hatching lying in places hidden from the light.

As already mentioned, we are really often received comments about it would be cool to see a lesson about how to draw grill on the pages of Drawingforall.net, and we certainly could not fail to fulfill this request. Do not forget to write us about your new wishes. We will be happy to assist you in your progress.


