

How to Draw a Treasure Chest
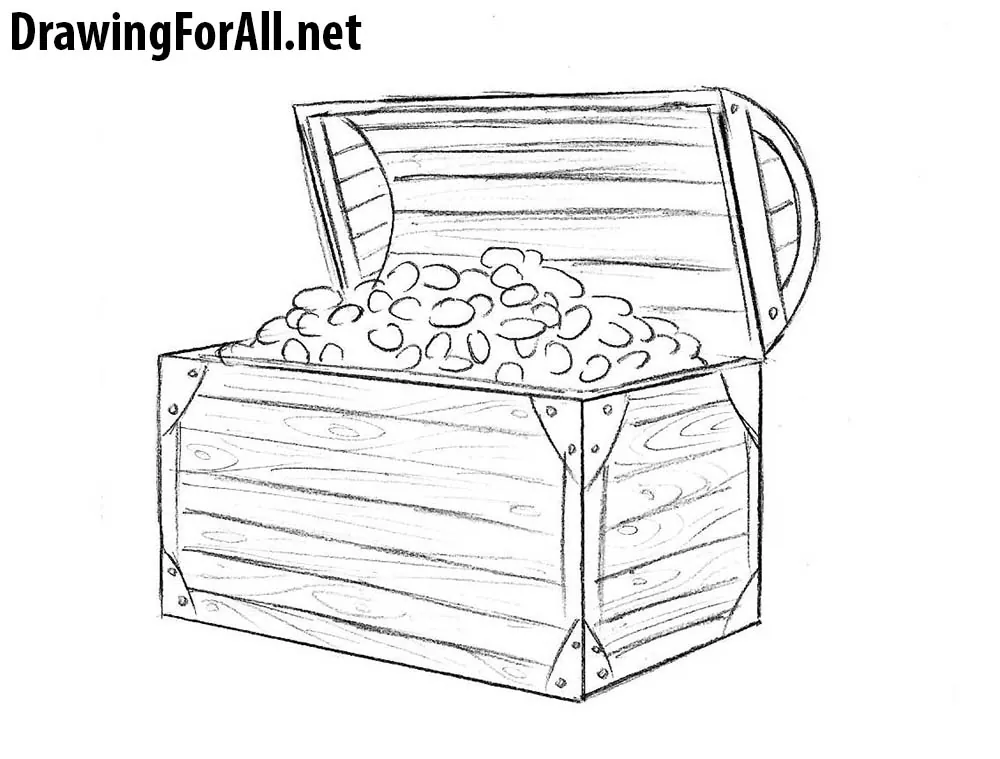
Learning how to draw a treasure chest becomes much easier once you understand that its basic form is a cube and that every part is built around it.
In this step-by-step tutorial, we will show you how to construct a treasure chest correctly, draw a convincing wood texture, and add all the necessary details using a very simple method.
How to draw a treasure chest step by step
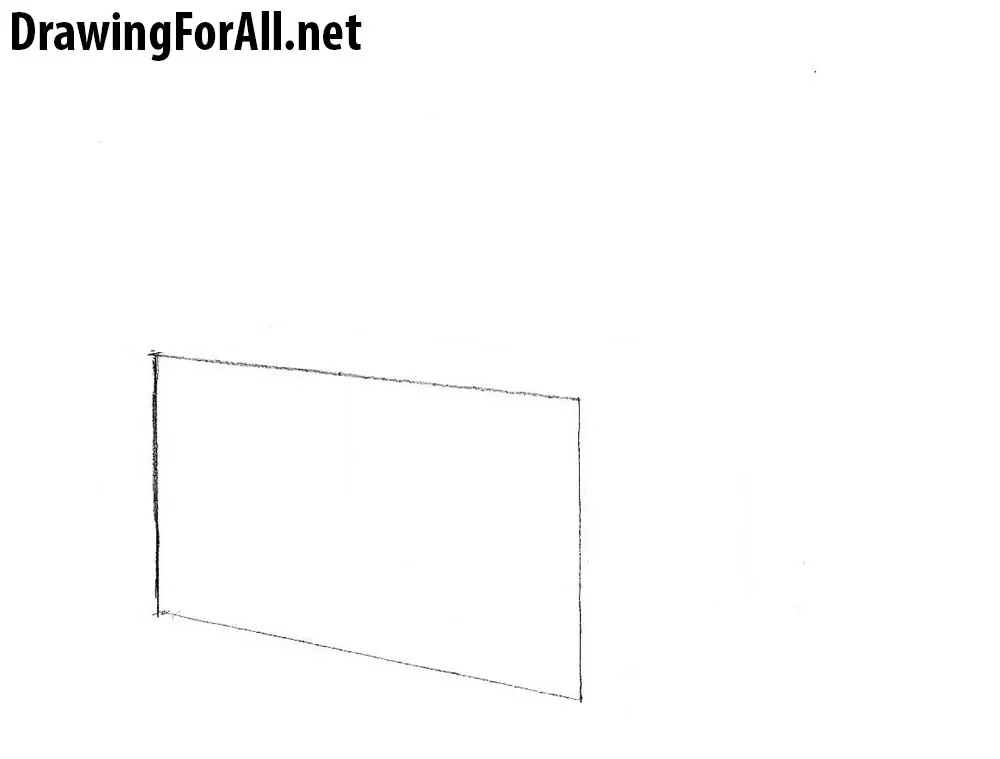
Step 1: Sketch the first parallelogram
First, draw a regular parallelogram, a figure whose opposite sides are parallel. If possible, draw the lines without a ruler. You can use a ruler to create perfectly straight lines, but practicing without one will help improve your drawing skills.
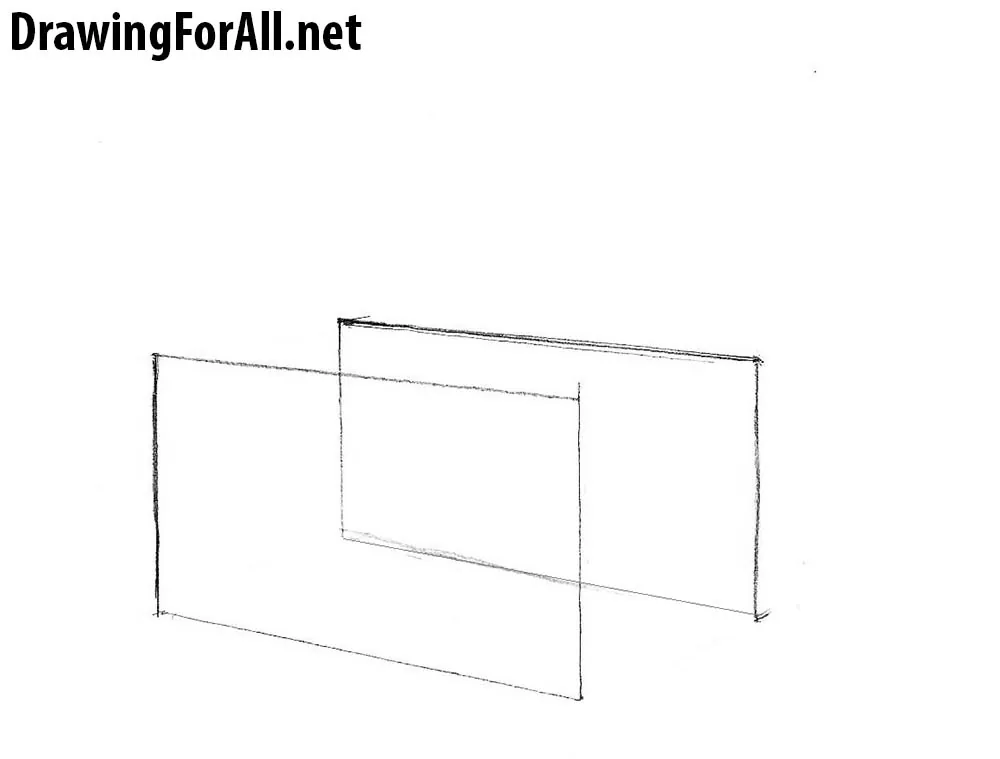
Step 2: Add a second parallelogram
Now draw a second parallelogram of the same size next to the first. Position it carefully to create a three-dimensional effect. We chose a rather unusual way to begin this treasure chest drawing.
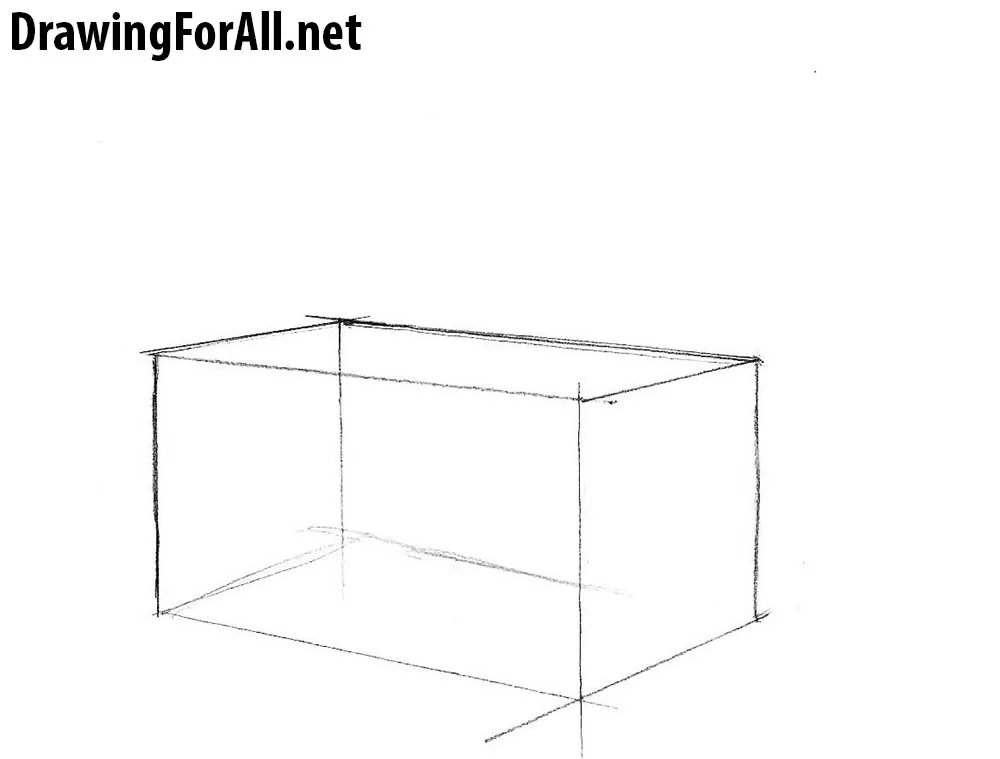
Step 3: Connect the chest edges
Connect the two parallelograms with several new lines, as when drawing a box. Your treasure chest should resemble a transparent rectangular form at this stage.
Step 4: Shape the curved lid
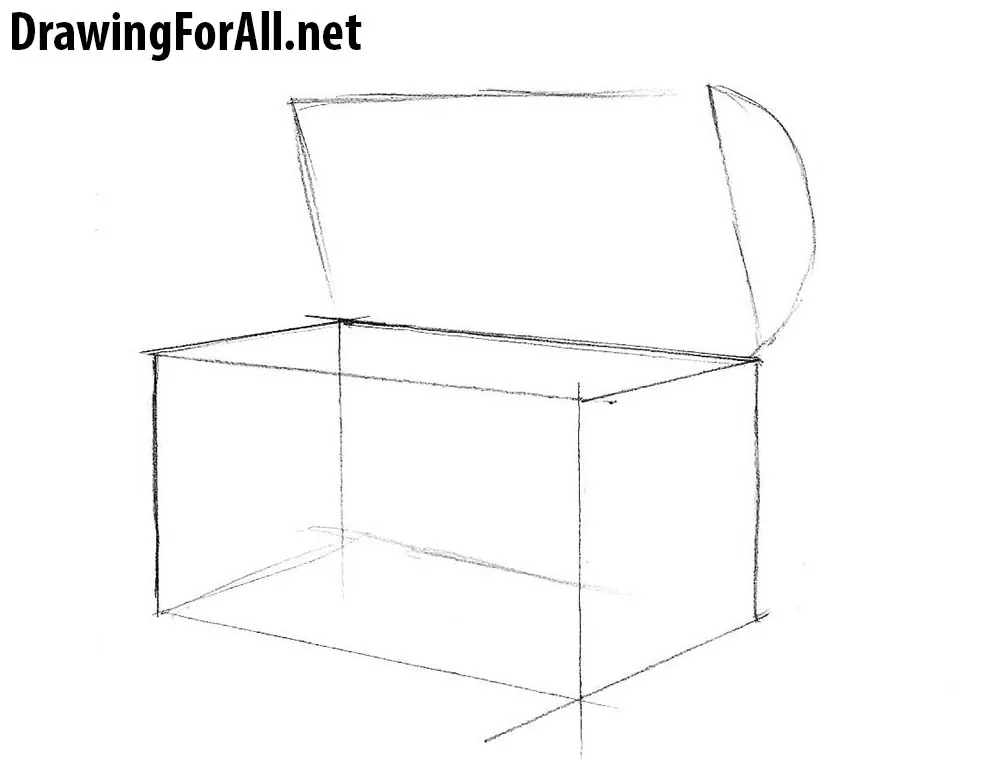
Draw the treasure chest lid. Form it with a rectangular block and a semi-oval.
Step 5: Refine the open chest
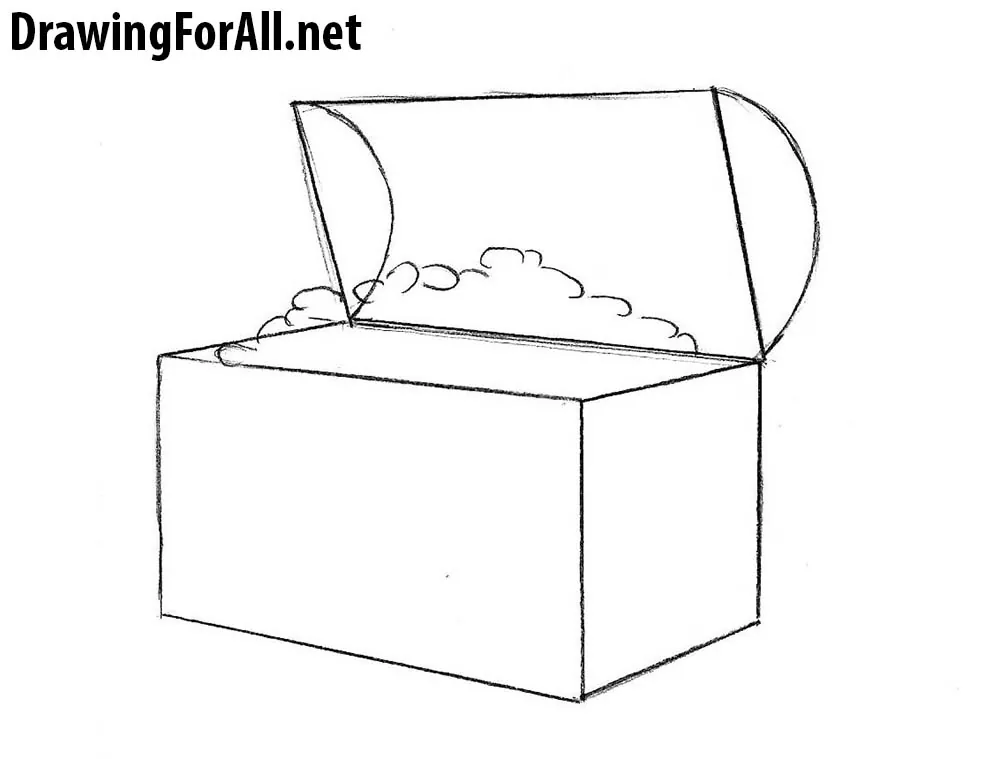
Erase the extra guidelines. Draw another, smaller semi-oval on the other side of the lid. Refine the chest with confident, crisp lines. Also, remember to sketch the pile of coins inside it.
Step 6: Add boards and fittings
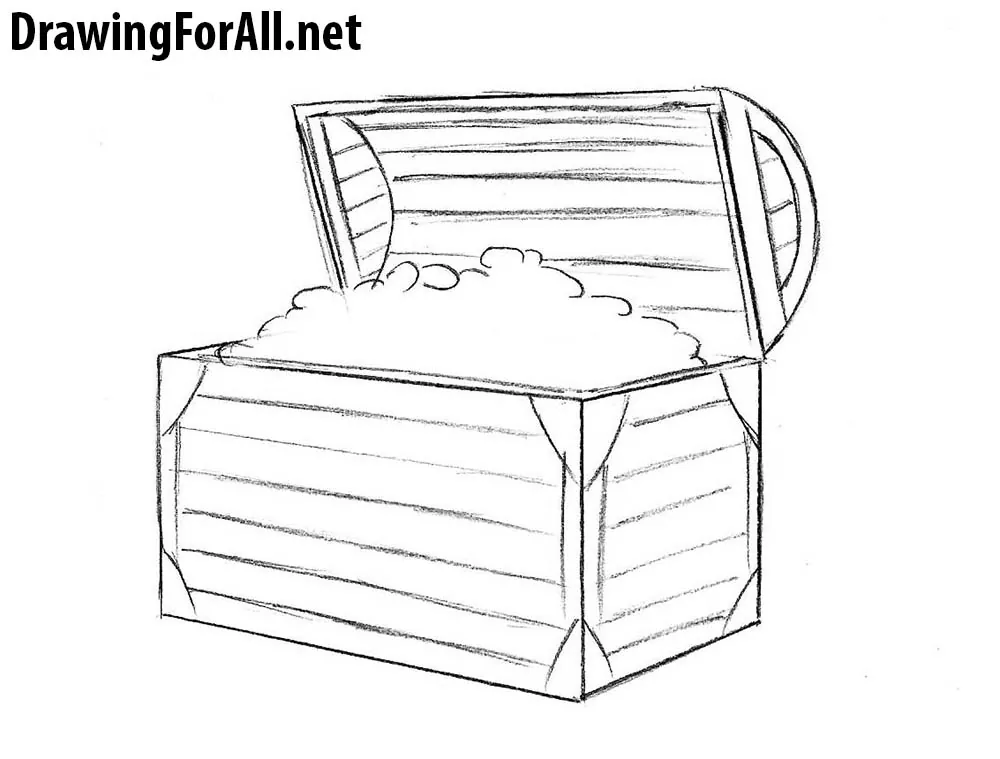
Draw the outer edges of the chest and add the lines of the wooden boards. Then draw the metal fittings at the corners and remove all unnecessary guidelines.
Step 7: Finish the chest details
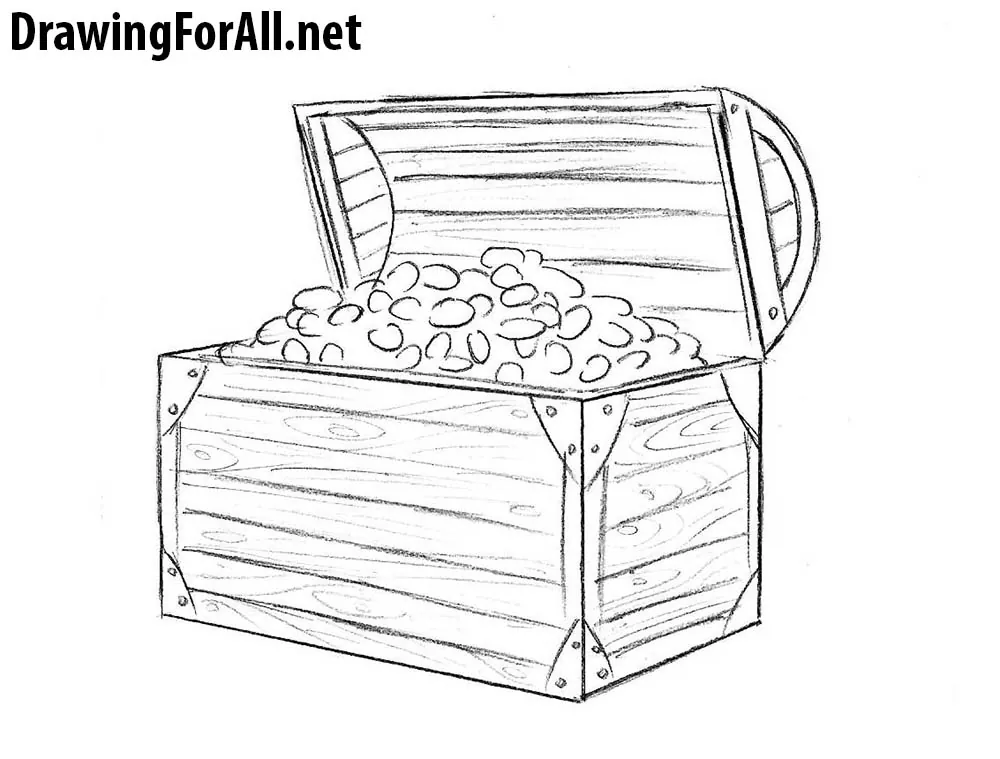
Draw oval coins and rounded nails. To complete the treasure chest, add a natural wood grain pattern to its surfaces.
If the overall construction in this tutorial feels challenging, be sure to visit our tutorial on drawing a cube. There, we explain how to draw cubic forms, build them step by step, and add shadows to create a convincing sense of volume.


Yeet
Yeet yeet
I tried but realized that this was cool so I stopped.
yeeeeeet
Thanks
Thank you! I really needed this to help make something for a friend.
that works out grate
can you actually leave comments that help or give tips?
This helped me so much! Thank you for doing this, it looks so pretty,thank you for our help this helps me through quarantine I want to learn more! – Ava
yeeeeeee