How to Draw a Flashlight
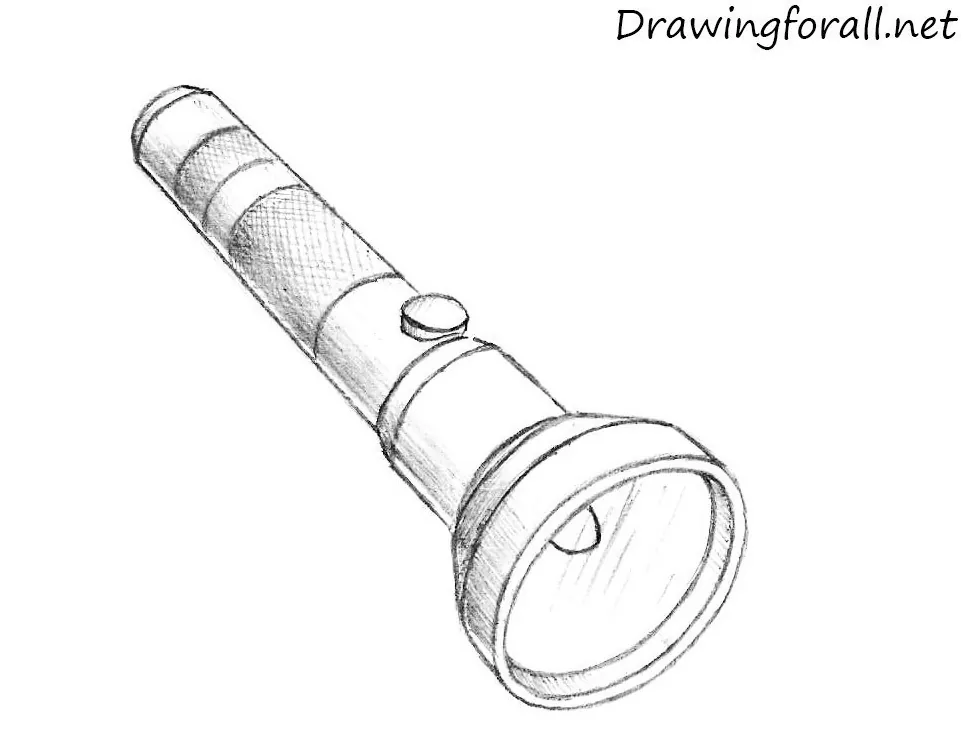
Hello everyone! Today we will tell you how to draw a very important and useful thing – a flashlight. There are lot of types of flashlights – military flashlights, for miners and others. But we will draw a regular flashlight which is available to any citizen. Let’s begin this lesson and learn how to draw a flashlight!
Step 1
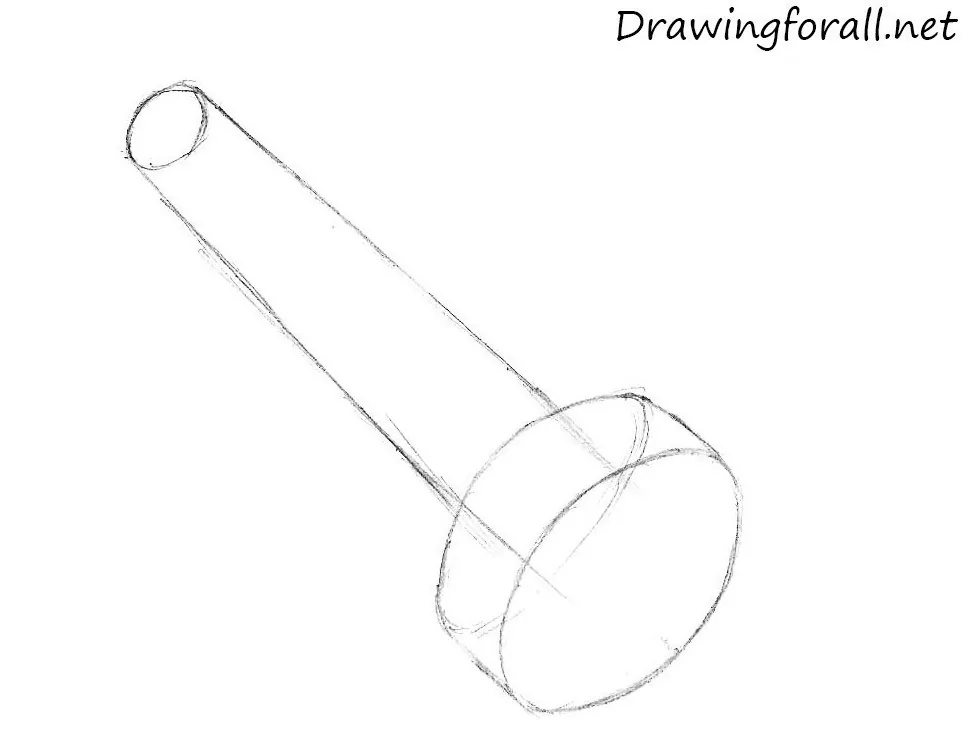
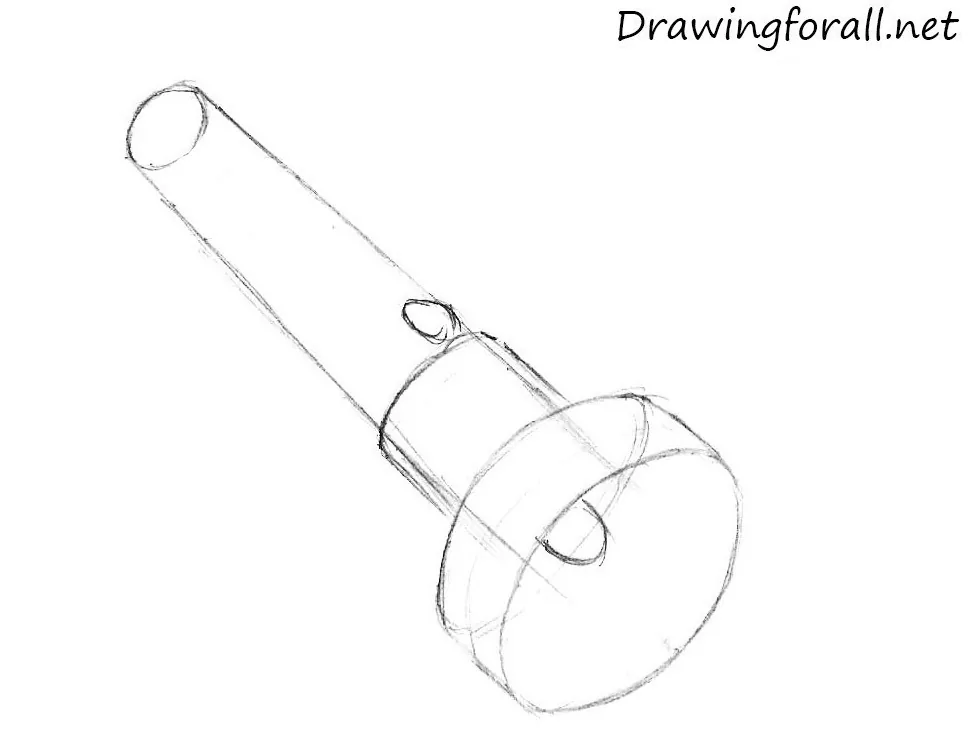
First draw the basic shapes of the flashlight, that is the main outlines and contours of the body of the flashlight. It consists of two cylinders – one thin and elongated, and the second is short and flattened.
Step 2
Outline the basic details – the button on the top, a small bulge on the top of the handle (in fact, one more cylinder) and a light bulb.
Step 3
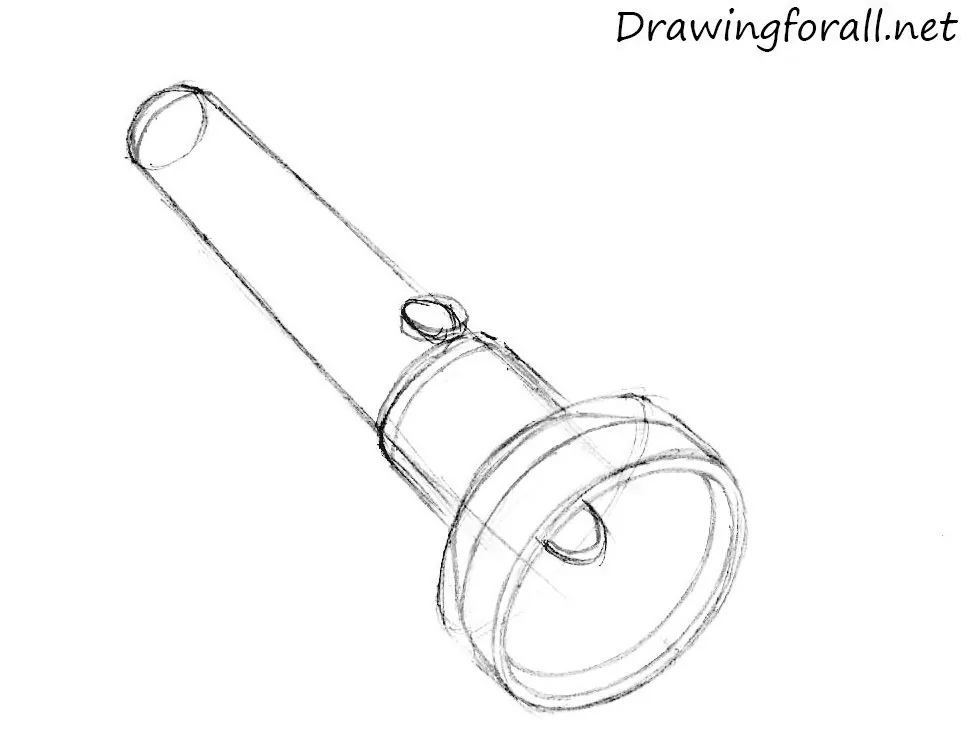
Now, using ovals draw the front part of the flashlight. Draw the line on the “tail” of the flashlight.
Step 4
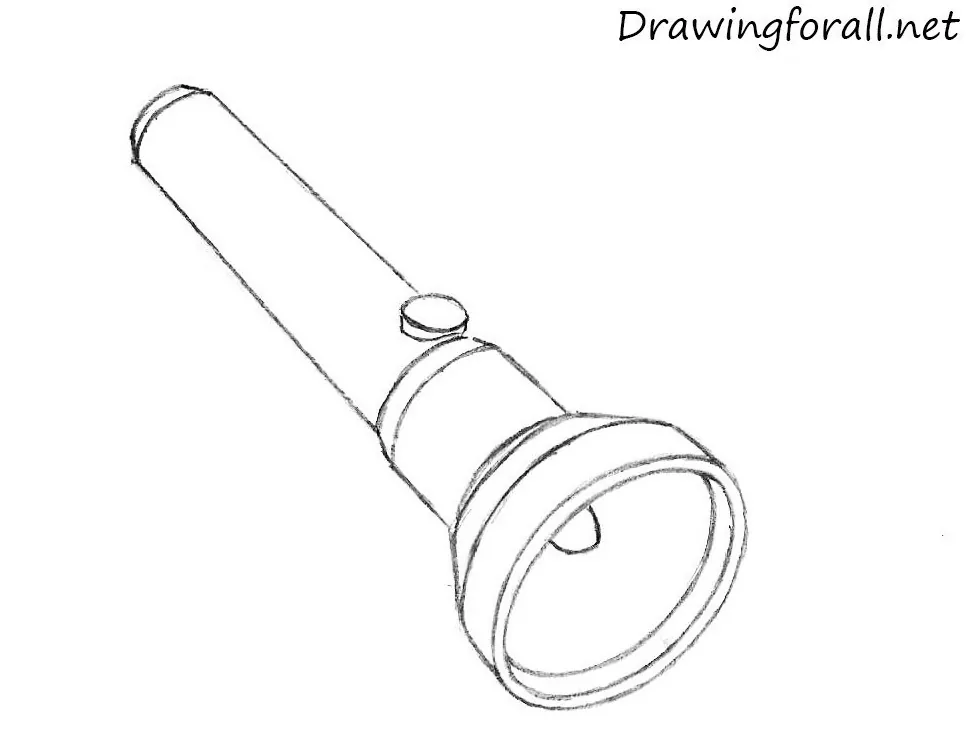
Erase all the unnecessary guidelines. Darken and smoothen the lines.
Step 5
And we got to the last step of the tutorial about how to draw a flashlight step by step. Add lines on the handle of the flashlight. Using cross hatching add texture to the handle. Start to add shadows. The light comes from the top, so we need to add shadows to the lower part of the flashlight. Using long hatches draw the shadows. Draw the grades of the shadows using miscellaneous pressing on the pencil.

It was drawing lesson about how to draw a flashlight step by step. If you want to try to draw something more complex, visit our drawing lessons about how to draw a samurai and how to draw original Wolverine. Stay tuned and wait for new drawing lessons. Goodbye!


