How to Draw a Pump
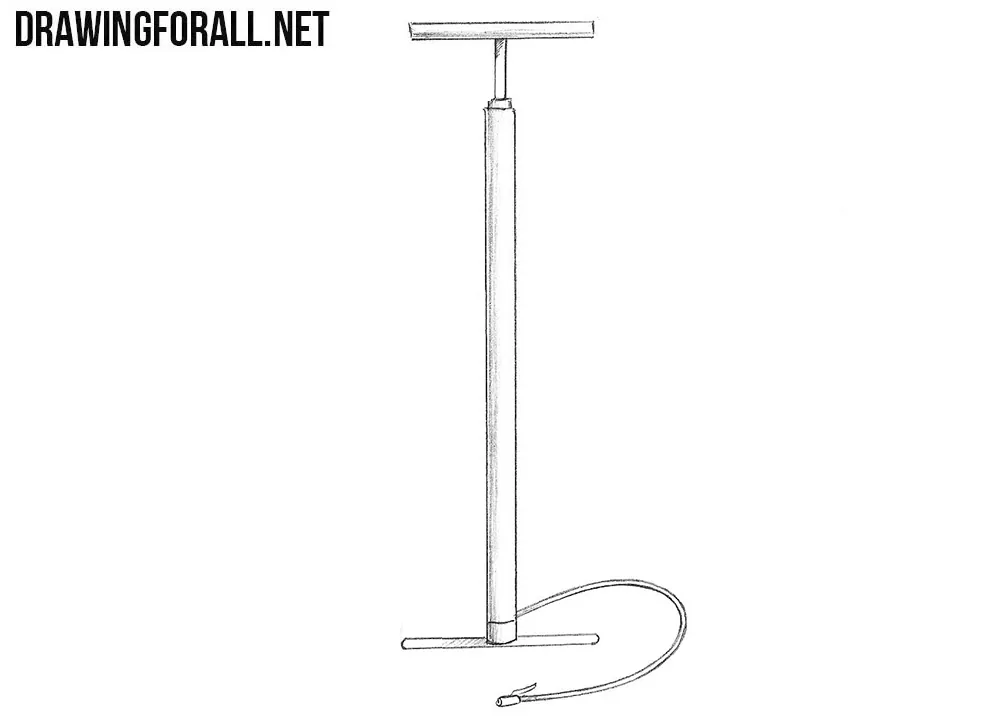
Tools aren’t difficult to draw, especially if they consist of basic shapes. You’ll see this for yourself in this tutorial and also learn how to draw a pump.
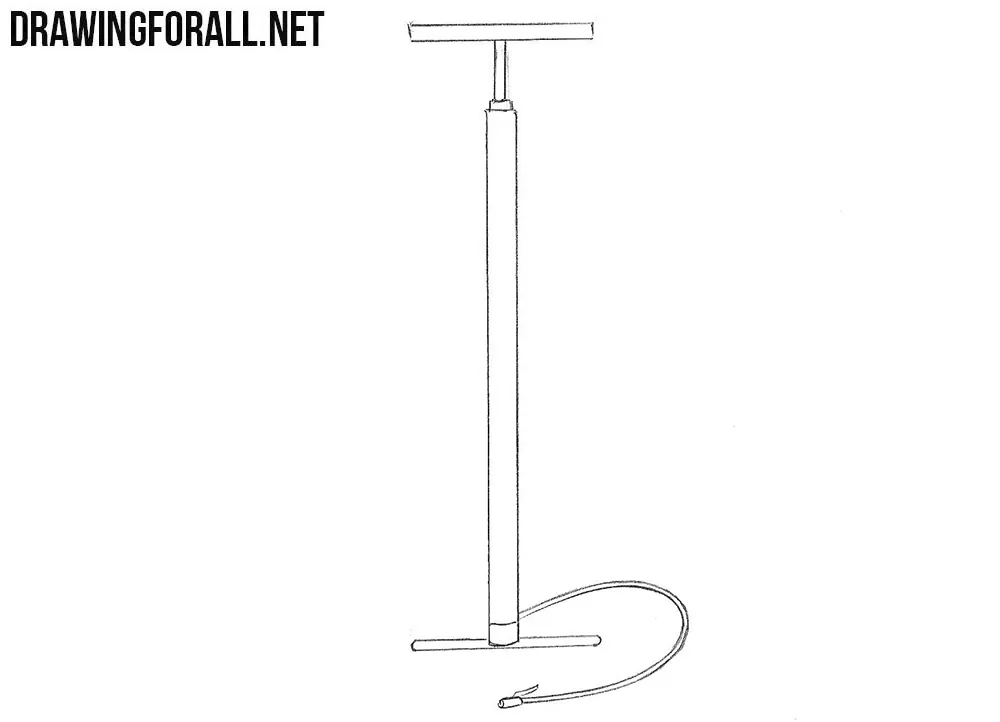
Here, we’ve chosen a simple, classic shape consisting of a cylindrical tube, a handle, and a rod.
How to draw a pump step by step
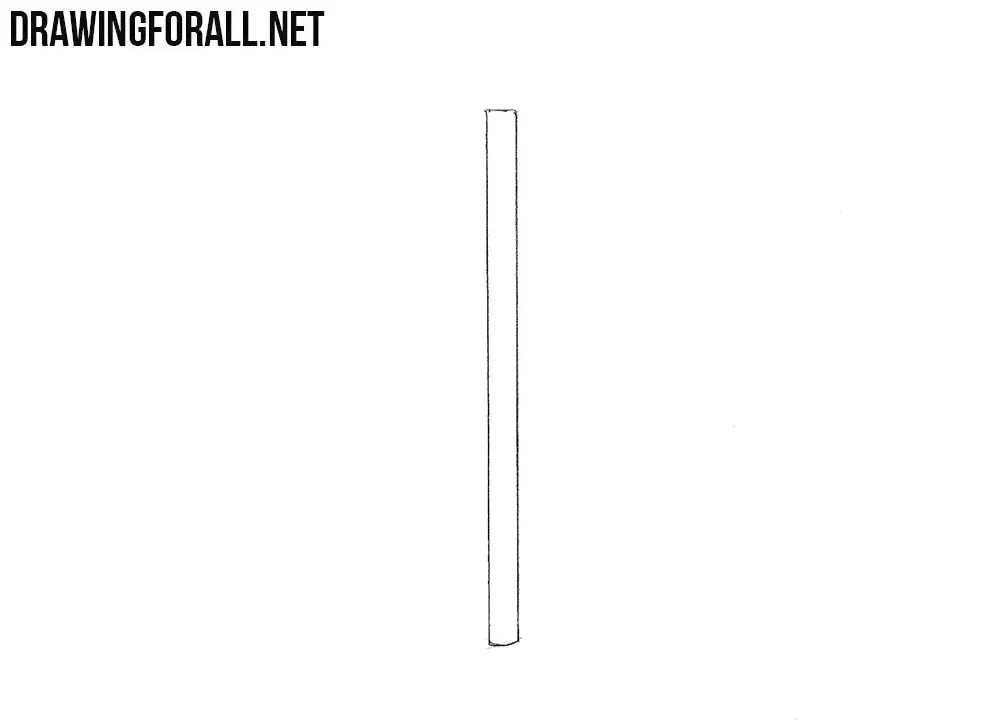
Step 1: Outline the pump body
Start by drawing a tall rectangular shape for the main part of the pump. Place it in the center of the paper. Try to make the vertical sides straight and the top and bottom edges parallel. Use light lines because we will add more parts around this basic shape.
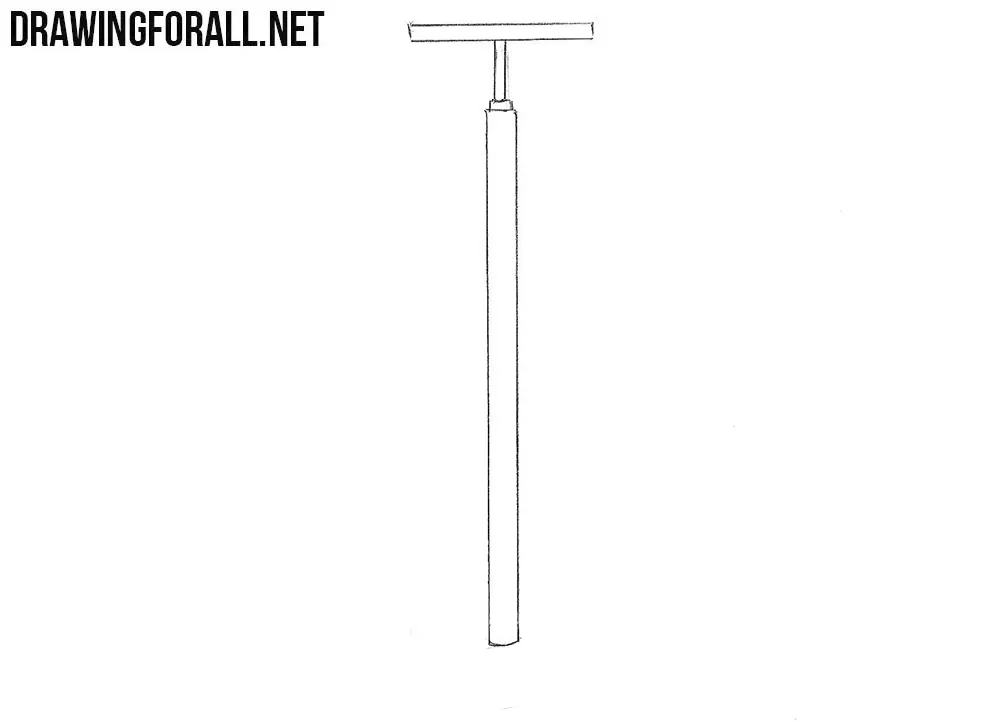
Step 2: Build the T-shaped handle
Now draw the pump handle above the body. Start with a long vertical rod rising from the center, then add a horizontal grip across its top to create a T-shape. Make both parts fairly narrow and straight. You can use a ruler if necessary, but drawing these lines freehand is good practice.
Step 3: Add the hose and base
Next, draw the base at the bottom of the pump. Then add the flexible hose extending from one side and curving downward. Refine the outer contours of the instrument. At this point, the main shape of the pump should be complete.
Step 4: Finish with dense shadows
Finally, add shadows to make the pump drawing look more dimensional. Use long, dense strokes along the darker sides of the body, handle, hose, and base. You can add a little more hatching to the darkest areas to increase the contrast.
As you can see, this tutorial on how to draw a pump was quite simple. There are only a few basic shapes and details, so it is a good subject for practicing straight lines and simple forms.
Once you can draw this pump confidently, try applying the same approach to other tools and everyday objects.
For example, you can learn how to draw a shovel, an object consisting of even simpler forms. Or draw a hammer, another simple tool consisting of a handle and a head.