

How to Draw a Macintosh
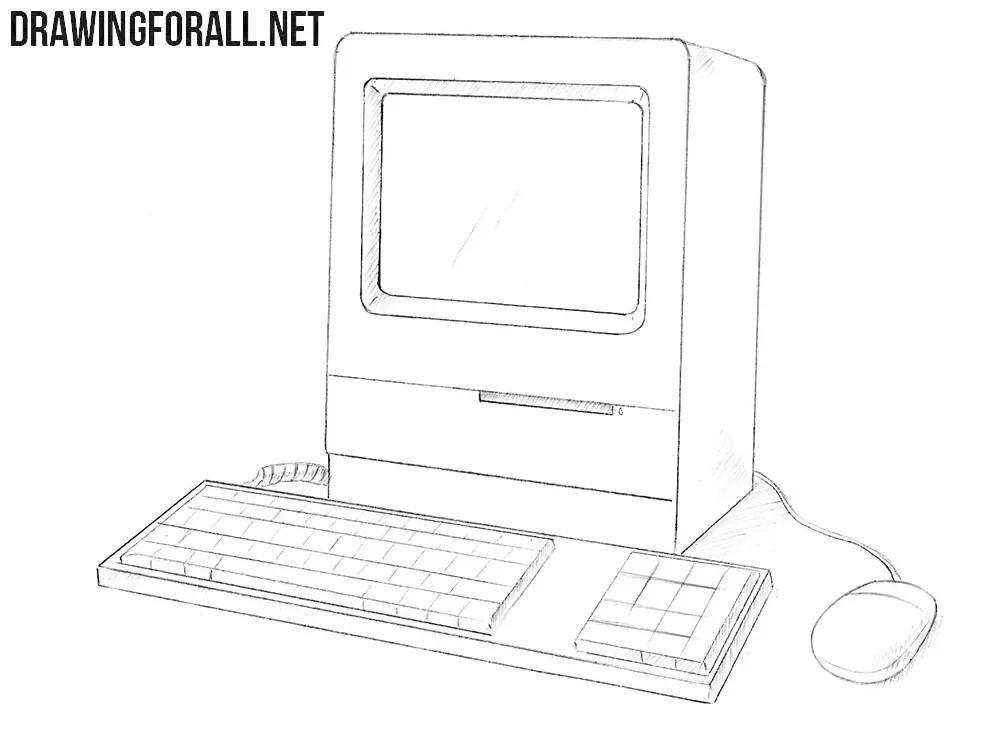
This company occupies a special place even on our website because we not only actively use iPhones and iPads, but also often show how to draw Apple devices.
In this tutorial, we want to go back to the basics and show you how to draw a Macintosh the way it looked in the eighties.
Since many computers of that time had a similar appearance, you can also use this tutorial to practice drawing other old computers. If you prefer a more modern Apple computer, you can try drawing an Apple iMac.
How to draw a Macintosh step by step
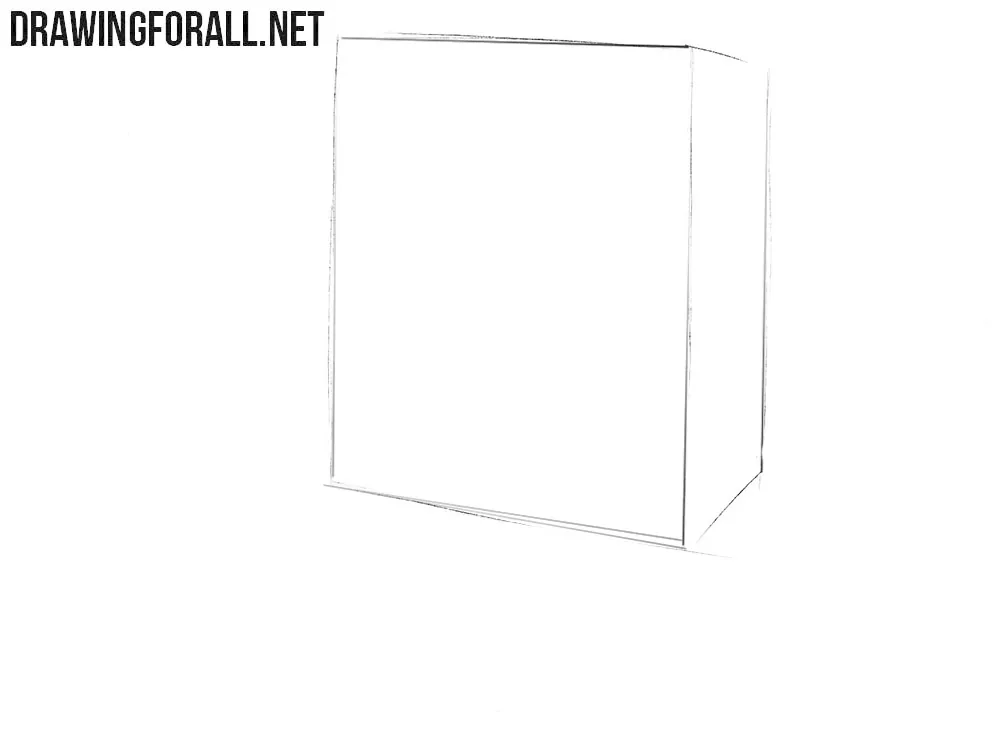
Step 1: Sketch the Macintosh case
Begin drawing the old Apple computer by sketching a simple cubic shape. This basic form will become the Macintosh case with the screen built into its front. Use very light lines so that you can easily make changes and erase the unnecessary guidelines in the later steps.
Step 2: Add the computer accessories
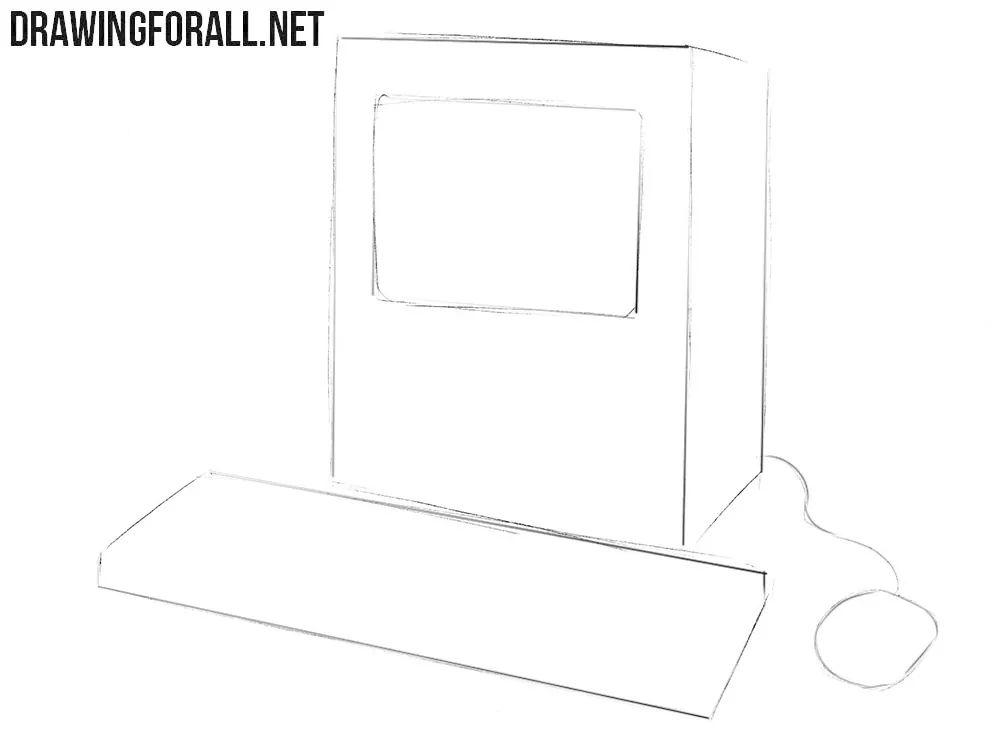
Now add the most important details to make the Macintosh drawing more believable. First, sketch the small screen on the front of the computer. Next, depict the contours of the keyboard and draw the computer mouse with its wire extending toward the Macintosh.
Step 3: Draw the Macintosh details
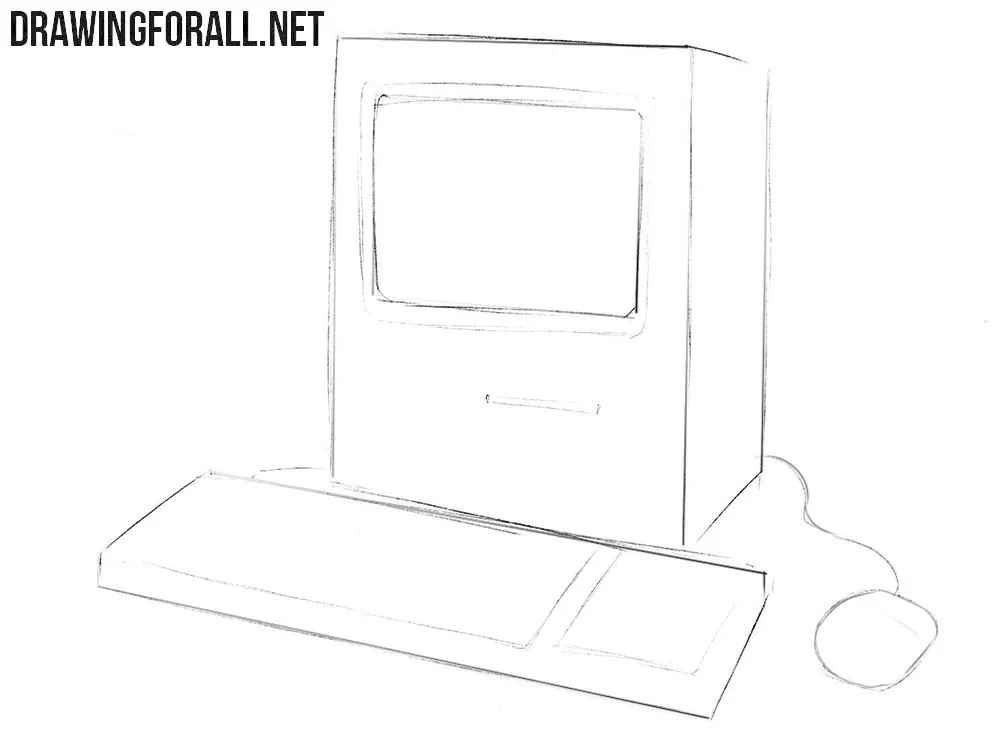
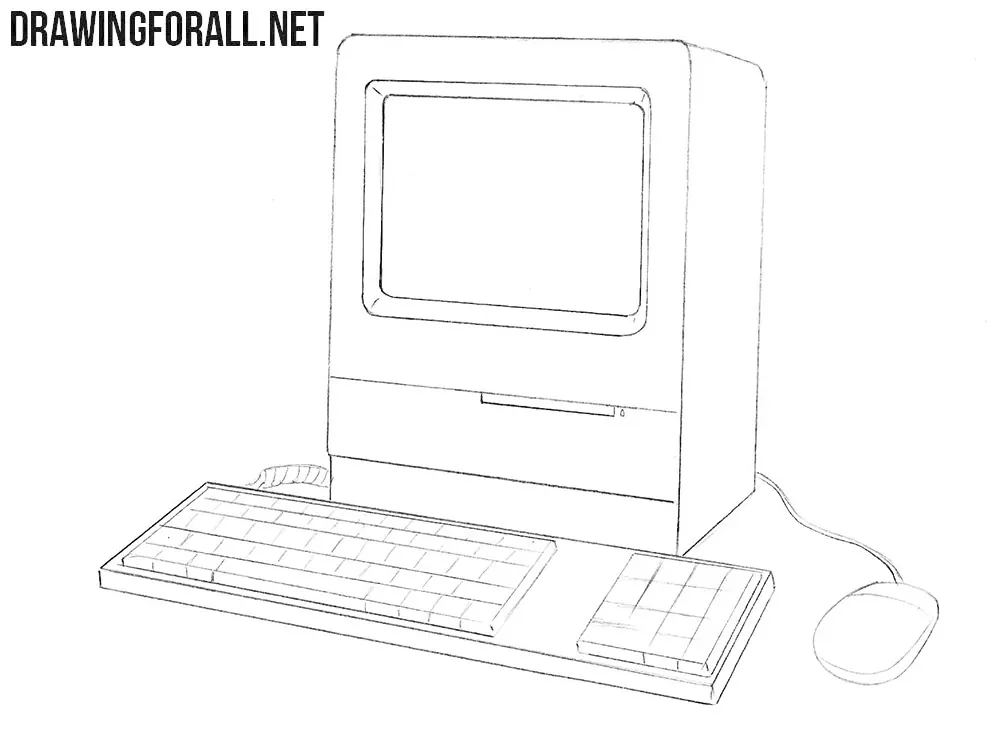
Now add the smaller details to the Macintosh drawing. First, draw the borders around the screen. Next, outline the floppy disk drive on the front of the computer, then mark the key sections on the keyboard and the button on the mouse.
Step 4: Refine the Apple computer
Now move on to the final outlines of the Macintosh. Carefully trace the entire computer, keyboard, and mouse using clear and dark lines. Draw the individual keyboard keys more precisely, then use an eraser to remove all unnecessary guidelines from the drawing.
Step 5: Shade the Macintosh drawing
In the final step, add shadows to give the Macintosh drawing more volume. Use simple hatching to shade the side of the computer case, the area beneath the screen, the keyboard, and the mouse where the surfaces receive less light.
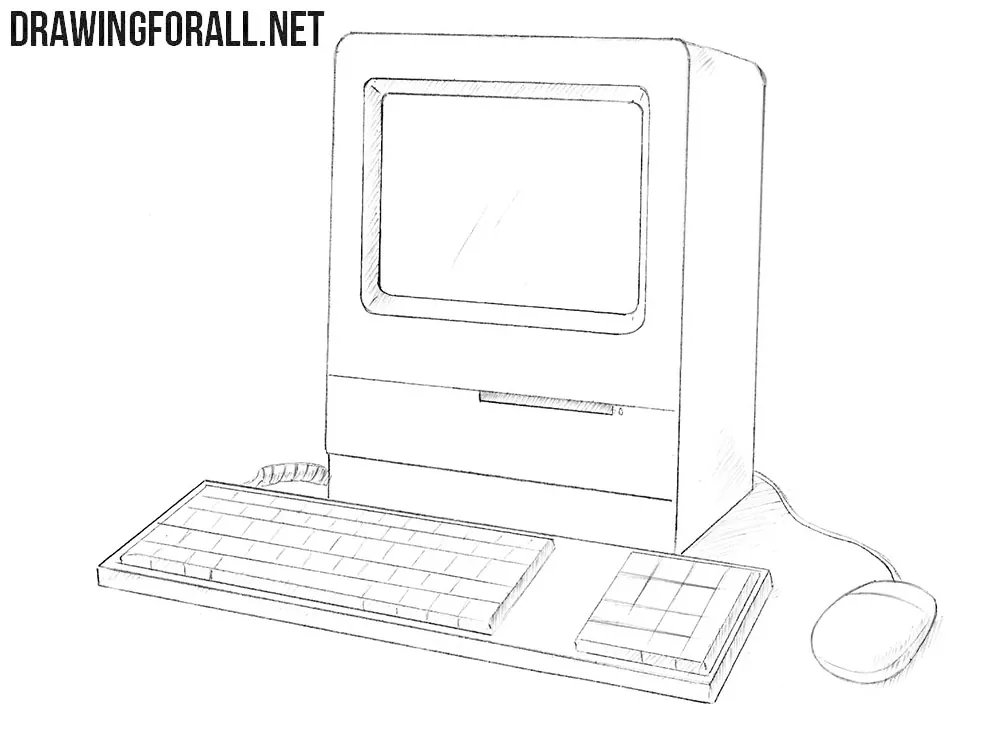
So, now you have learned how to draw a Macintosh and can use the same basic approach to practice drawing other old computers from the 1980s and 1990s. For more practice with similar objects, you can also try drawing a computer.


THIS HELPED ME A LOTTTT FOR MY PROJECT THANK YOU! TO WHO EVER THAT MADE THISA
I loved it !