

How to Draw an Apple iMac
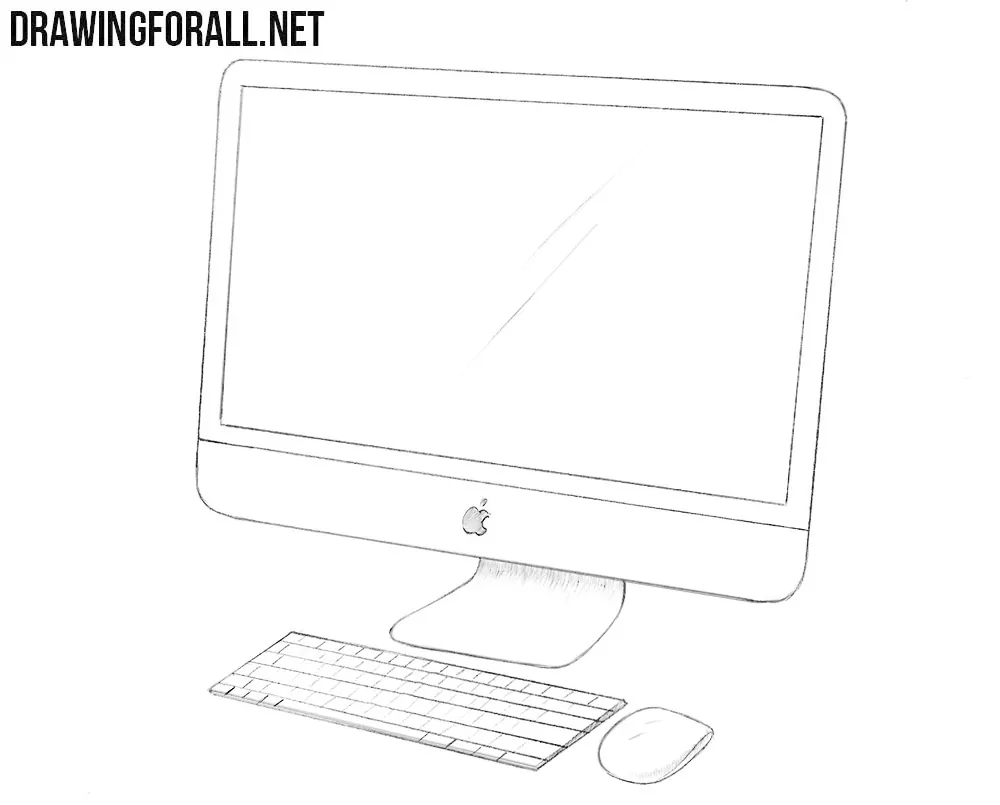
Apple creates very beautiful and visually interesting devices. Here we will show you how to draw an Apple iMac, one of these devices.
It has a fairly minimalist appearance, and the main difficulty will be drawing the keyboard correctly. Here you will need the basics of linear perspective as well as the ability to draw straight lines. At least, drawing the keyboard will be a great exercise for practicing this skill.
How to draw an Apple iMac step by step
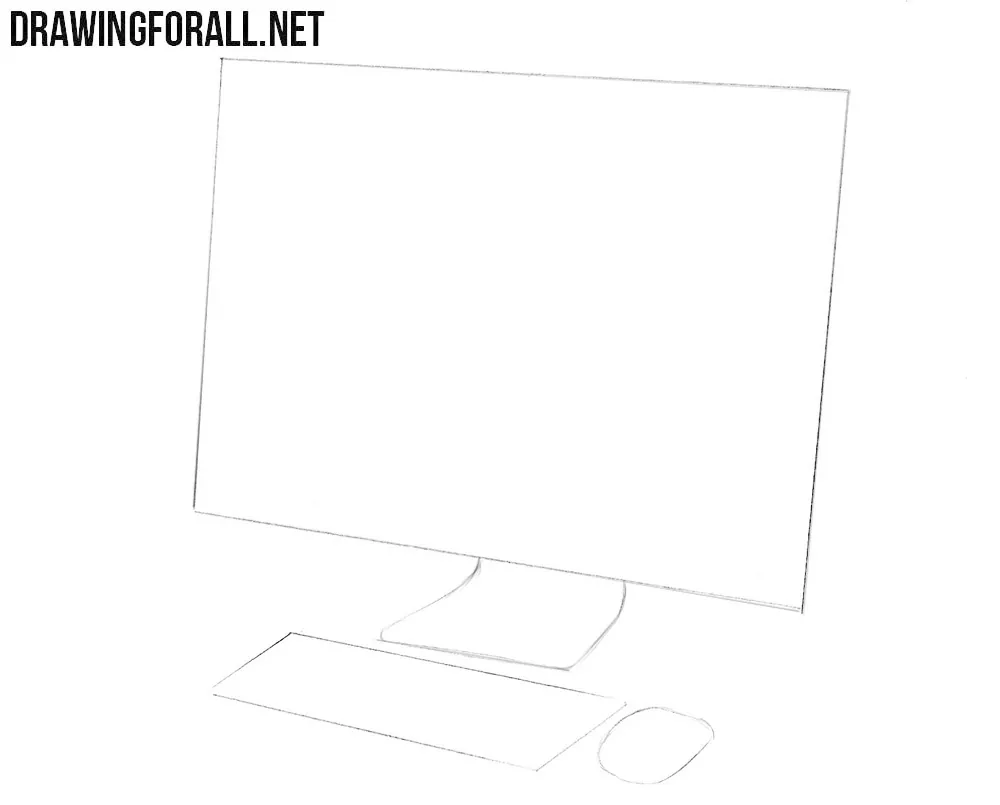
Step 1: Sketch the iMac monitor outline
First of all, we need to sketch out the outline of the iMac monitor. To do this, draw a quadrilateral using four straight lines. When drawing the Apple desktop computer, pay attention to the angle at which it is positioned. Since we see the monitor slightly from the side, the vertical edges are not parallel in the drawing, and the upper and lower edges also follow the perspective of the monitor.

Step 2: Add the iMac stand and accessories
Under the iMac monitor, sketch the outline of the stand. Notice how it widens toward the bottom. Next, draw the keyboard as a regular rectangle. The opposite edges of the keyboard should correspond to each other. At the end of the step, sketch the Magic Mouse as a simple rounded shape.
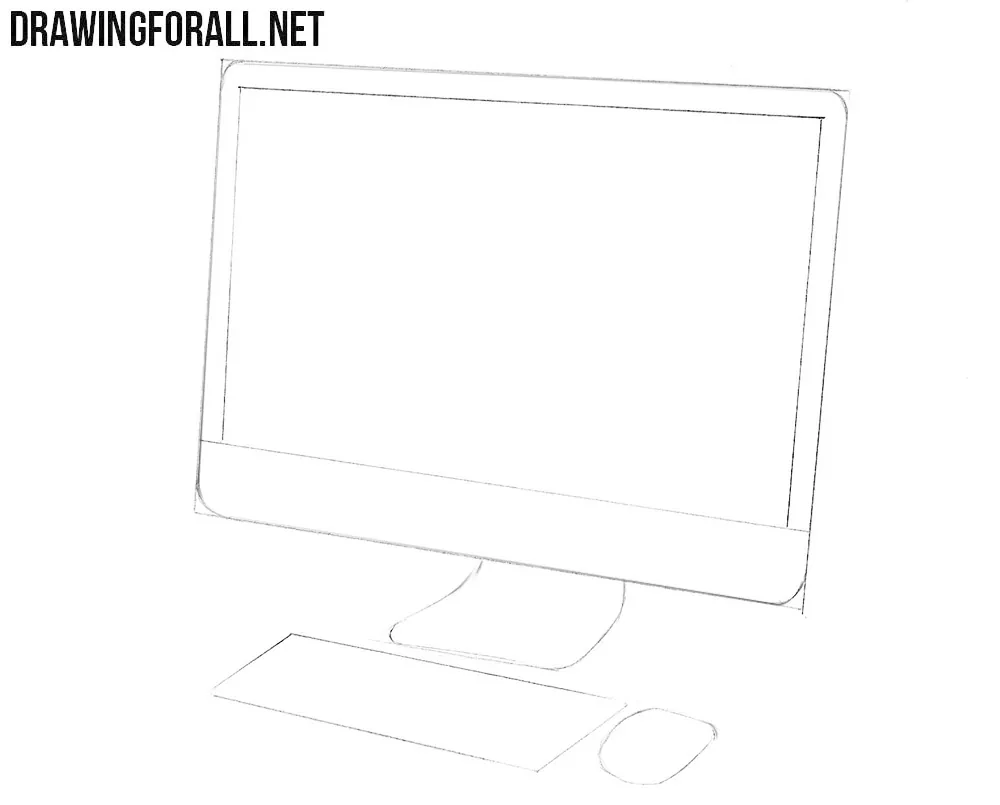
Step 3: Refine the iMac monitor
Using four smooth, curved lines, round the corners of the monitor. Next, use simple, straight lines to draw the screen inside the iMac frame. Follow the angle of the outer edges of the monitor. Try to keep the width of the frame visually consistent so that the screen looks correctly positioned inside the iMac body.
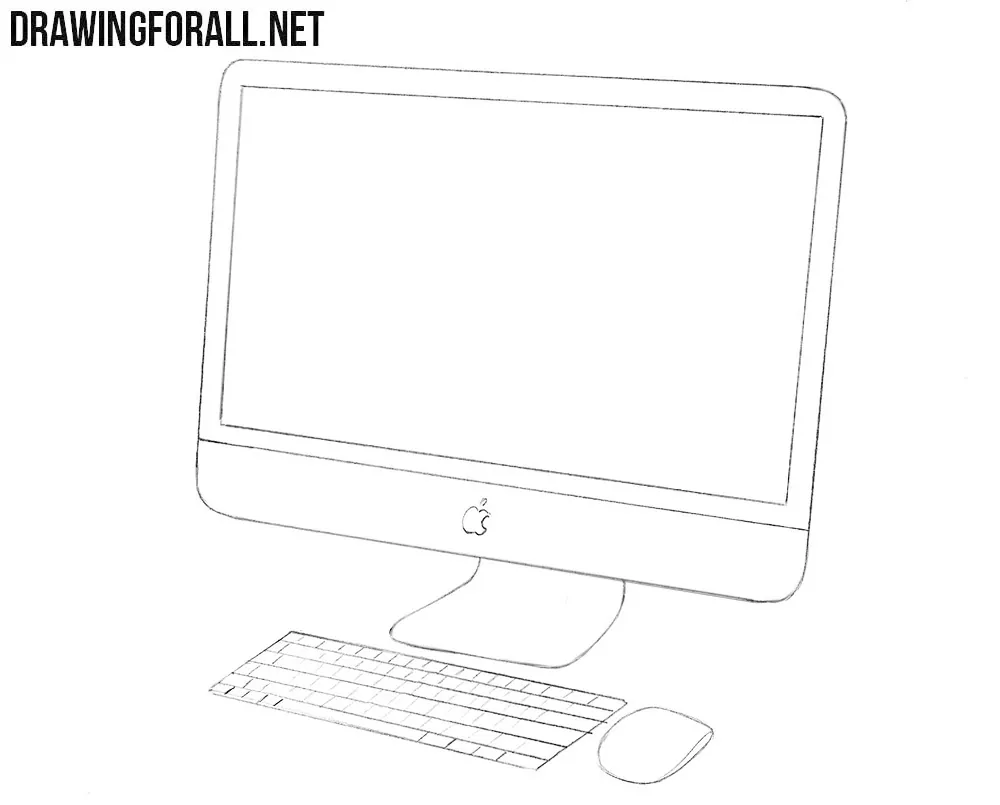
Step 4: Draw the Apple logo and keys
With the help of an eraser, remove all unnecessary guidelines from the Apple iMac. Next, draw the Apple logo on the monitor. After that, draw the keys on the keyboard and add a curved line to the mouse. Arrange the keys in even rows that follow the shape and angle of the keyboard.
Step 5: Add screen reflections and shadows
With the help of a couple of simple lines, draw reflections on the iMac screen. Keep these lines long and light so that they look as reflections on a smooth surface. Shade the Apple logo with hatching. Next, use hatching to add shadows to the iMac drawing. You can also add a cast shadows on the surface.
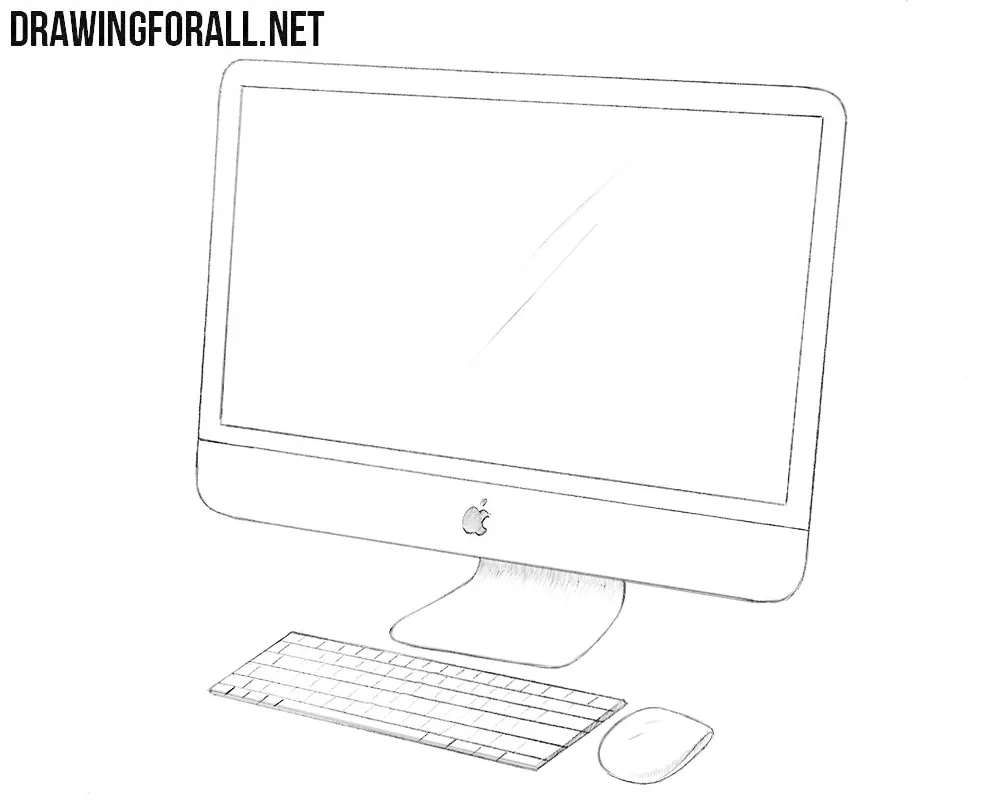
Was this tutorial simple enough? There were a lot of straight lines in this tutorial, especially on the keyboard. It may be difficult, but if you can handle all these lines, you will get a very cool Apple iMac drawing.
We drew the keyboard empty, without any symbols. This simplifies the drawing. If you want a more detailed version, you can draw them, but try to follow the angle of the keys relative to us, the viewers.
By the way, in one of our previous tutorials, we showed how to draw a computer using a very similar method.







AWESOME app AWESOME everything thanks so much
YEET