

How to Draw a System Unit
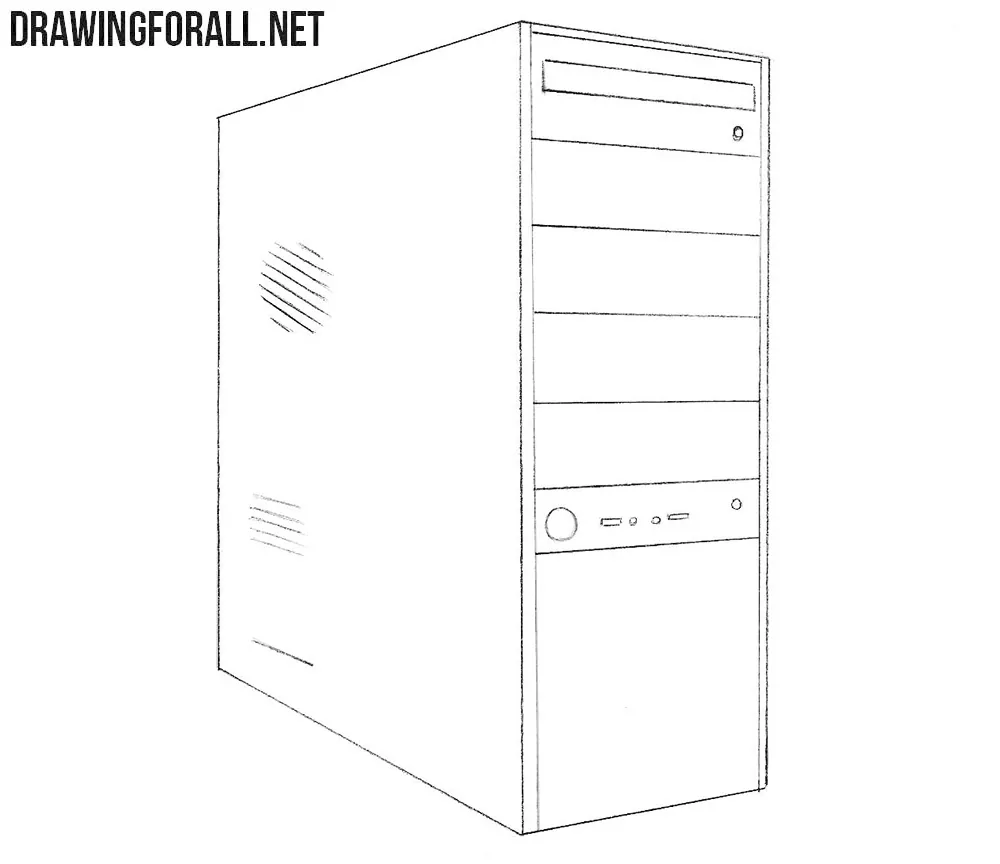
Technologies are developing by leaps and bounds, and while computers once took up entire rooms, they can now fit comfortably on a desktop or even in a pocket in the form of a smartphone.
We have already shown how to draw a computer, MacBooks, and various smartphones, and in this tutorial we want to show how to draw a system unit, essentially the main part of any desktop computer.
The tutorial will be fairly simple and will mainly consist of the most elementary lines, so we think it will not cause any difficulties.
How to draw a system unit step by step
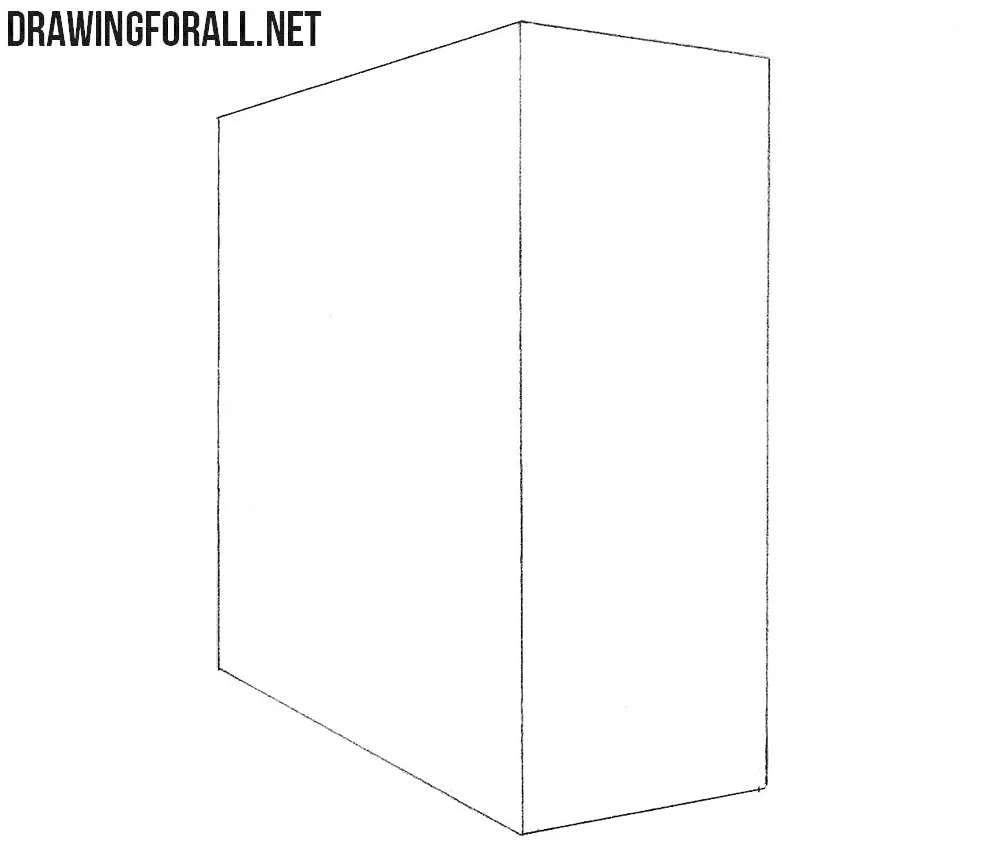
Step 1: Sketch the computer case
Start drawing the system unit with an elongated three-dimensional rectangle resembling a skyscraper. Draw the vertical edges straight and make the upper and lower edges recede slightly to convey perspective. Of course, you can use a ruler, but if you want to learn how to draw cubes and straight lines, try to do without it.
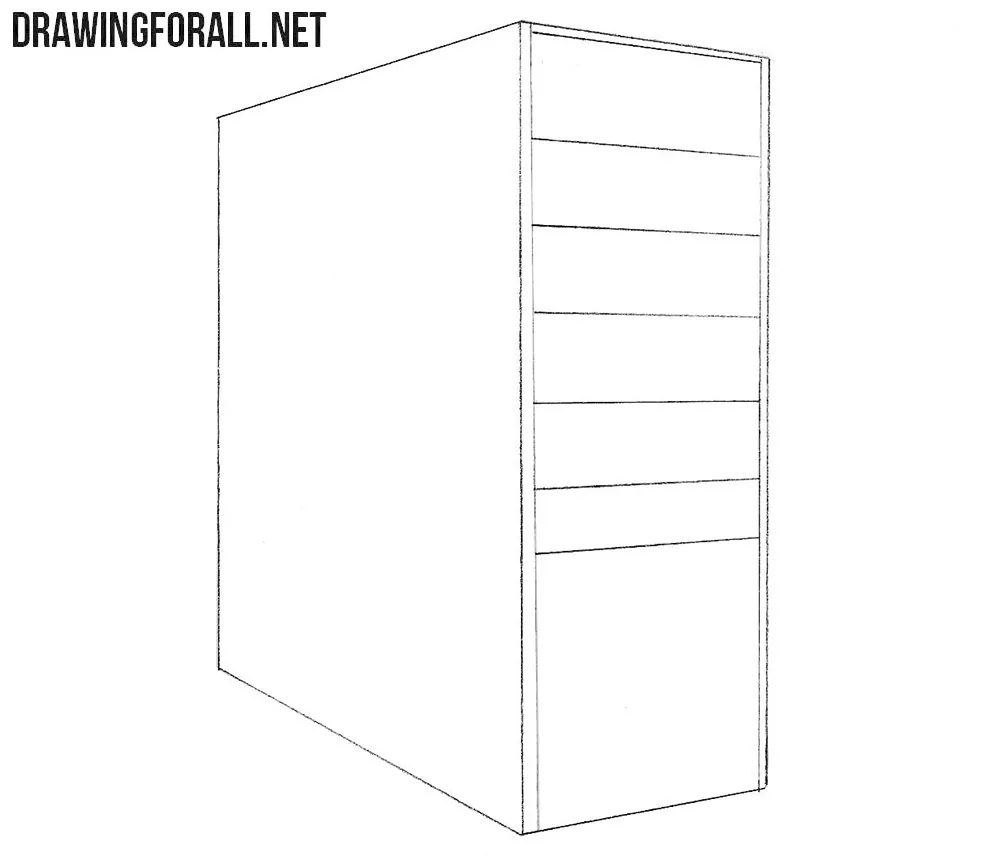
Step 2: Divide the front panel
Now draw the front panel of the system unit. Of course, this part can have very different and even strange forms, but we chose the most classic one. Draw a series of horizontal lines across the front surface, keeping them parallel to its upper and lower edges.
Step 3: Add vents and controls
On the side surface of the system unit, draw the ventilation grilles using several short parallel lines. Next, in the upper part of the front panel, draw the rather archaic optical drive and its small button. Just below, add the power button, restart button, and several indicator lights.
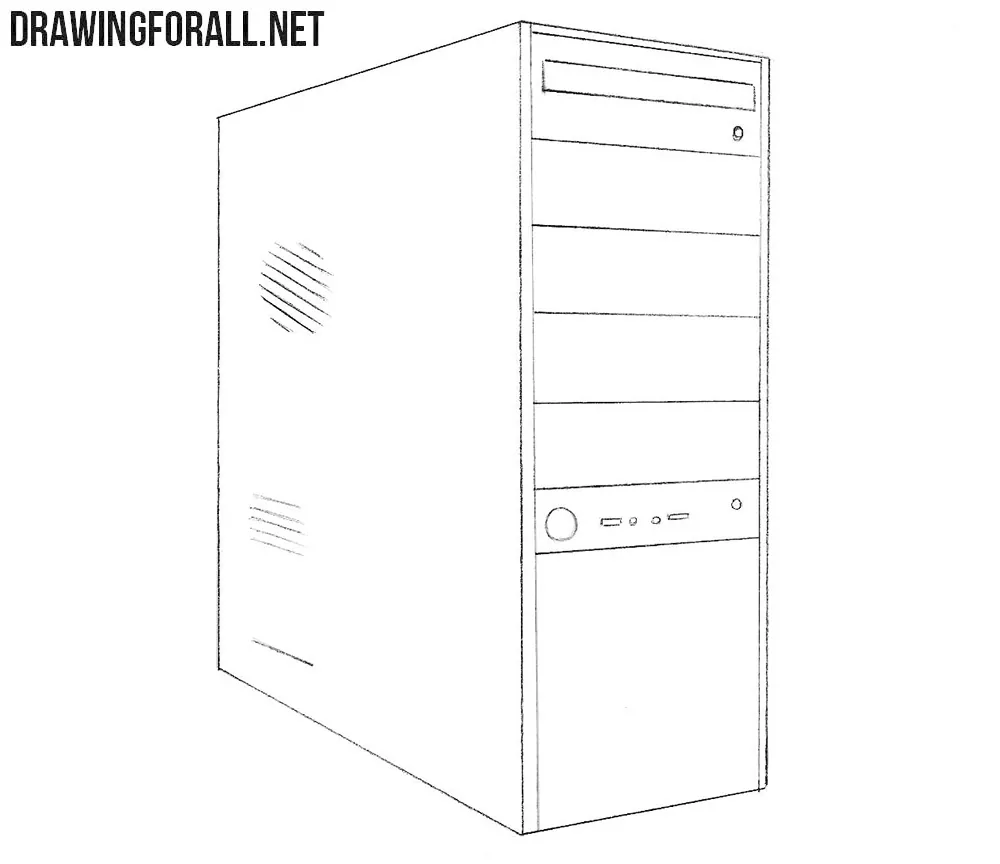
As you can see, the tutorial on how to draw a system unit was quite simple. Most of the difficulties you may encounter are related to creating the correct perspective and drawing straight lines.
But as we often say, the most important thing for any artist is practice. Practice as often as possible to overcome any problems you may encounter.
You can also practice similar forms by learning how to draw a computer monitor and other electronic devices.


Круто
nice pc drawing!