How to Draw a Cutting Board
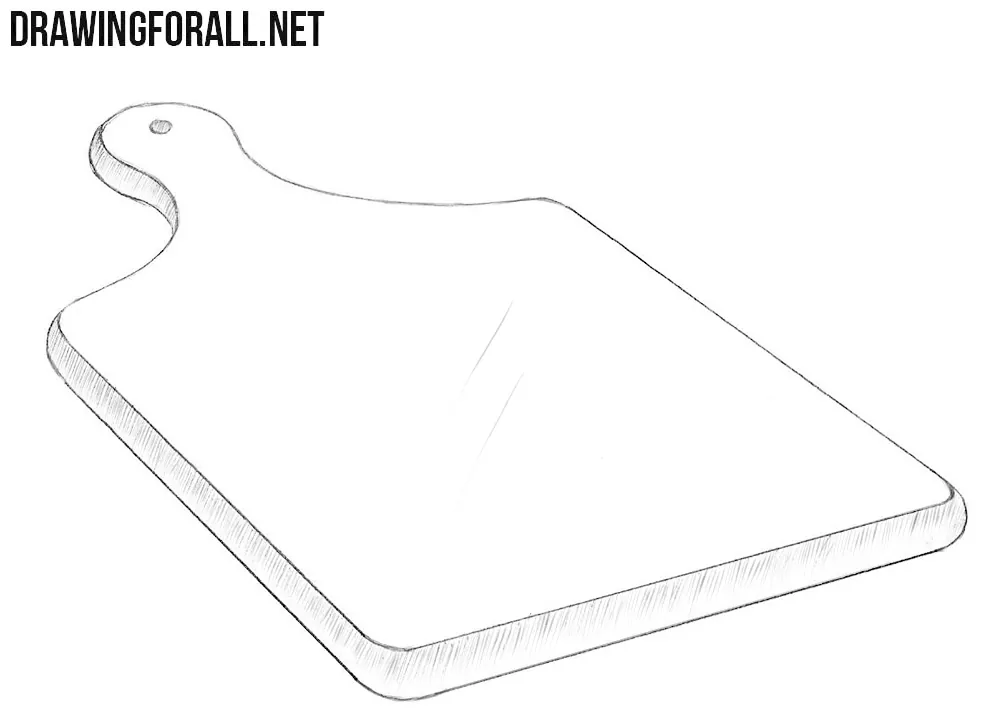
Even when drawing the simplest everyday objects, there are certain nuances to keep in mind. In this tutorial on how to draw a cutting board, we will discuss these details and show you how to depict this object as convincingly as possible.
We will show you how to draw the board in slight perspective, add its characteristic elements, and convey its volume in a simple way.
How to draw a cutting board step by step
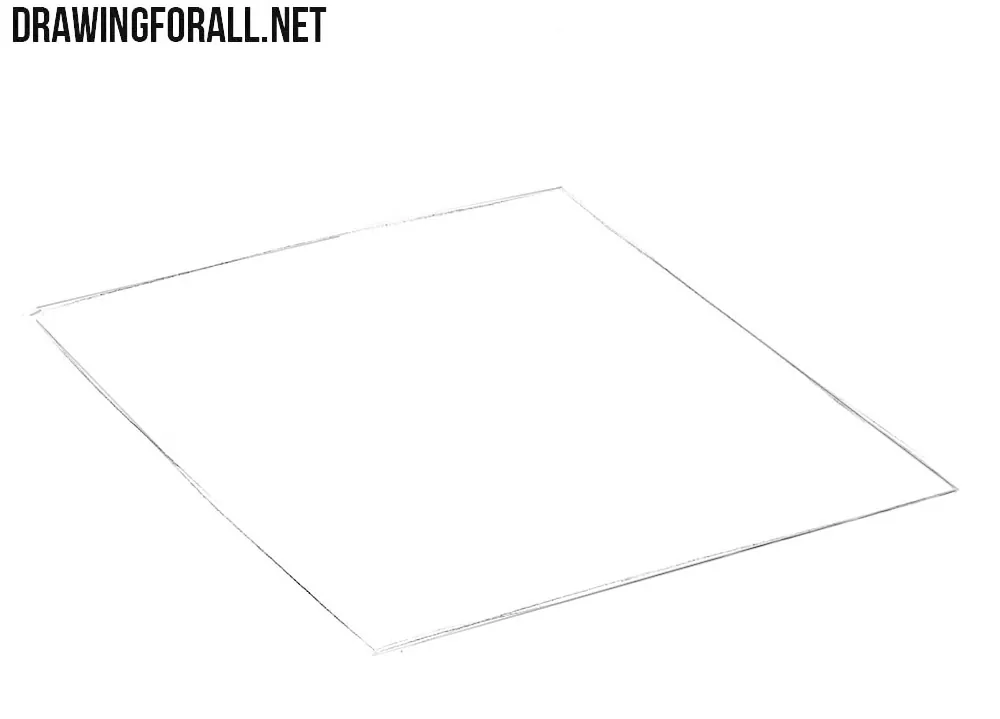
Step 1: Sketch the cutting board in perspective
Sketch the board as a rectangle shown in perspective. The cutting board in our example lies at a slight angle. Its upper surface is visible to us as a wide plane. First, indicate the side edges with two lines that diverge slightly toward us. Next, draw the near and far edges to create the upper surface of the cutting board.
Step 2: Draw the curved board handle
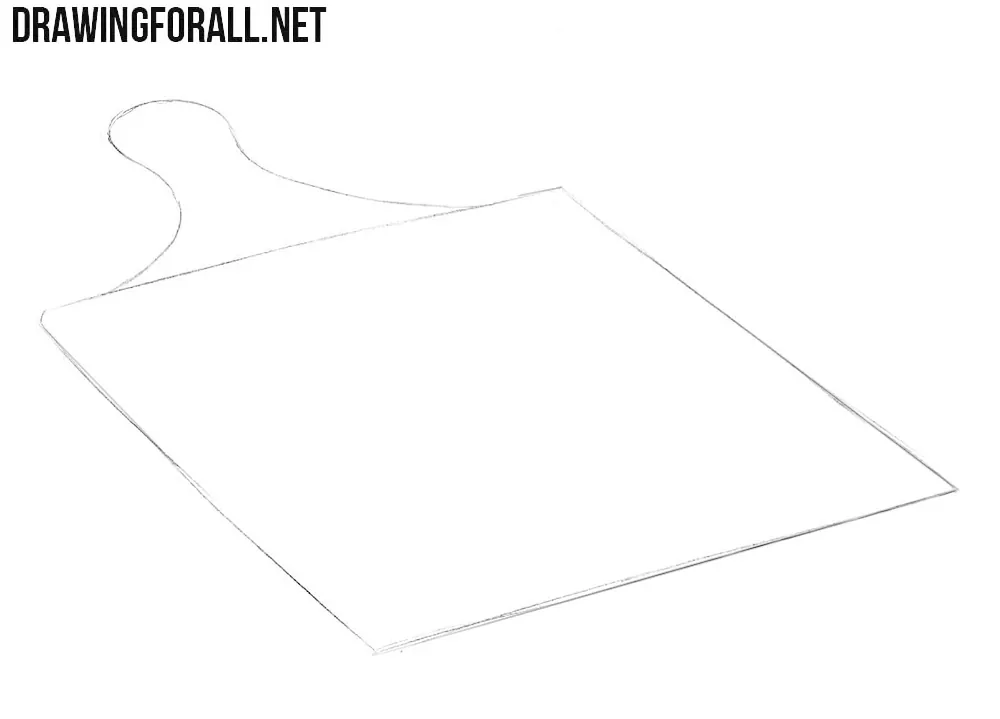
Draw it as a continuation of the upper plane of the board. The handle should lie in the same plane as the upper surface of the board and follow the same perspective. In our example, the silhouette becomes narrower at the base of the handle and then expands again toward its curved end.
Step 3: Add thickness to the board
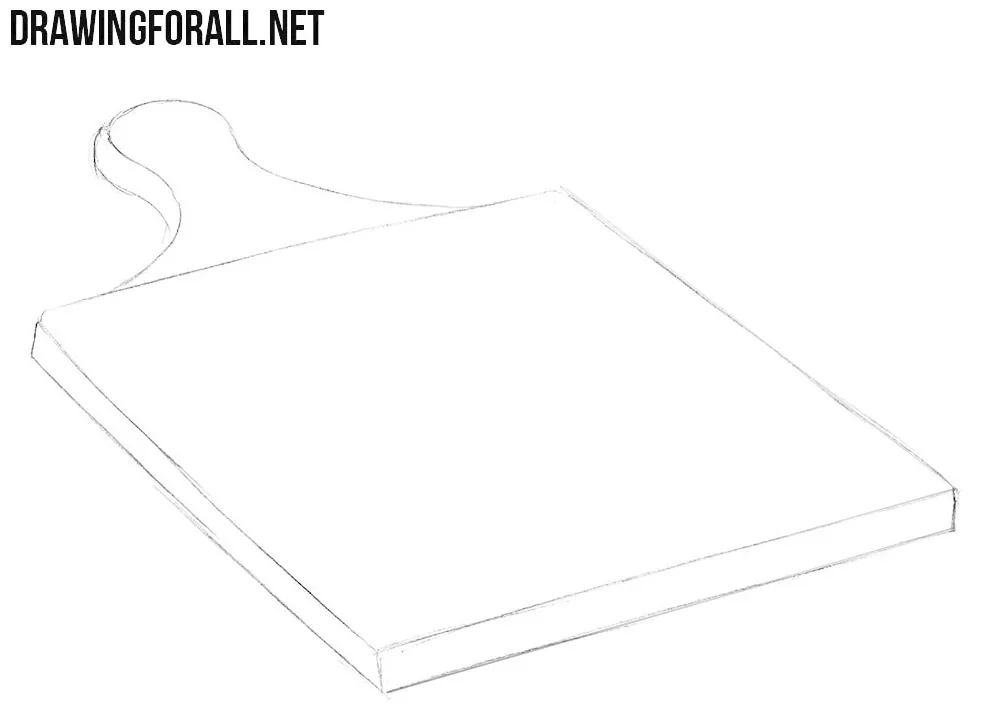
Now give the cutting board some thickness by sketching its lower edge. This contour should follow the shape of the upper edge. At this stage, imagine the board as a relatively thin plate. Keep approximately the same distance between the upper and lower contours along the visible sides, including the curved part of the handle.
Step 4: Refine the corners and hanging hole
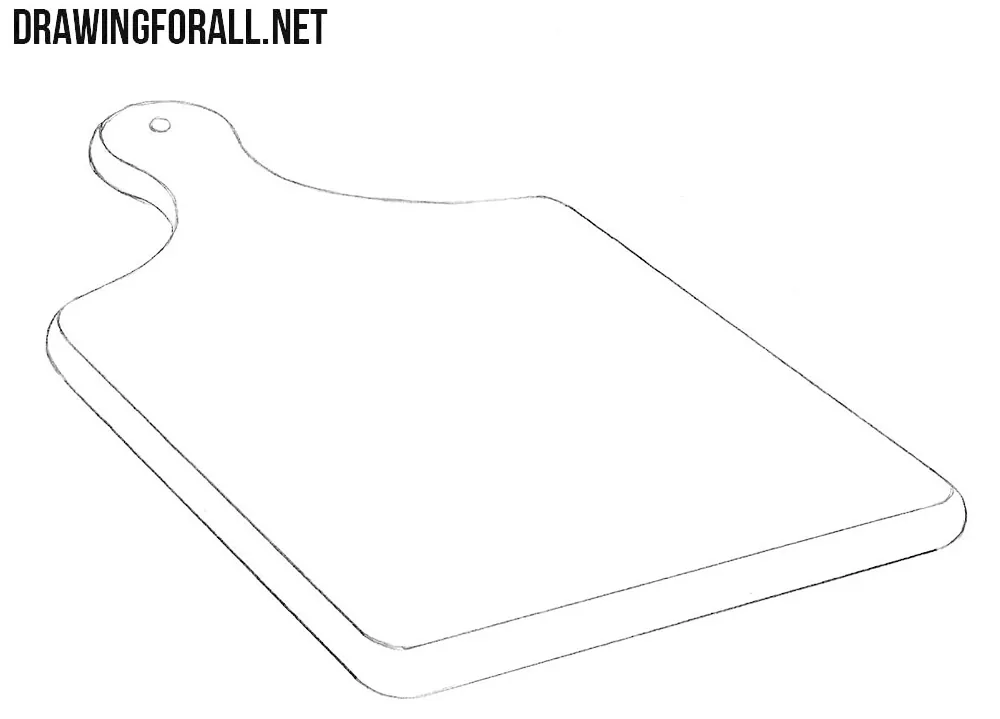
Give the lines a clear, clean appearance by tracing over them. Using an eraser, remove all unnecessary guidelines from the cutting board. Round off the board corners and draw a small hanging hole in the handle. When rounding the corners, do not lose the general perspective established in the first step. Since the hanging hole lies on the upper surface of the board, depict it as a small ellipse corresponding to the angle of this plane.
Step 5: Shade the cutting board edges
Add hatching to the visible side edges and mark a couple of light highlights on the broad upper surface. In our drawing, the narrow side planes of the board are noticeably darker than the top plane. This difference in tone is exactly what helps create volume in the drawing. Add a little more tone inside the hanging hole, where the surface turns away from the light.
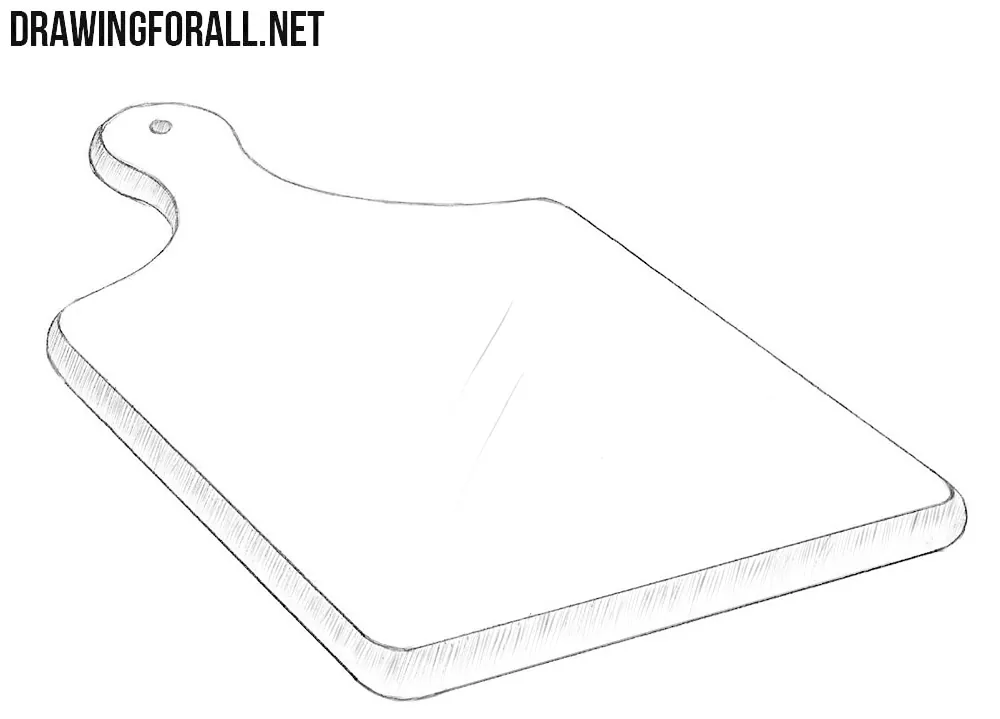
A cutting board is one of those objects that an artist learns to depict soon after learning how to draw cubes, spheres, and other basic geometric forms.
The ability to position them correctly in space, construct an object with lines, and create volume with shadows is one of the fundamental skills for any artist.
Even when creating more complex compositions, you need to know how to position all the objects correctly, so practicing with such simple subjects is extremely important.
To continue this practice gradually, try drawing a kitchen knife next to the cutting board, making sure that it lies in the same plane and follows the same perspective.