How to Draw a Socket
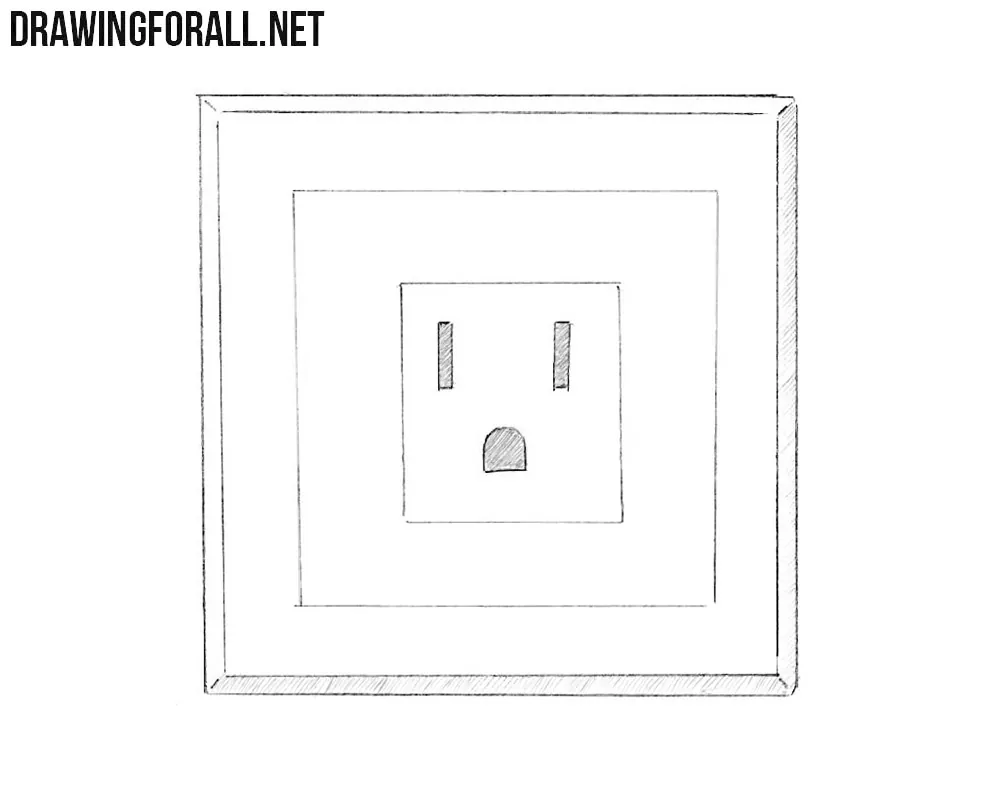
Mankind is developing at a frantic pace, and it is now hard to imagine a house without multiple AC sockets. In this step-by-step tutorial, we will show you how to draw a socket, depict its parts symmetrically, and give it basic volume using a simple method.
Socket standards vary around the world, but here we decided to draw an American-style socket. You can also draw any other type of socket by studying the different variations and applying the same steps to them.
The main thing to remember is that most sockets are symmetrical, with their elements positioned around the center.
How to draw an AC socket step by step
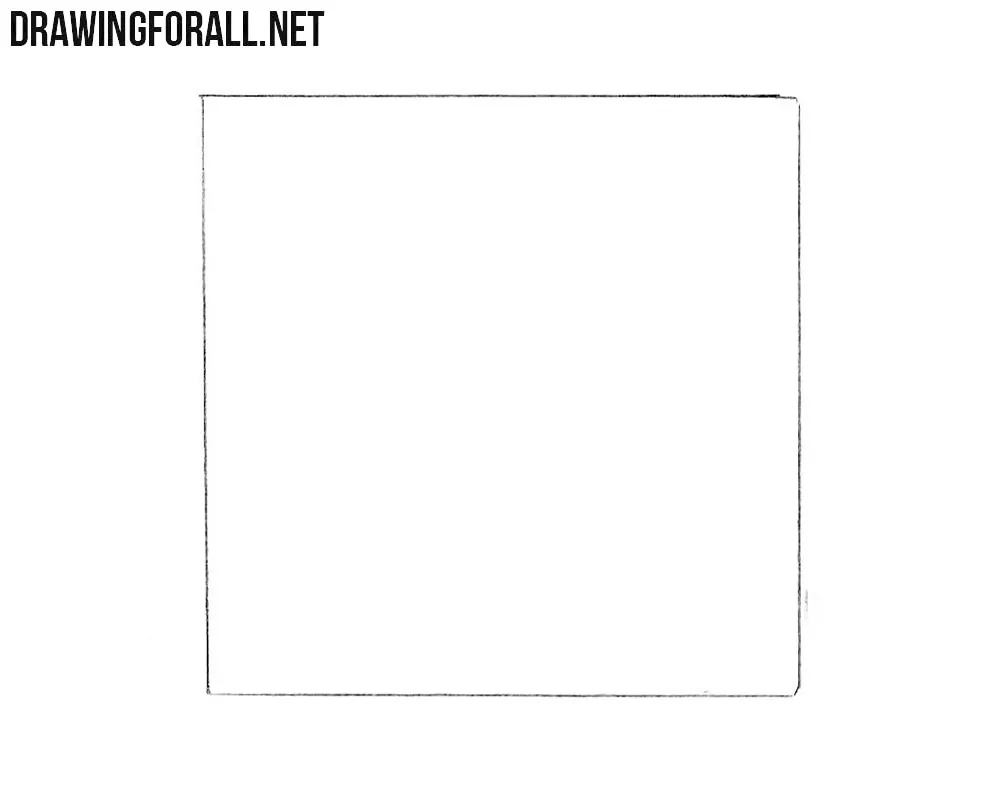
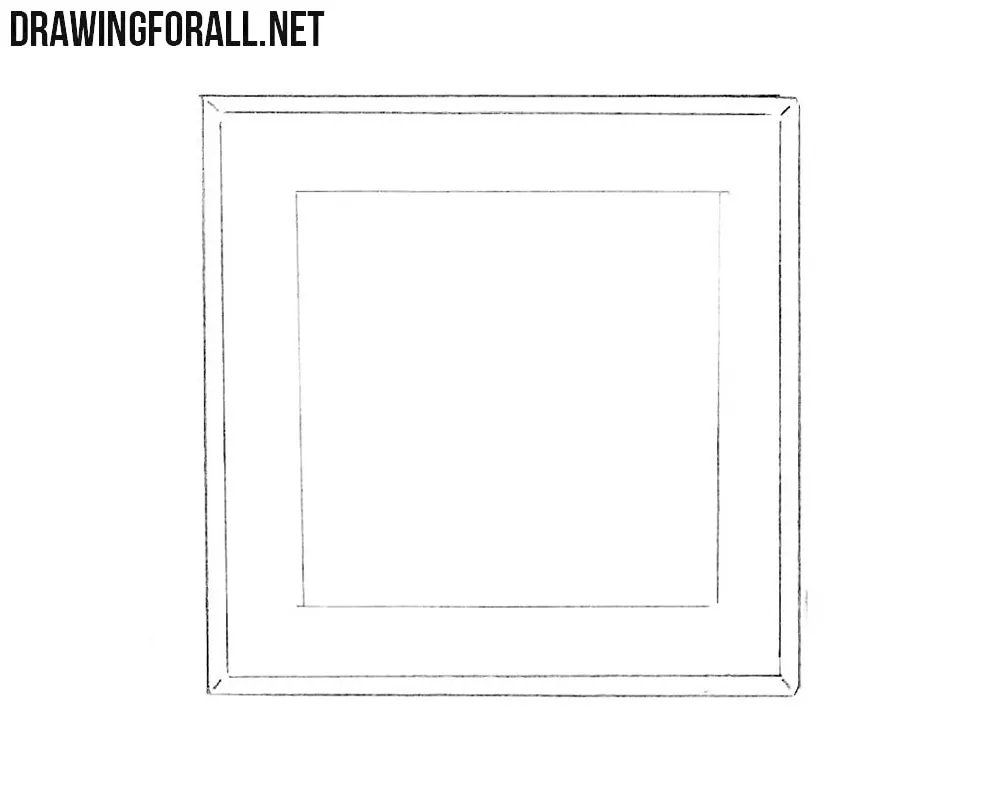
Step 1: Outline the socket’s square frame
Start with a simple square to outline the socket’s frame. Draw the top and bottom edges horizontally and the sides vertically. Check that the height and width are equal and that opposite edges are parallel. Use light lines so you can correct the outline before adding the inner details.
Step 2: Draw the inner frame edges
Inside the first square, sketch two more squares. Place the larger inner square close to the outer outline to form a narrow beveled rim. Connect the two outermost squares at their corners. Use short diagonal lines for the corner connections. Leave a wider gap around the smaller square, and center both shapes within the frame.
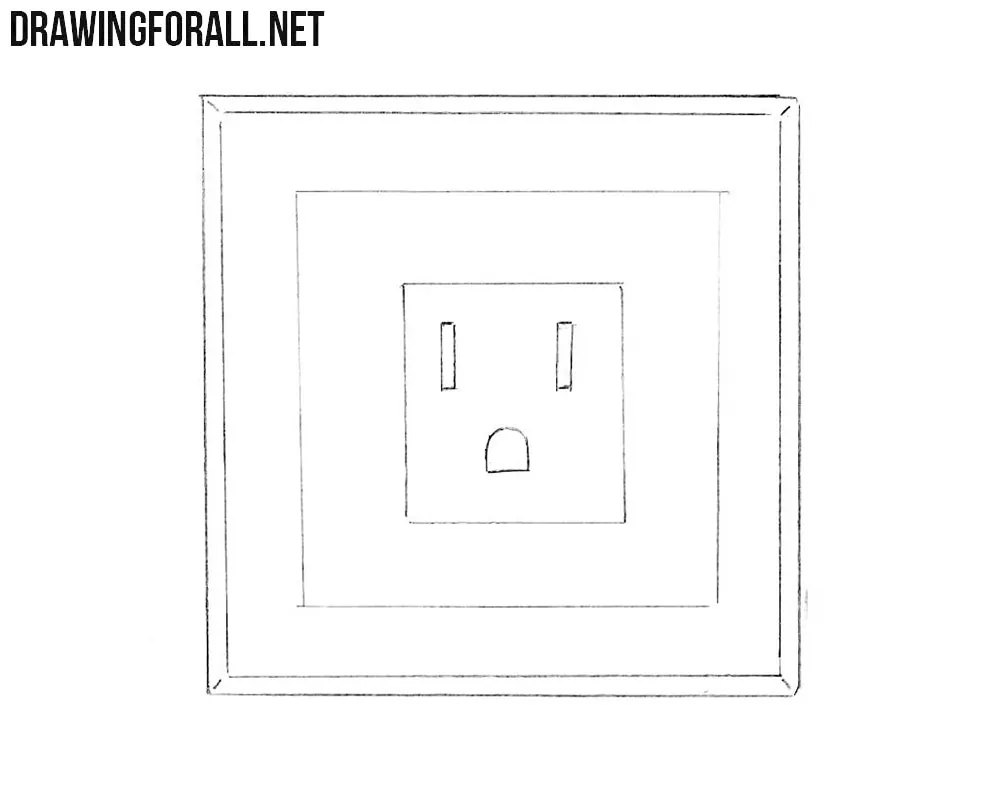
Step 3: Draw the socket’s three openings
Draw another square in the center. Inside it, draw two rectangular slots and one semicircular opening. Make this square about half the width of the one surrounding it. Place the two narrow slots vertically at the same height. Center the lower opening beneath them, with a curved top, short straight sides, and a flat bottom.
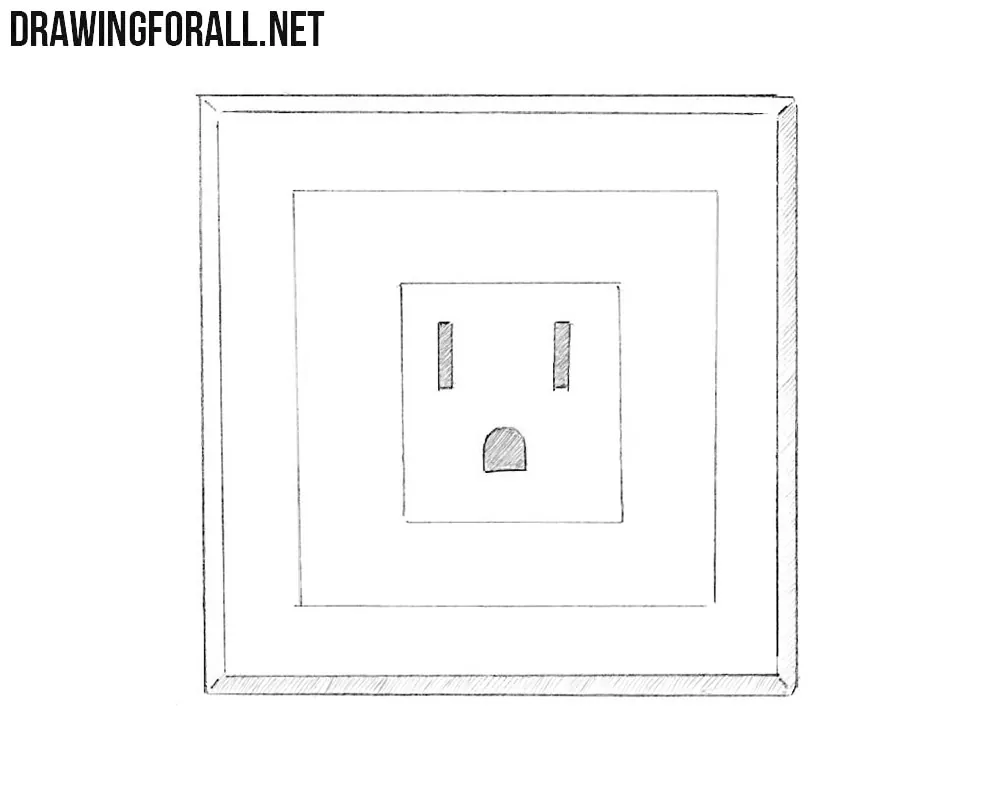
Step 4: Add shadows to the socket
Finish the socket drawing by shading the openings and adding shadows to the frame. Fill all three openings with closely spaced diagonal hatching. Apply lighter strokes along the narrow right and bottom edges of the outer rim. Leave the broad front surface and the upper and left edges unshaded.
As we said at the very beginning, a socket is quite symmetrical in most of its variations. Many similar elements found around the home have a comparable basic form.
Most often, this is a separate flat square or rectangular shape based on a flattened cuboid, with symmetrically arranged elements. In other words, although it is a fairly flat object, it still has basic volume.
When drawing a socket on a wall, it is important to remember this so that it does not look like a flat texture, but rather like a form that protrudes slightly from the surface.
You will draw a light switch in much the same way: as a slightly protruding square or rectangular form, but with a different element in the center.
The ability to draw such simple forms correctly will help you greatly when sketching convincing interiors.
If you want to explore drawing similar household electrical components in more detail, try drawing a plug using our step-by-step tutorial.