

How to Draw Xorn
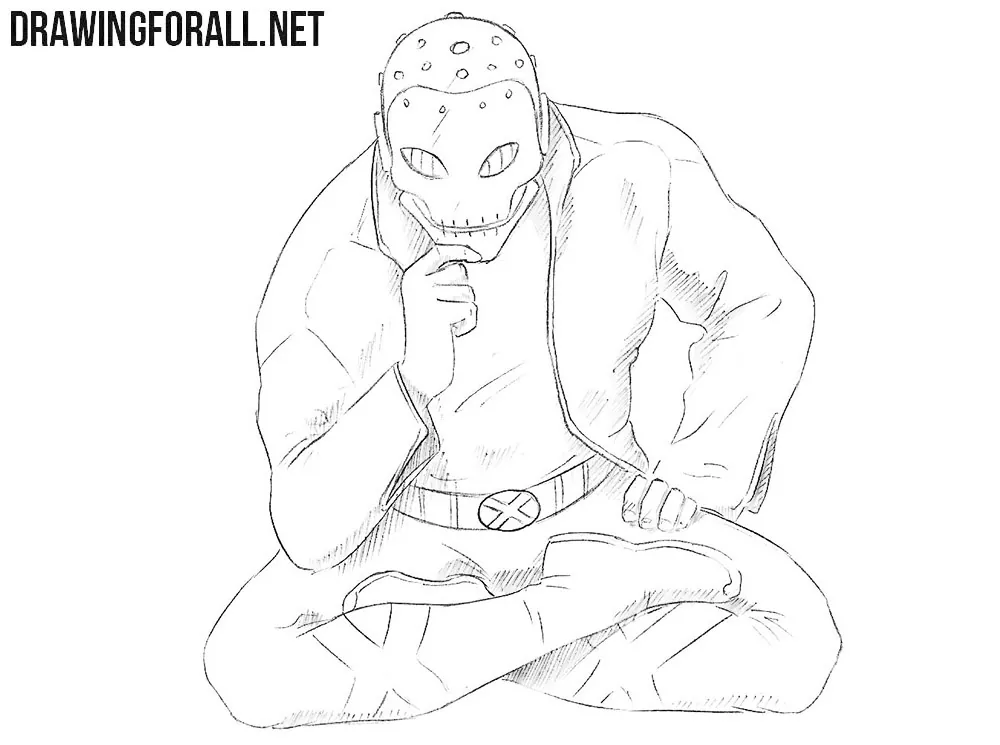
Xorn is a much less popular character than most of those we show you how to draw. Here we want to show you how to draw Xorn in his appearance from the original comics and demonstrate just how diverse comic-book characters can be and that they are not limited to only the most popular heroes.
In the comics, you can find different variations of this character’s design. We will depict him in his characteristic mask and fairly ordinary human clothing.
How to draw Xorn step by step
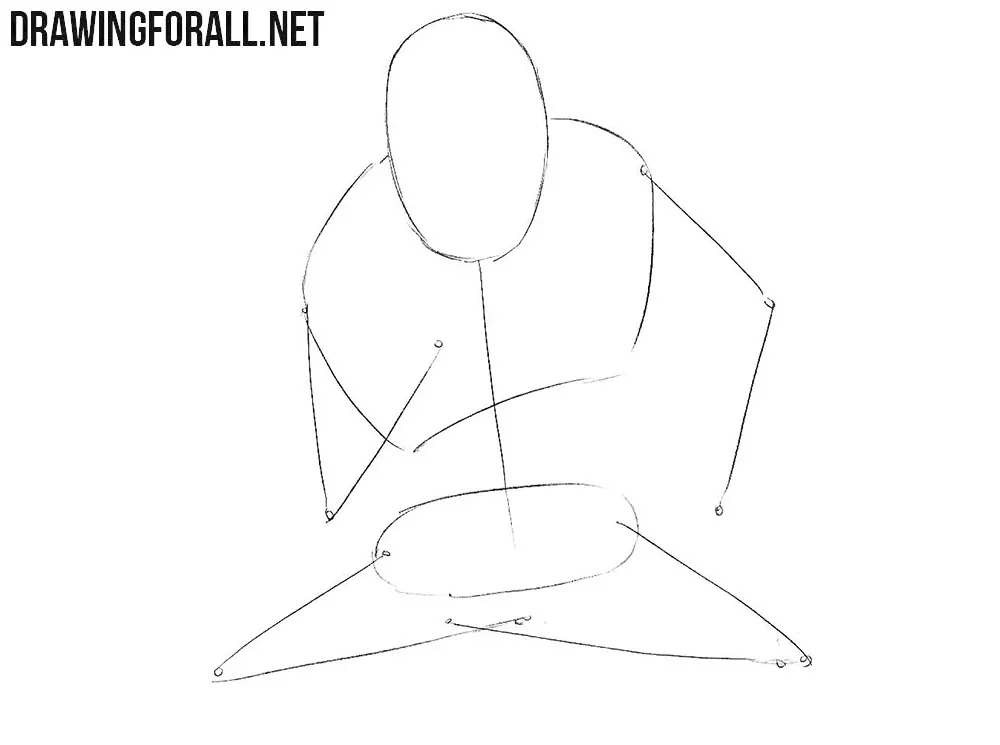
Step 1: Sketch Xorn’s basic figure guidelines
The character sits in a very unusual position, but all the basic principles of drawing a person still apply here. First, sketch the head and a simple line for the character’s spine. Next, outline the chest and pelvis. Finish the step by sketching Xorn’s arms and crossed legs.
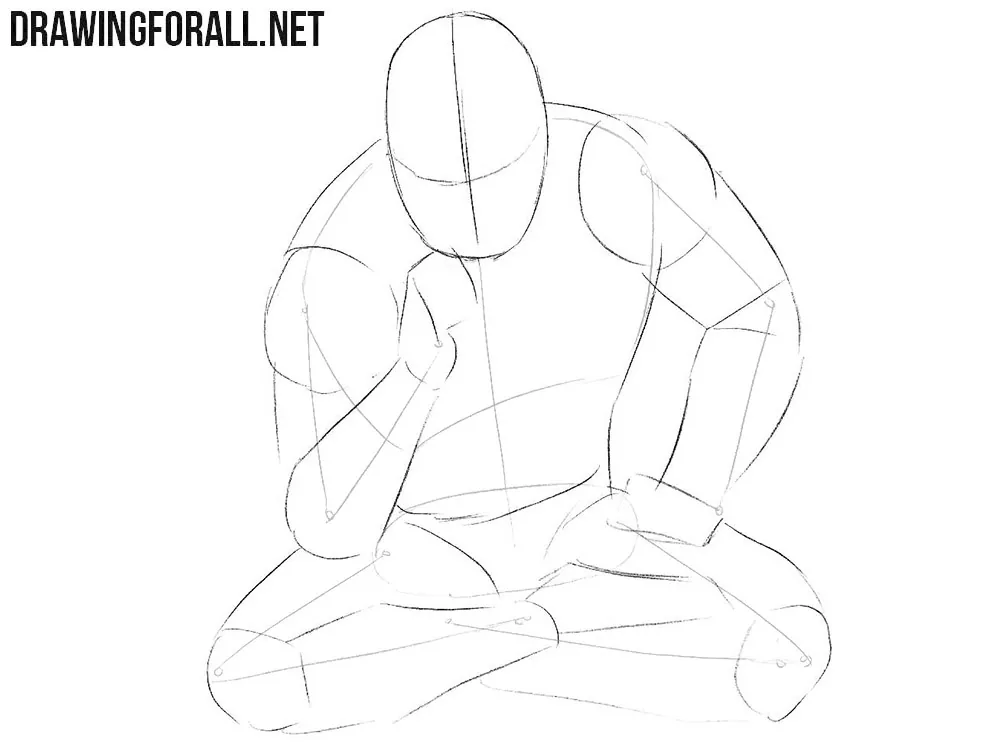
Step 2: Build Xorn’s body forms
Xorn has a muscular build. Sketch the main parts of the body with simple geometric forms. First, draw two intersecting guidelines on the face. Then add volume to the torso, arms, and crossed legs. Make the shoulder area very wide and narrow the torso toward the waist. Build the bent arms and legs with thick cylindrical forms.
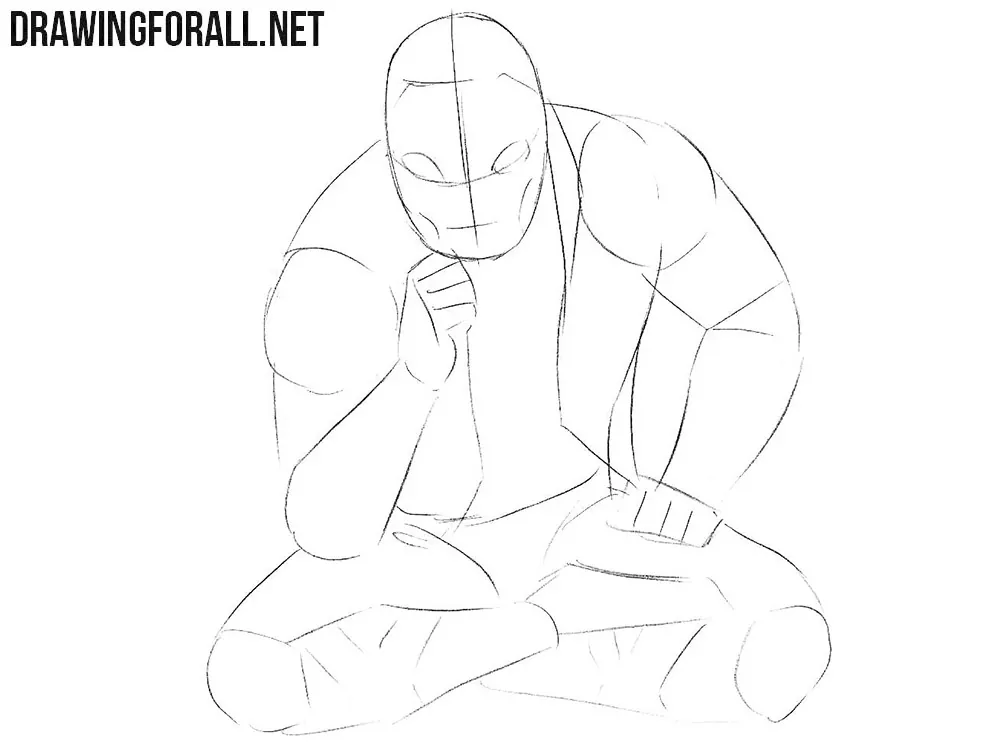
Step 3: Add the mask and clothing
Now sketch the main details of Xorn. Starting with the head, outline the eyes and mouth of the mask. Use the intersecting guidelines from the previous step to place these details. Next, move lower and sketch the fingers, jacket, belt, and clothing folds.
Step 4: Refine Xorn’s mask details
Carefully refine the outlines and details of the mask on Xorn’s head with clear, dark lines. Refine the narrow slanted eye openings and the line of the mouth, then define the angular lower edge of the jaw. Keep the upper part of the mask smooth for now, because the small circular details will be added later. Then erase all the unnecessary guidelines from the head.
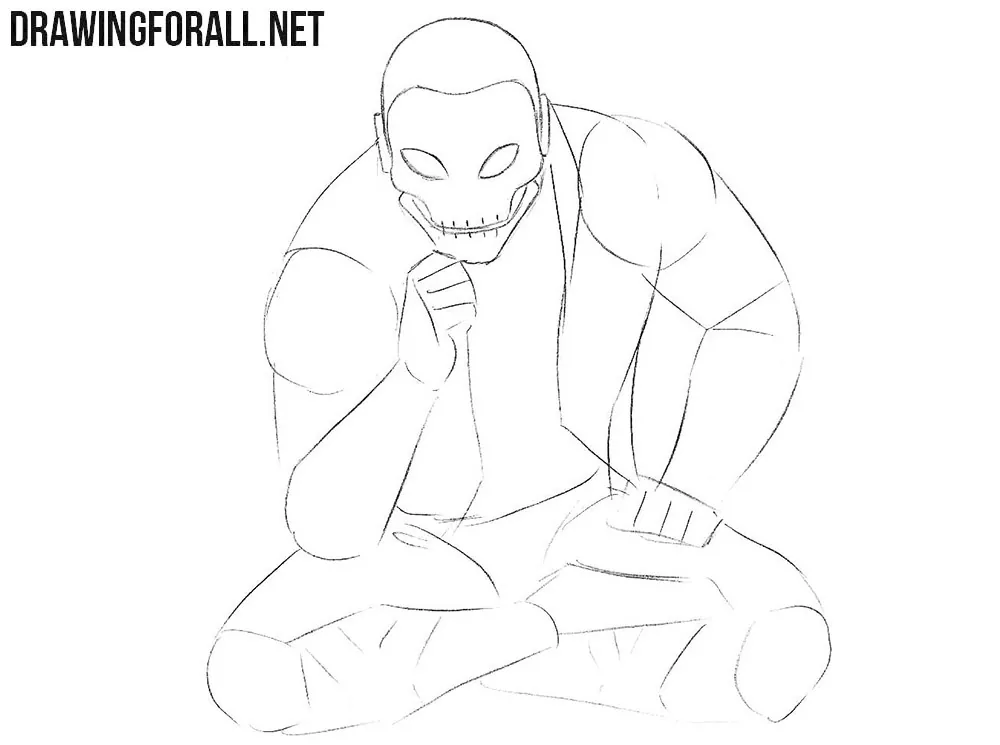
Step 5: Detail the jacket and torso
Now move lower and start drawing the details of the torso. With clear, dark lines, carefully draw the jacket, trace the collar and torso contours. Trace the two front edges of the open jacket descending from the collar toward the waist. Refine the belt and buckle, then remove the unnecessary guidelines from this part of Xorn’s body.
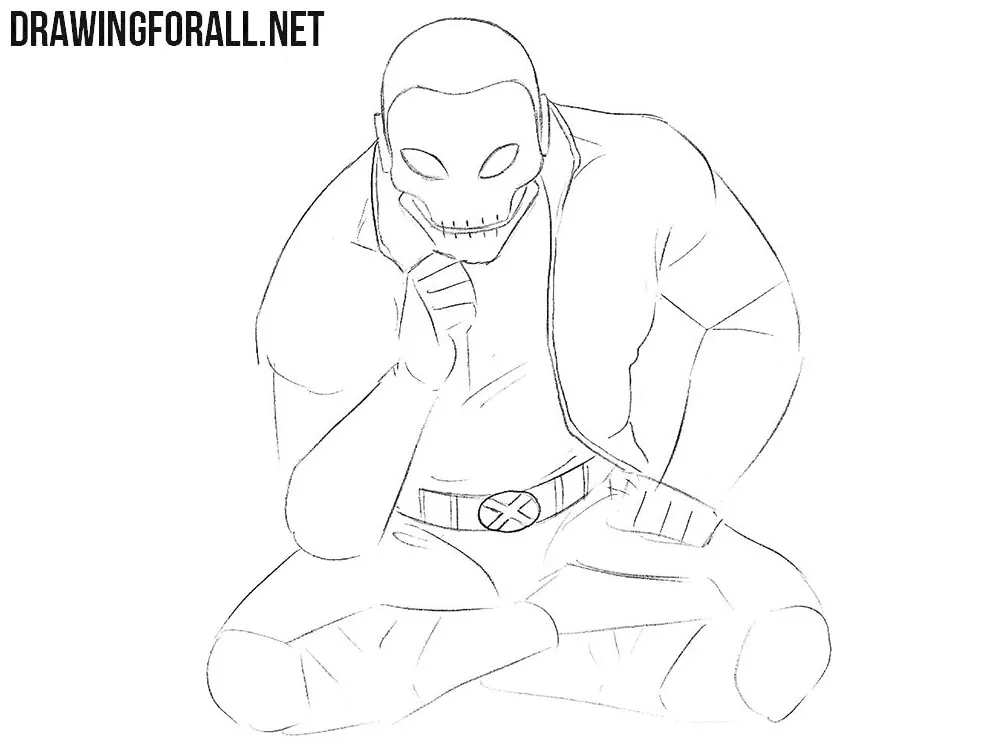
Step 6: Refine the sleeves and hands
Continuing the lines of the jacket, draw the sleeves and add the folds around the elbows and cuffs. Draw and refine the outlines of the forms in detail, gradually and carefully erasing the construction lines. Draw the hands in more detail by refining their contours and adding folds, fingernails, and creases at the joints.
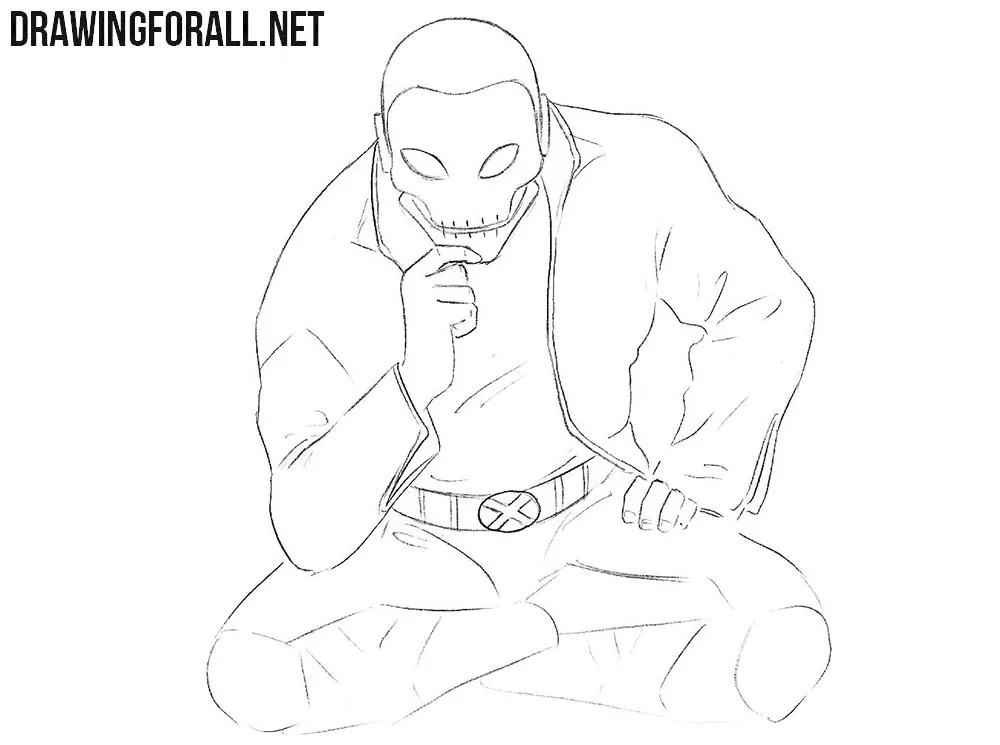
Step 7: Draw the crossed legs
Now carefully refine the lower part of the comic-book character’s body with darker, cleaner lines. Outline the legs and add folds where necessary. Then refine the outlines of the boots and draw the characteristic X symbols on the legs. Carefully erase all the construction lines from the lower body, trying not to disturb the finished details.
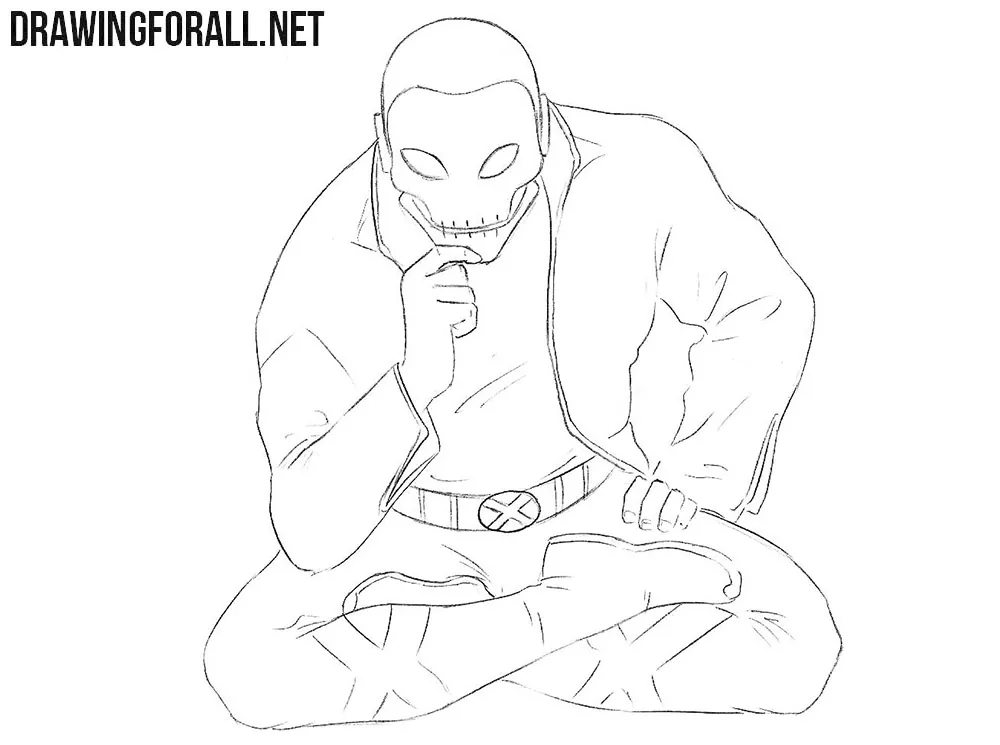
Step 8: Add the mask details and shadows
The Xorn drawing is almost complete. Add the small details to the upper part of the mask, then draw the shadows with dense hatching. Here we used a fairly soft shading scheme consisting of light hatching along the lower edges of the forms. You can also use contrasting black shadows, as in our tutorial on drawing Professor X.
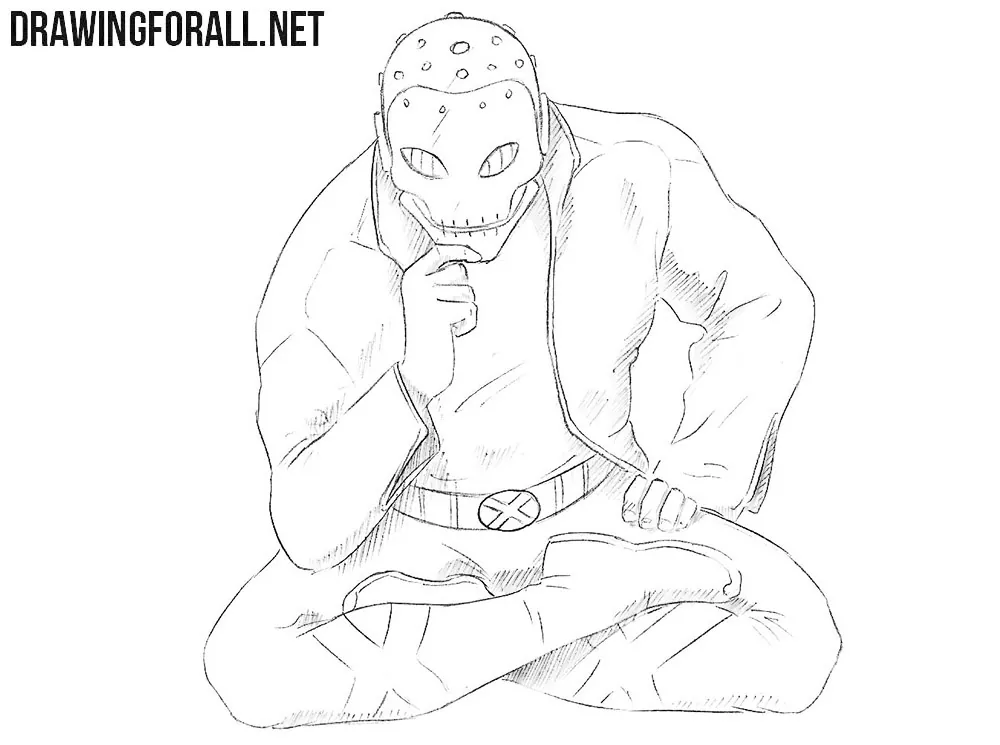
As we said at the beginning, this character has had different appearances in different comic-book issues depending on the story, and some of them differ quite radically.
Here we showed you how to draw him in a skull-like metal mask, jacket, and pants, but in other versions he appears as a much more unusual being.
Here we showed you how to draw this comic-book character in a seated position with his legs crossed. The same principles apply if you want to depict the character in any other pose.
If you need a reference for a fighting pose, study our Wolverine drawing tutorial or the tutorial where we show you how to draw Thor. You can take the costume and appearance from this tutorial and the pose from the guides mentioned above.



Can you please make a how to draw miles morales(with hoodie)