How to Draw Professor X
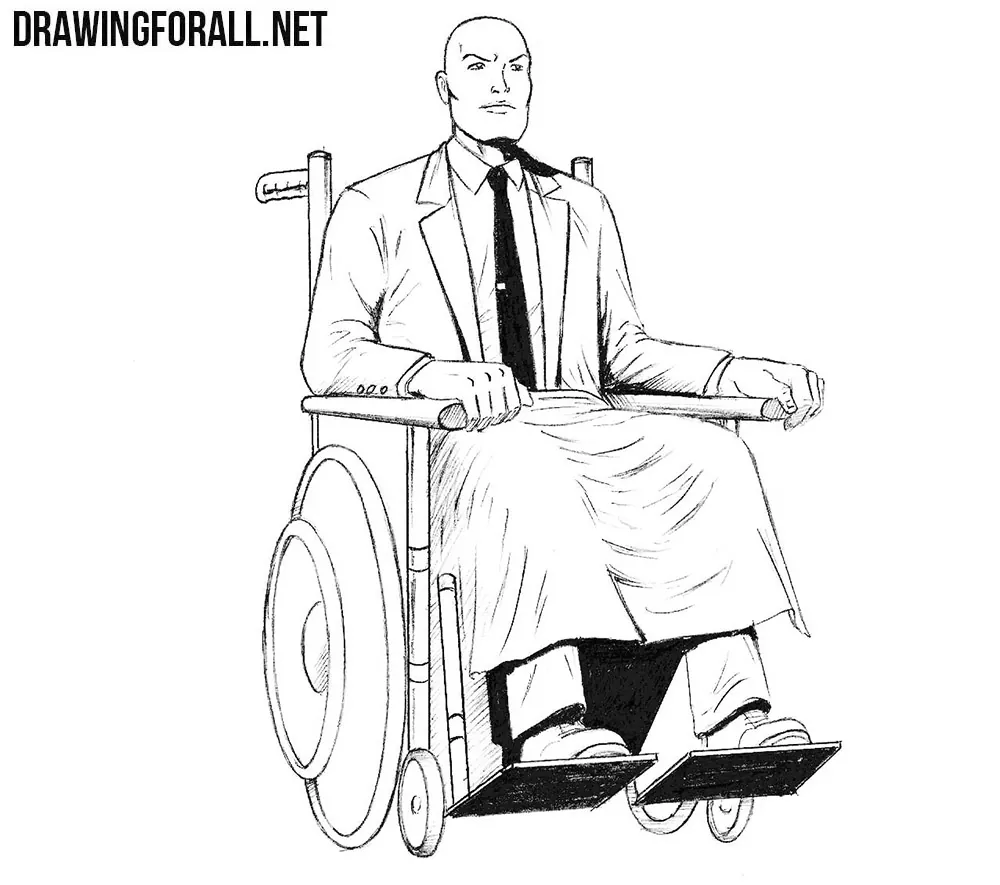
In our opinion, one of the wisest and most charismatic comic book characters is Professor Charles Xavier, the leader and founder of the X-Men.
We have already created drawing tutorials about many famous characters from the X-Men team, and here we want to show you how to draw Professor X or Professor Charles Xavier.
How to draw Professor X step by step
Step 1: Sketch Professor X’s basic guidelines
Let’s start with the skeleton of Professor X. First, sketch Charles Xavier’s head, then draw the line of the spine, along which we will mark the chest and pelvis. Next, outline the bent arms and legs with simple lines. Since the character is sitting, pay particular attention to the angles of the hips and knees.

Step 2: Add volume to Professor’s figure
Draw two intersecting guidelines across the center of the face. Next, sketch the neck and the general shape of the torso. Use very simple geometric forms to add volume to the arms and legs, building them around the lines from the previous step. Try to make the forms relatively slender, since Professor X does not need enormous muscles.

Step 3: Sketch the wheelchair
First, draw the handles behind the professor’s back. Next, outline the armrests beneath his arms and sketch the large wheels on either side. At the end of the step, mark the footplates below his feet.

Step 4: Draw Xavier’s facial features
Starting with this step, we will use clear, dark lines. Begin with the head, drawing the eyes along the horizontal guideline from the second step. Next, carefully draw the eyebrows, nose, and mouth. Pay attention to the proportions and the expression of Professor Xavier’s face.

Step 5: Refine the head and neck
Continue drawing the details of the head. First, carefully refine the upper contour of the bald head, then draw the jaw and ears in detail. Next, outline the neck with smooth lines, connecting. At the end of the step, remove all unnecessary guidelines from the head.

Step 6: Draw the shirt and jacket
Now let’s move on to the torso. First, carefully draw the shirt collar and long tie. Next, refine the contours of the shoulders and draw the lapels of the jacket. Be sure to remove the unnecessary guidelines from this part of the figure.

Step 7: Refine the jacket sleeves
Continuing the lines of the shoulders, draw the outlines of the jacket sleeves. Add the seams at the shoulders and the buttons near the cuffs. Now use short, curved lines to show the folds where the fabric is compressed or stretched, especially around the elbows.
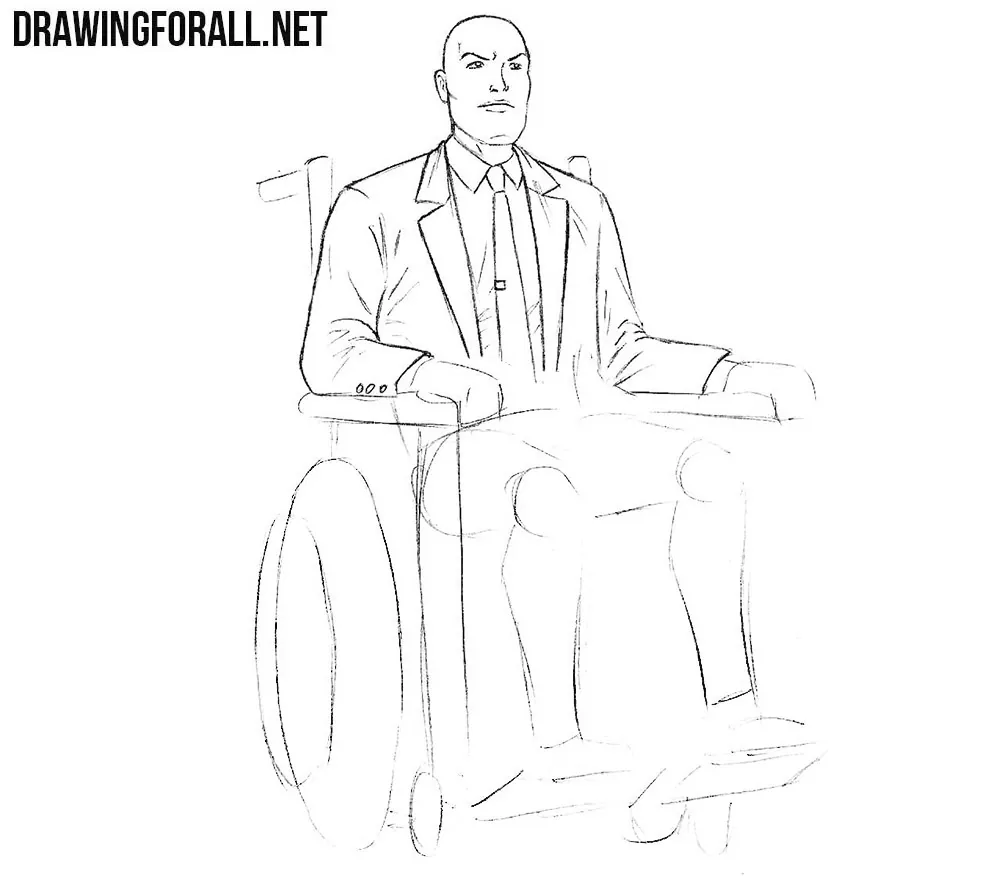
Step 8: Draw the hands and wheelchair handles
Using clear, dark lines, refine the wheelchair handles behind Professor Xavier’s back. After that, carefully draw the hands, paying attention to the knuckles and the bends of the fingers. Make sure the hands rest naturally on the armrests.

Step 9: Draw the blanket folds
Now let’s move on to the lower part of the body. Here we need to draw a blanket covering Professor X’s legs. Use long, curved lines to outline the folds of the fabric, taking into account the position of the legs beneath it. The folds should follow the general shape of the knees and fall naturally toward the front of the wheelchair.
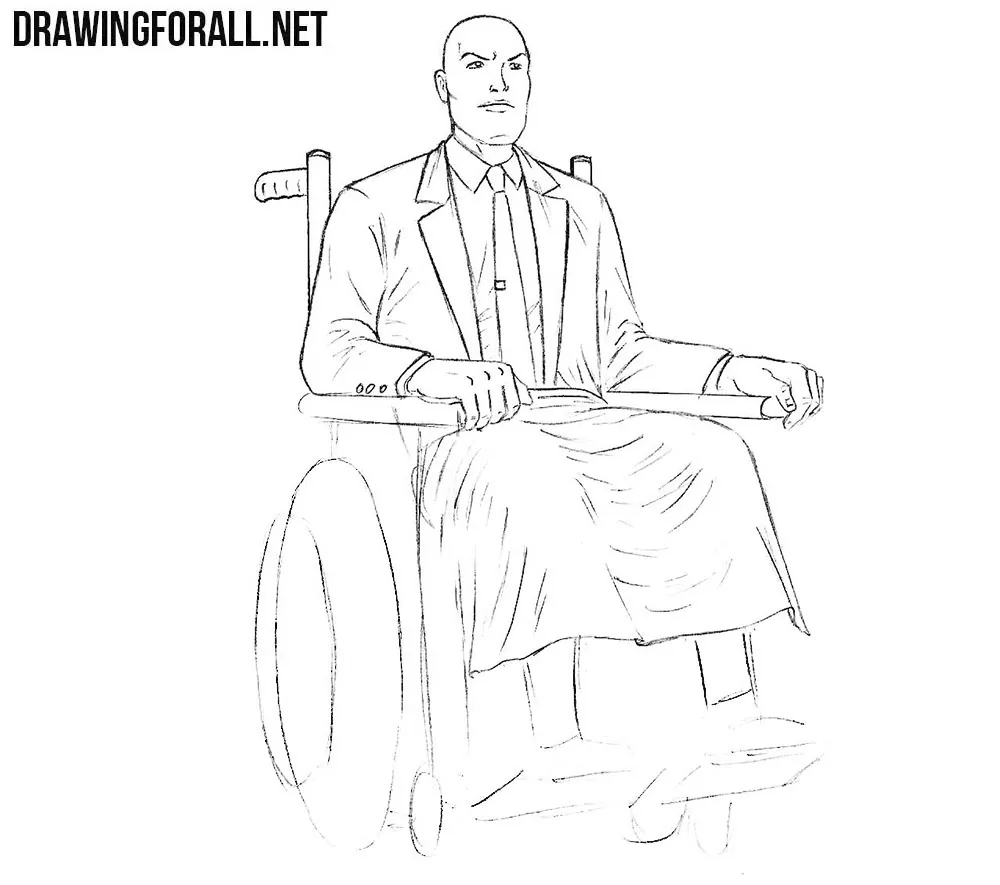
Step 10: Refine the wheelchair wheels
Now use straight lines to carefully refine the armrests and the frame of the wheelchair. Draw the large wheels with smooth, rounded contours. In the same step, draw the lower edges of the pants and remove the unnecessary construction lines from this area.

Step 11: Finish the shoes and wheelchair
Now carefully draw the shoes, paying attention to their shape and position. After that, outline the footplates beneath the feet. Draw the small front wheels and the remaining parts of the wheelchair. Remove all unnecessary guidelines from the drawing before moving to the final step.

Step 12: Add comic-style shadows
We will use the classic comic book style, in which the darkest shadows appear as solid black areas. First, outline these areas and fill them in. For lighter shadows, use hatching with closely spaced lines. Vary the density of the strokes to create different tones and give the drawing more volume.
Professor X, or Charles Xavier, has appeared in one form or another in virtually every X-Men comic and adaptation.
Almost always, with rare exceptions, he is a bald man sitting in a wheelchair. These features alone are enough to make Professor X recognizable in a drawing. Everything else is a matter of detail, and these details can vary greatly from comic to comic and from one adaptation to another.
For example, in some comics, his wheelchair looks more like one you might see in real life today, while in other X-Men comics and adaptations, it resembles a futuristic device that moves not on wheels but by hovering slightly above the ground.
Remember the character’s main distinguishing features, and don’t forget that changing smaller details while preserving these basic characteristics will still allow you to draw a recognizable Professor X.
The same principle, by the way, applies when drawing Magneto, Professor X’s longtime friend and enemy. His helmet and cape alone are enough to let the viewer recognize Magneto, while smaller elements and details simply help complete his appearance.