How to Draw Spider-Man Swinging

This tutorial shows how to draw Spider-Man swinging and continues our series of guides on the friendly neighbor.
Previously, we showed you how to draw Spider-Man, where we explained the most basic principles underlying the construction of this character’s figure and the creation of his canonical look.
In this tutorial, we want to focus more on dynamics and swinging on a web – one of the most recognizable actions associated with this hero.
We will show you in detail how to draw Spider-Man swinging using a classic comic style, and then at the end explain how to make the drawing truly three-dimensional and lifelike.
How to draw Spider-Man swinging step by step
Step 1: Sketch the stick figure of the superhero
As always, we start with a stick figure – a figure made of lines and circles – which is needed to indicate the character’s proportions and position on the paper. Due to Spider-Man’s dynamic pose, there are some specific features – we don’t see his neck, and the arms and legs appear shorter than they actually are. First, draw an oval to form the head. Using simple lines, sketch out the arms, spine, and legs.

Step 2: Draw the face guides and upper body
The vertical facial line will help you find the center of the face, and the horizontal line will help you to draw the eyes of Spider-Man. The horizontal line passes through the center of the face. However, in this case, Spider-Man is looking slightly downward, so the line will be placed a bit lower. Next, indicate the superhero’s shoulders as two spheres, and the upper and lower arms as flattened cylinders. Depict the back hand clenched into a fist – it will be holding the web – and the front arm in the characteristic web-shooting pose. With a few light lines, indicate the outline of the friendly neighborhood hero’s torso.

Step 3: Draw the legs of swinging Spider-Man
Continue building up the volume by adding it to the legs in the same way. First indicate the upper legs, then the lower legs, and finally the feet. Make the leg closer to us slightly larger than the one behind to create a stronger sense of depth in the drawing. The figure should show a subtle contrapposto – the arms and legs are positioned forward in opposite directions.

Step 4: Draw the eyes of Spider-Man
To draw Spider-Man’s head accurately, use the guidelines marked earlier. First, outline the eyes using the horizontal line, placing them evenly on both sides of the vertical line. Then, with smooth lines, trace the outline of the head, giving it a more authentic look.

Step 5: Refine the mask of the superhero
Now erase all the guidelines from the hero’s head, leaving only clean, clear outlines. For this step, you can use a softer pencil or specialized comic inking pens. A regular black pen will also work to create a comic-style effect. Due to the more dynamic pose, the head has a slight tilt that follows the direction of the torso. Check the accuracy of this tilt and the placement of the head before moving on to the next step.

Step 6: Outline the character‘s upper body
The spheres and cylinders that define the figure’s volume now need to be turned into smoother body contours of Spider-Man. To do this, carefully refine the outline with still light but smoother lines, connecting the geometric shapes into more seamless muscle forms. Draw the superhero’s arms in more detail, indicating the fingers and individual phalanges.

Step 7: Outline the lower body
Following the method you used to shape the upper body of Spider-Man, trace the outlines of the legs and feet. Give them a smoother look, lightly indicate the placement of the muscles, and separate the sole of the foot closest to us with a light line.

Step 8: Finalize the hero’s upper body
Refine the torso, giving it a more finished and clear look by tracing it with a darker pencil, pen, or liner. In the same way, define the outlines of the arms, adding details and erasing any remaining guidelines. Make sure the arm positioned forward is slightly larger than the one behind so the sense of depth in the drawing is preserved.

Step 9: Finalize the character’s lower body
Now carefully refine the outlines of the legs in the same way you did with the upper part of the body. Draw the planes of the boots, taking into account how each particular leg is turned, and place these lines according to that form. Ignoring this will make the legs inconsistent with the perspective of the drawing.

Step 10: Draw the radial web lines of Spider-Man
Fill the eye frames of Spider-Man with a solid black color. Then begin drawing the web pattern by sketching lines from the bridge of the nose radiating in different directions. Next, draw lines running from the head downward and outward toward the waist and arms. Add the same lines on the superhero’s boots. Try to draw these lines in accordance with the form they are on and their tilt.

Step 11: Draw the spider logo and cross web pattern
Now draw the cross lines of the web pattern on Spider-Man’s suit, again starting from the bridge of the nose and gradually spreading outward. In the same way, add this web pattern to the torso, arms, and legs, keeping in mind that it appears only on the red areas. Then draw the Spider-Man logo in the center of the chest.

Step 12: Draw the shadow guides of Spider-Man
To correctly draw Spider-Man swinging, it is necessary to depict the web in his hands. In our example, the friendly neighborhood hero is holding one strand of web with his back hand and shooting another with his front hand. Then outline the shadows on the blue areas of the suit, taking into account the contours of the muscles and the form of the body parts.

Step 14: Complete the comic-style shadows
Fill the indicated shadow areas with solid black to convey a classic comic-era style. To show halftones and transitions from shadow to light in certain areas, use clear, firm hatching that follows the form. Check your Spider-Man drawing once again, making sure that all the forms, volumes, and shadows are placed correctly and convincingly.

Using the axis to draw Spider-Man swinging
In the tutorial on how to draw Spider-Man standing, we previously covered the importance of the gravity axis line and how it helps construct a vertically standing figure.
A line running from the head down to the supporting foot, or between the feet, allows you to check balance and symmetry of the drawing.
Similar guiding lines are also useful when you draw Spider-Man swinging, but they work in a different way. In this case, the character is not supported by the ground.
Instead, the motion is defined not only by gravity but also by centripetal force, which creates a pendulum-like movement.
One end of the web is attached to a fixed point, such as a wall, and the other is held in Spider-Man’s hand.
This creates a straight directional line from the anchor point to the character. If you extend this line through the body, it becomes a key guide.
By visualizing or lightly sketching this line – from the wall, along the web, and through the figure – you can better judge the symmetry, direction, and overall correctness of the pose.
It helps align the torso, limbs, and center of mass within the swinging motion and makes the figure look more convincing.

This works when you draw Spider-Man swinging in any position. Before starting the drawing, imagine this line or lightly sketch it. It does not have to exactly match the web line, but it should follow the same general direction.
After that, begin laying in the figure with light construction lines, gradually developing it step by step, as shown in this tutorial.
The key point is to understand how this principle works and keep it in mind throughout the drawing process.

Using perspective and overlapping
It is also important to keep in mind the principles of linear perspective and atmospheric perspective when drawing Spider-Man swinging.
Unlike static poses, where there is little foreshortening or overlap and the sense of motion is less critical, more dynamic actions require these principles to make the image convincing.
To convey depth and dimension in a swinging Spider-Man pose, you need to actively enlarge the parts of the body and the web that move toward the viewer and reduce those that move away. This use of foreshortening helps create a strong sense of space and movement.
In addition, overlapping forms play an important role. This is especially noticeable in the arms, where one part of the limb partially covers another, reinforcing depth and making the pose feel more solid and believable.

When drawing the web pattern, it is also important to keep linear perspective in mind – how lines converge and forms diminish as they recede into space.
The radial lines of the web gradually move closer together with distance, while the curved cross-lines become smaller and slightly closer to each other as they move away.
By applying these changes consistently, you make the web feel more three-dimensional and the overall drawing more convincing.

How to draw a shooting web
Now let’s look at how to draw a web being shot. This is important when you draw Spider-Man swinging.
Start by outlining the upper and lower edges, slightly spreading outward from the point where the web is released.
Then add longitudinal texture lines to indicate separate strands within the main web mass. After that, draw curved cross-lines that wrap around these strands, forming ring-like segments along the web.

Practice drawing Spider-Man in different poses
Now it is time to combine these concepts and move on to more advanced practice.
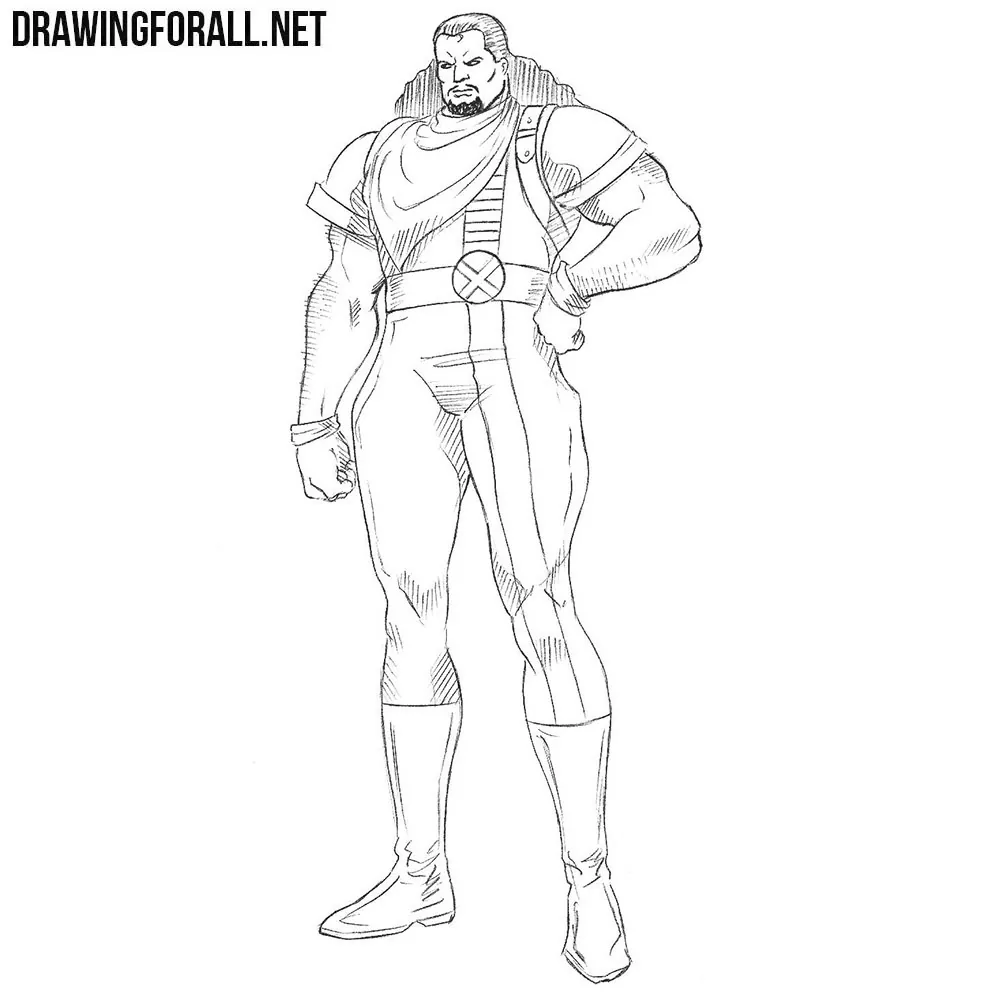
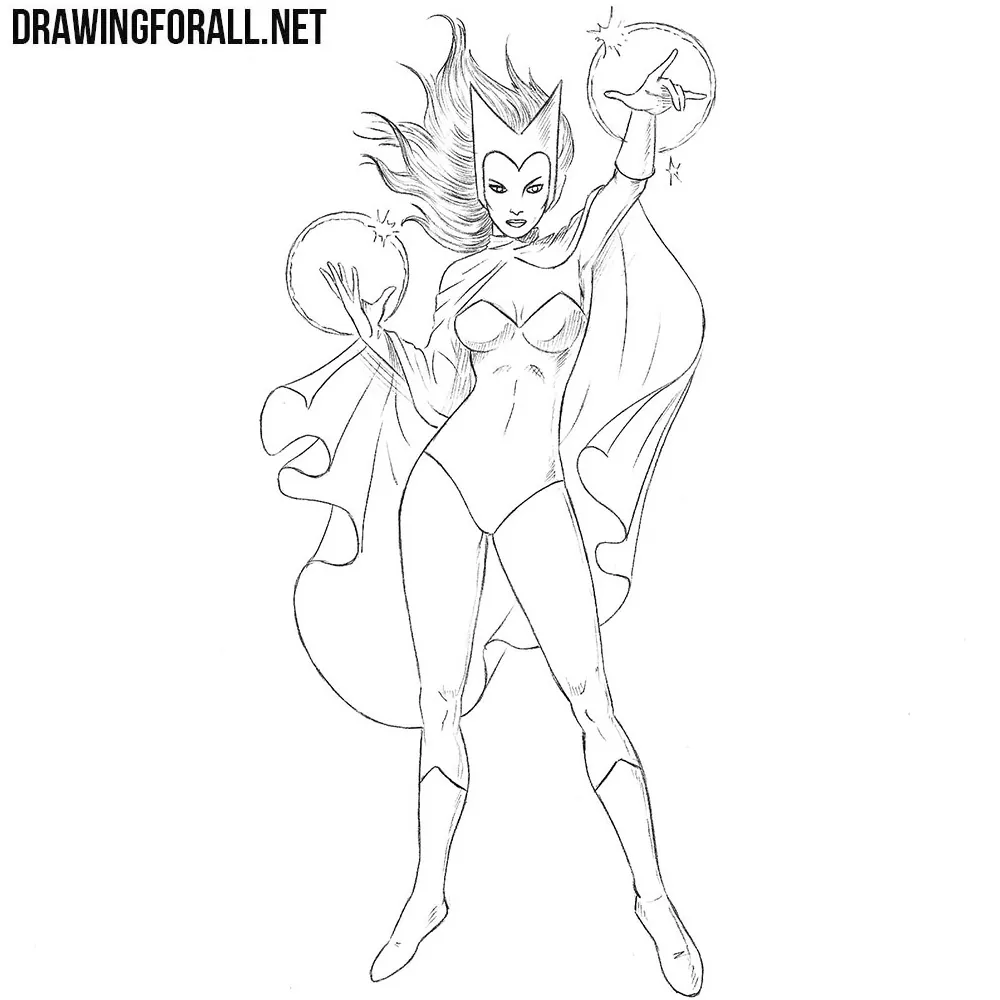
Use the steps from the tutorial along with any of the references below to draw Spider-Man swinging. Try different poses and angles to vary the results.
You can also draw him holding the web with both hands, or increase the complexity by placing the superhero in mid-air among skyscrapers.

It is also useful to practice drawing the friendly neighbor in other poses, both standing and crawling along a wall.
You can draw Spider-Man on a web in a corner, similar to an arthropod waiting for its enemies.


Super but please draw a very simple
Very super thank you and congratulations
😃awesome, this technique is very very nice, to draw. Its very helpful. I like this
Thanks this help me alot
you make drawing feel so easy. thank you for your simple pictures and explanations for steps… so excited to draw this for my grandson… looking forward to checking out your other sketches… hulk will be my next one