How to Draw a Pomegranate
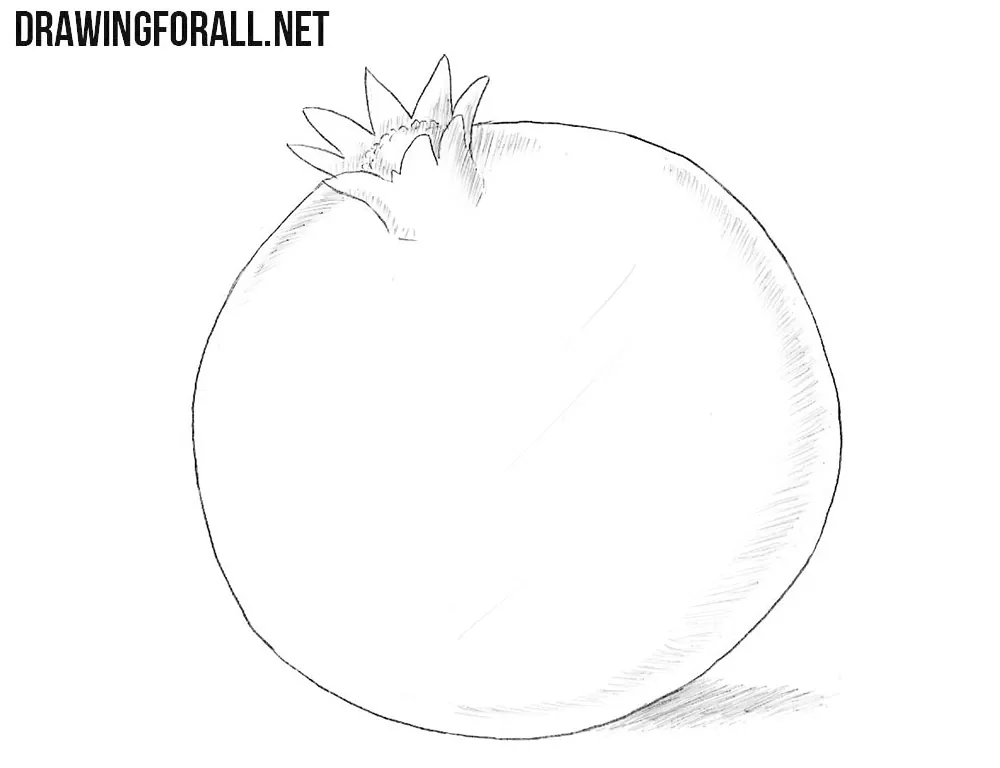
A pomegranate has a very distinctive appearance that differs noticeably from most other fruits. In this step-by-step tutorial, we will show you how to draw a whole pomegranate, convey its overall form, and depict the crown at the top.
The first thing to keep in mind before you start drawing is that, following the principles of artistic vision, the overall form should be understood as an irregular sphere.
The upper part, or crown, can be thought of as a short cylindrical form that widens slightly toward the top. Keeping this in mind, let’s begin the drawing.
How to draw a pomegranate step by step
Step 1: Sketch the pomegranate shape
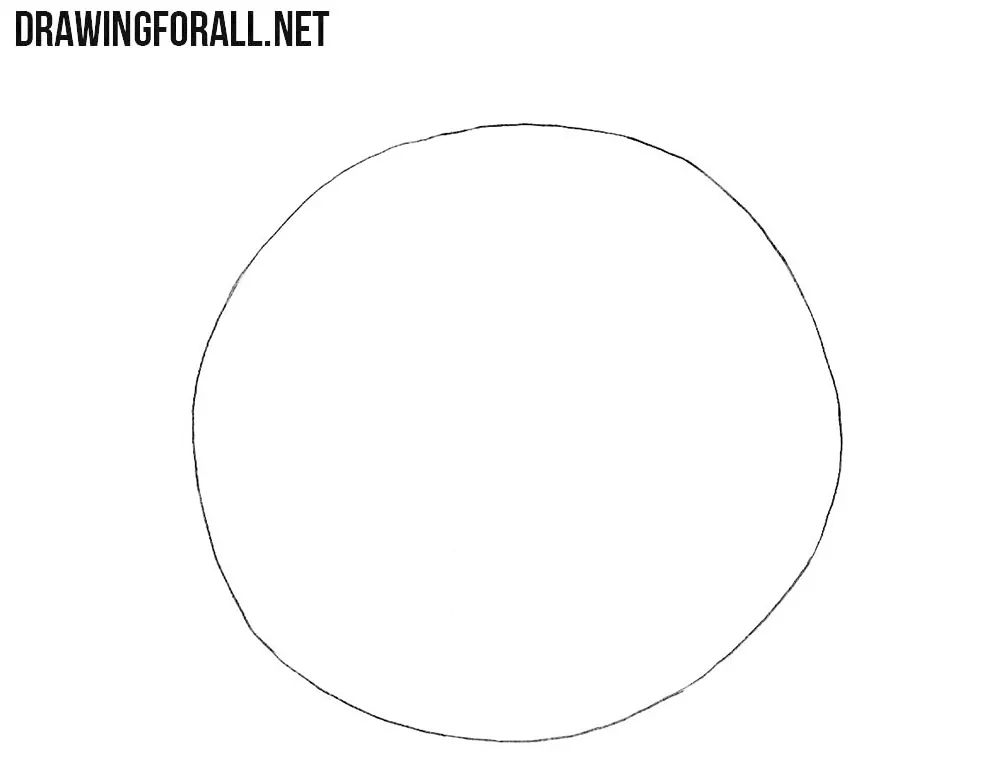
Like many of our fruit drawing tutorials, this pomegranate tutorial begins with a simple circle drawn with light lines. Treat this circle as the outline of a spherical fruit form rather than as a flat shape.
Step 2: Draw the pomegranate calyx
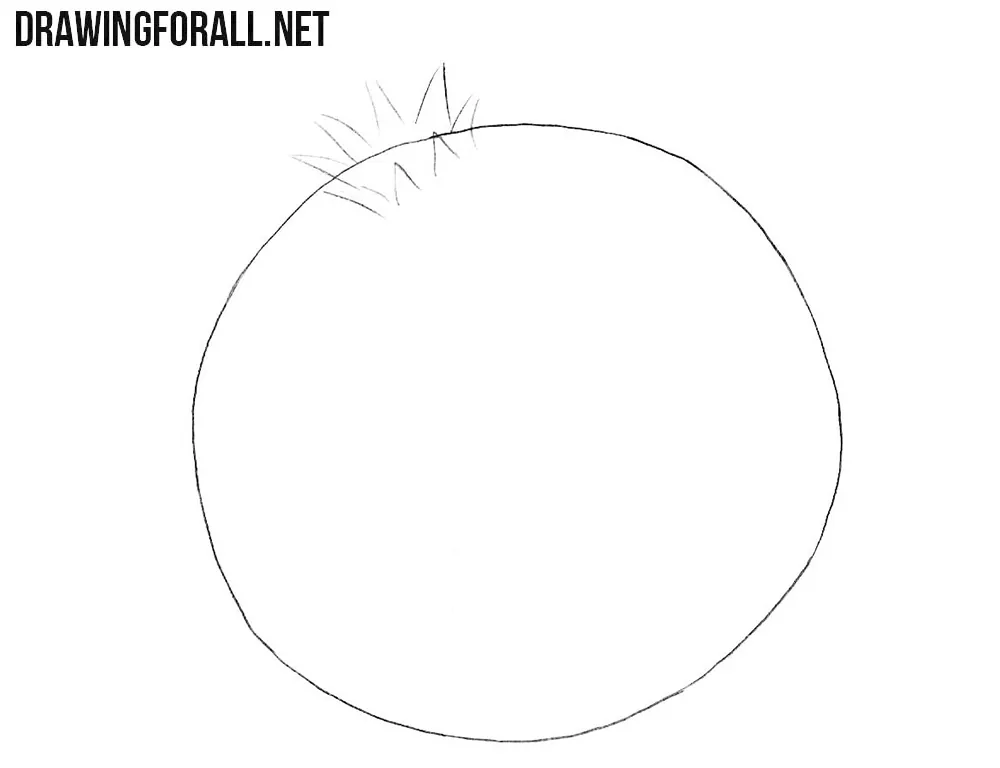
Use several short, light lines to sketch the crown-like calyx at the top of the pomegranate. Form it from several separate pointed lobes spreading outward from the same small area. Vary the length and angle of these calyx lobes, as in our example. Imagine the shape of the crown as a flower spreading outward.
Step 3: Refine the calyx and outer contour
Erase the unnecessary guidelines from the pomegranate drawing and add the inner details inside the calyx. Remove the part of the original circular outline hidden by the crown. Give the overall form of the pomegranate and its upper part a clean, finished appearance. The outline of the pomegranate should not be perfectly round, but should instead have a few slight, barely noticeable irregularities.
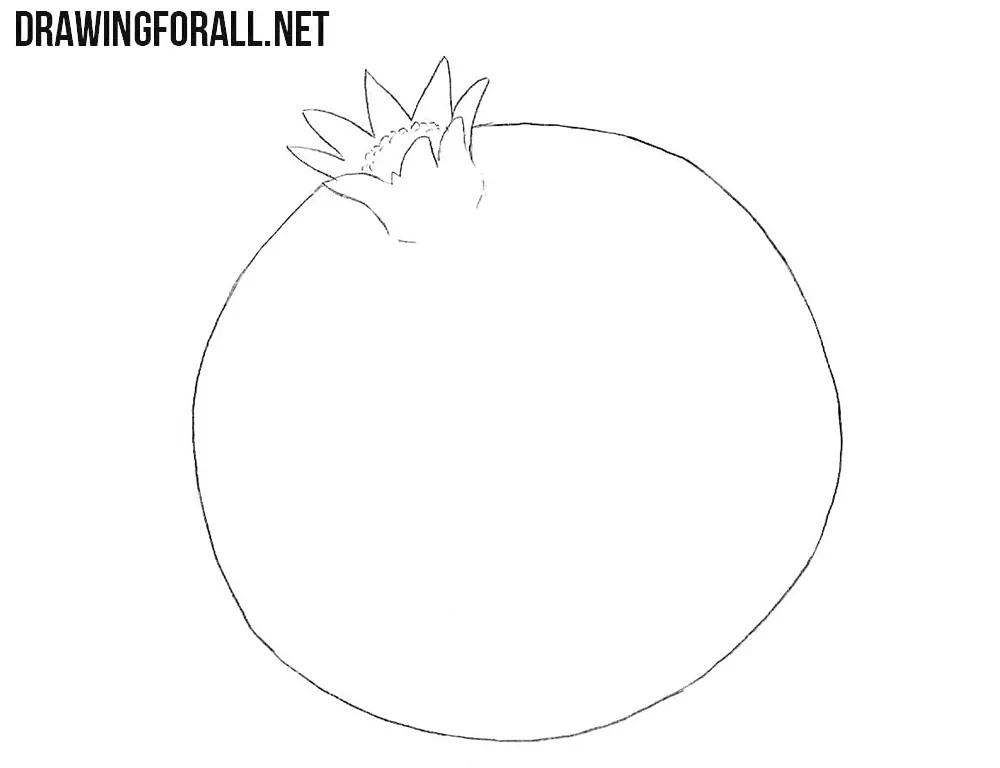
Step 4: Shade the pomegranate and cast shadow
Lay a band of hatched shading along the right-hand edge of the fruit. Make it narrower as it approaches the upper and lower contours. Add a separate pocket of tone where the calyx meets the fruit and inside the spaces between its pointed lobes. The cast shadow begins at the lower-right edge of the pomegranate and stretches across the surface to the right.
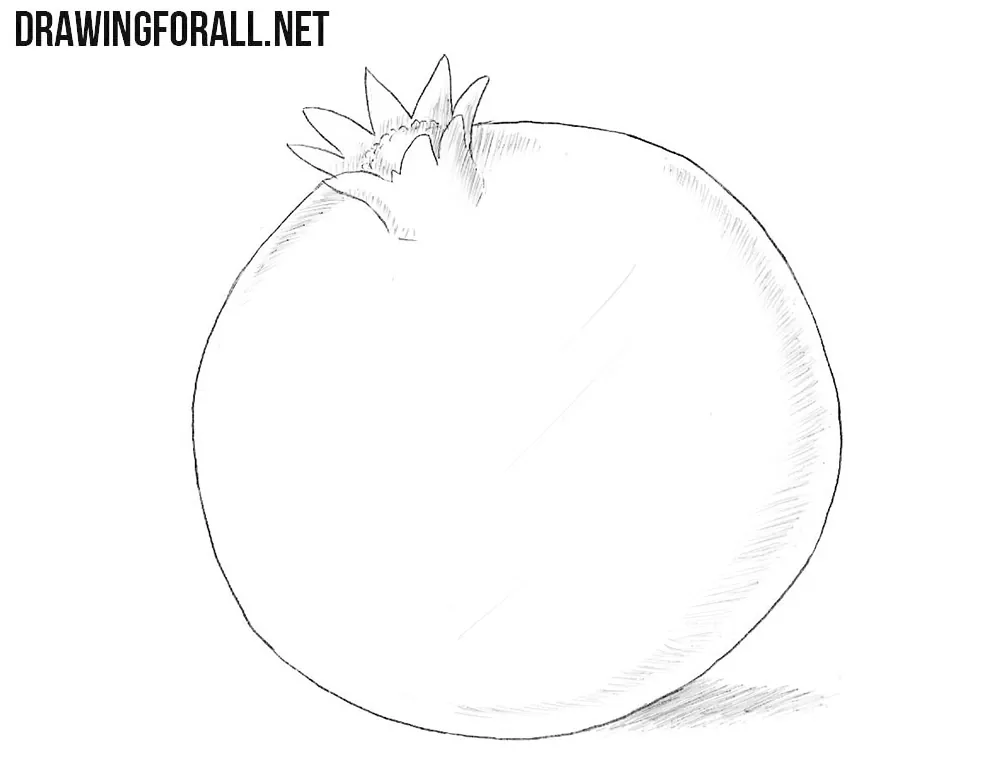
So, let’s once again reinforce the main principles of drawing a pomegranate. First, the fruit itself is an irregular spherical form, if we are talking about a whole, uncut pomegranate.
Second, its crown is a small cylindrical form that widens toward the top. These two forms create the basis of the pomegranate, while the details give it a finished appearance.
Keep this in mind and try turning the fruit in different directions in your drawings. For reference, you can either place a real pomegranate in front of you or use photographs from the internet.
Vary the lighting, change the viewing angle, and add or remove the background. Draw apples, pears, or other objects behind it, trying to position them correctly in relation to one another, place them properly on the same plane, and preserve the overall unity of the drawing.