

How to Draw a Pineapple
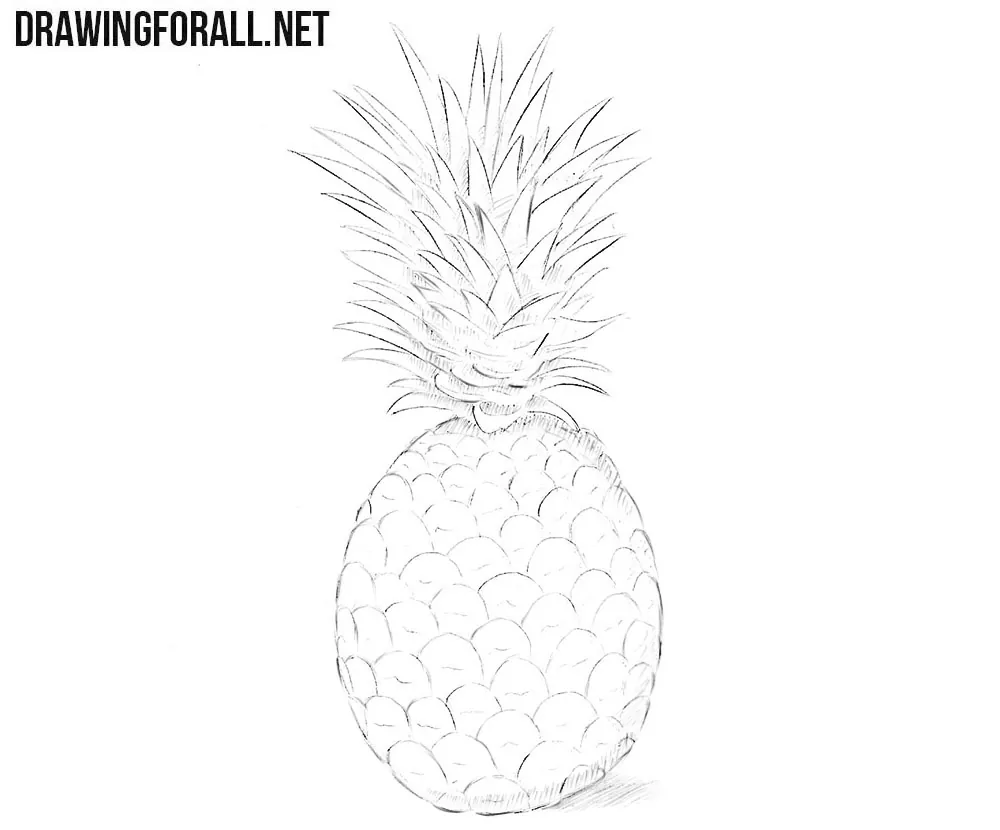
A pineapple is one of the most difficult fruits to draw. But in this step-by-step tutorial, we will not only show you how to draw a pineapple, but also how to make it look three-dimensional.
At the very end, we will explain some important nuances of constructing this fruit on paper. You will learn how to create the overall form, correctly connect the fruit and the leaves, depict the texture properly, and achieve volume in a simple way.
How to draw a pineapple step by step
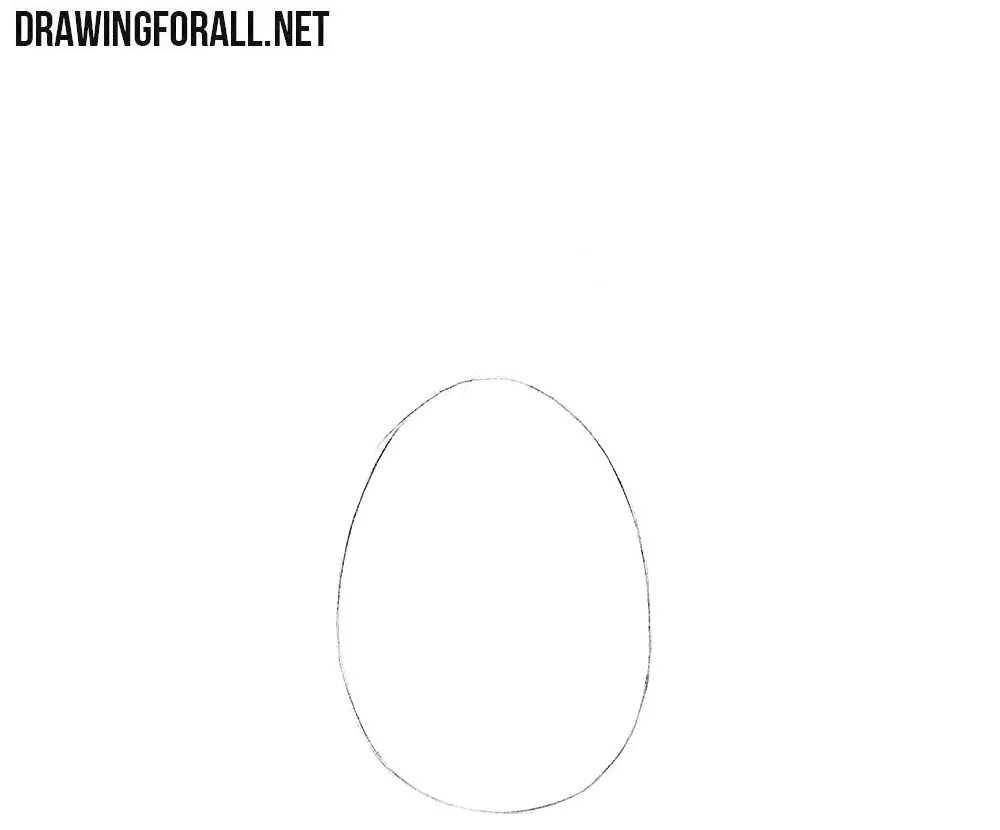
Step 1: Sketch the pineapple’s basic shape
Outline the pineapple as an oval with the top slightly narrower than the bottom. Imagine the fruit as an egg-shaped solid with a broad lower half. When drawing the form, try to maintain symmetry and remember that you are depicting a three-dimensional object.
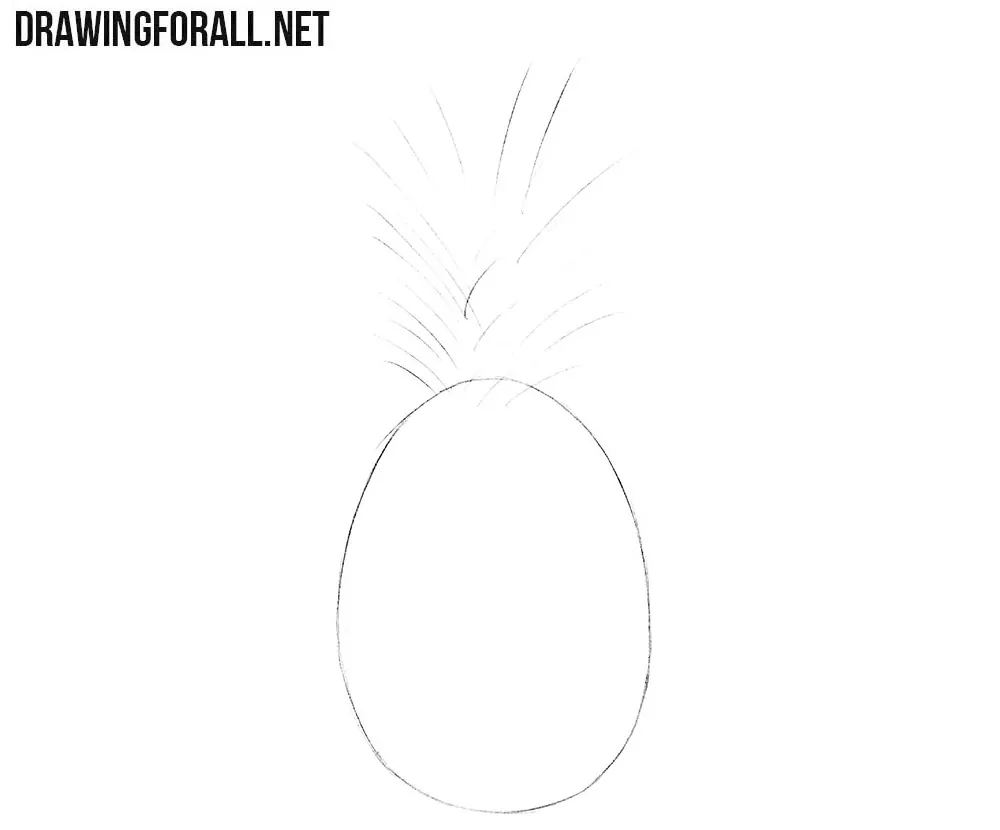
Step 2: Sketch the pineapple’s leafy crown
Sketch the foliage at the top of the pineapple using light lines. Use long, sweeping strokes to mark the directions of the leaves around a common central core. Make the upper strokes longer and more upright, with shorter strokes spreading outward near the base. The crown should be roughly as tall as the fruit.
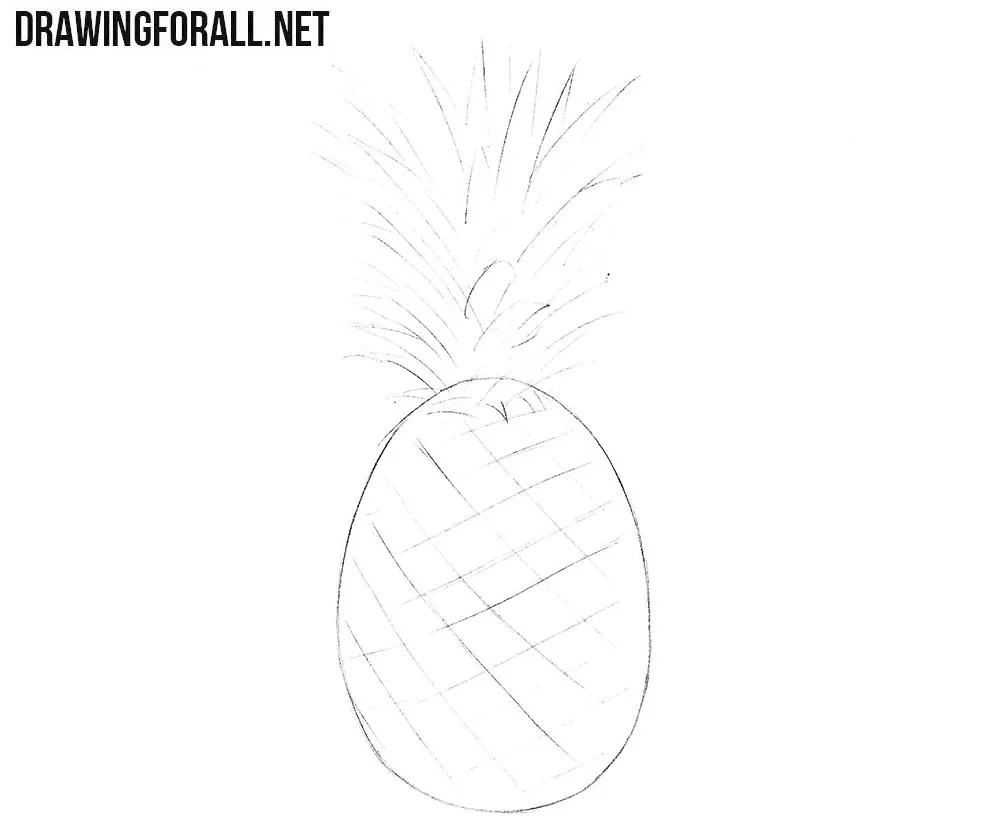
Step 3: Mark the pineapple’s surface pattern
Now sketch intersecting lines on the surface of the pineapple, again using very light lines. Draw one set diagonally across the fruit, then cross it with lines slanting in the opposite direction to form a diamond-shaped grid. Take the curvature and volume of the form into account when drawing the texture.
Step 4: Draw the pineapple’s scaly texture
Use very short, curved lines to draw the scaly texture of the pineapple’s skin. Follow the grid to arrange the scales in staggered rows, with arched upper edges and small curved marks inside. Draw larger scales across the front and narrower ones along the sides. Replace the smooth outer contour with small bumps where the scales meet the fruit’s silhouette.
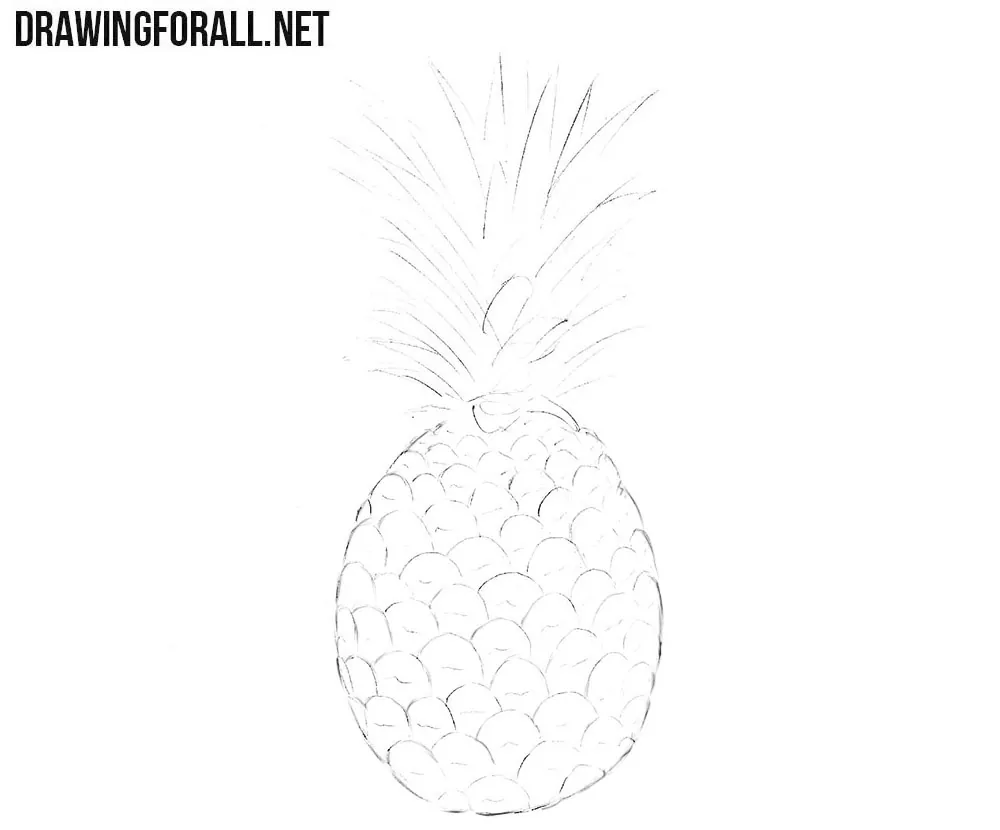
Step 5: Refine the pineapple’s crown leaves
Angle the outer leaves to the sides and draw the central leaves pointing upward. Outline each leaf with two curves that meet at a sharp tip. Arrange the leaves in overlapping layers, with short, strongly curved leaves around the crown’s base. Stop the outlines of the rear leaves where the leaves in front cover them.
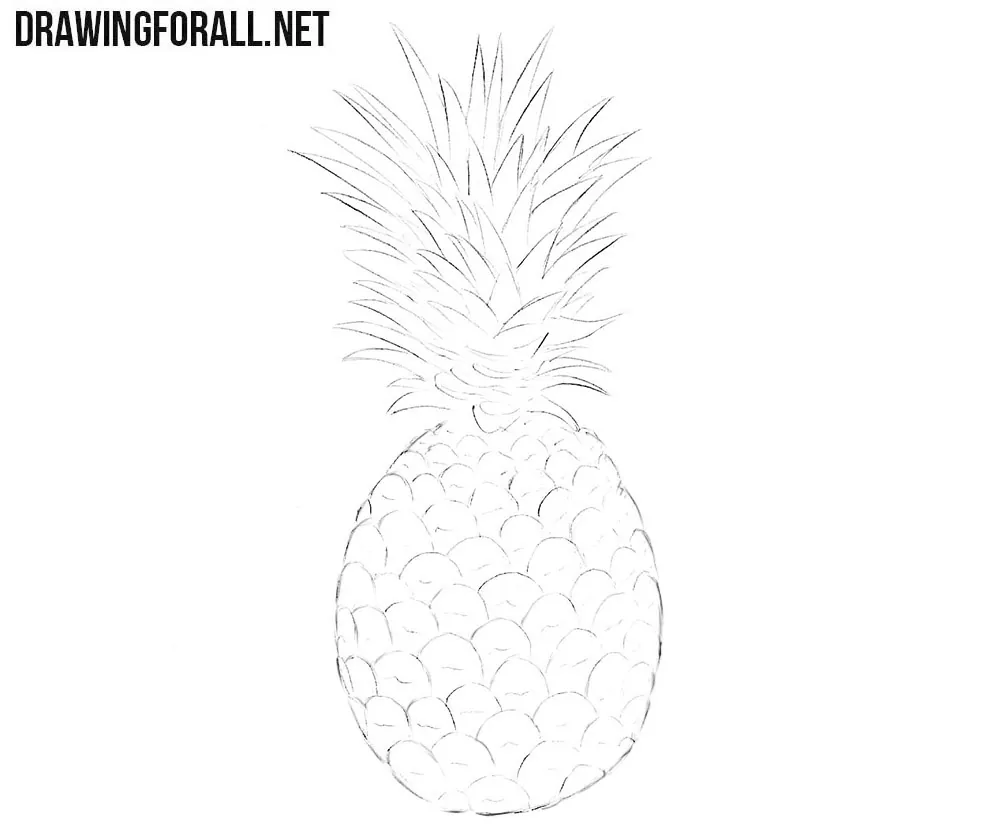
Step 6: Add shadows to the pineapple
Finish the pineapple drawing by removing the remaining guidelines and adding shadows to the fruit’s uneven surface. Apply short hatching beneath the crown and along the lower and right edges of the fruit. Shade the overlapping leaf bases and add a few strokes along the leaves. Draw a small cast shadow extending to the right of the base, leaving the fruit’s center mostly light.
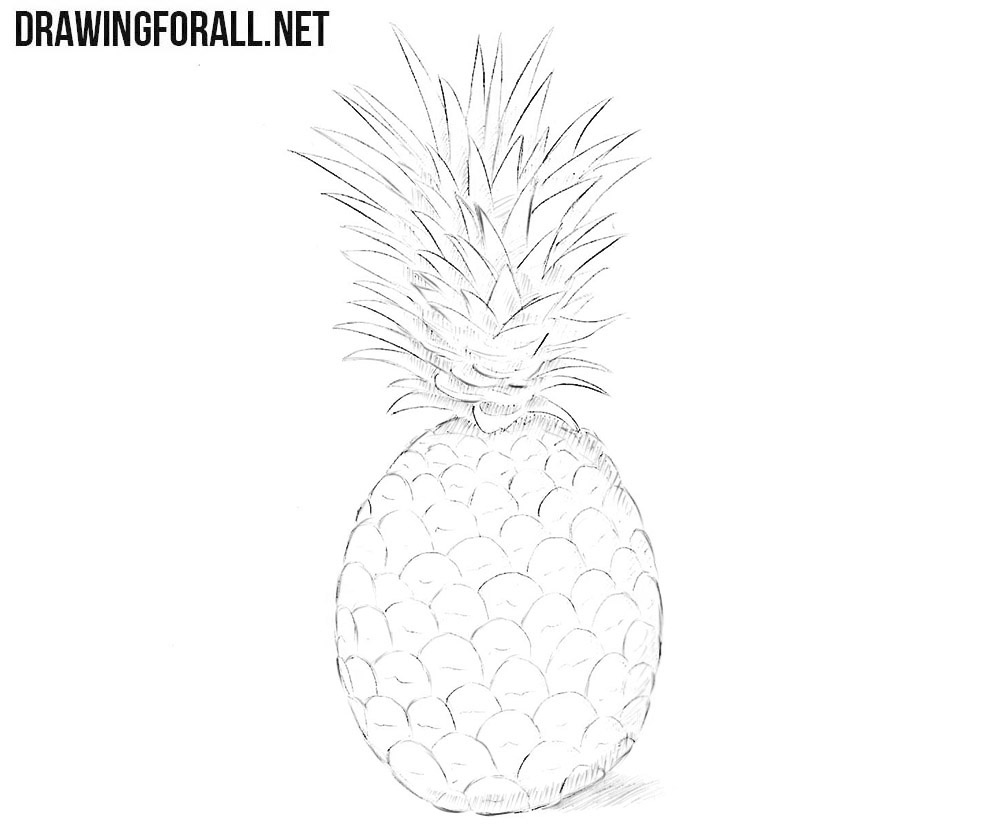
We often say that constructing any form should begin with understanding the form of the object and keeping it in mind throughout the entire drawing process. Every detail should follow the overall form, and in the case of a pineapple, this is especially true.
This fruit basically consists of two large masses: the fruit itself and the leaves at the top. First, you need to construct these masses, then gradually add details, darken the necessary lines, and finish the drawing with shadows.
It is especially important here to understand the texture and the leaves correctly, and artistic vision plays a major role. Imagine a line running through the central axis of the fruit.
First, the leaves spread out around this axis, and their forms turn in space accordingly. Second, the texture of the pineapple is arranged around this imaginary axis.
The small scales that face directly toward us look one way, while those that turn away from the central axis toward the sides change their appearance according to the turn of the form. At the same time, all these small textures and leaves should follow the overall form of the pineapple.
A slightly simpler method underlies drawing a banana or sketching a mango. These fruits are visually simpler and more uniform. So if you do not manage to draw the pineapple successfully on your first try, start with simpler fruits and return to it after you have mastered them.




It was amazing