How to Draw a Wild Cherry
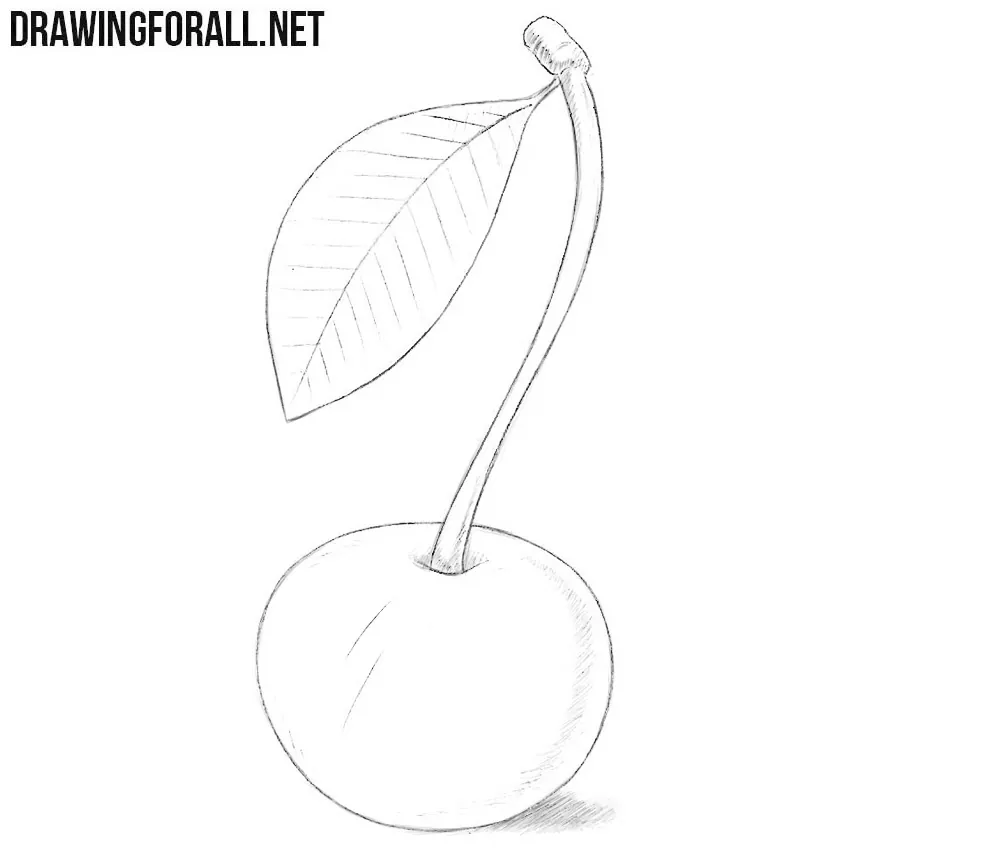
The appearance of a wild cherry is familiar to everyone, but drawing it correctly can be more difficult than it seems. In this tutorial, we will show you how to draw a wild cherry with a long stem and a leaf, and give it volume with basic shadows and highlights.
Before you start drawing the wild cherry, remember that the fruit is basically a sphere, the stem is an elongated curved cylinder, and the leaf is a flat form. Understanding this will help you depict all the elements correctly and preserve the unity of the drawing.
How to draw a wild cherry step by step
Step 1: Sketch the wild cherry shape
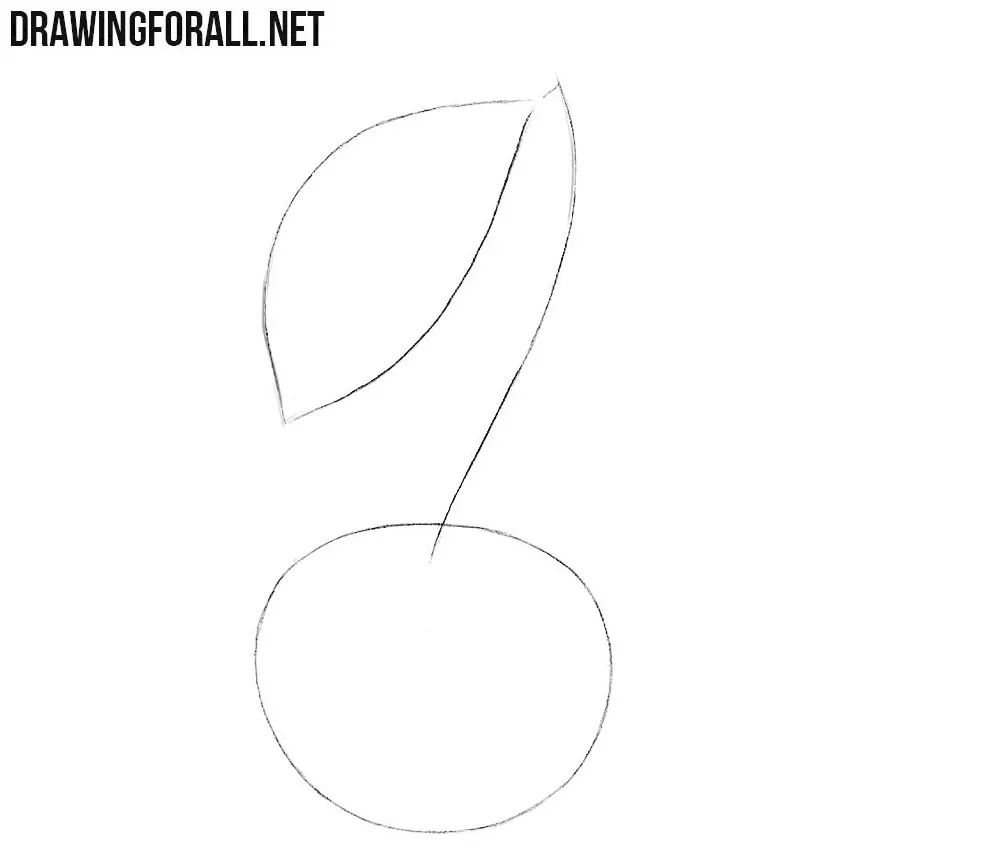
First, sketch the shape of the wild cherry as a simple circle. Do not press too hard on the pencil, because the lines should be very light. At this stage, imagine this circle as the outline of a small spherical fruit rather than a flat shape. The cherry does not have to be perfectly round.

Step 2: Draw the cherry stem and leaf
Now, with the help of a long curved line, draw the cherry stem. This line is the axis of the stem, which we will give thickness in the next step. At the very top of the stem, sketch the outline of the cherry leaf with two smooth lines. The leaf can be represented as a thin, flat form.
Step 3: Refine the stem and leaf
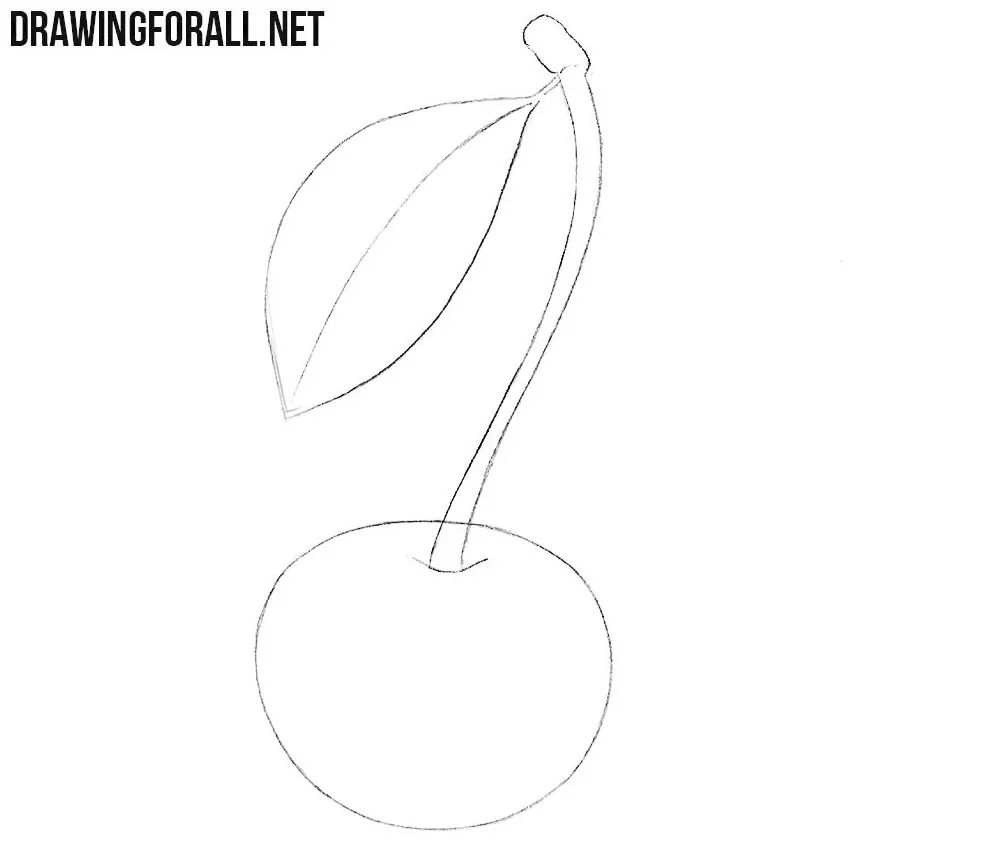
With another long curved line, complete the contours of the cherry stem. Together, these two lines should form a long, slightly curved cylindrical shape. At the lower end, show how the stem enters the upper part of the spherical wild cherry. Draw the thickened end at the top of the stem and add the central vein of the leaf.
Step 4: Refine the cherry and leaf veins
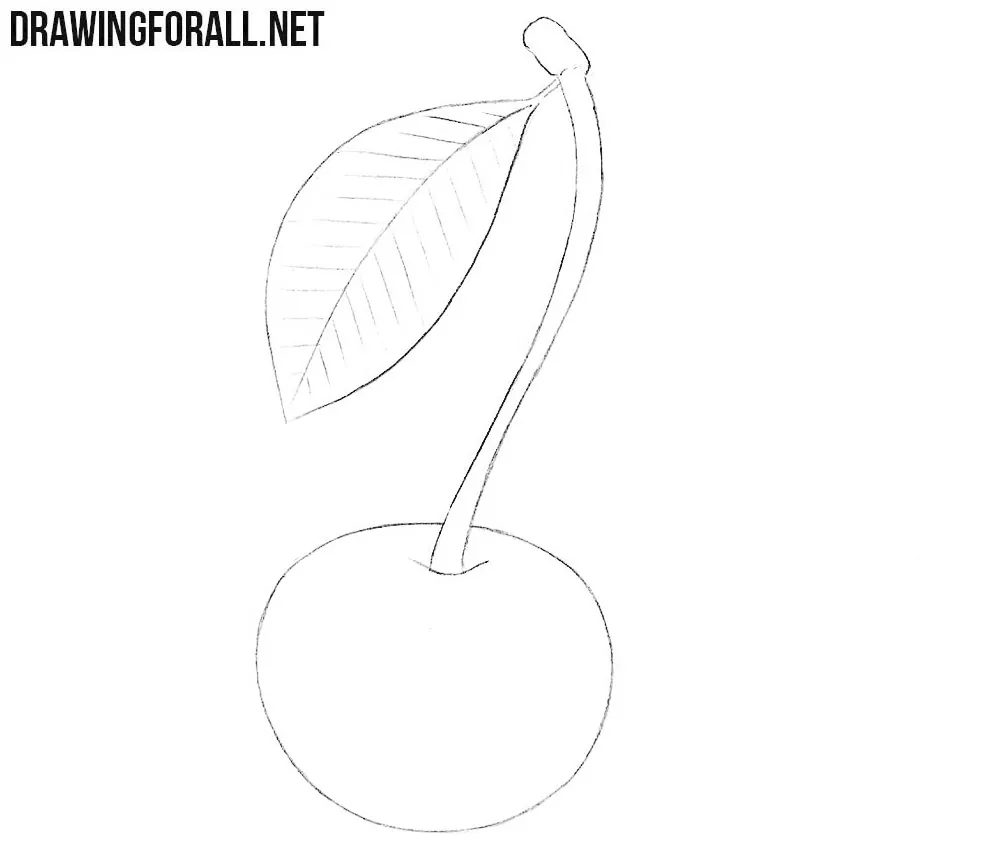
Now trace the whole wild cherry drawing with darker lines. Using an eraser, remove all unnecessary guidelines and draw the short side veins on the leaf. Draw these veins from the central vein toward both edges. Make them shorter where the leaf becomes narrower.
Step 5: Shade the wild cherry
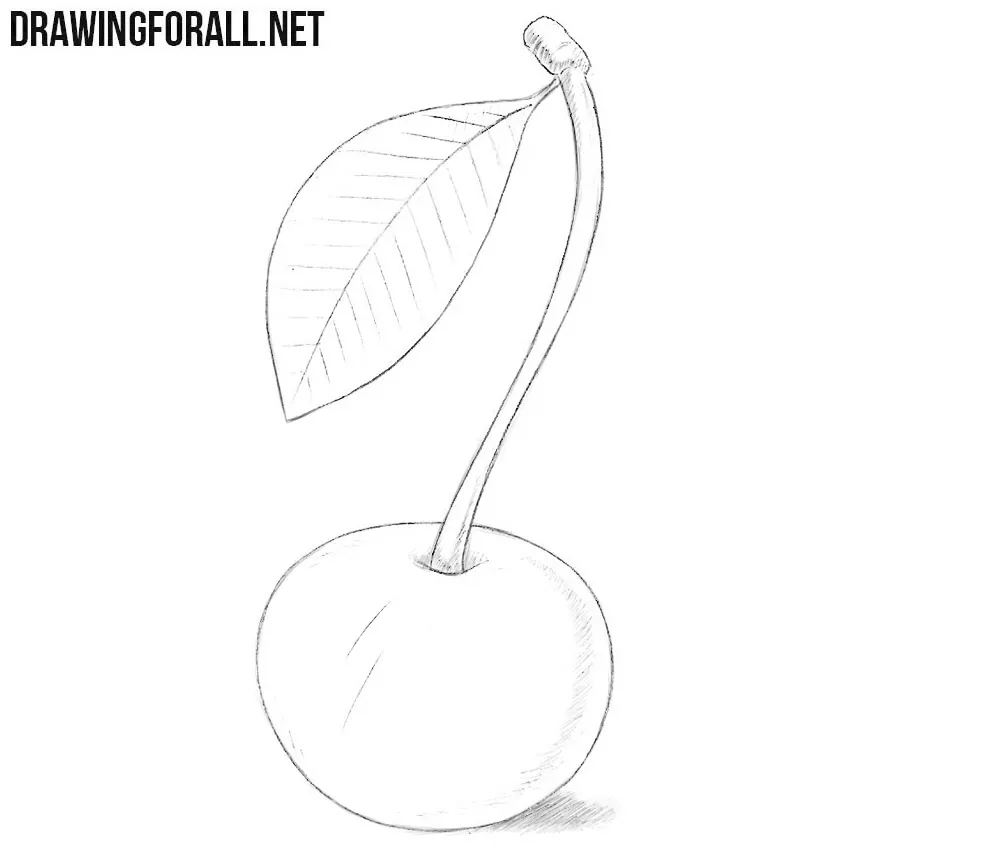
With a pair of light strokes, mark the highlights on the wild cherry. Curve these strokes according to the spherical surface of the fruit. Next, use hatching to draw shadows on the cherry and stem. Place most of the hatching along the right side of the fruit. Shade one side of the curved stem and its thickened upper end as well. Do not forget to draw the cast shadow beneath the fruit.
In nature, there is a huge variety of cherries, sweet cherries, and wild cherries. Drawing them involves many small nuances, but the general basic sequence is very similar. You can see this for yourself by drawing a cherry using our separate tutorial.
All of these fruits, as well as others similar in appearance, are drawn with several important aspects that need to be kept in mind throughout the process.
First of all, always remember artistic vision and the fact that both complex and simple objects can be seen as simple geometric forms. We described at the very beginning which basic forms a wild cherry can be divided into.
Keep this in mind: mentally break the subject down into these simple elements, remember the volume of each one and how they are positioned in three-dimensional space, and then convey them on a flat sheet of paper.
If you keep these aspects in mind every time you draw, you will be able to depict these and other fruits and berries much more convincingly.