How to Draw a Person’s Face
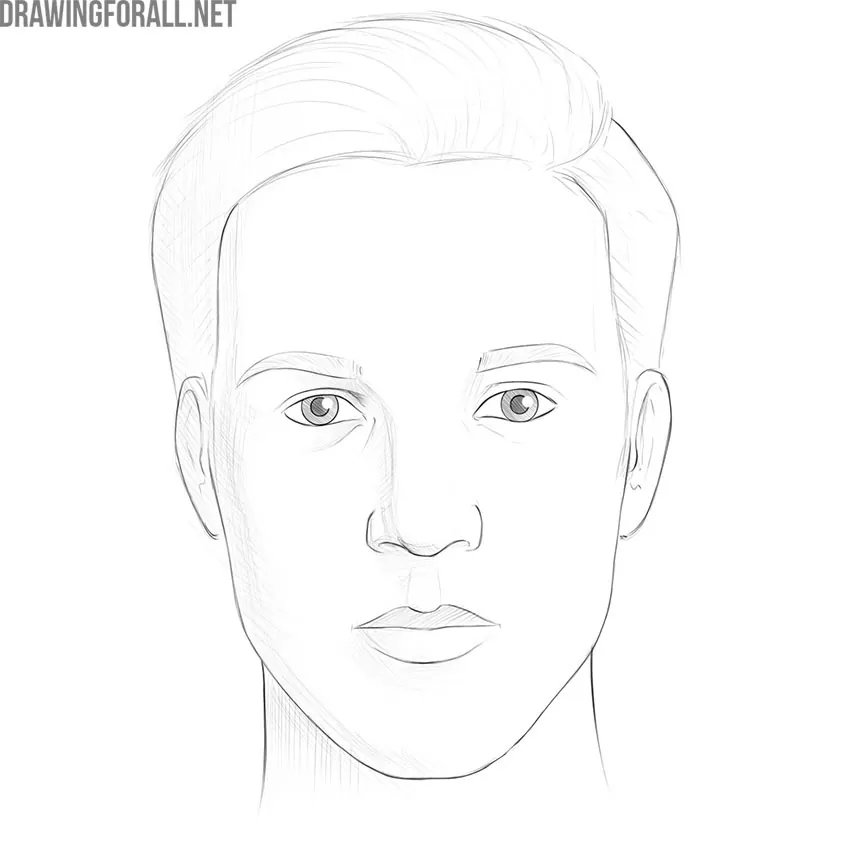
If you wanted to learn how to draw a person’s face, you’ve come to the right place. We have created a very detailed step-by-step tutorial so that you can learn how to draw great portraits.
You can simplify or skip some steps. We only offer a sequence of steps that will help you draw a cool portrait. However, you can change this and create individual facial features according to your imagination.
So let’s start this drawing guide!
Step 1
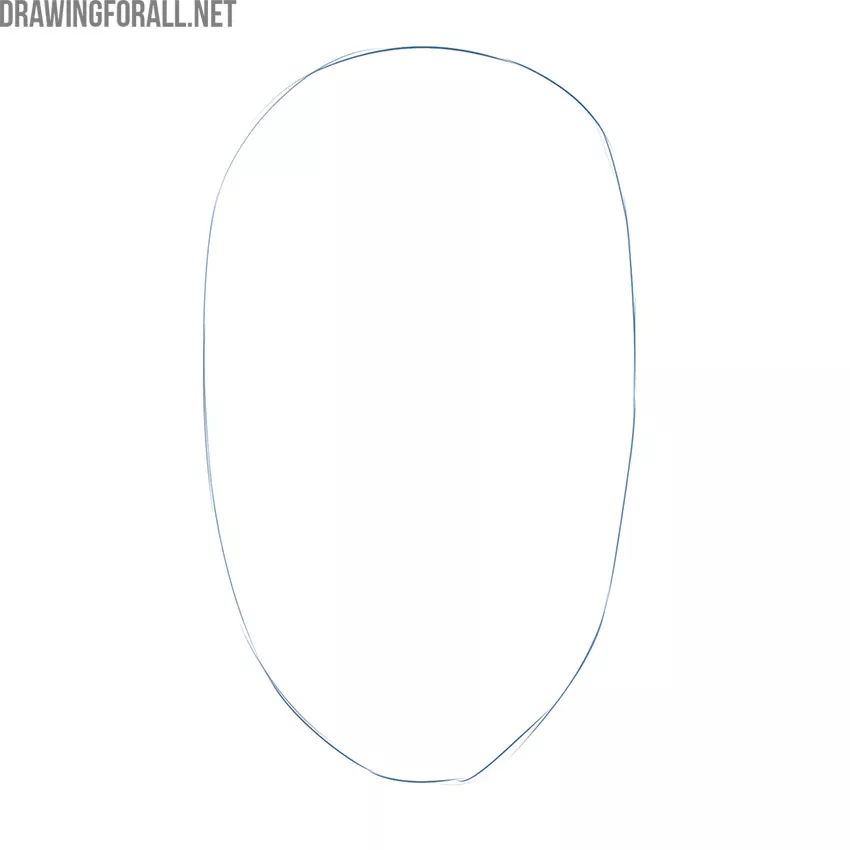
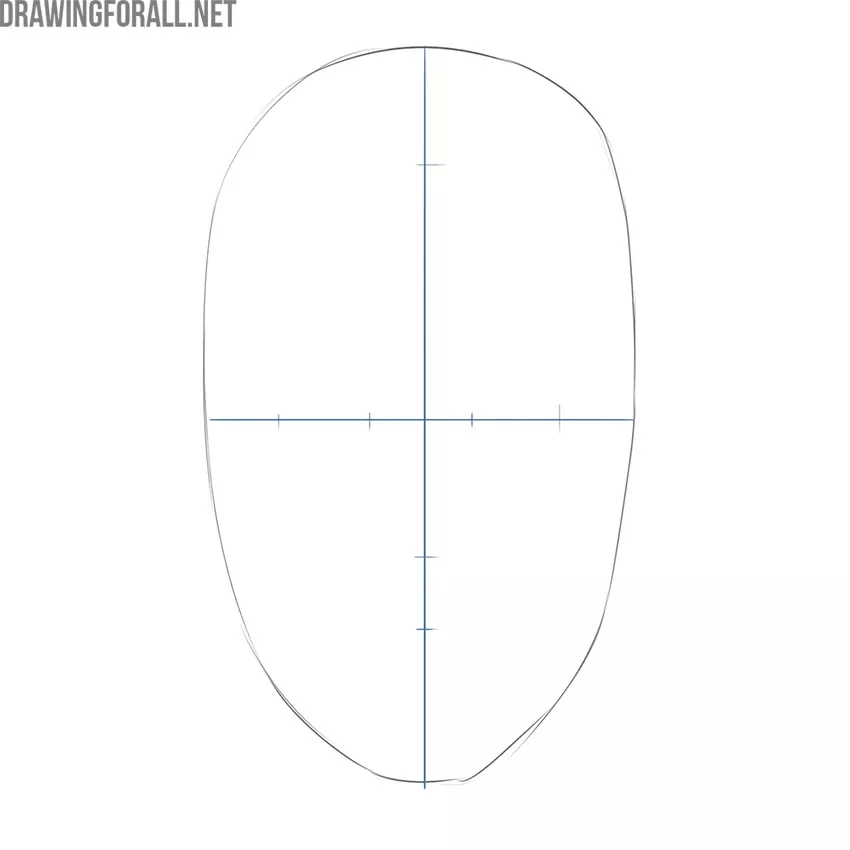
Firstly, draw an approximate oval of the face. In our case, we see a slightly elongated oval with a sharper lower end compared to the upper part.
Step 2
Secondly, make basic markup. First, draw criss-cross lines. The horizontal line is the approximate eye level, and the vertical line is the line of symmetry. Then, with the help of strokes, indicate the localization of the eyes, hair, nose, and mouth.
Step 3
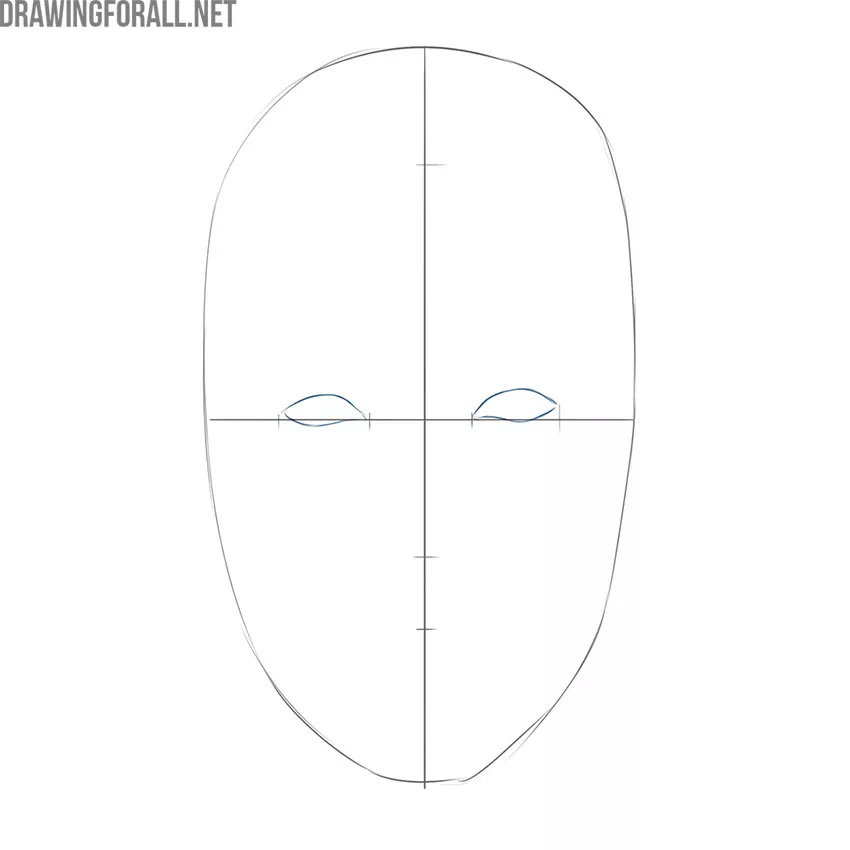
Draw the outlines of the eyes. In our case, the lower edges of the eyes coincide with the horizontal line from the previous step.
Step 4
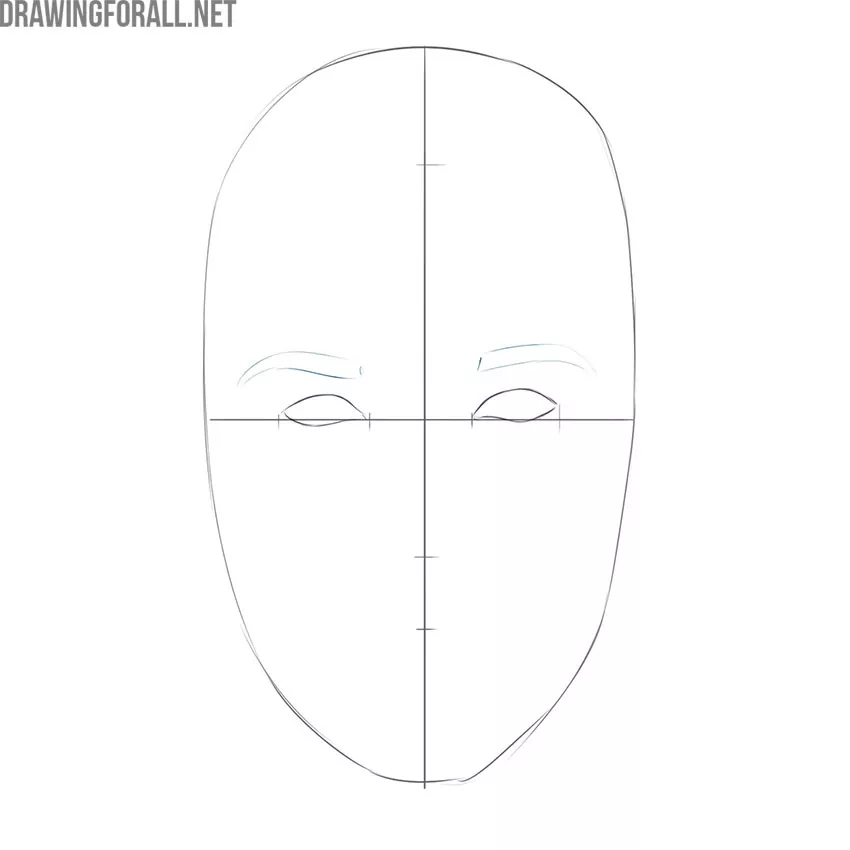
Depict the eyebrows. You can choose any eyebrow shape you like. In our case, these are elongated figures that are noticeably narrow in the lateral direction.
Step 5
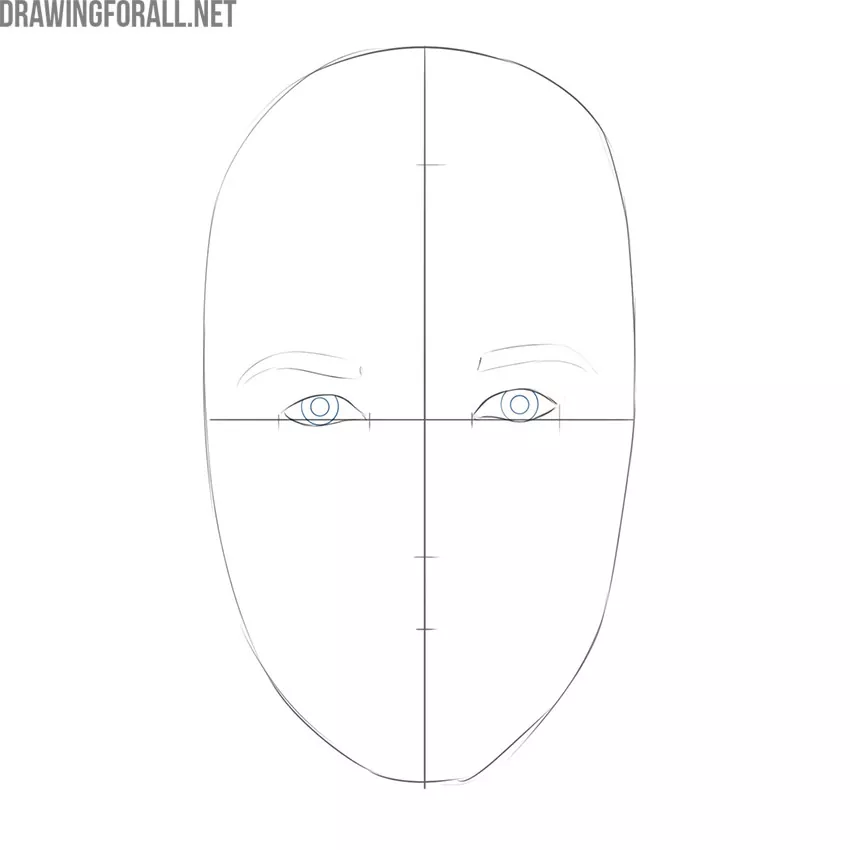
Draw pupils. It looks like two small circles inside the eye contours. Be especially careful because the atmosphere of the whole picture depends on the position of the pupils.
Step 6
Draw the eyelids and small skin folds around the eyes. Don’t forget to watch our eye anatomy lesson and also the eye drawing lesson to have maximum knowledge about it.
Step 7
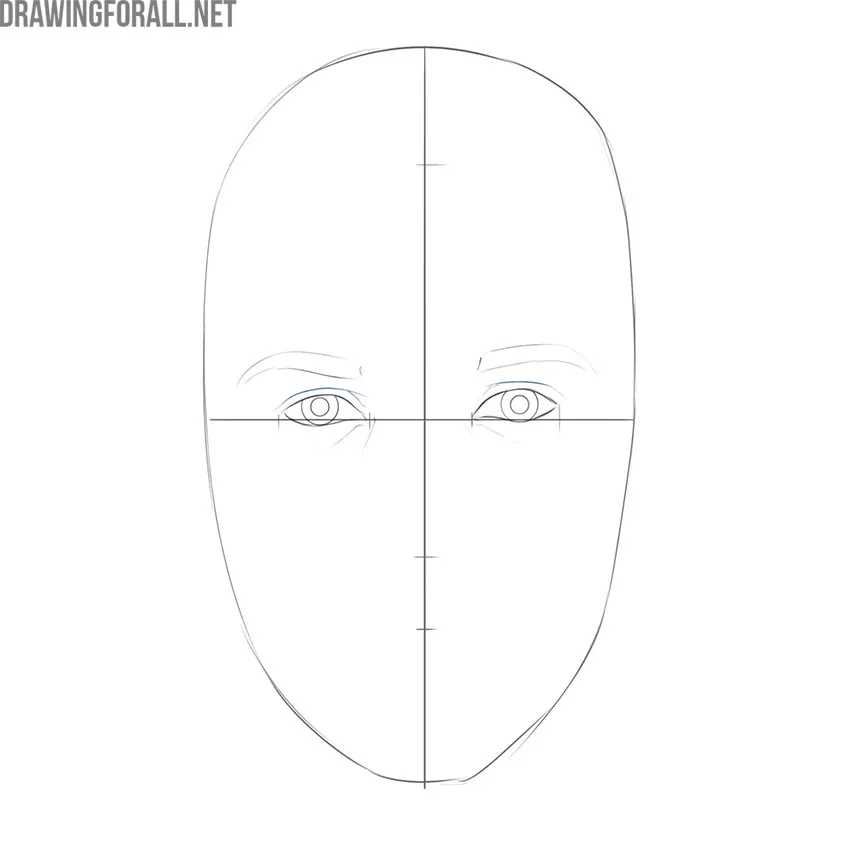
You can draw the nose in one step, but we decided to split it into two steps. Draw in this step the tip of the nose with one smooth line as in our sample.
Step 8
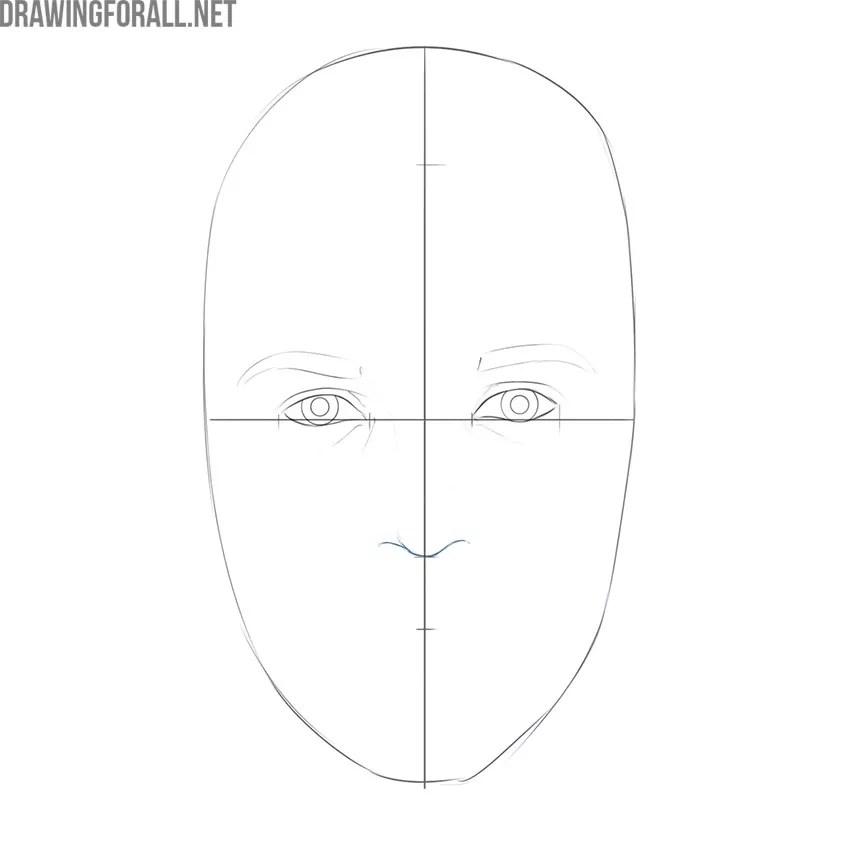
In this step, you can finish drawing the nose. Just add two rounded shapes on the right and left. By the way, do not forget to watch our lesson about the anatomy of the nose to better understand how to draw a nose.
Step 9
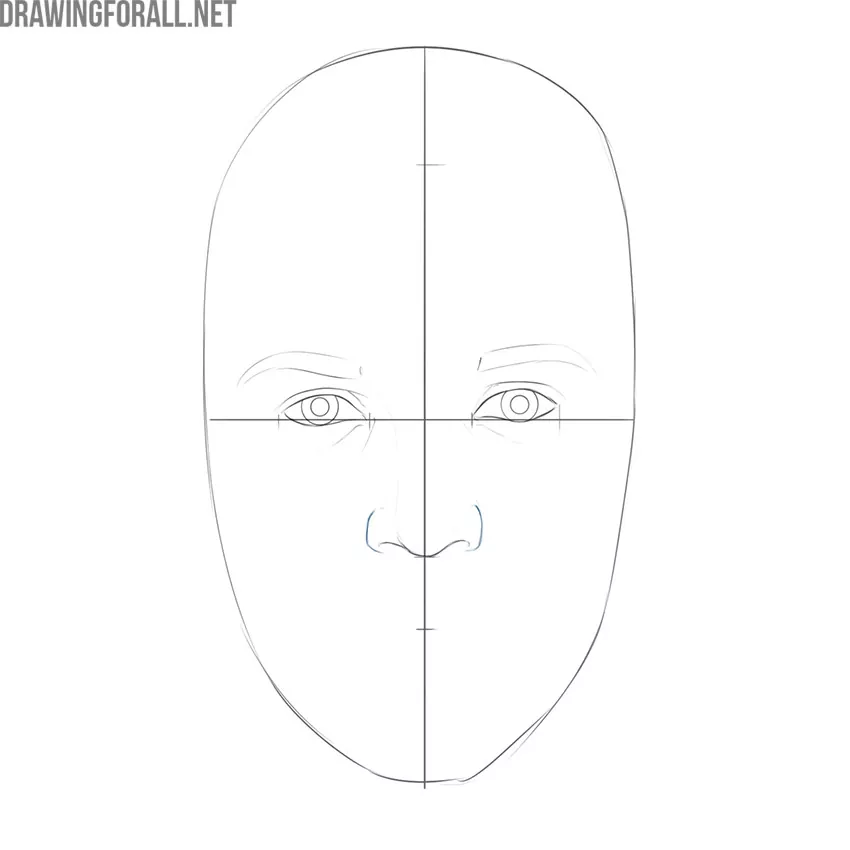
Draw a long line where you will place the mouth. Before you start, you can read our guides about the anatomy of the mouth.
Step 10
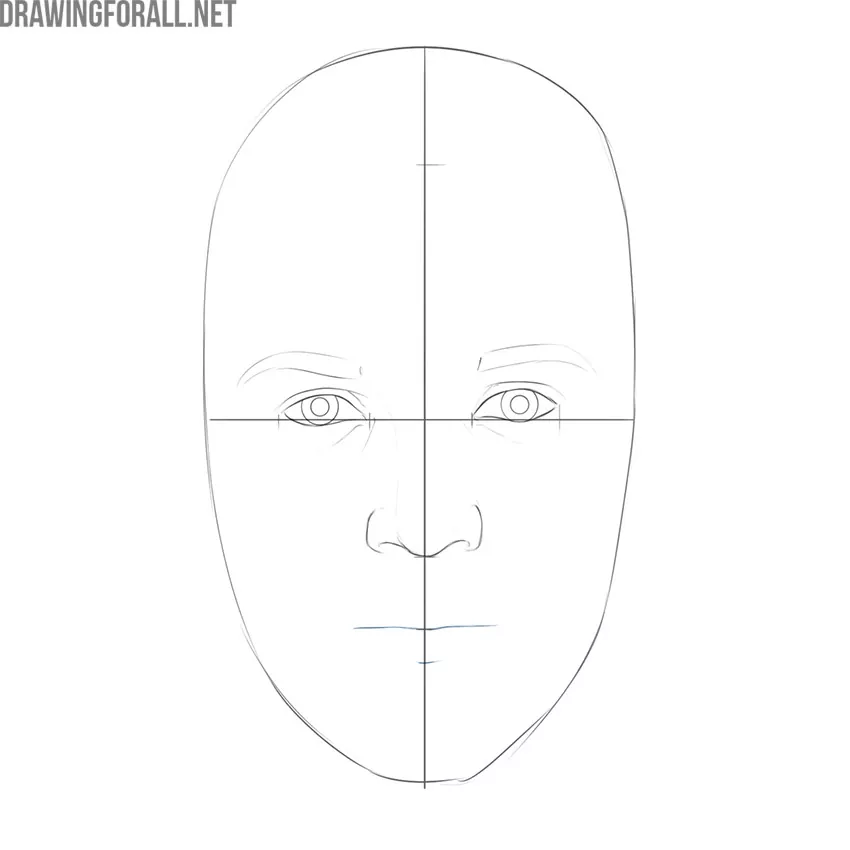
As you can see, the line from the last step is not the center line. The upper lip in our case is much thinner than the lower lip. In your case, there may be other proportions to your idea.
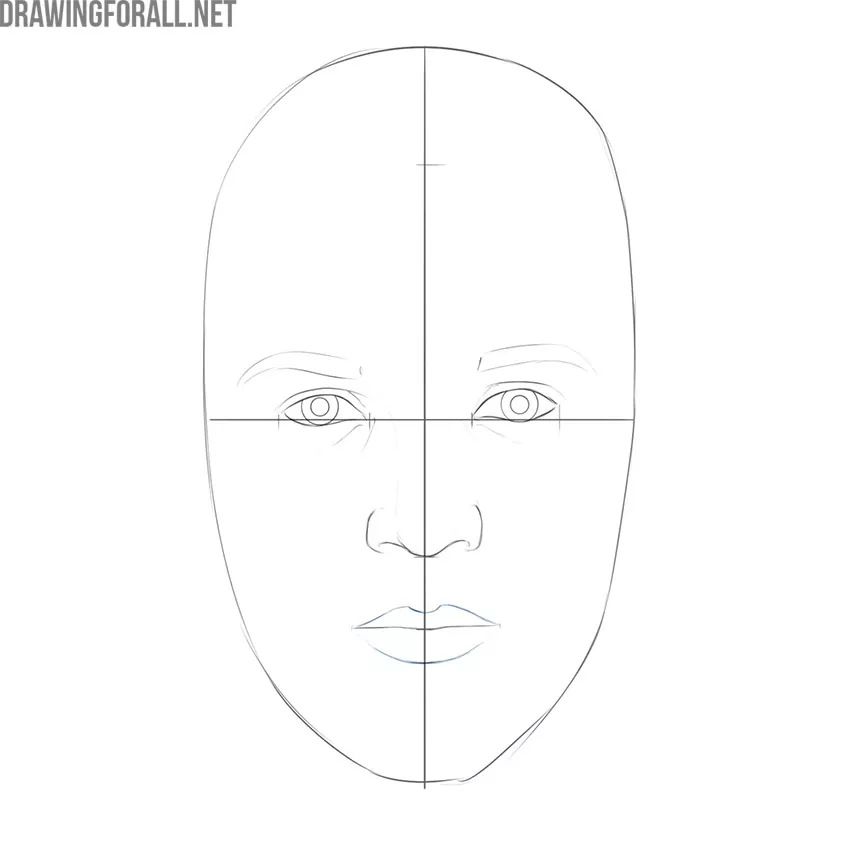
Step 11
Add some details. Draw small strokes inside the contours of the eyebrows. Avoid pressing too hard on the pencil in this step.
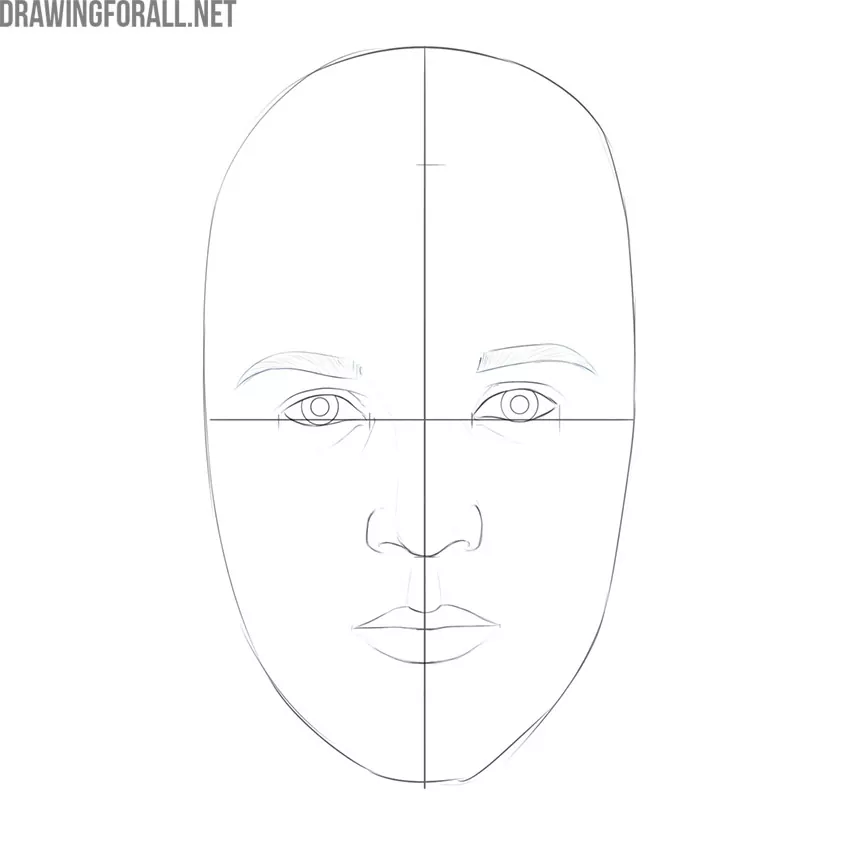
Step 12
Draw the contours of the neck. It looks like two smooth vertical lines that form a slight extension downwards. Adjust the contours of the face a little if it suits your idea.
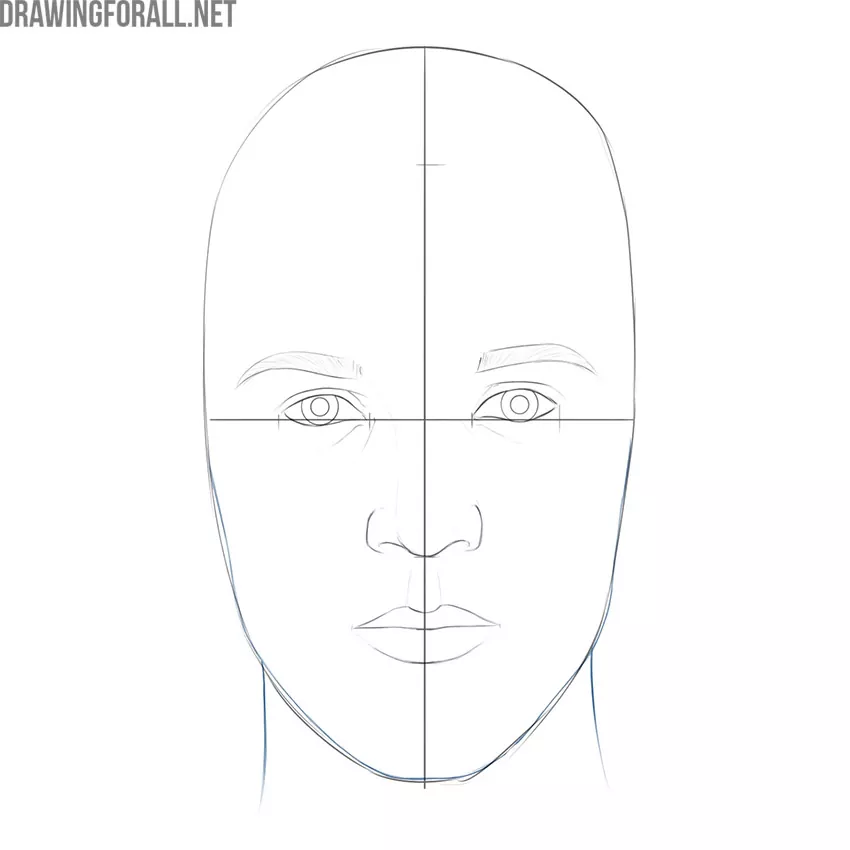
Step 13
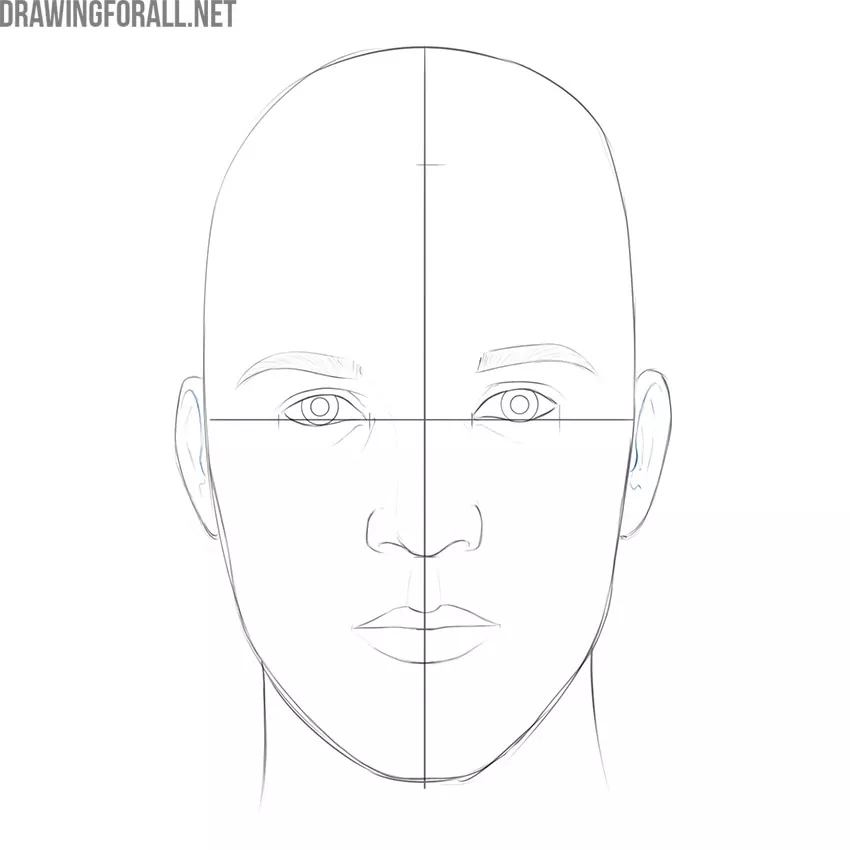
Depict the outlines of the ears. The top edges of the ears line up with the eyebrows, and the bottom edges of the ears line up with the tip of the nose. In this ratio, we see a character who does not tilt his head and looks straight.
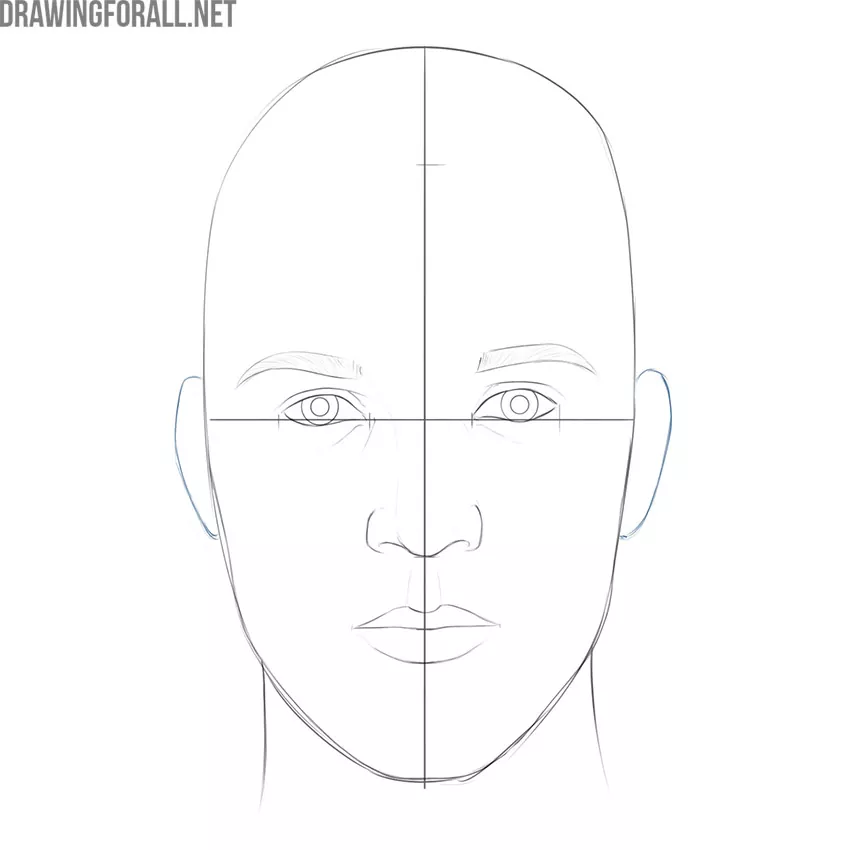
Step 14
Draw the details of the auricles. By the way, we have a very good ear anatomy tutorial for artists. If you watch this, it will be much easier for you to draw the ears of any characters.
Step 15
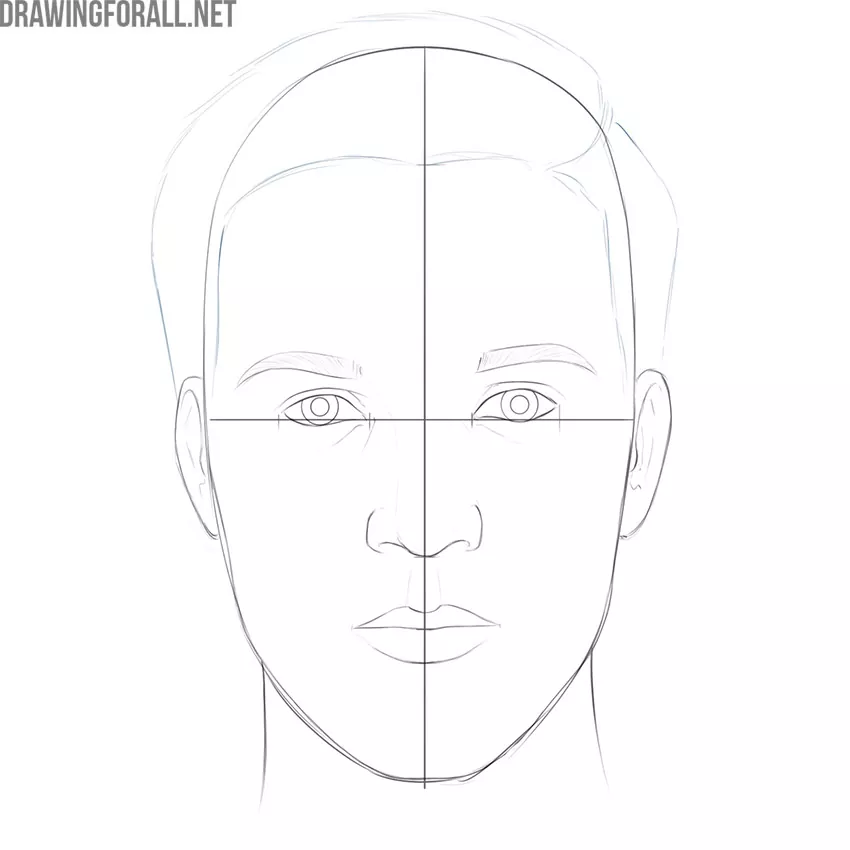
Draw rough outlines of the hairstyle. Avoid too much detail in this step, use some smooth lines to create the necessary shapes. Choose any hairstyle you like.
Step 16
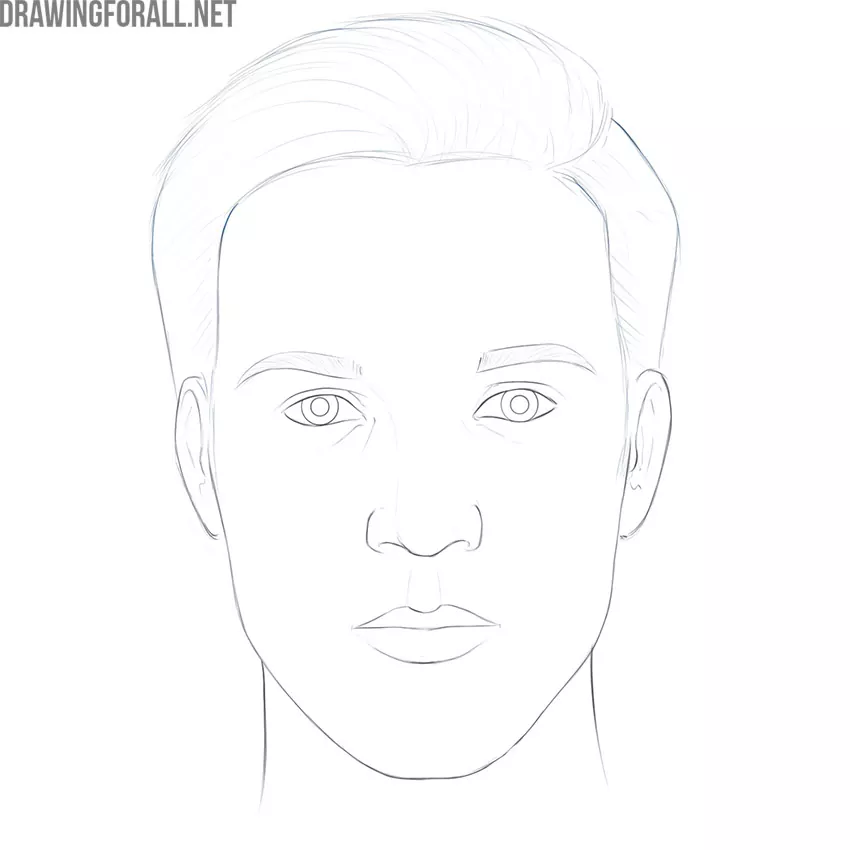
Delete all extra lines from your drawing. Check the correctness of all shapes and proportions. Check the symmetry and localization of facial features.
Step 17
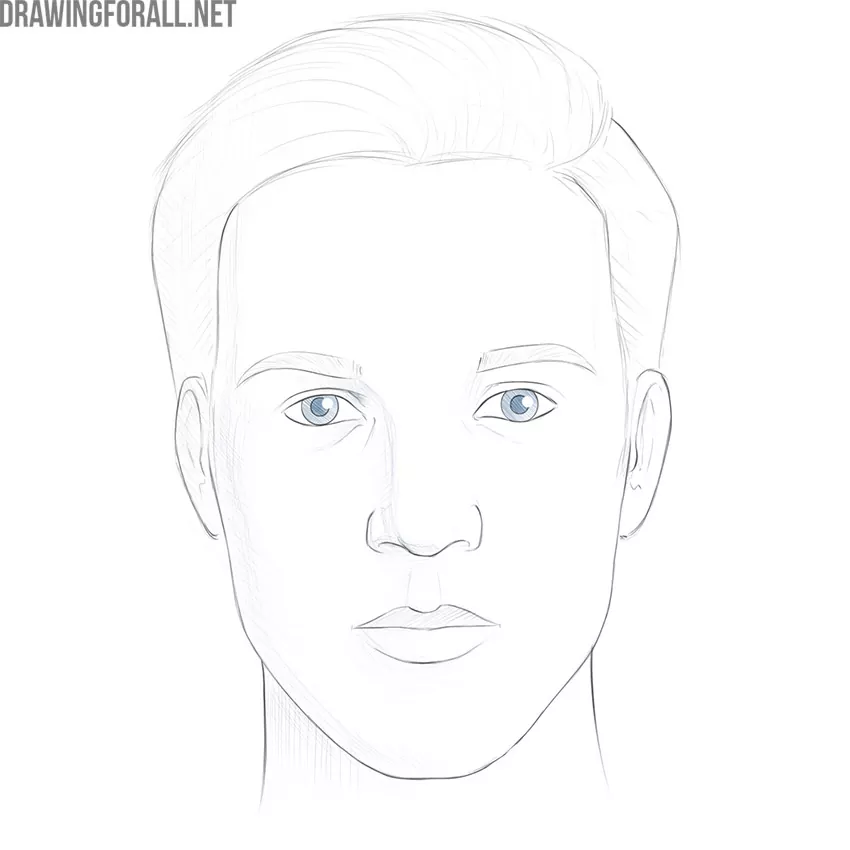
Add some shadows. Firstly, draw the borders of the shadow areas. Then, fill them in with a single-layer hatch. Notice the round highlights inside the eye contours.
Step 18
So, if you followed the sequence of steps, you got something like this. If you see unplanned distortion, try to trace the step with the mistake and correct it.

We hope you get great results. Write to us about how useful this lesson was for you. Your comments help us a lot to create new drawing guides!


