

How to Draw a Chibi Man
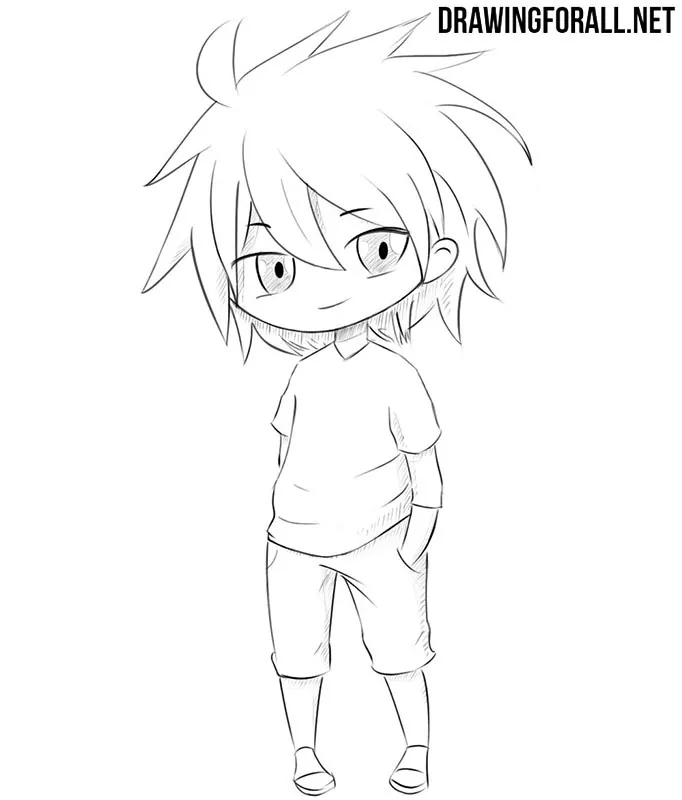
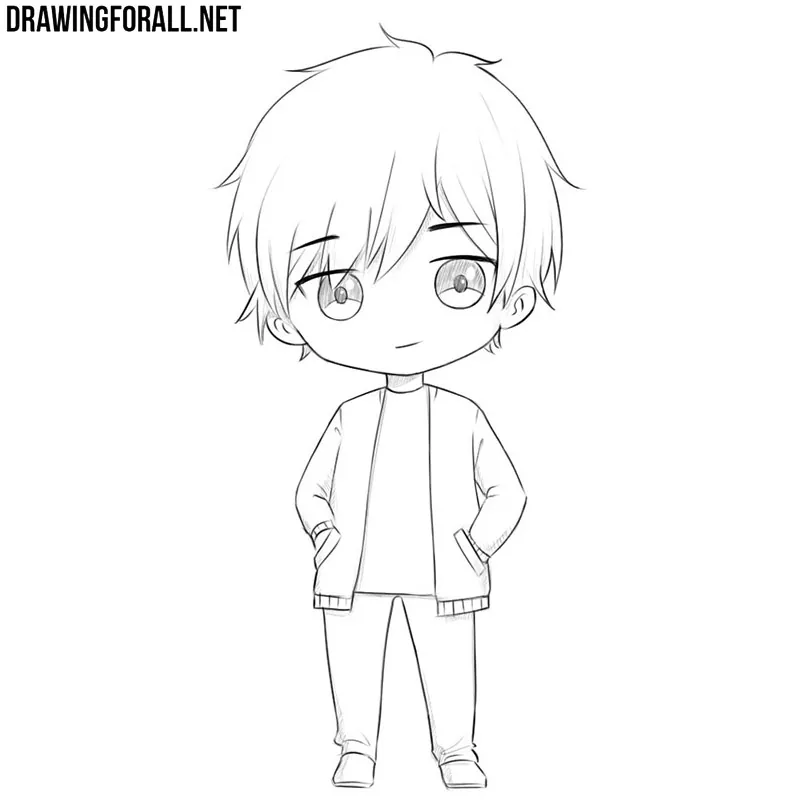
Almost any person or well-known character can be depicted in the chibi style by changing the usual proportions and simplifying the details. Here we will use these principles to show you how to draw a chibi man in eight simple steps.
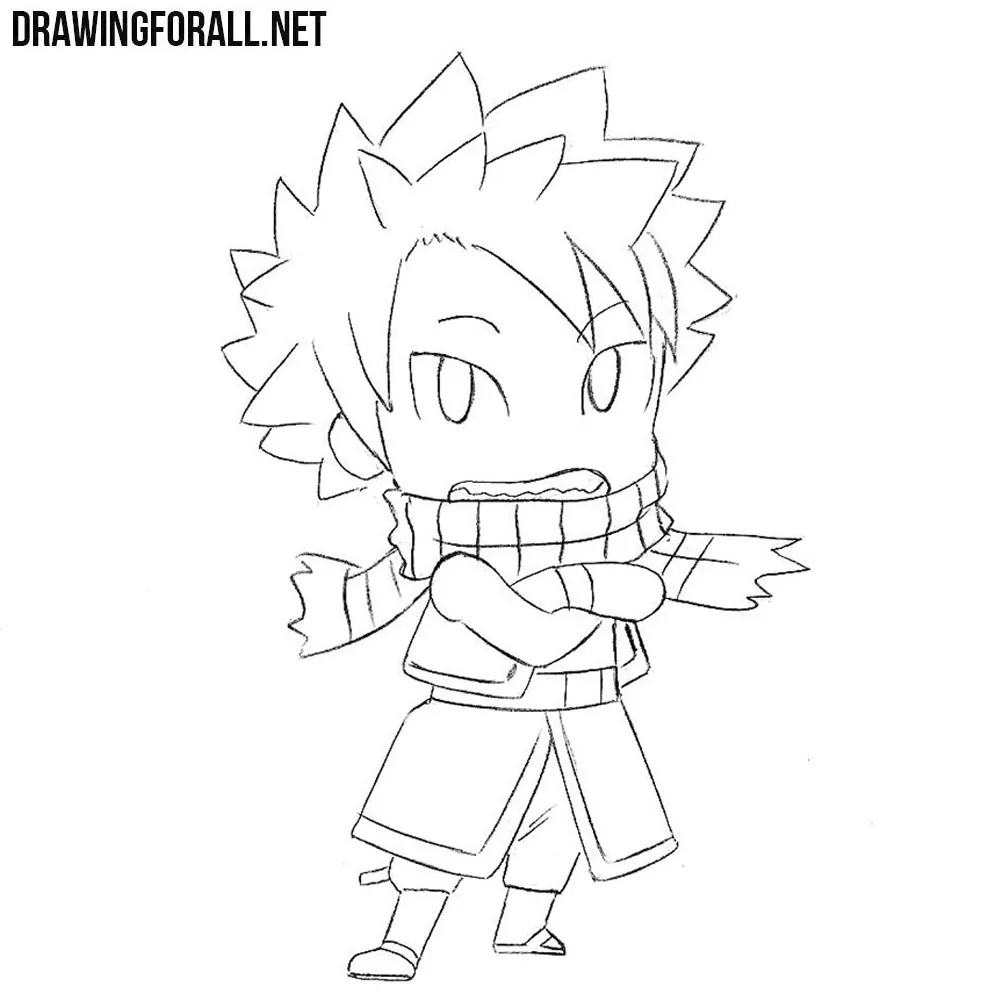
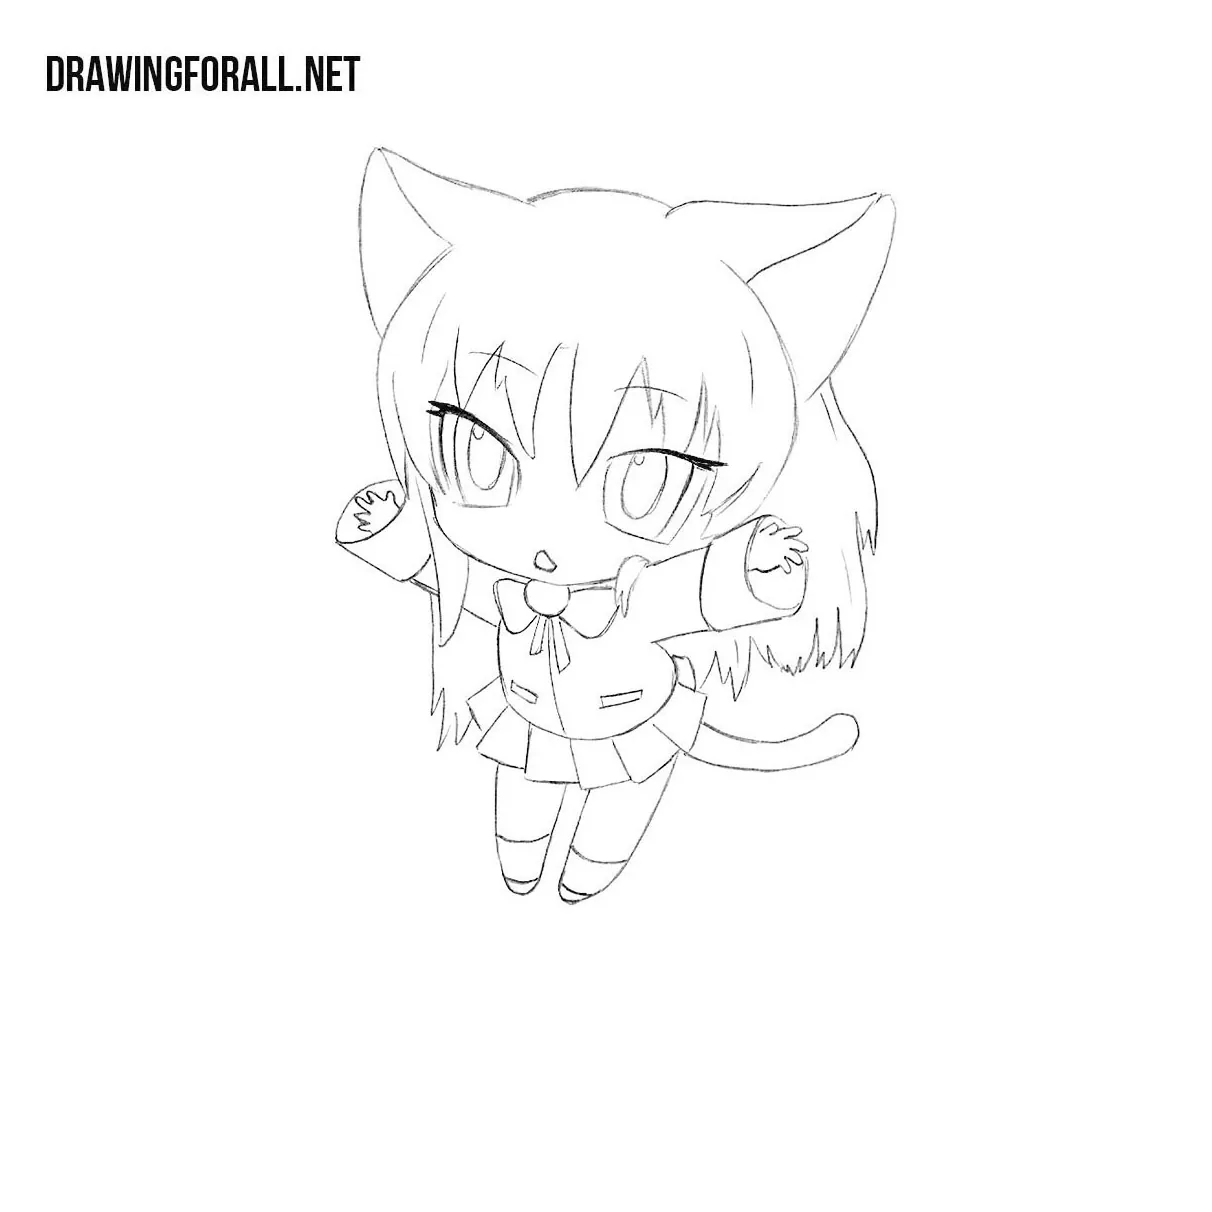
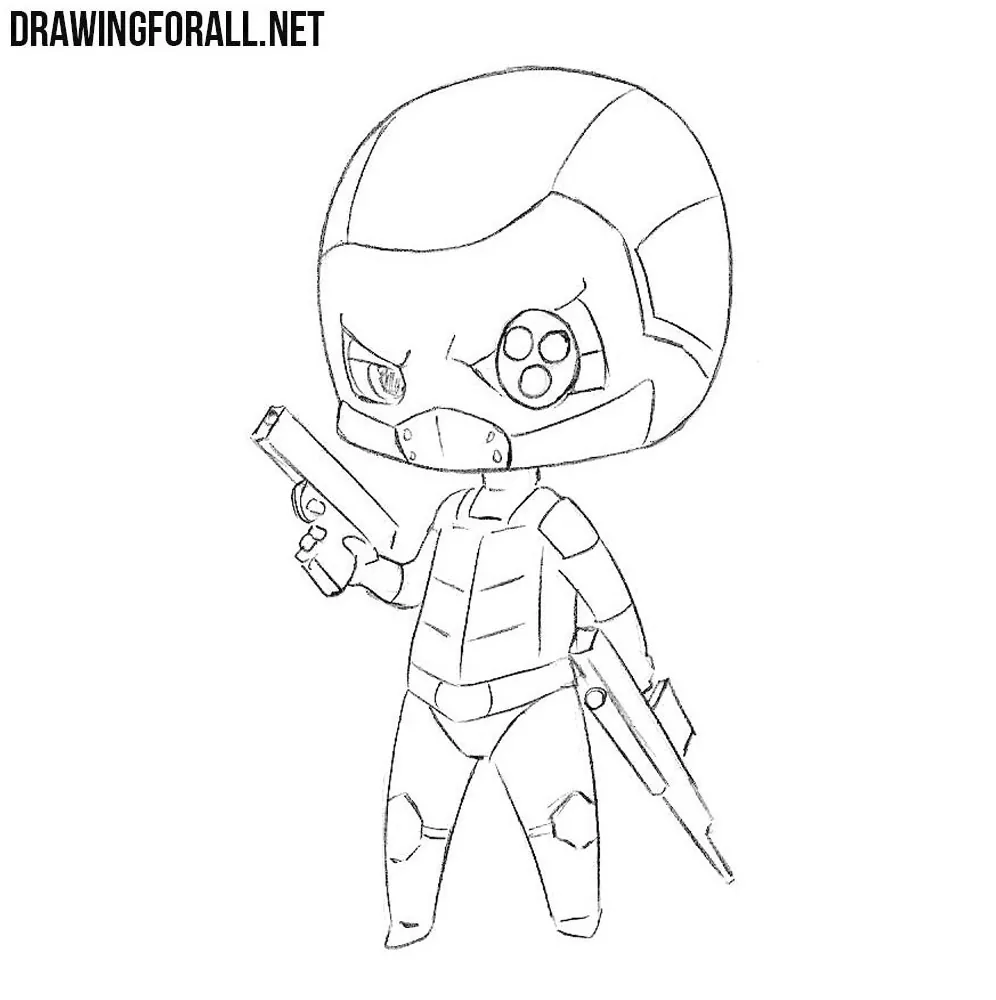
We have previously described how to draw a variety of characters from comics, films, and other works of art in the chibi style.
Here we want to create a more general tutorial in which we collect the main principles of drawing a chibi man.
We chose a simple male character in casual clothes as an example. After this guide, you can use the same sequence of steps to sketch a completely different character.
How to draw a chibi man step by step
Step 1: Sketch the chibi skeleton
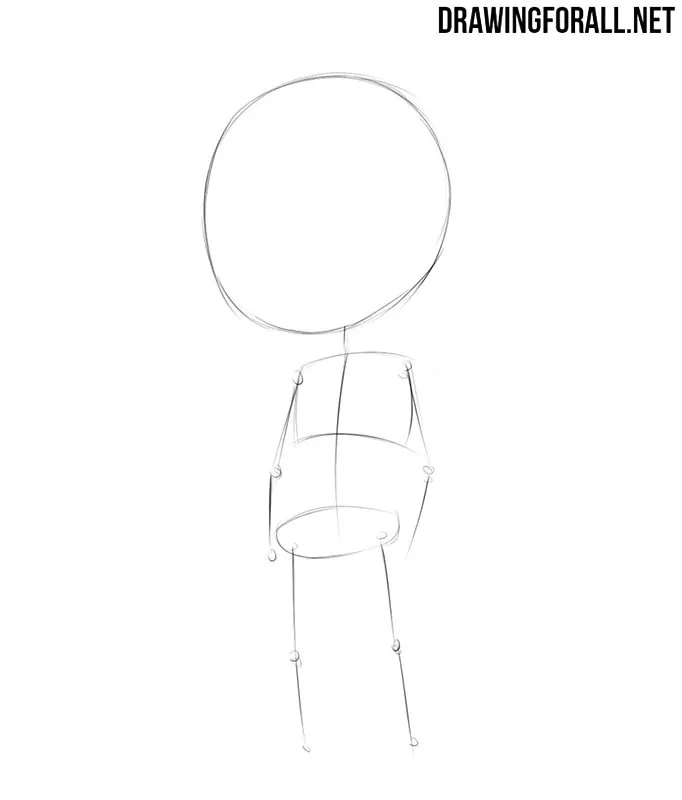
Any figure of a person begins with the construction of a skeleton, and this chibi man drawing tutorial is no exception. Start with the head, depicting it as a simple circle. Then draw the spine, rib cage, pelvis, and limbs using very light lines. The head should traditionally be very large compared to the body.
Step 2: Build the chibi body
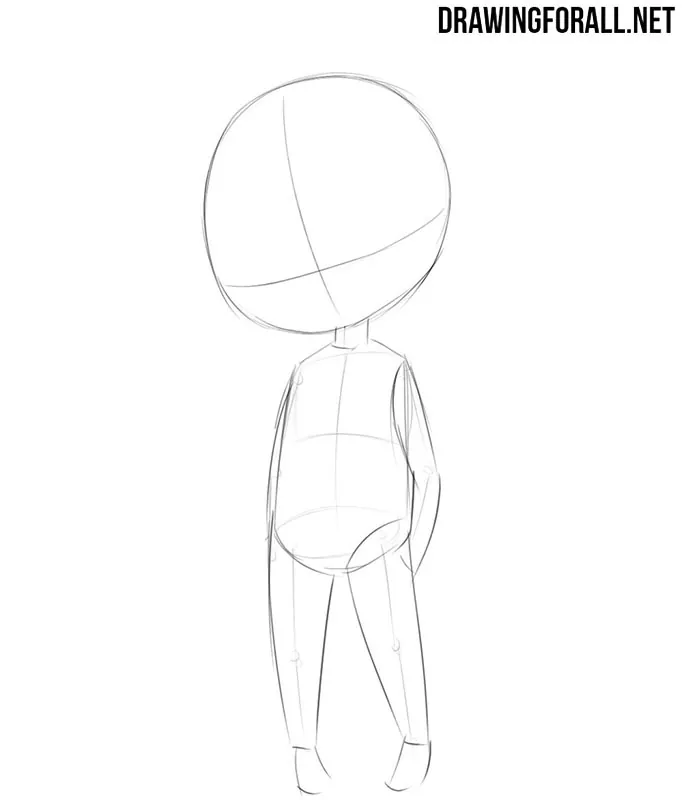
Draw a crosshair on the head, which will serve as a guide for the future facial details. Next, thicken the neck and create a rounded torso. In the same stage, add volume to the arms and legs with simple geometric shapes. Note that chibi characters can have different proportions: for example, in one of our chibi anime drawing tutorial the character had much less realistic proportions.
Step 3: Add face and hairstyle
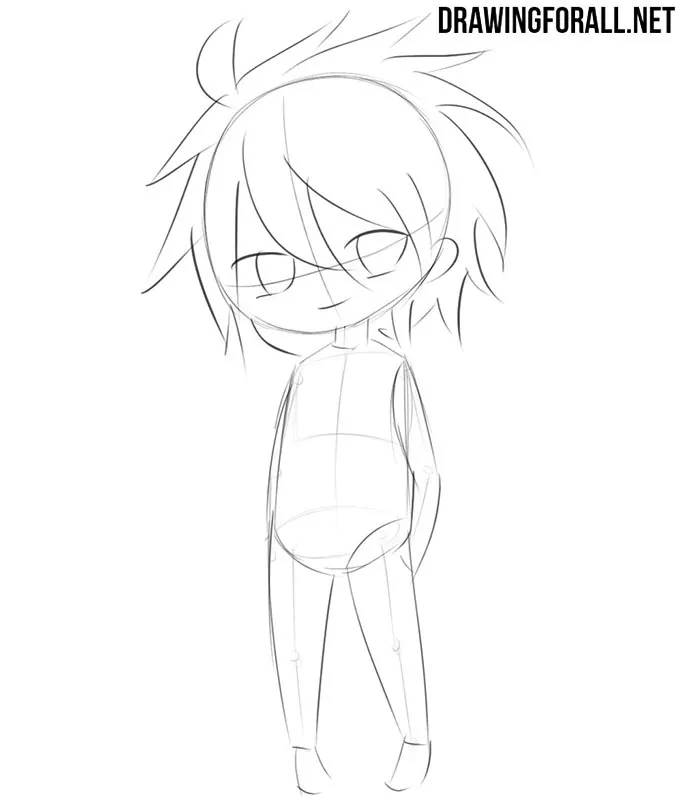
Now let’s work with the most important details of the chibi man drawing. Start with the head, adding the large eyes and a simple smiling mouth. Next, move a little higher and sketch a lush hairstyle with light lines. By the way, to learn more about this part, go to our tutorial on how to draw anime hair.
Step 4: Sketch the casual clothes
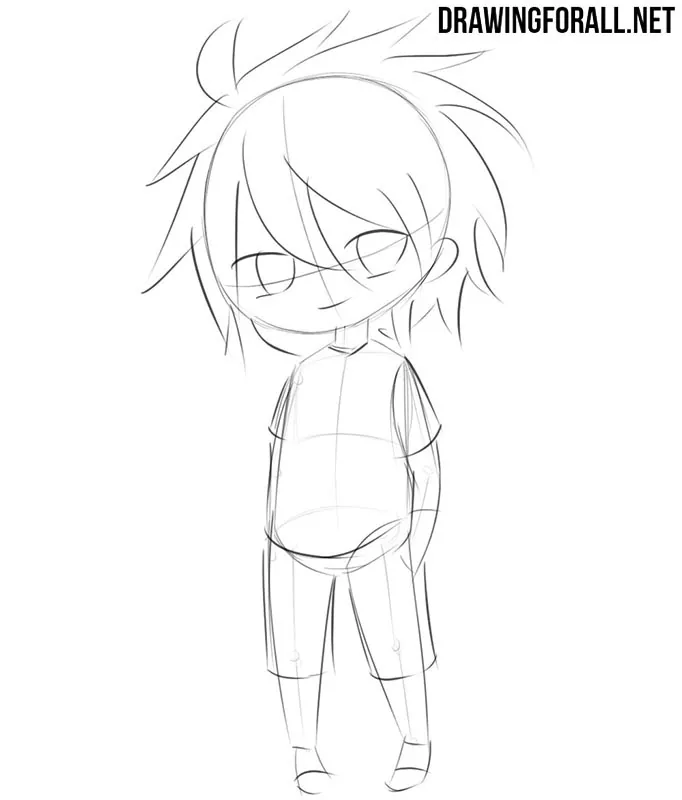
Now we need to do roughly the same thing with the body of the chibi man. In this step, dress the character in a simple T-shirt and shorts. Outline the clothes using several very simple and light lines over the shapes from the previous stages. At this point, only mark the general forms without drawing the final details.
Step 5: Refine the chibi head
The basic sketch of the chibi man is complete, and starting from this stage we will deal with the final lines and details. Using a dark pencil or ink, carefully trace the face and lush hair. Draw the chibi eyes in more detail. Make the eyebrows and upper eyelash lines especially dark. Complete this stage by removing all unnecessary guidelines from the chibi man’s head.
Step 6: Detail the upper body
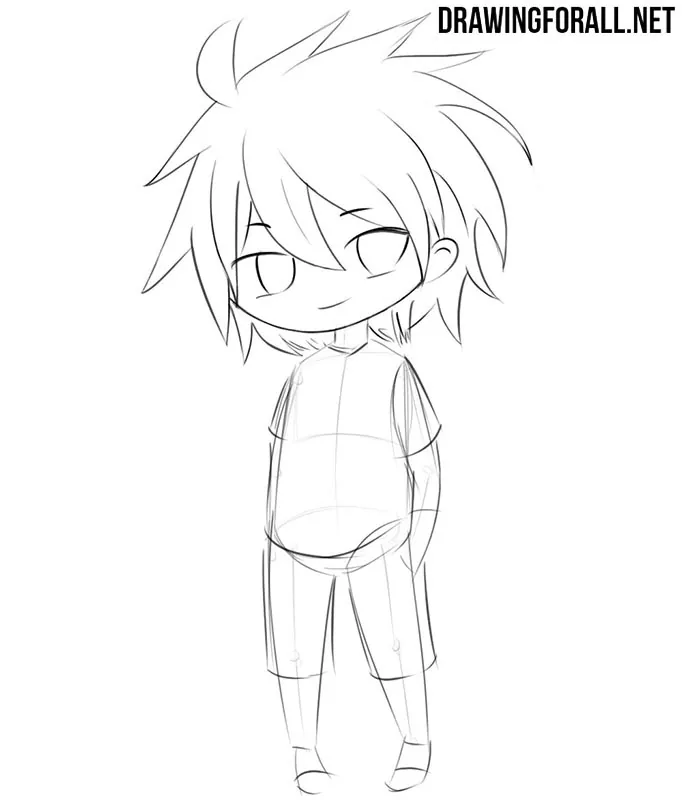
Now let’s detail the upper body of the chibi man. First of all, carefully draw the T-shirt and add the necessary folds to the fabric. Next, trace the neck and arms with clear and smooth lines. After that, remove all the guidelines from the torso to make the drawing clean and neat. You can also add a small logo or inscription on the chest.
Step 7: Finish the lower body
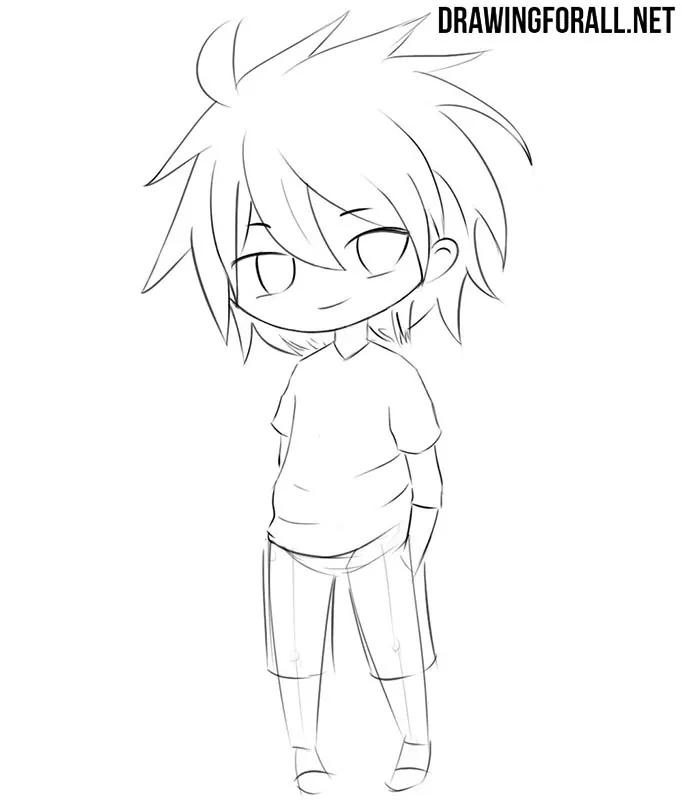
Now, finish creating the simple body. Trace the shorts, legs, and shoes with dark and clear lines. Add all the necessary folds, seams, and pockets to the clothing. Here, you can also draw some additional details, such as extra pockets on the shorts or laces on the shoes.
Step 8: Add the pupils and shadows
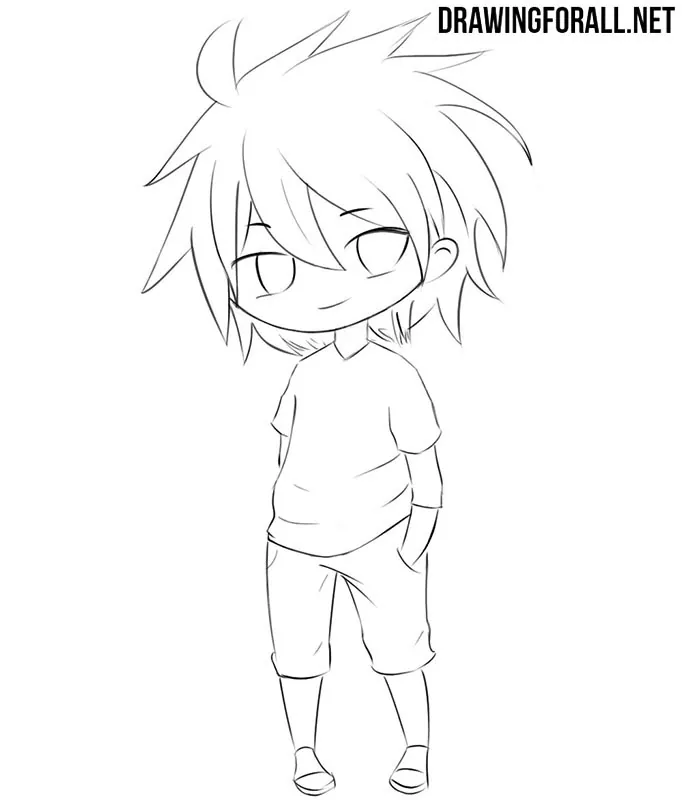
Draw the pupils as two small black ovals. Then add hatching inside the large eyes, leaving small highlights in them. To make the chibi man drawing look more dimensional and complete, add shadows with light hatching. Place the shadows in the areas where the light falls less directly, making some parts slightly darker where necessary.
Here we drew only one possible version of a chibi man. Now try changing his hairstyle and clothes or make the character look older or younger.
Using the same basic steps, you can create a large number of very different chibi characters.
You can continue practicing with our basic chibi drawing tutorial, where we talk about this stye in even more details.


how are you SO good????
Very nice! This will help with my practice. I appreciate the help.
Nice!
Cool!