

How to Draw a Half-Life Zombie
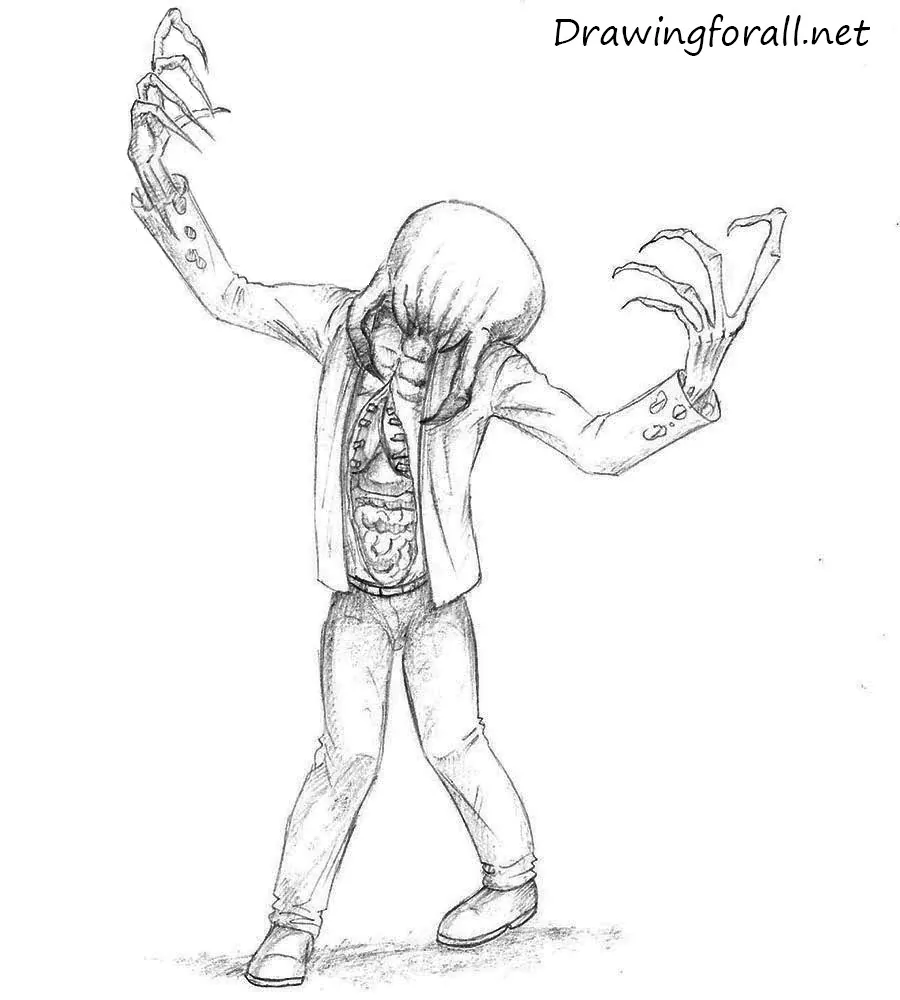
This detailed step-by-step tutorial will show you how to draw a Half-Life zombie, one of the most recognizable enemies in the series.
Several different zombie variants appear throughout the games, but we chose the classic version from Half-Life 2. With a few changes to the details, you can easily turn it into a fast zombie or a poison zombie.
How to draw a Half-Life zombie step by step
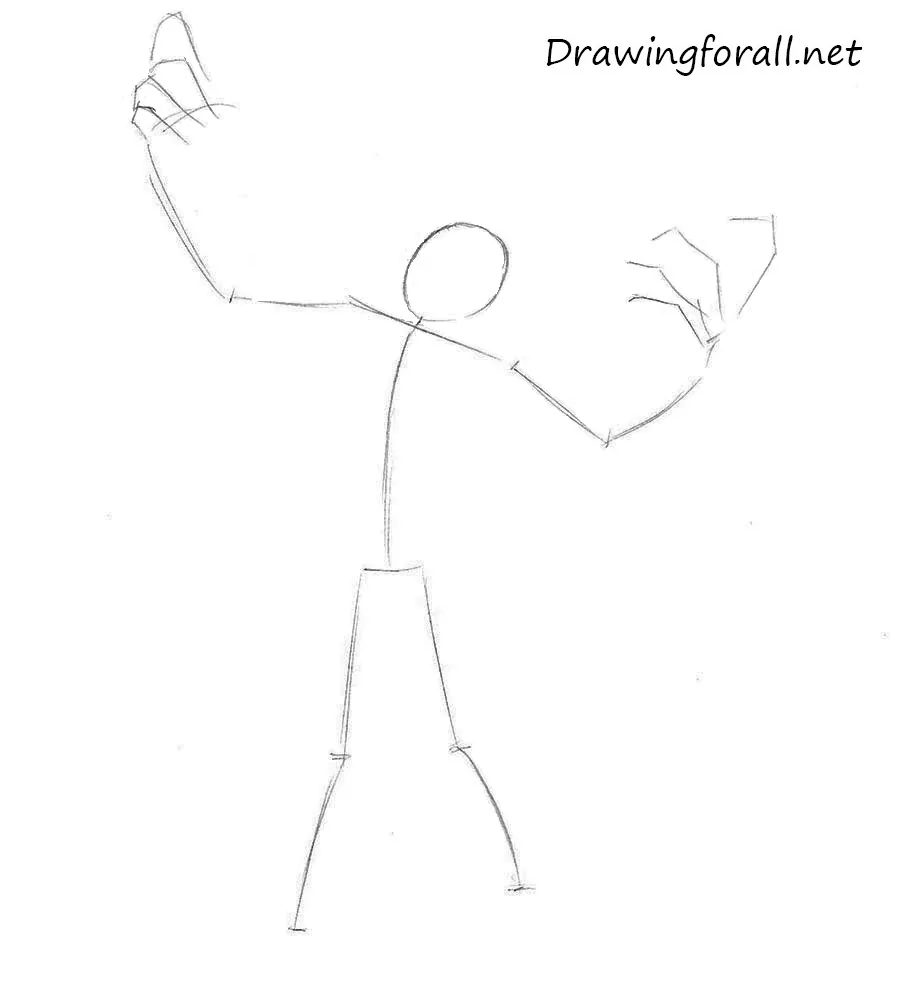
Step 1: Sketch the zombie’s basic skeleton
Before drawing, consider the distinctive features of this Half-Life zombie. We have already mentioned that the zombies from “Half-Life 2” are especially impressive. Here are the main reasons:
- They are very frightening, with an unusual appearance, a parasite on the head, and outstretched arms;
- They look like people who are extremely sick and doomed to die. Convey this through the zombie’s unnatural gait, outstretched hands, and torn abdominal cavity;
- They also produce a horrifying howl, although this cannot be shown in a drawing.
Now draw the stick figure. The body structure of the zombie does not differ greatly from that of an ordinary person, so use the same basic principles as when sketching a comic Viking. However, the pose is especially important here.
Draw the zombie’s outstretched arms, slightly curved spine, and legs. Note the positions of the knees relative to each other. The left leg should also appear shorter than the right leg.
Step 2: Draw the headcrab and arms
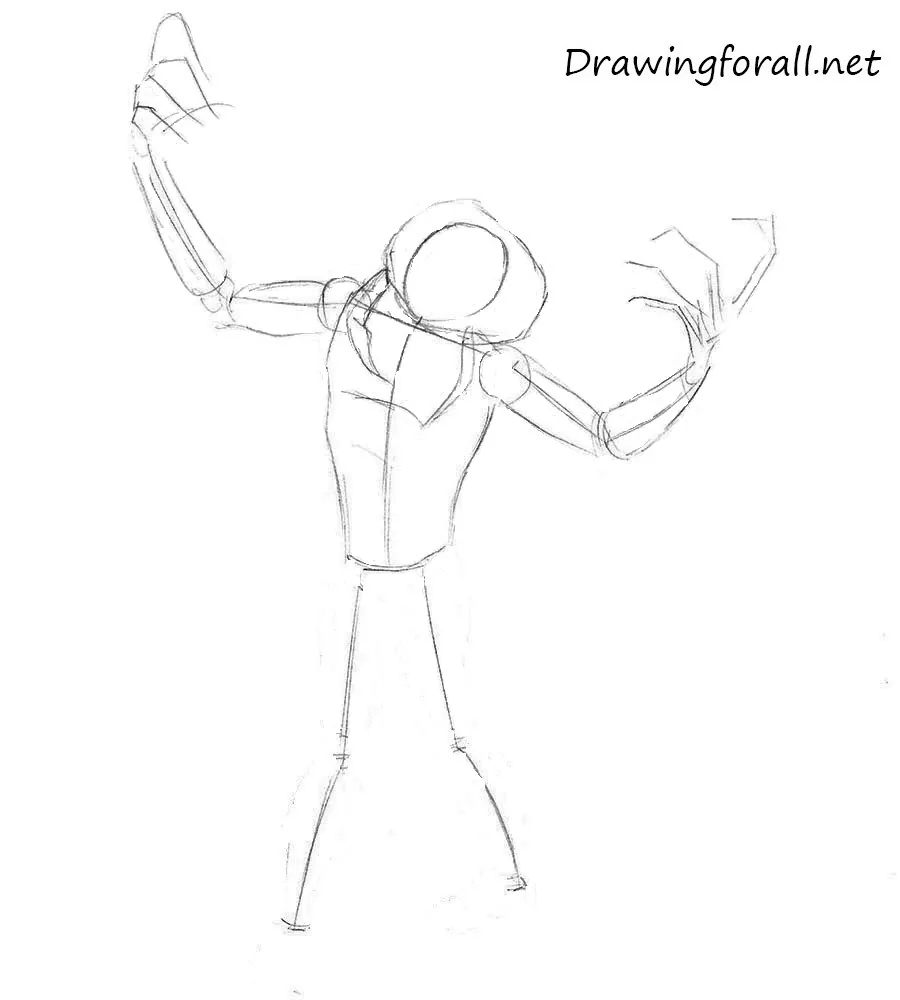
Draw the contours of the parasite on the head and begin building the body. To form the headcrab, surround the zombie’s head with a flattened oval. Then draw the visible front legs of the headcrab.
Next, outline the zombie’s arms. Use the same basic muscle structure applied when drawing the Punisher’s arms. Note that the outer edges of the fingers on the right hand form an almost straight line.
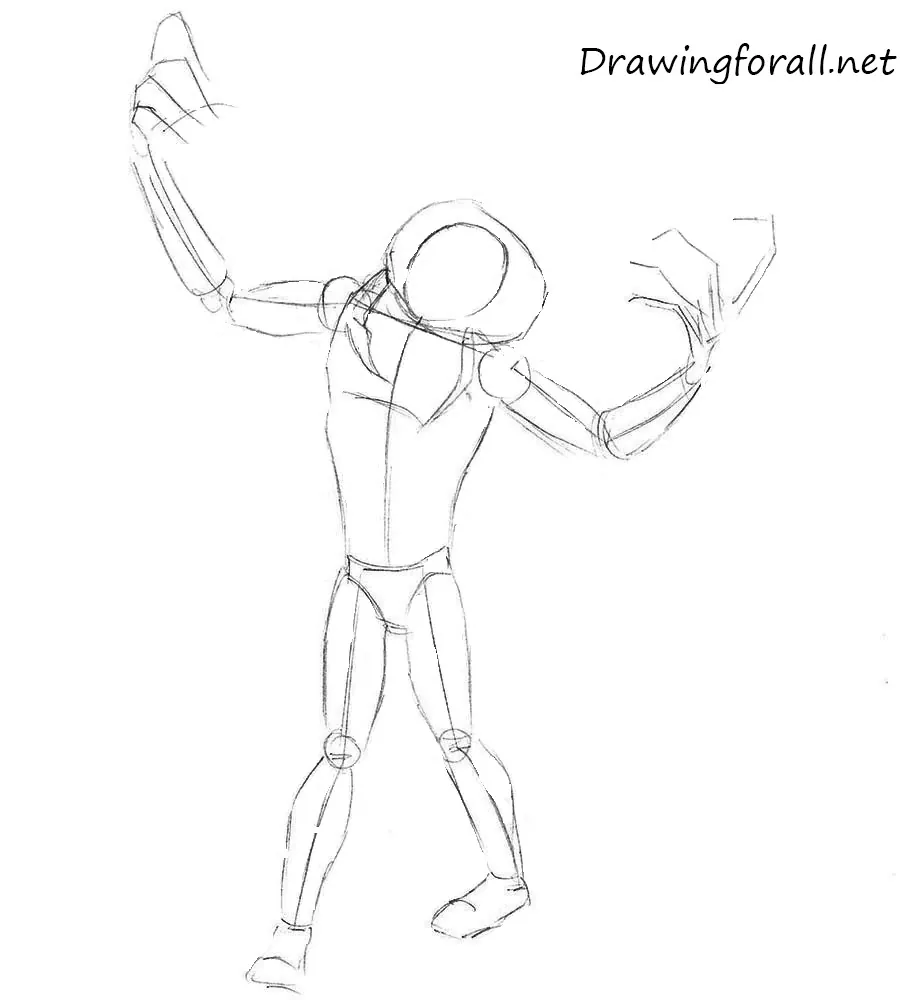
Step 3: Draw the zombie’s lower body
Repeat the same construction process for the lower torso and legs of the zombie. Draw the pelvis as a triangular shape and the knee joints as spheres. Use the framework from the first step to separate the main sections of each leg correctly.
Step 4: Outline the torn shirt
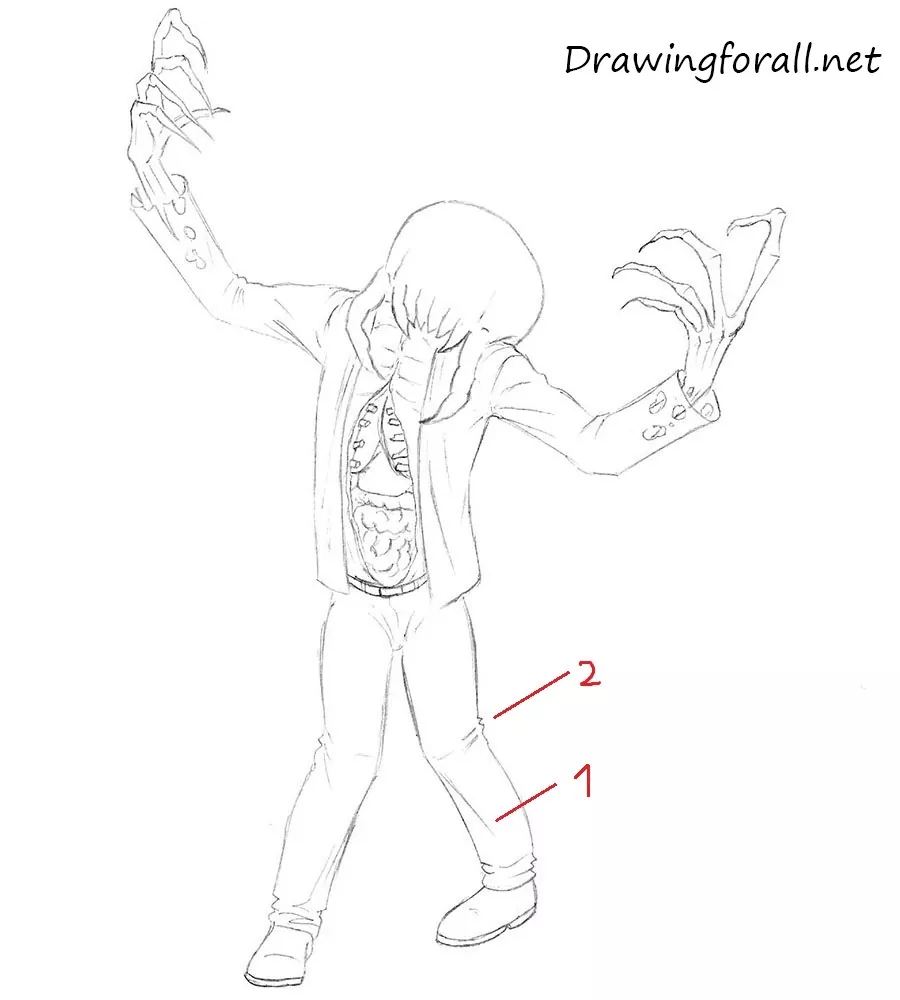
Draw the zombie’s shirt. It is unbuttoned and hangs loosely along the torso. This open design exposes the severe wounds across the abdomen and chest.
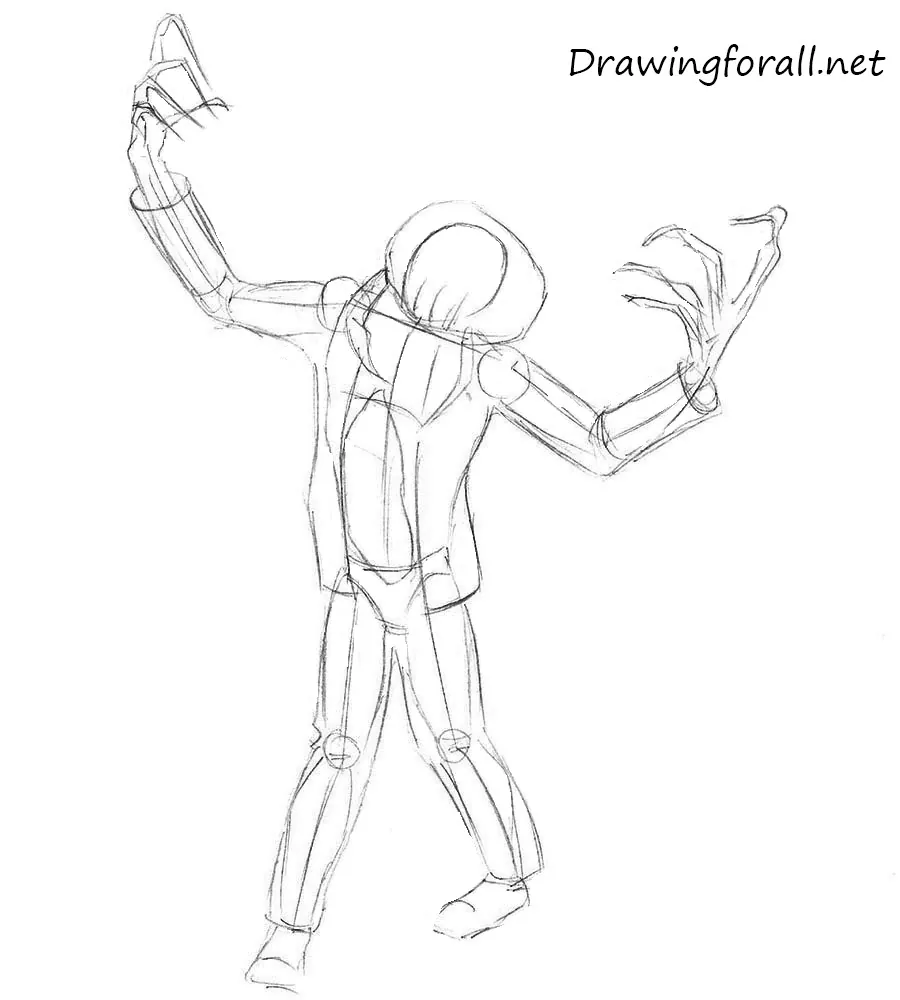
Step 5: Refine the headcrab contours
Darken the contours of the headcrab attached to the zombie’s head. Then erase all unnecessary construction lines from the parasite.
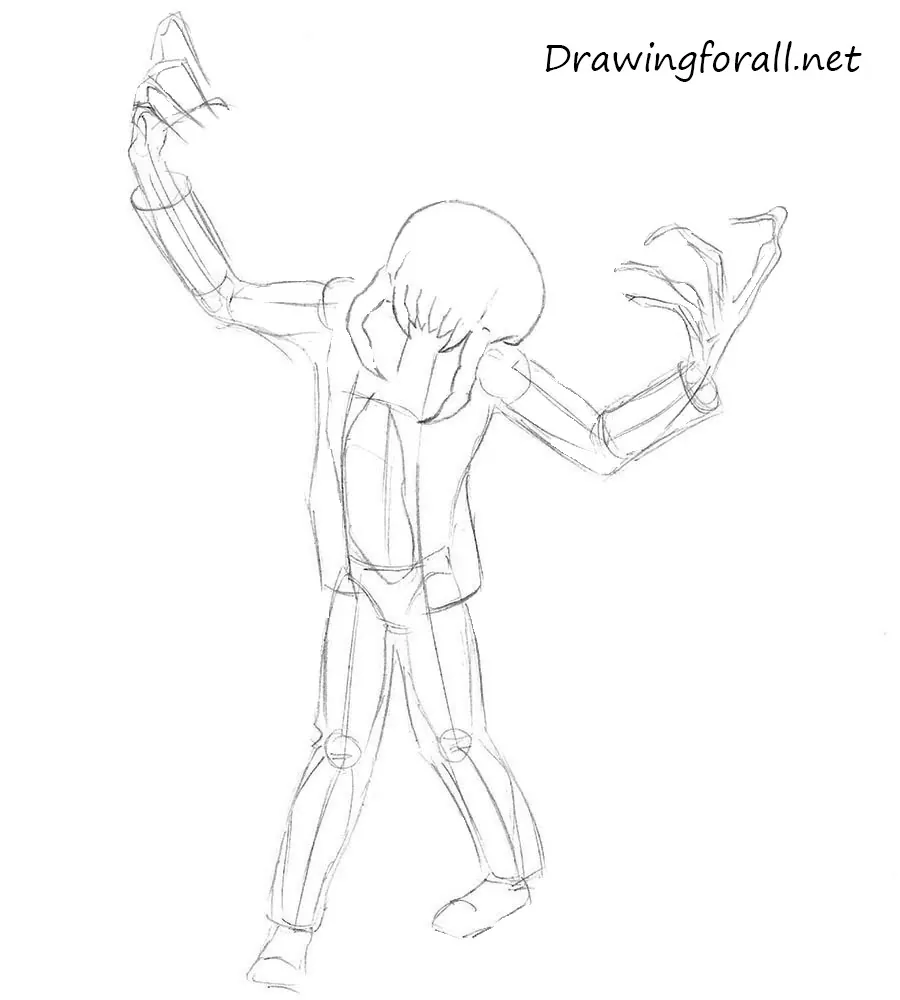
Step 6: Detail the damaged torso
Now draw the body of the Half-Life zombie. The exposed abdominal and thoracic areas resemble an anatomical study.
The large wound on the zombie’s torso is divided into two main sections:
- The upper section contains fragments of the ribs with the lungs visible behind them;
- The lower section contains the intestines, which resemble a long, thin tube with curved sections.
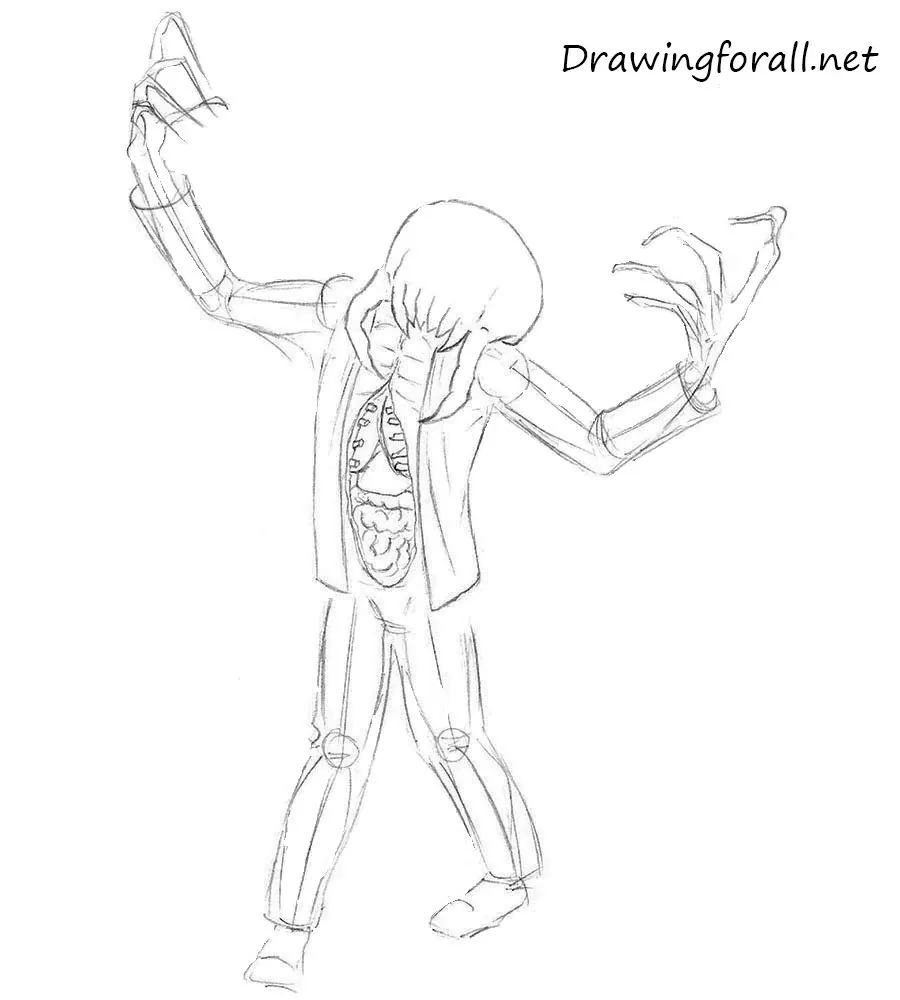
Step 7: Detail the zombie’s arms and hands
Refine the zombie’s hands and arms. Add holes and torn edges to the sleeveless shirt, then draw the long, distorted fingers. Use the construction lines from the first step as guides.
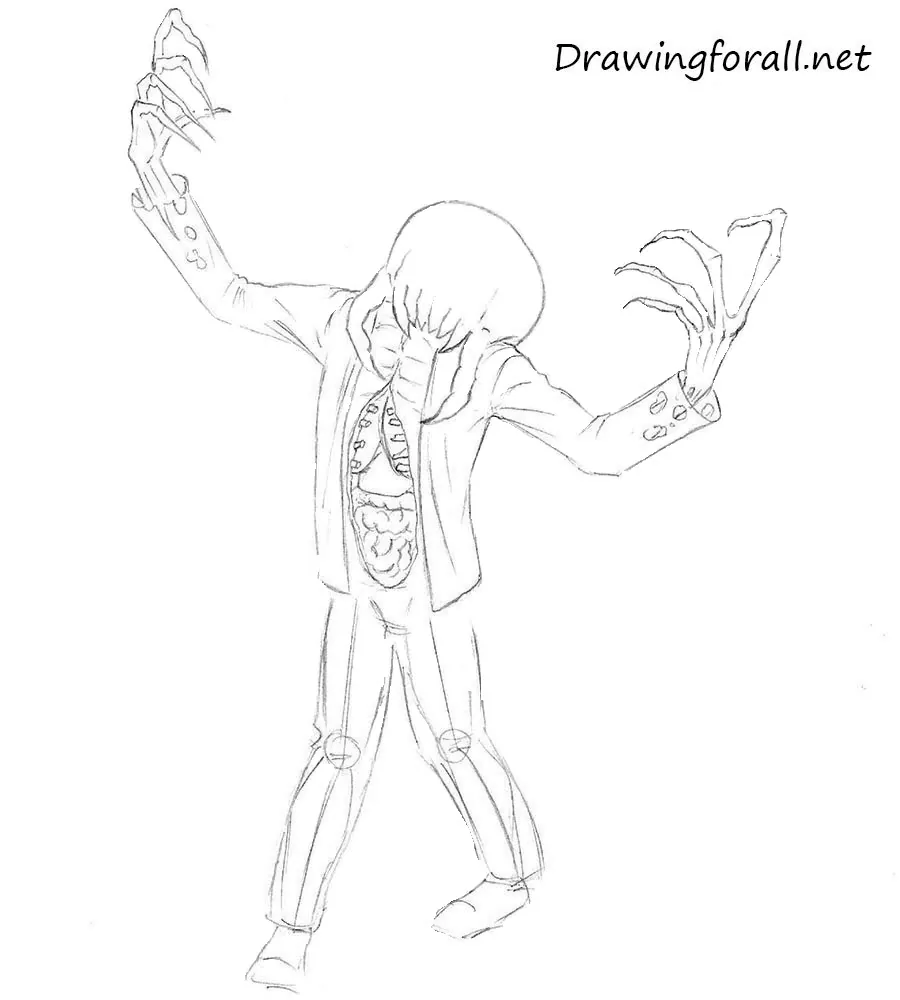
Step 8: Refine the jeans and legs
Darken the contours of the zombie’s pelvis and legs. Draw the belt directly below the abdominal wound. Distinguish between the inner and outer folds of the jeans to show how the fabric bends around the legs.
Step 9: Add shadows to the zombie
Finish the drawing by adding shadows. The light falls on the zombie from above and to our right, so shade the areas along the left and lower sides. Add shadows beneath the headcrab, under the shirt, and across the upper part of the pants. Do not forget the cast shadow beneath the zombie.
This tutorial showed you how to draw a Half-Life zombie, one of the most recognizable enemies in Valve’s classic series.
If you’d like to practice drawing more creatures from horror and fantasy settings, try drawing a fantasy monster.
You can also continue with drawing a zombie warrior to practice another undead character with a completely different design.
One of the most memorable features of the Half-Life zombie is the exposed anatomy across the chest and abdomen.
If you’d like to study these forms in greater detail, explore our collection of anatomy lessons for artists, where you’ll find guides to the skeleton, muscles, and other structures of the human body.





put a how to draw bio-shock big daddy
where is male_07 from half-life 2?