

How to Draw a Space Marine Chaplain
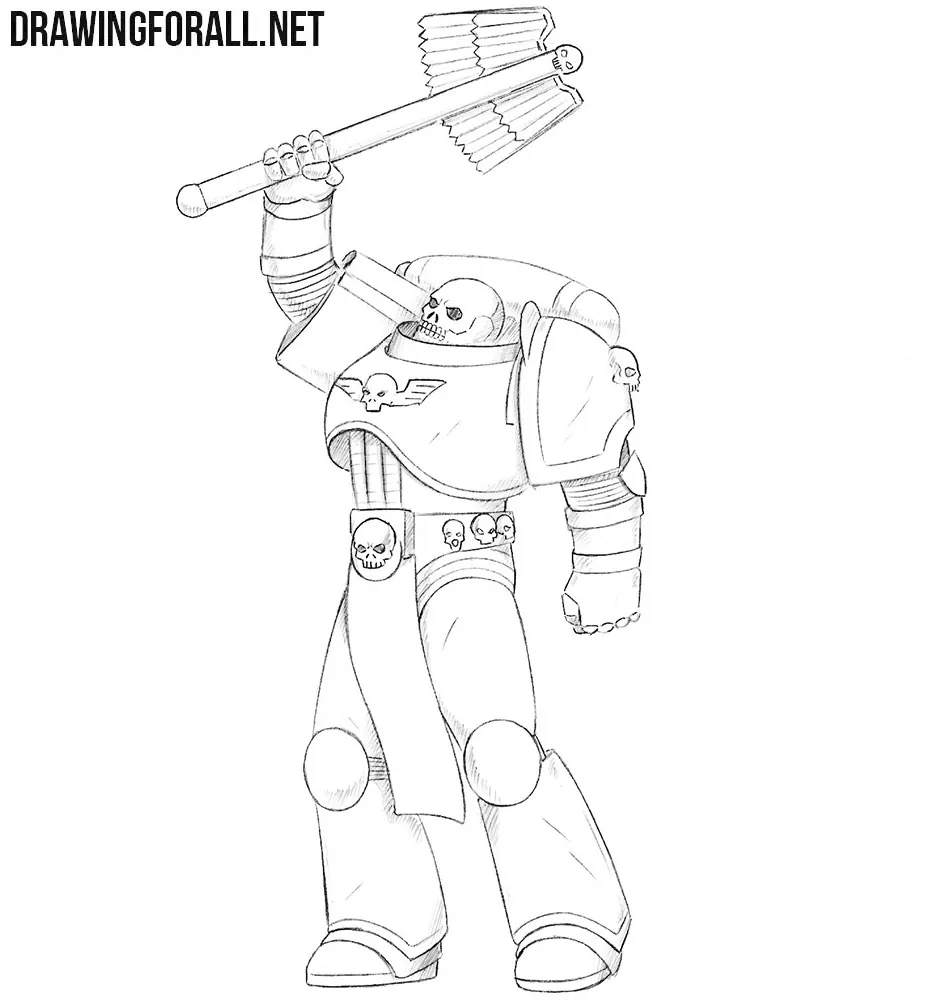
Drawing a Space Marine Chaplain follows steps very similar to drawing a Space Marine, but there are several important differences. To show these differences, we created this tutorial on how to draw a Space Marine Chaplain in our characteristic style using a line-and-hatching technique.
The final drawing will look quite authentic and have basic volume, while the steps themselves should not be difficult to follow.
How to draw a Space Marine Chaplain step by step
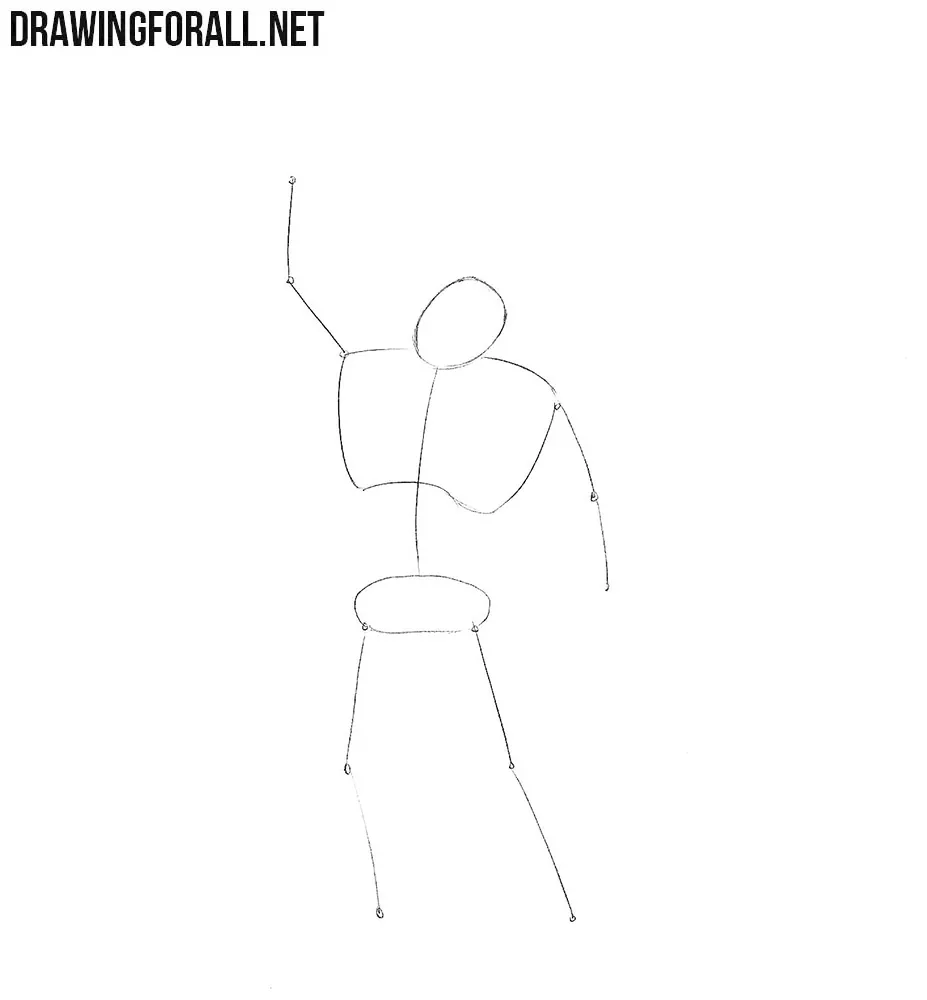
Step 1: Sketch the Chaplain’s basic figure
First, sketch the warrior’s basic framework. His figure is broad, with no visible neck and a very wide chest. Outline a round head and a line for the spine, then mark the massive chest and pelvis on this line. Sketch the arms and legs as simple lines. Mark the arm on the left raised and bent at the elbow, and the other arm hanging beside the torso. Draw the legs slightly apart.
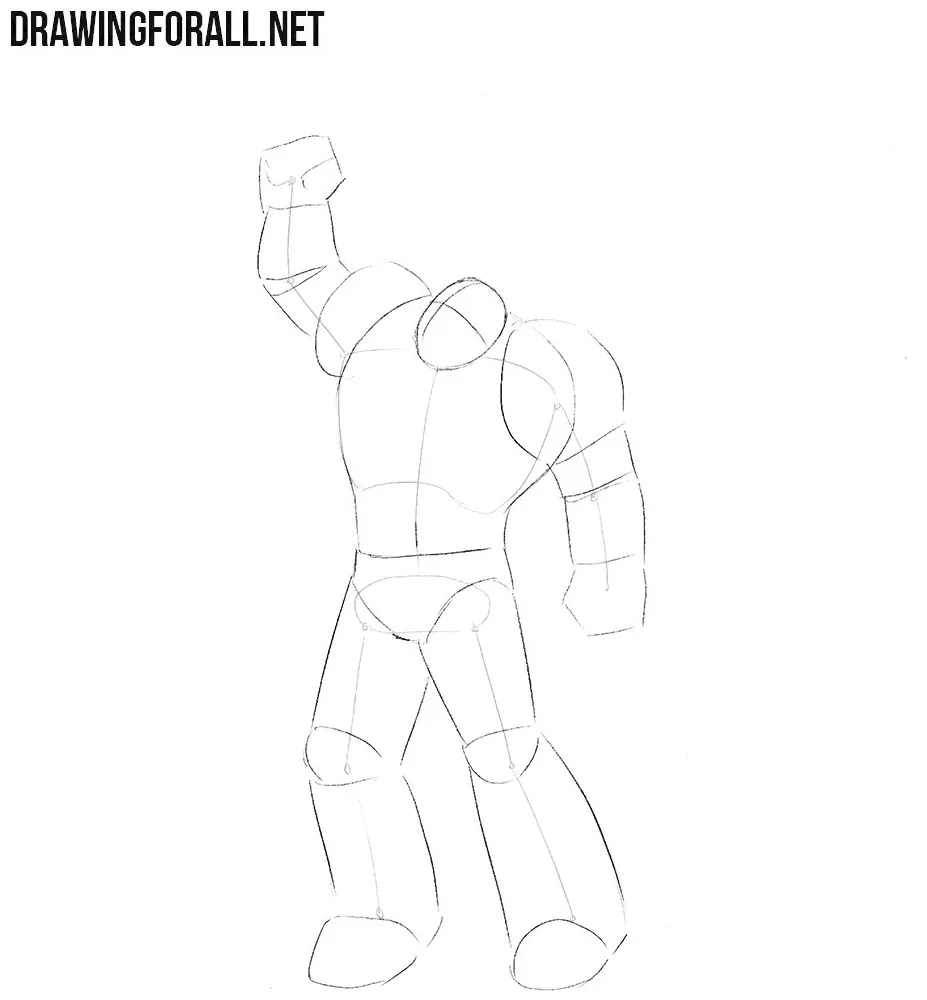
Step 2: Add volume to the warrior
Draw two crossing guidelines on the head to mark the placement of the skull helmet’s details. Next, outline the wide, massive torso with a noticeable narrowing from the chest to the waist. Sketch the arms and legs using large geometric shapes. Outline the shoulder pads as large curved forms and the limbs as thick cylinders. Mark the fists with angular shapes and sketch the projecting toes beneath the shins.
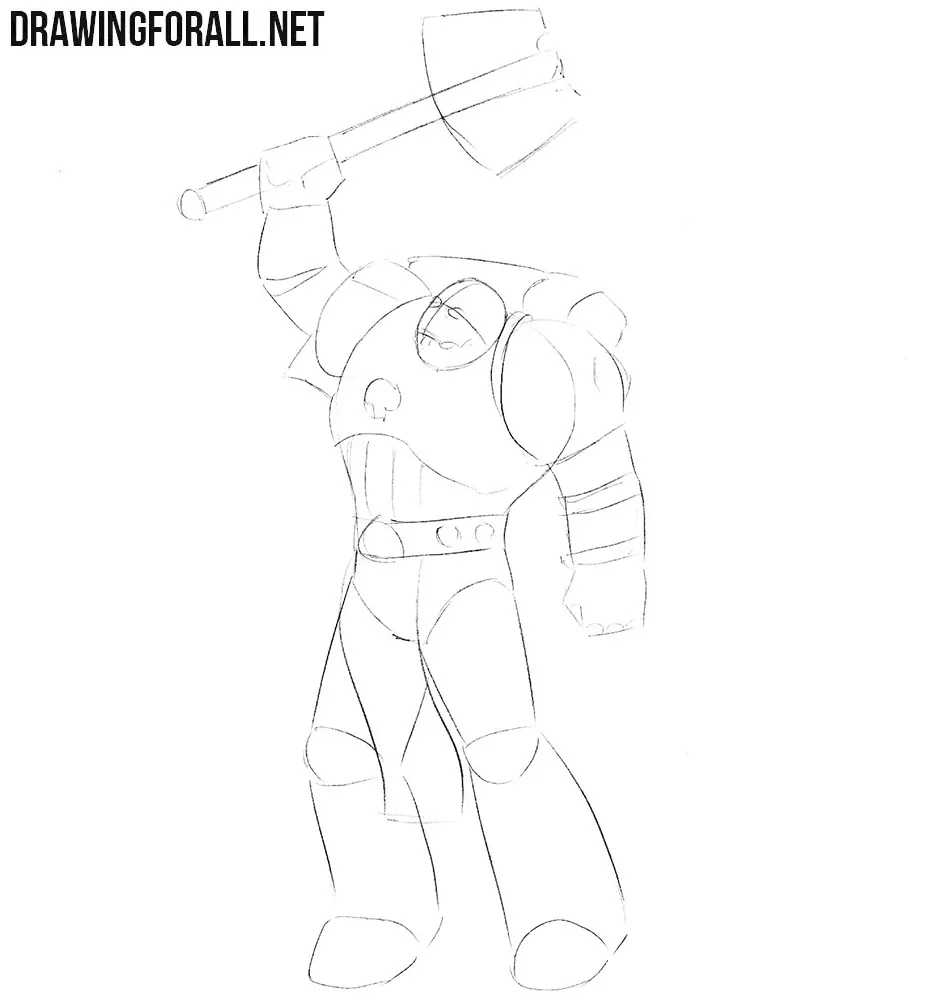
Step 3: Outline the Chaplain’s armor and weapons
Outline the Chaplain’s armor and weapons, then sketch the helmet features. Draw the long weapon handle diagonally through the raised hand and mark its wide head above the figure. Add the backpack behind the shoulders, the belt around the waist, and the strip hanging between the legs. Indicate the skull decorations with small ovals. Use very light lines throughout the first three steps.
Step 4: Refine the skull helmet and collar
Draw the skull-shaped front of the helmet and the armor that covers the neck. Preserve the tilt of the head from the first step as you refine the skull details. Outline the angular eye sockets, small nasal opening, and cheekbones. Separate the teeth with short lines along the jaw. Draw the collar as a thick curved band beneath the skull. Then erase the unnecessary guidelines from the face.
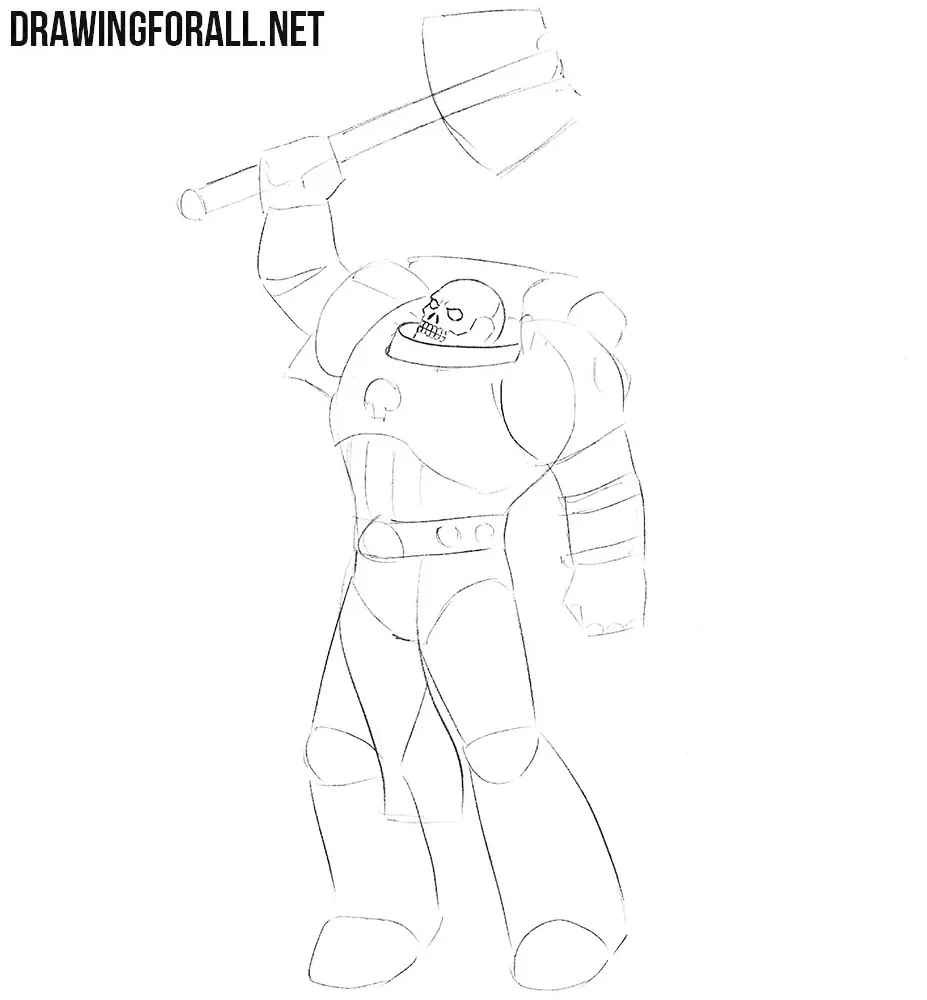
Step 5: Draw the chest armor and belt
Now draw the armor that protects the torso. Add a smooth, curved rim along the lower edge of the chest. Don’t forget the winged skull above this rim. Use stepped outlines and short horizontal lines for its wings. Then draw the massive belt decorated with skulls. Add one large skull on the front plate and three smaller ones along the visible side. Mark vertical divisions on the exposed abdomen.
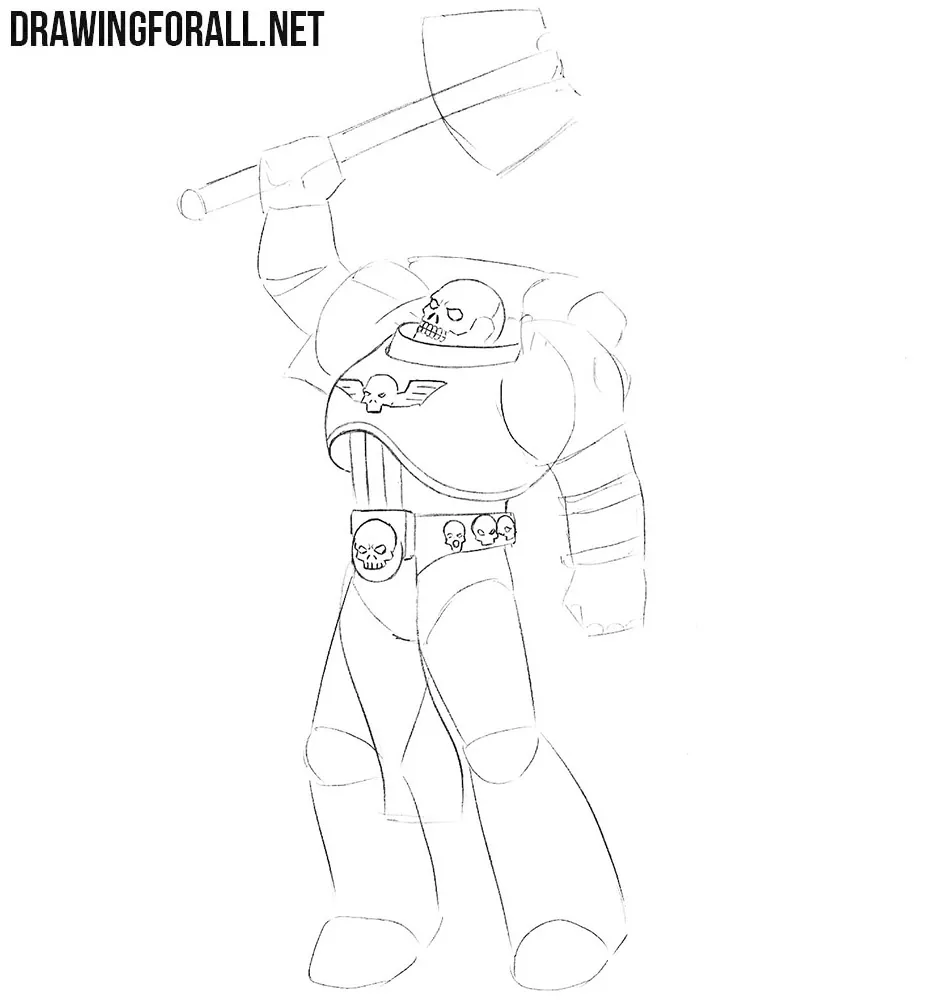
Step 6: Detail the armored arms and fists
With the torso details complete, move on to the arms. The joints and muscles are covered by armor, so focus on its outlines. Add shoulder trim, elbow bands, and the backpack contours. Draw the fists as well. Outline the fingers around the handle, then detail the weapon’s feathered head and small skull.
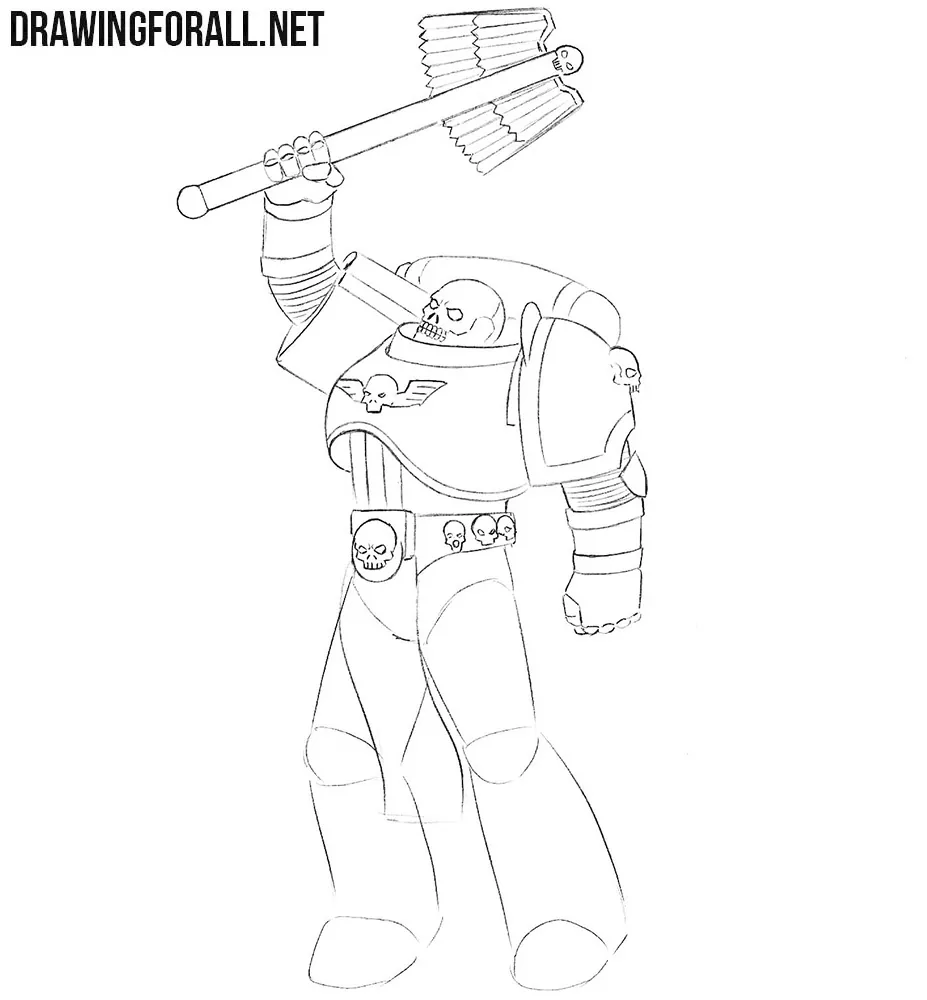
Step 7: Refine the Chaplain’s armored legs
Now move on to the lower body. Use the same approach to draw the armored legs, which resemble those of a giant robot. Outline the oval knee guards and the overlapping bands above the thighs. Use angular lines along the armor edges. Add double borders above the toes and thin soles beneath the boots. Trace the long hanging strip with curved sides and an uneven bottom edge.
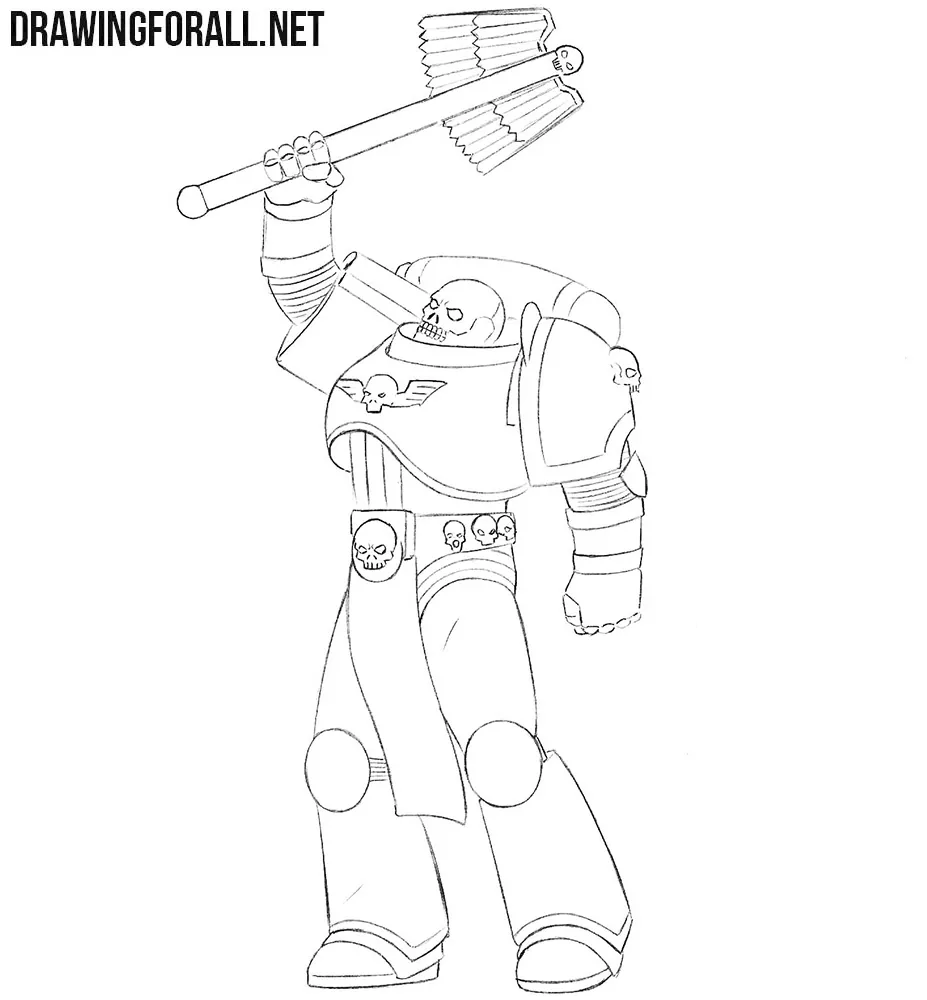
Step 8: Add shadows and chain mail texture
The Space Marine Chaplain drawing is almost finished. Now add shadows to give the drawing more volume. Fill in the eye sockets, then apply hatching to the areas that receive the least light. Shade beneath the collar and chest rim, along the inner legs, and near the lower edges of the knee guards.
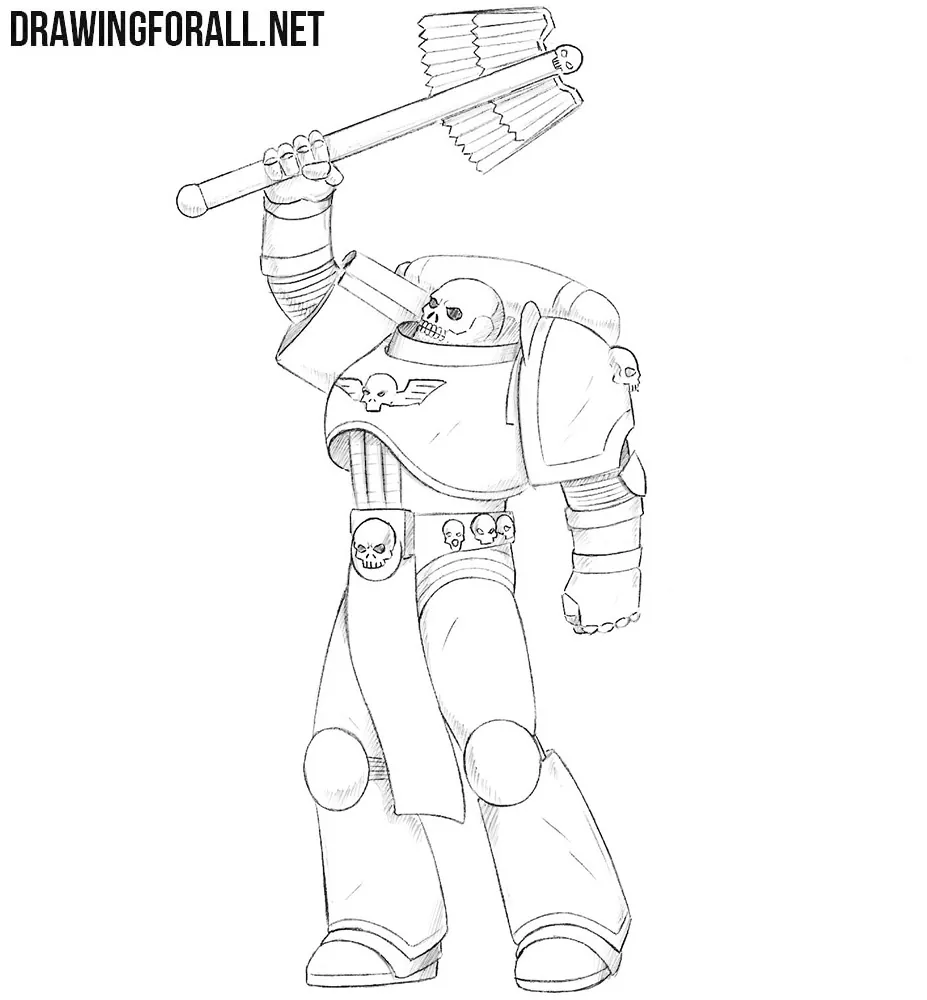
Many characters from the Warhammer 40,000 universe wear very large, massive suits of armor that hide most of their bodies.
These suits are filled with numerous small details, elements, and textures. In addition, there are unique characters with their own distinctive features and characteristics.
To continue practicing, try drawing the characters that interest you most using the method you have learned. Draw a Sister of Battle, or try drawing a Necron, who in turn looks quite different from the character we drew here.




very nice drawing