How to Draw an Imperial Guardsman
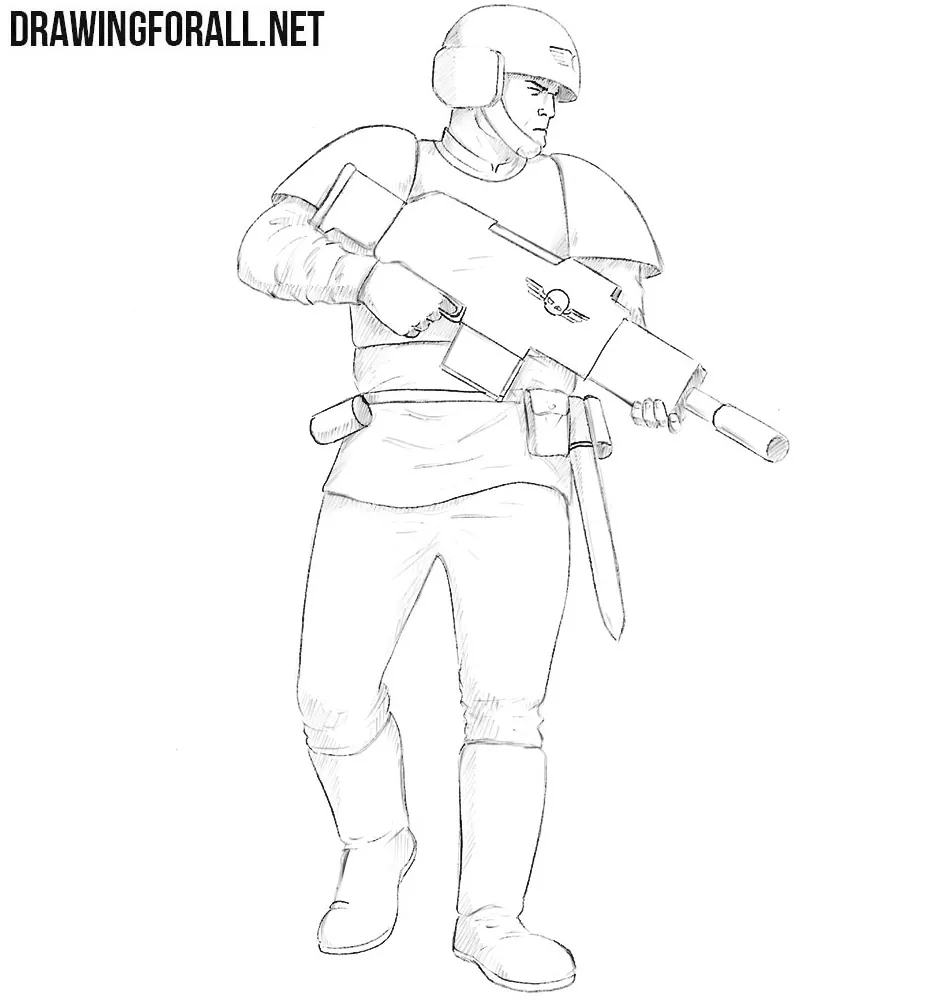
The Warhammer universe has many characters that look unusual, as well as others whose appearance is closer to that of ordinary people. This step-by-step tutorial will show you how to draw an Imperial Guardsman in his characteristic uniform and helmet, with a weapon in his hands.
Since the character we are drawing is human in body proportions and overall appearance, we will follow the principles of drawing the male figure quite closely. The main differences will lie in the details, which are exactly what make the character’s look distinctive.
How to draw an Imperial Guardsman step by step
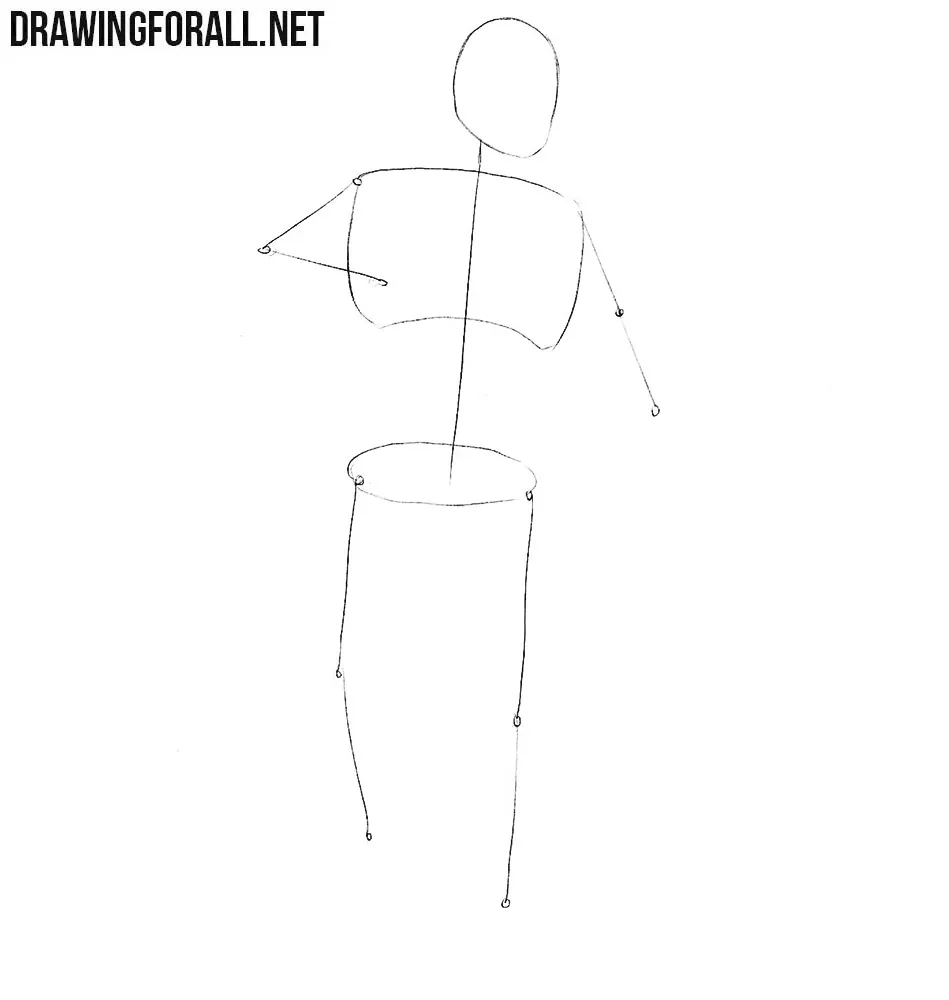
Step 1: Sketch the soldier’s basic figure
Sketch an oval head, a chest wider than the pelvis, and a slanted spine. Mark the arm on the left bent across the body and the other arm lowered. Draw the leg guidelines with the knee on the left slightly higher than the other.
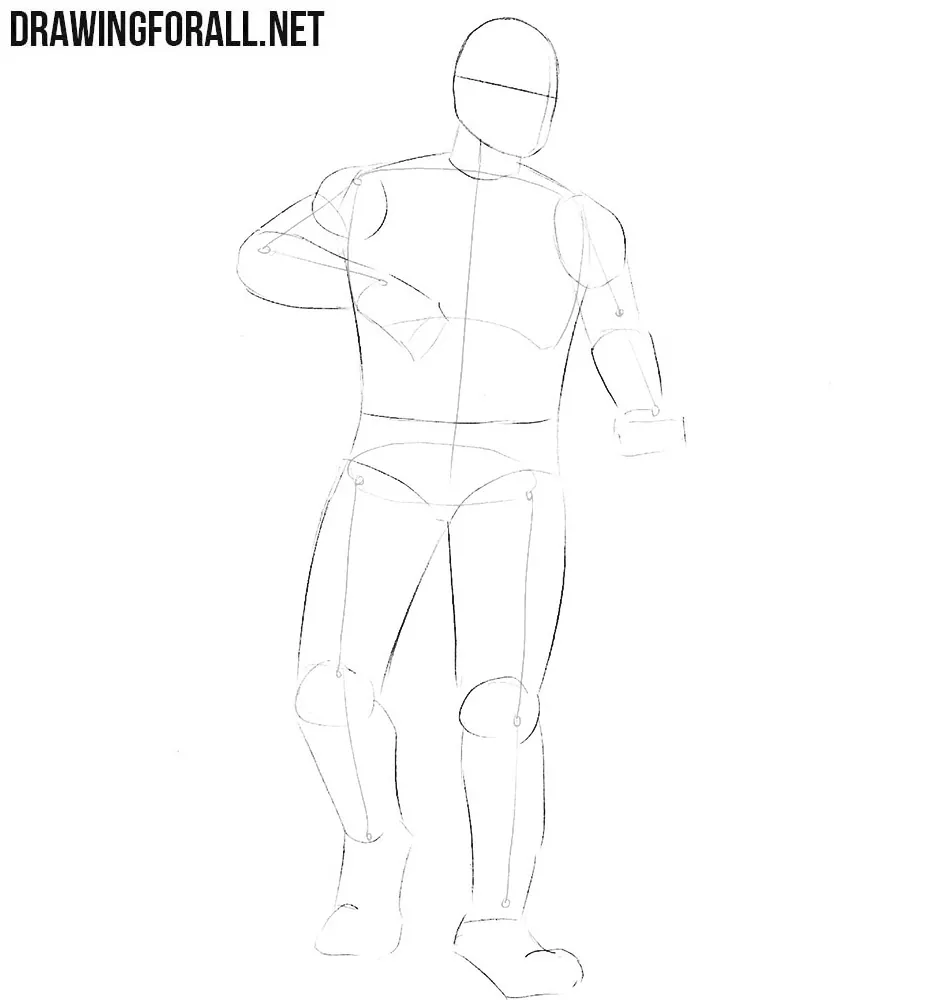
Step 2: Add facial guidelines and limbs
Draw two short crossing guidelines inside the head outline. Place the vertical guideline near the right edge to show the head turned in that direction. Outline the neck and connect the chest to the narrower waist. Then sketch the shoulders as circles and the arms as cylindrical forms. Build the legs with cylindrical forms as well. Mark the knees with ovals and outline the hands and feet.
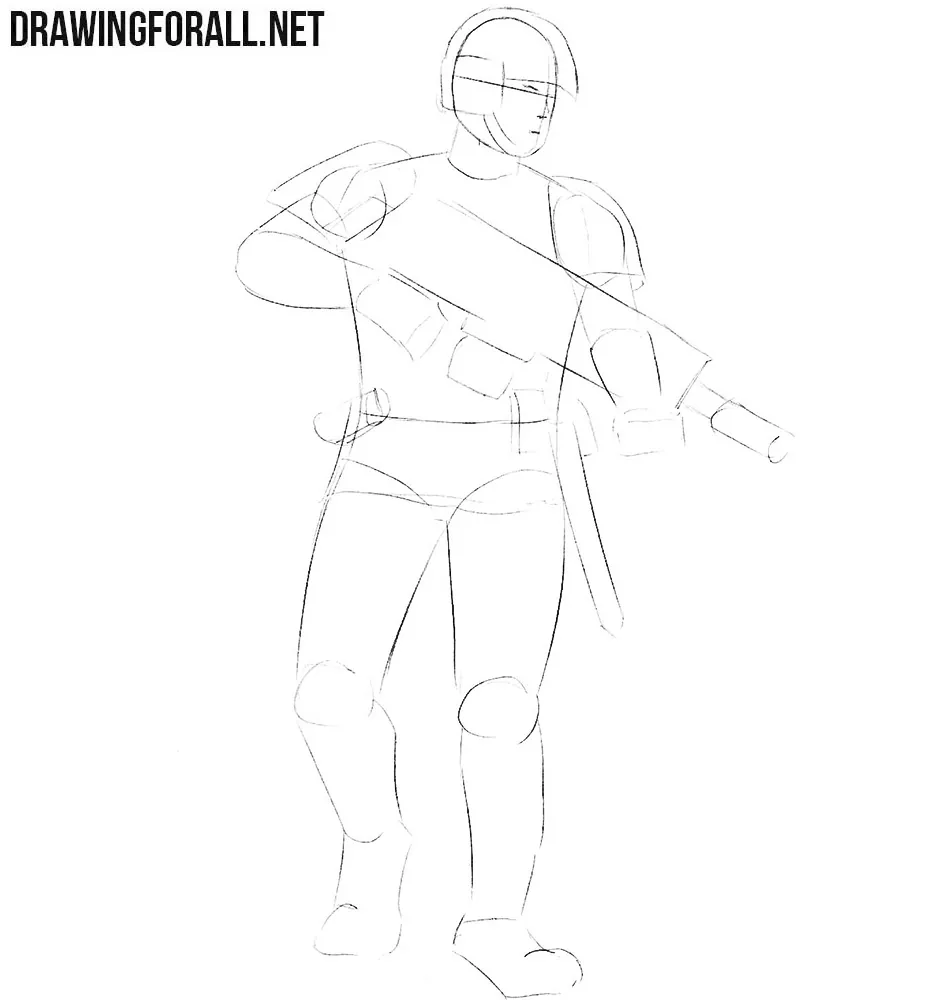
Step 3: Outline the helmet and armor
Now sketch the main details, starting at the head and moving down to the boots. Outline the helmet and facial features, then move on to the body and sketch the armor. Add the curved shoulder plates and the gun across the chest, with its barrel pointing down to the right. Mark the magazine beneath the weapon and the equipment hanging from the belt. Use very light lines throughout the first three steps so you can correct them easily.
Step 4: Refine the helmet and face
Start refining the details with darker lines. Erase the unnecessary guidelines from the helmet and trace its final contours. Outline the large ear covering and the short brim above the forehead. Trace the chin strap along the jaw, then draw the eye and frowning brow. Trace the projecting nose, closed mouth, and chin. Add the small rectangular marking on the front of the helmet.
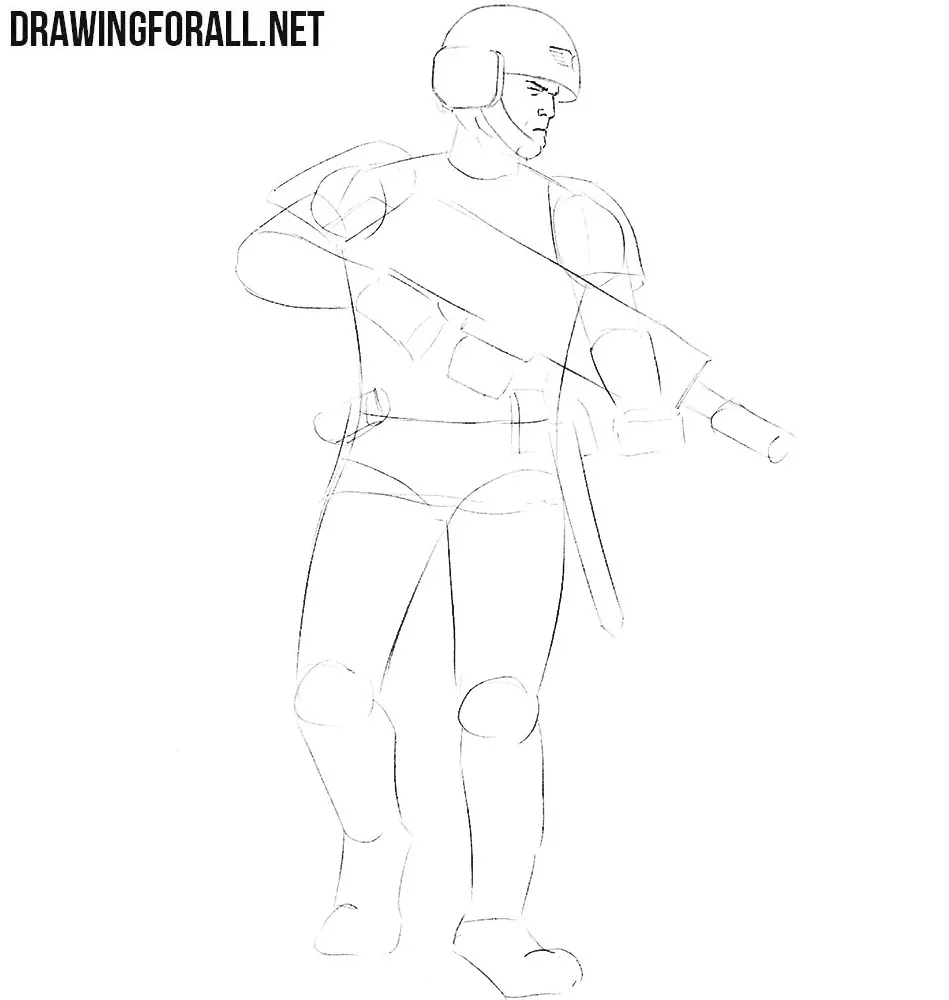
Step 5: Draw the sleeves and hands
Draw the outlines of the character’s arms. His thick military jacket covers the muscles and joints, so there is no need to detail them. Add sleeve folds near the elbow and cuff, then trace the shoulder plates and visible chest armor. Draw the hands holding the standard laser gun. Define its angular casing, magazine, cylindrical barrel, and winged skull emblem.
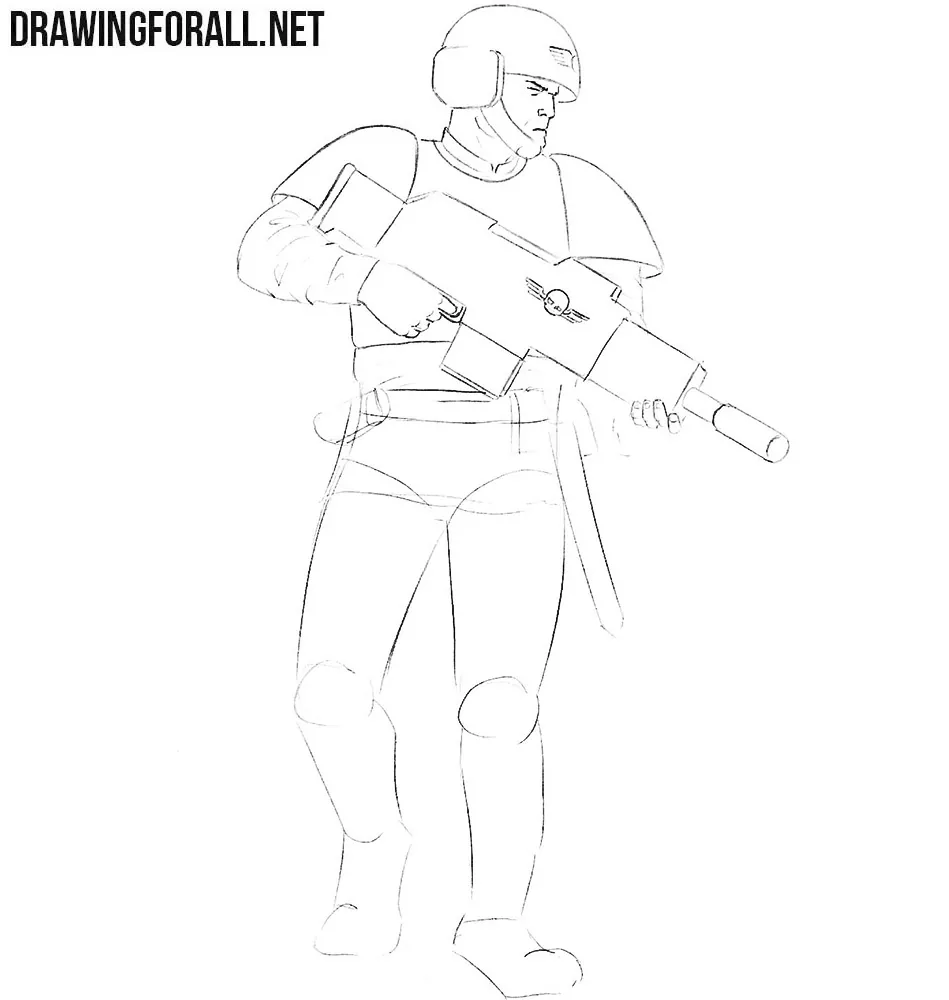
Step 6: Refine the trousers and boots
Move on to the Imperial Guardsman’s lower body. Draw the lower part of the military jacket around the belt. Detail the flap pouch and long sheath on the right, then outline the cylindrical item on the opposite hip. Add folds in the trousers at the knees and groin, then trace the tall boots. Mark the ankle creases and thin soles beneath the toes. Refine the remaining folds and erase all unnecessary guidelines.
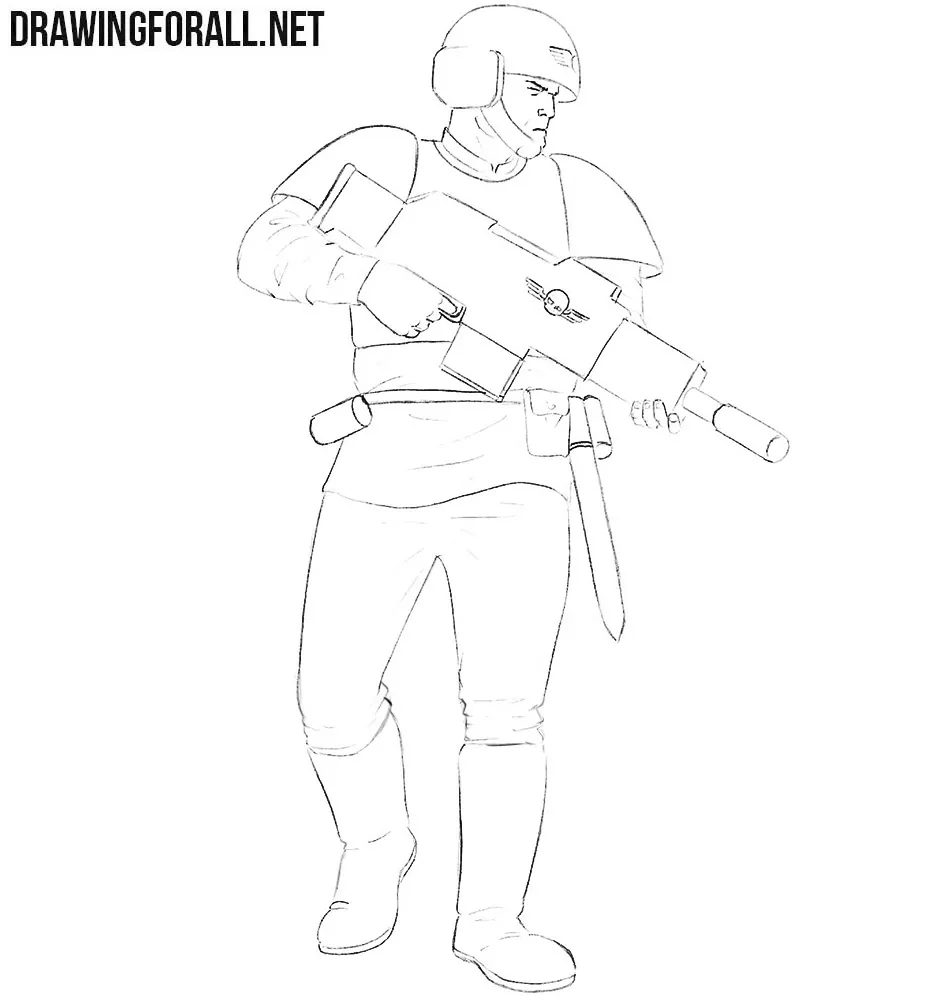
Step 7: Add shadows to the Guardsman
Finally, add shadows. First, determine where the light comes from. Here, it comes from the upper right. Apply hatching of varying density to the areas of the figure that receive the least light. Shade beneath the helmet brim and shoulder plates, under the bent forearm, and inside the folds. Add another layer of hatching to deepen the shadows where needed.
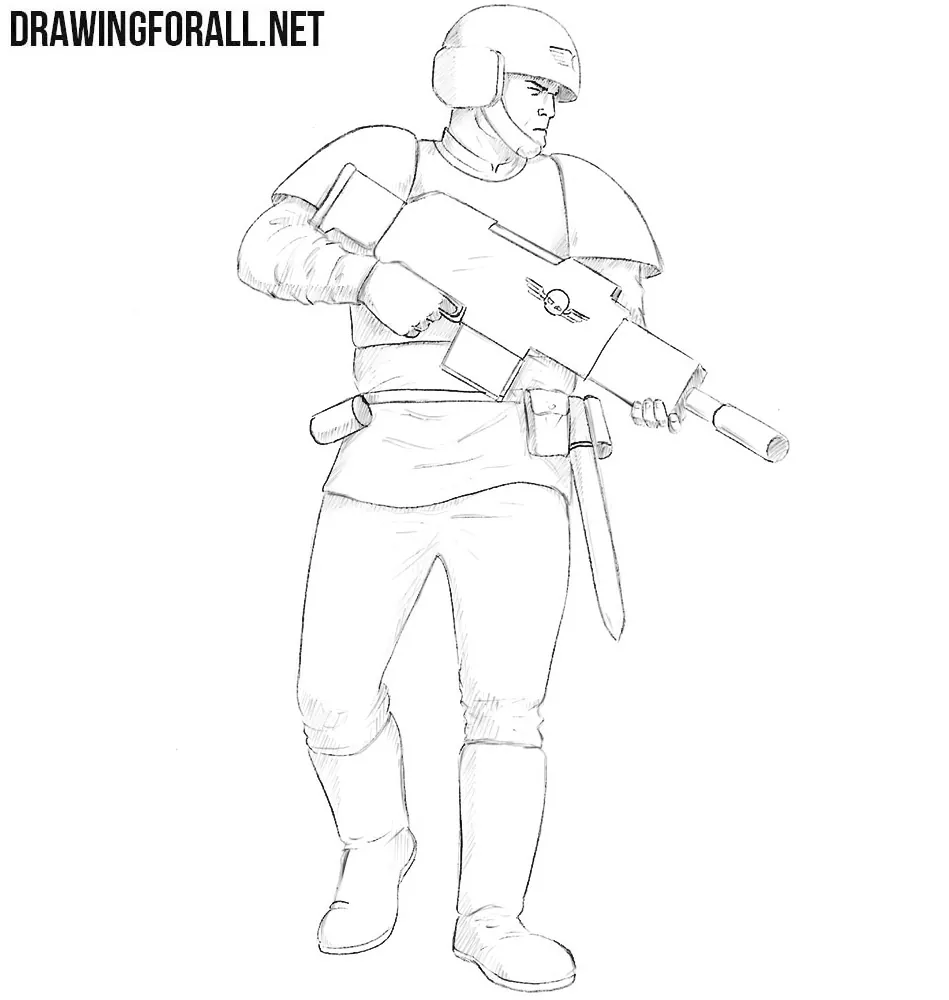
As you may have noticed throughout the steps, the basic principles of drawing the human figure work very well for characters like this. You can now apply the same principles to draw any soldier or another character with a similar appearance.
In a much more modified form, but still based on the same principle of moving from basic forms to details, you can even draw a Dreadnought or a Space Marine.