How to Draw a Cranberry

Today we will tell you about how to draw a cranberry. We are not sure that you all love these sour berries. However, these berries are very fragrant and they make very cool juices and fruit drinks.
This berry becomes more tasty after the first frosty days. A great many people in northern countries cannot imagine life without cranberry, which is fragrant and very healthy.
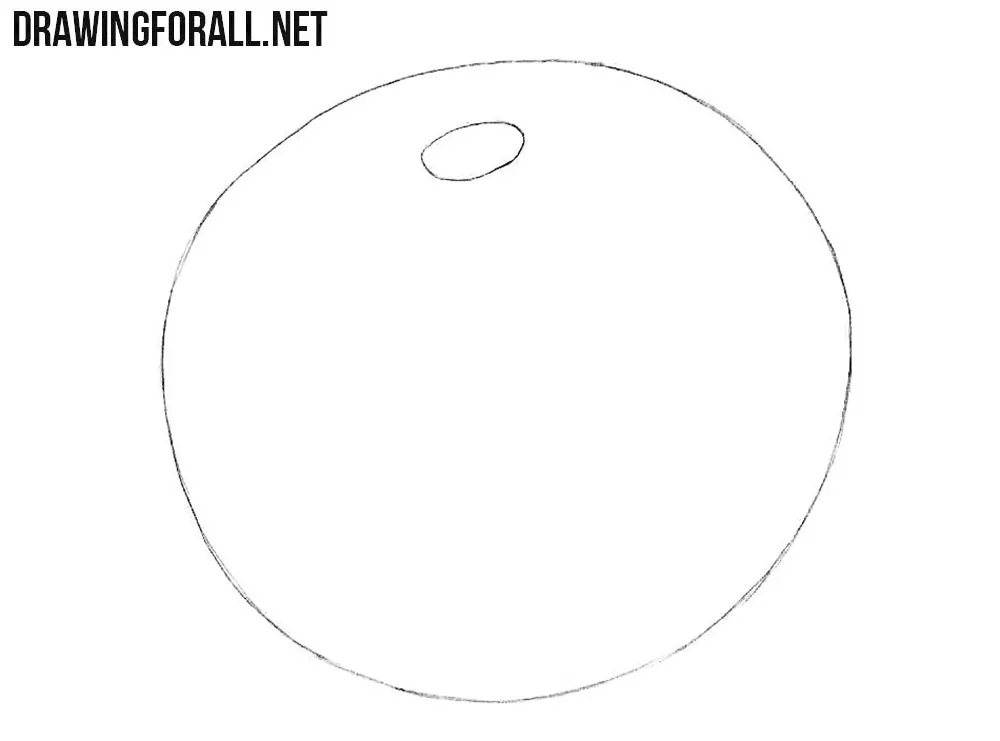
Step 1
First, we draw a regular circle. You may not comply with our drawing exactly. Normally, if you draw a flattened circle of a slightly different shape. In the upper part of the circle, we draw a flattened horizontal oval.
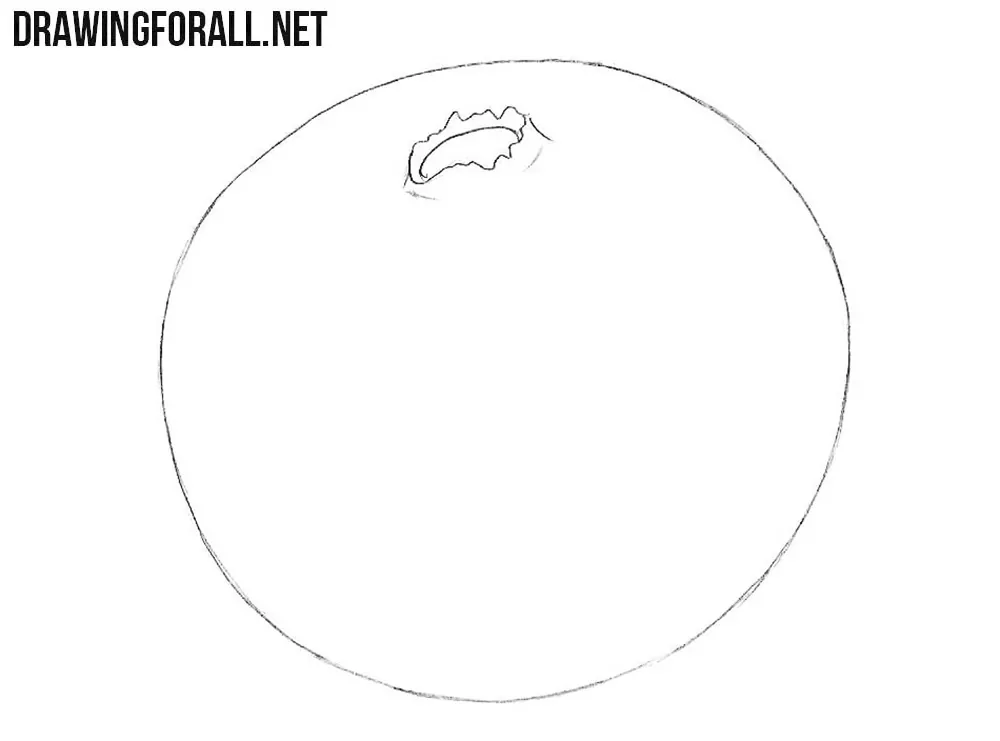
Step 2
In this step, we will only work with a small flattened oval. Let’s draw another oval with jagged edges that is located on top of the first oval. Note that these two ovals have an adjacent side.
Step 3
We got a very nice cranberry. Let’s work on the shadows a bit to make our berry more realistic. Be sure to apply the hatching on the inside of the oval from the previous step. Hatch the outer edges of this oval. Apply a large sweeping hatching on the side of the berry. Do not forget about the shadow on the hard surface on which our berry is located.

With this drawing lesson we complete a set of wild berries. For example, we have already drawn blueberry and blackberry. Did we forget about something? Be sure to write about it in the comments.
We hope that your cranberry is very realistic. If you think that the berry that you drew something different from ours for the worse, do not forget to also write about it in the comments. We will try to help you.