

How to Draw a Face from the Front
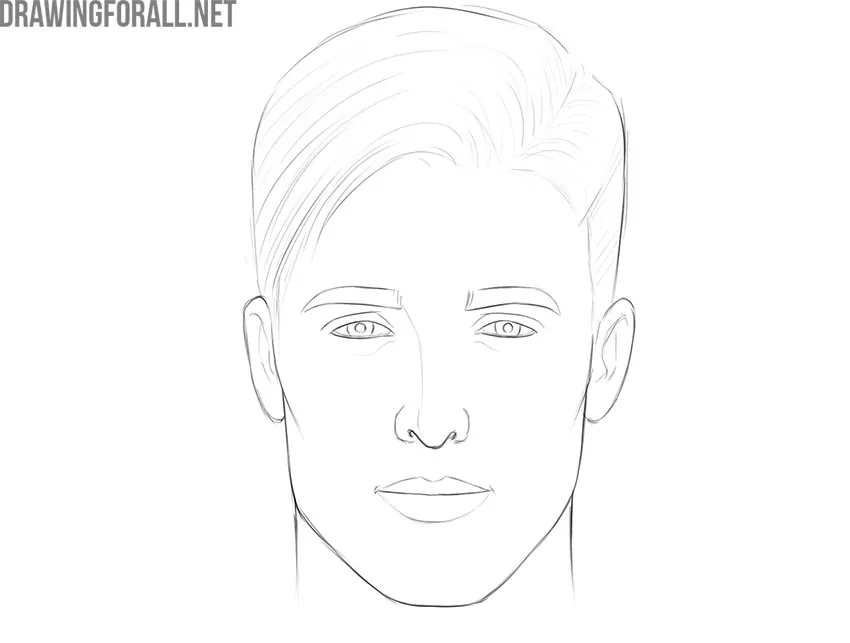
In this simple but realistic tutorial, we will show you how to draw a face from the front. This guide complements our detailed tutorial on drawing a face and focuses specifically on the front view.
Drawing a face from the front requires careful placement of the facial features to keep the drawing symmetrical.
Throughout this tutorial, we’ll explain these principles step by step as you build the drawing.
How to draw a face from the front step by step
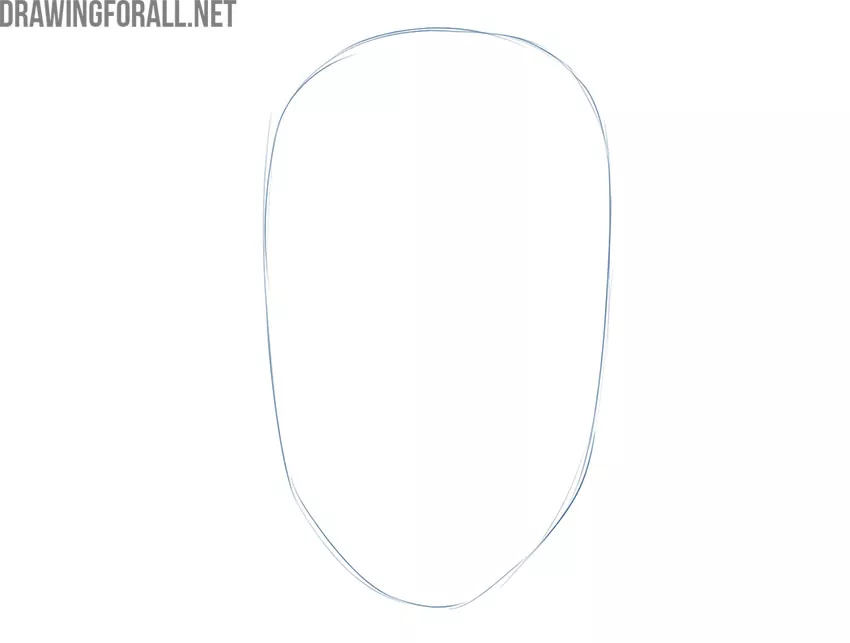
Step 1: Sketch the face oval
First, sketch an oval that will serve as a guide for the face. Use very light lines at this stage because they will be erased later. Since the face is shown from the front, keep the oval symmetrical. You can look at the drawing in a mirror to check both sides.
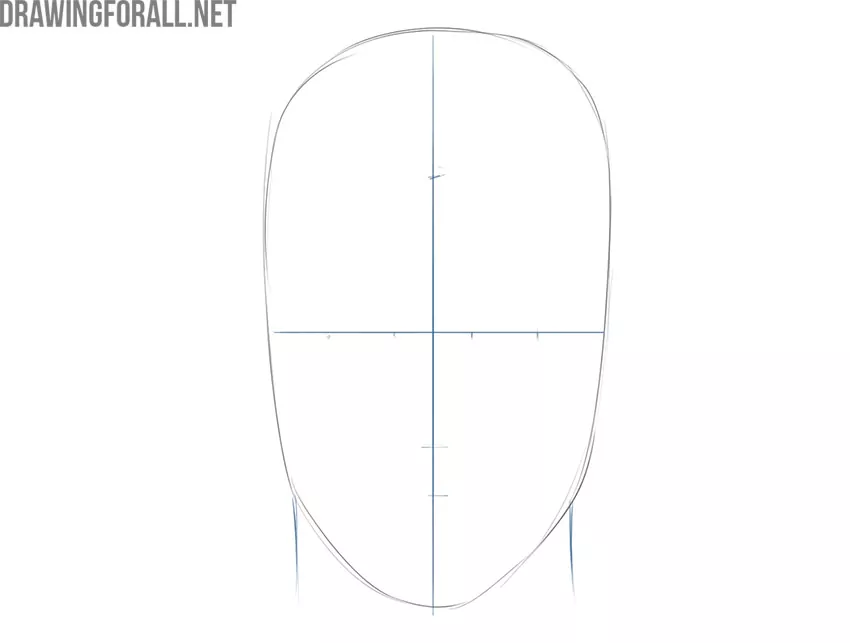
Step 2: Mark the facial guidelines
Sketch horizontal and vertical guidelines across the face oval. These two lines should cross at the center of the face. On the horizontal line, mark the positions of the inner and outer corners of the eyes. On the vertical line, mark the positions of the nose, mouth, and hairline. In a true front view, these guidelines should intersect exactly at the center of the face without shifting to either side.
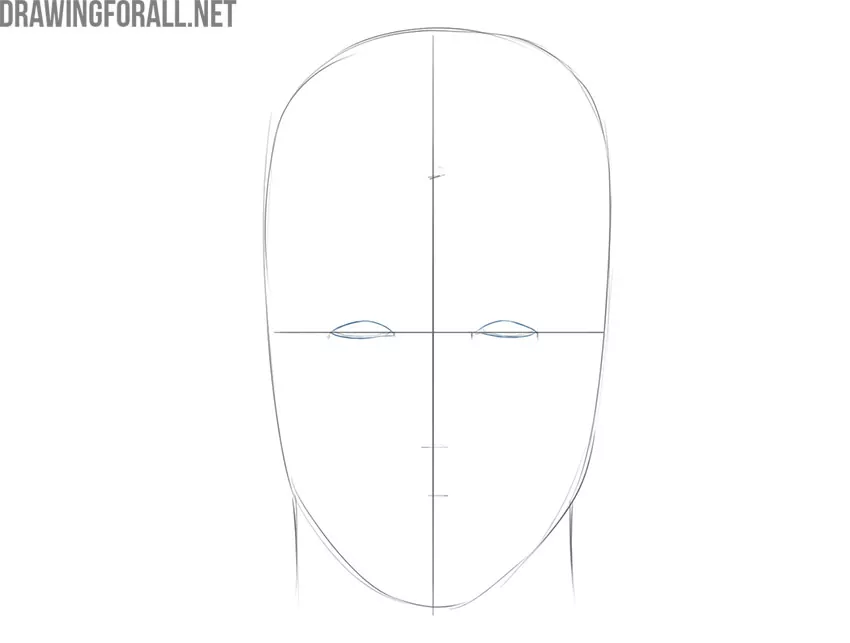
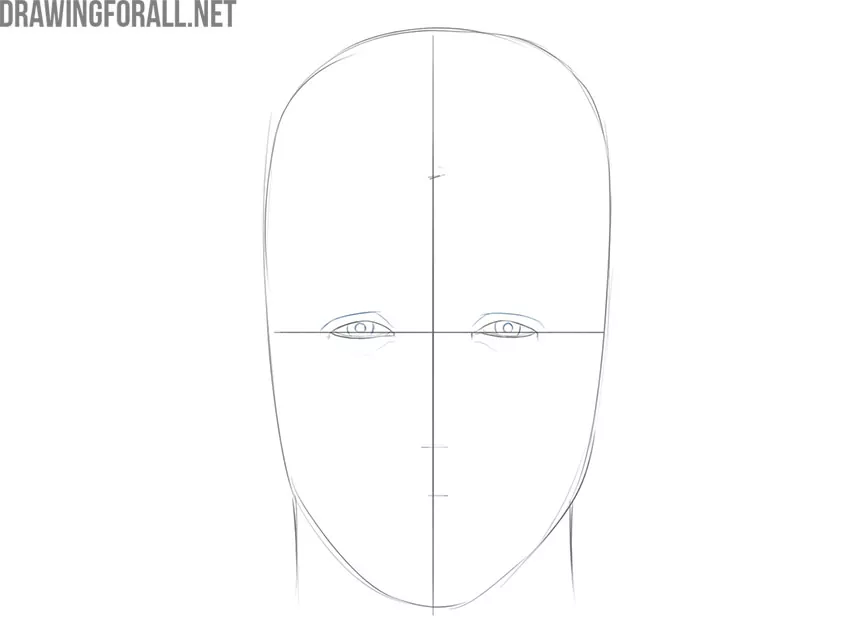
Step 3: Outline the front-view eyes
Now move on to the facial details, starting with the eyes. Using the horizontal guideline, first sketch the upper eyelids and then add the lower ones. In a front view, both eyes should be positioned at exactly the same distance from the centerline. To study this feature more closely, visit our guide to drawing eyes from the front.
Step 4: Add pupils and folds
The upper and lower edges of the pupils should be slightly covered by the eyelids. Then mark the folds above and below the eyes. These lines help indicate the forms around the eye sockets. Develop both sides of the face together, moving from one eye to the other as you draw. The eyes do not need to be perfectly mirrored, since natural faces almost always have subtle asymmetry.
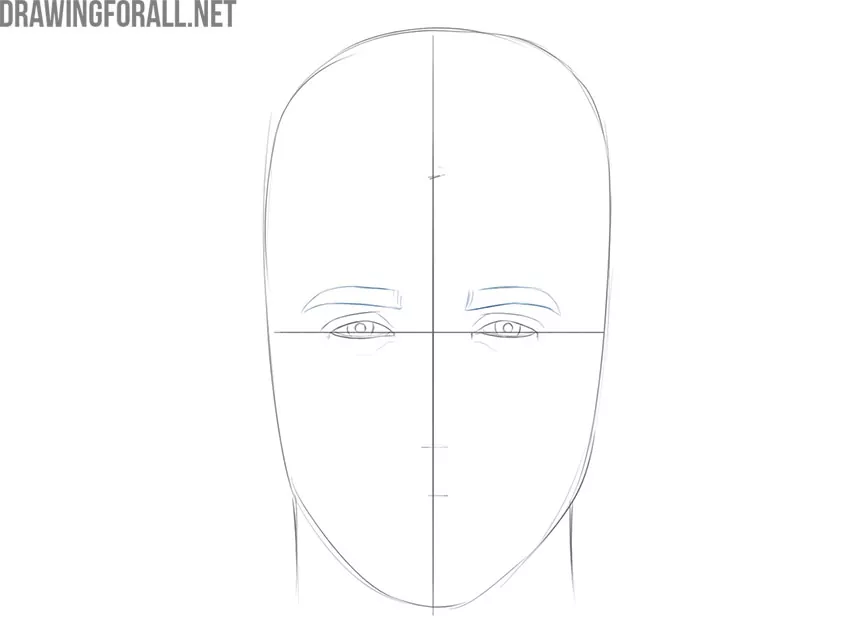
Step 5: Draw the symmetrical eyebrows
Draw the eyebrows just above the eyes. Eyebrows can have many different shapes, so you can repeat these outlines or create your own. In a front-view face, their placement and height should appear symmetrical. To check this, look at your sketch in a mirror or turn it upside down.
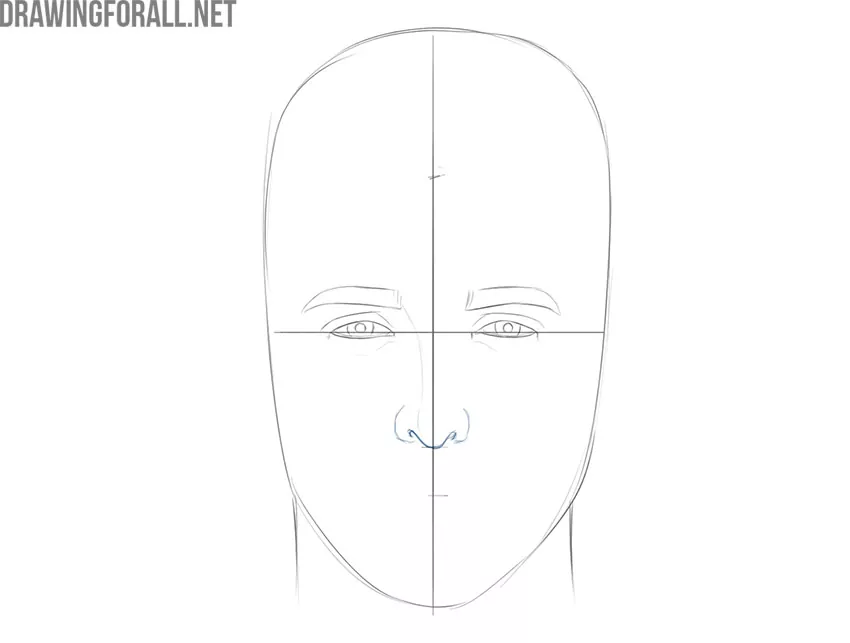
Step 6: Draw the centered nose
Now draw the nose along the vertical guideline. First, depict the tip of the nose and then add the nostrils. After that, sketch the bridge with long, smooth lines. Keep both sides aligned around the center of the face. To study this feature in more detail, visit our article on drawing a nose.
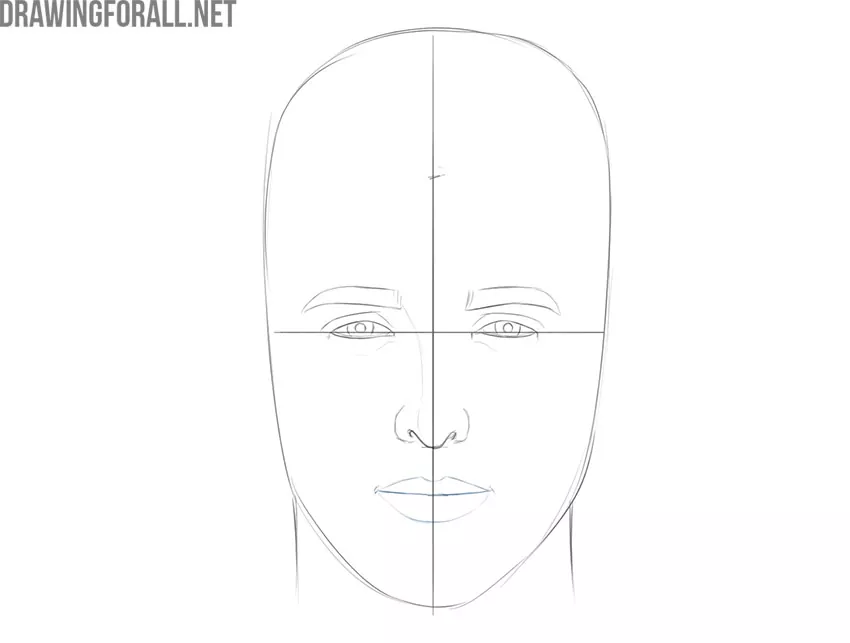
Step 7: Outline the front-view lips
First, sketch the middle line across the vertical guideline. After that, use smooth lines to outline the upper and lower lips. The corners of the mouth usually line up roughly with the centers of the pupils. Our article on drawing the lips explains this process in more detail, including how to add volume with hatching.
Step 8: Refine the face shape
Now refine the face so it no longer looks like a simple oval. Draw the contours of the cheekbones and chin. The jaw may have a different shape, so you can repeat these contours or give the chin and cheekbones another form. The jaw should be generally symmetrical, but it does not need to be perfectly symmetrical. Next, move to the top of the head and outline the hairstyle.
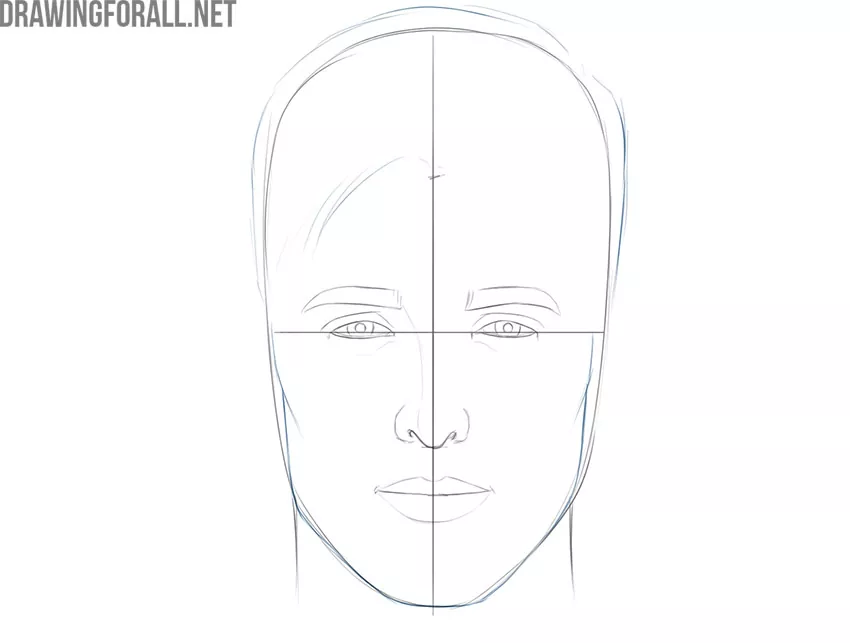
Step 9: Add the ears on both sides
Now draw the ears with a pair of smooth, curved lines. Next, sketch the inner contours. In the front view, the top of each ear should be near the level of the eyebrows, while the bottom should be near the tip of the nose. To make them more realistic, study the drawing anatomy of the ear and visit our guide to drawing an ear.
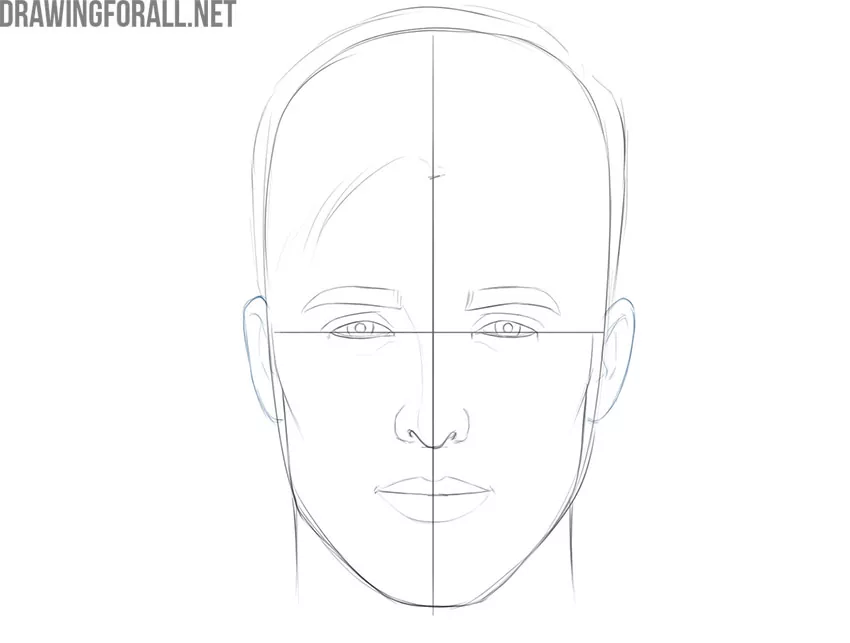
Step 10: Clean the outlines and detail the hair
Take an eraser and carefully remove all unnecessary construction lines from the sketch. Give the hairstyle a more complete look by drawing the hair across the forehead, sides, and top. Hair is the part of the head that can be either highly symmetrical or noticeably asymmetrical. Unlike the underlying structure of the head, hair is not rigid, so it naturally shifts, falls, and changes shape.
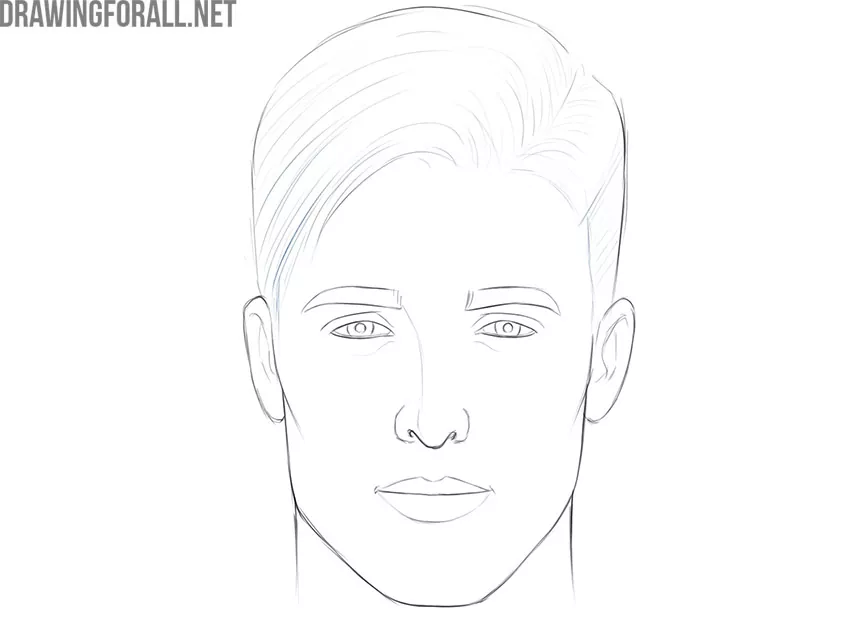
Step 11: Complete the face drawing
Check that the facial features are symmetrical and placed correctly. Compare the facial features with one another and with the overall shape of the head, keeping the basic proportions in mind.
Now try drawing another face from the front. Change the facial features, hairstyle, or both to create a different character. You can also add accessories such as glasses, a hat, or other headwear.
You can leave the face drawing as it is or add a few finishing details. For example, you can give the sketch more volume by adding shadows. You can also color the artwork or add elements such as glasses, earrings, or tattoos.





= )) woah !!!!!! it was my first time drawing a realistic face and it went well thanks to this tutorial !!!!
Ez konkrétan LEHETETLEN!