

How to Draw a Cartoon Princess
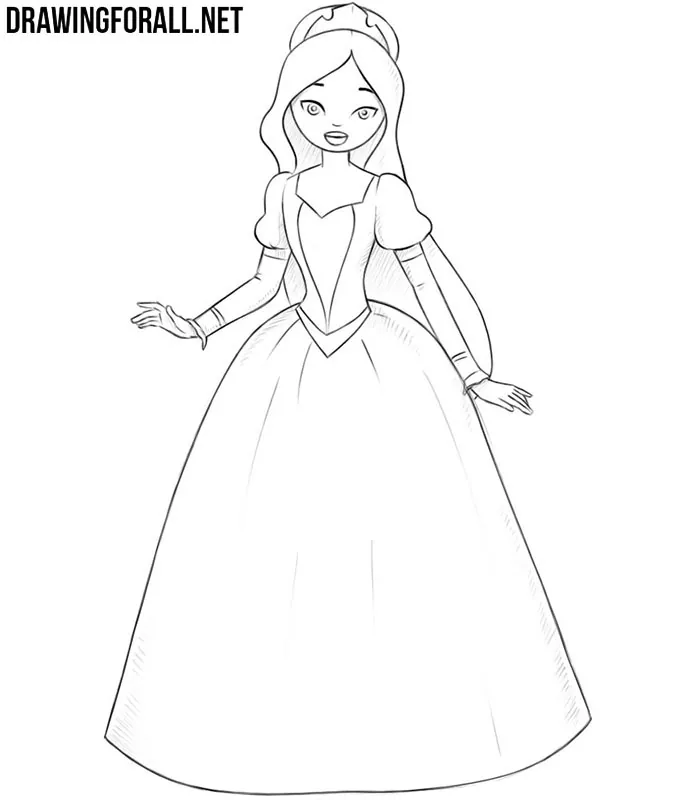
In this simple step-by-step tutorial, we will show you how to draw a cartoon princess easily and quickly.
In order to simplify the process of drawing a princess as much as possible, we divided this tutorial into ten simple steps, each of which consists of easy actions.
How to draw a princess step by step
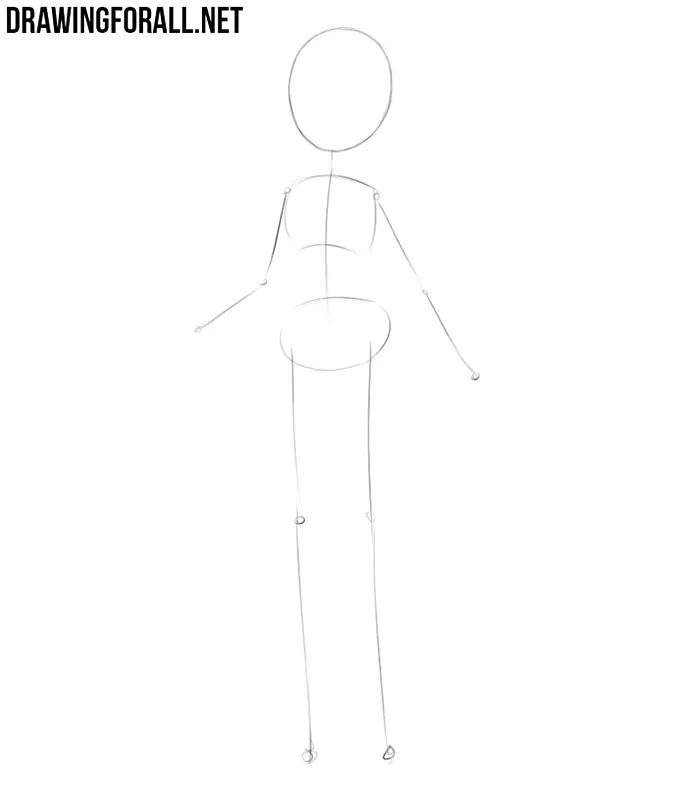
Step 1: Sketch the princess skeleton
First, sketch a stickman or a “skeleton” of the princess, which will be the basis of the future drawing. Begin with the head, depicting it as an oval. Next, move to the torso, outlining the spine and placing the chest and pelvis on it. With a few simple lines, sketch the arms and legs.
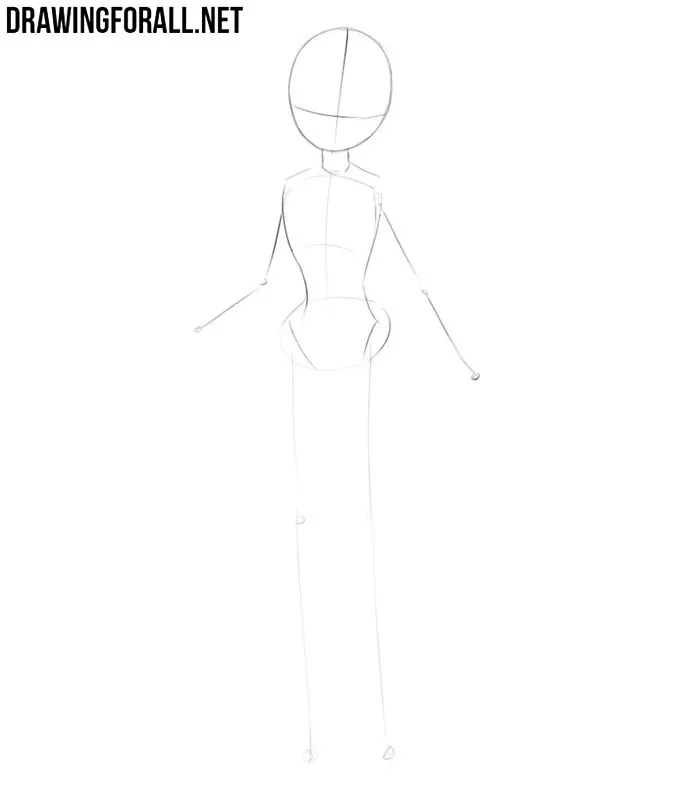
Step 2: Build the neck and torso
Mark the guidelines on the head; they will help you find the center of the face and place the eyes at the same level. Next, depict a thin neck and draw the girl’s torso. The torso should narrow noticeably at the waist and then widen again at the hips. Keep all these lines very light at this stage.
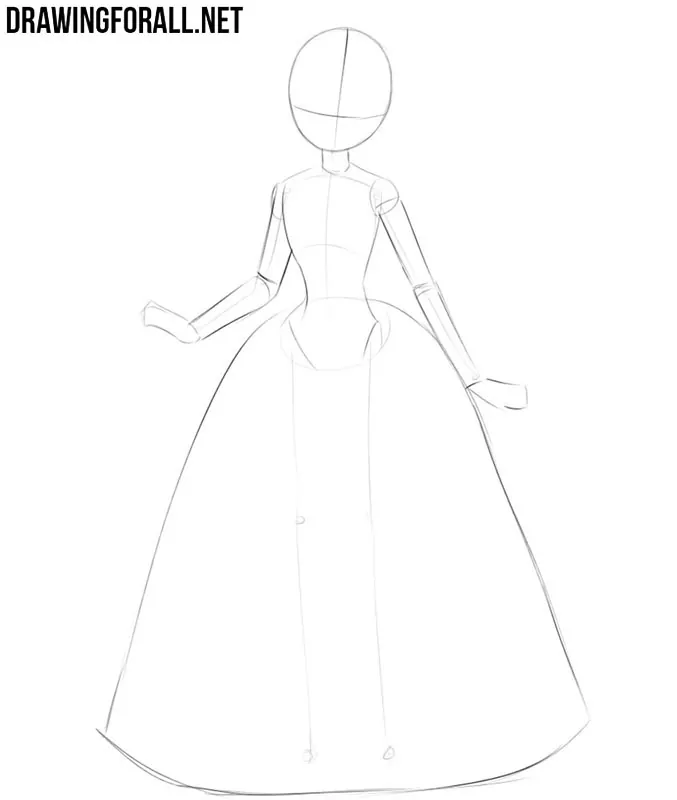
Step 3: Sketch the arms and dress
Mark the shoulders with two simple rounded shapes. Next, sketch the upper limbs of the princess using forms similar to simple cylinders. Draw the hands with a few light lines. Now, using several long lines, sketch the general shape of the princess dress.
Step 4: Mark face and crown
Using the horizontal line drawn in the second stage, draw the cartoon eyes in detail. Just below, mark the nose with one neat line and draw the full lips. Next, sketch the eyebrows with two simple lines and outline the hairstyle. Do not forget to sketch the princess’s crown at the top of the head.
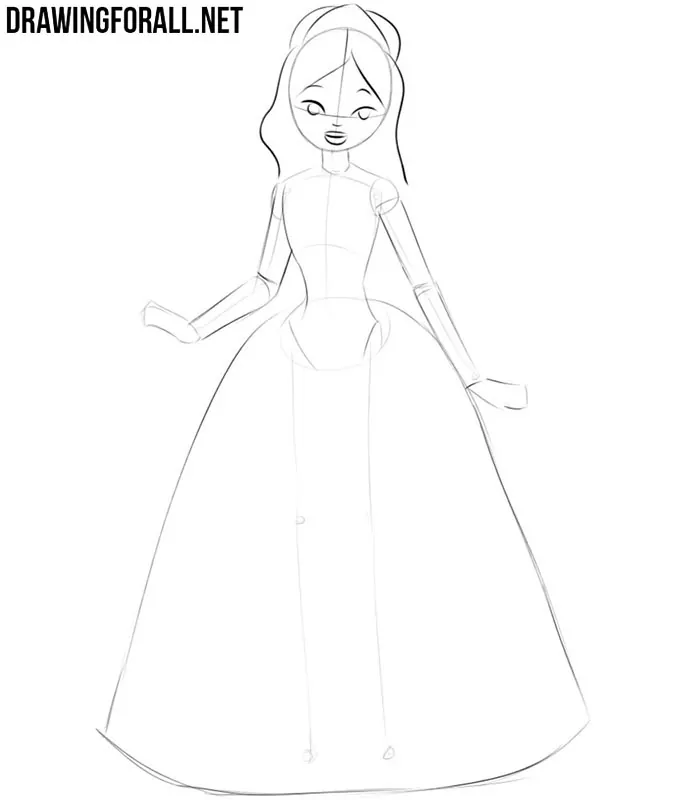
Step 5: Sketch the princess’s dress details
Now outline the main details of the princess’s clothes. Depict the neckline on the chest and add the decorative pattern below it. Next, move to the arms and mark the curved details of the dress on the shoulders and forearms. Keep the lines light because we will refine these elements later.
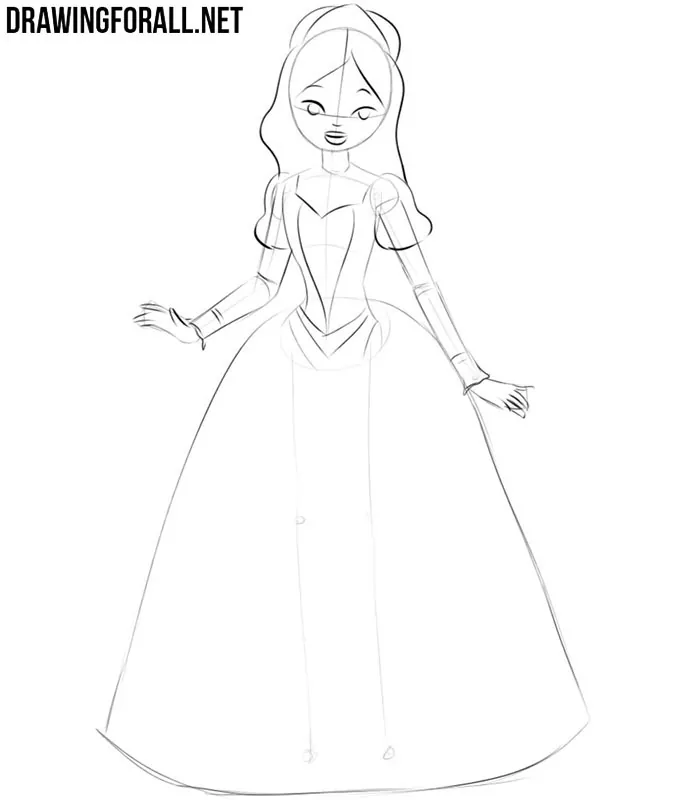
Step 6: Refine the princess head
Using dark and clear lines, carefully trace the outlines of the face and head. Refine the eyes, eyebrows, nose, mouth, crown, and hairstyle. Depict the pupils to make the cartoon princess look more expressive. Using an eraser, remove all unnecessary guidelines from the head.
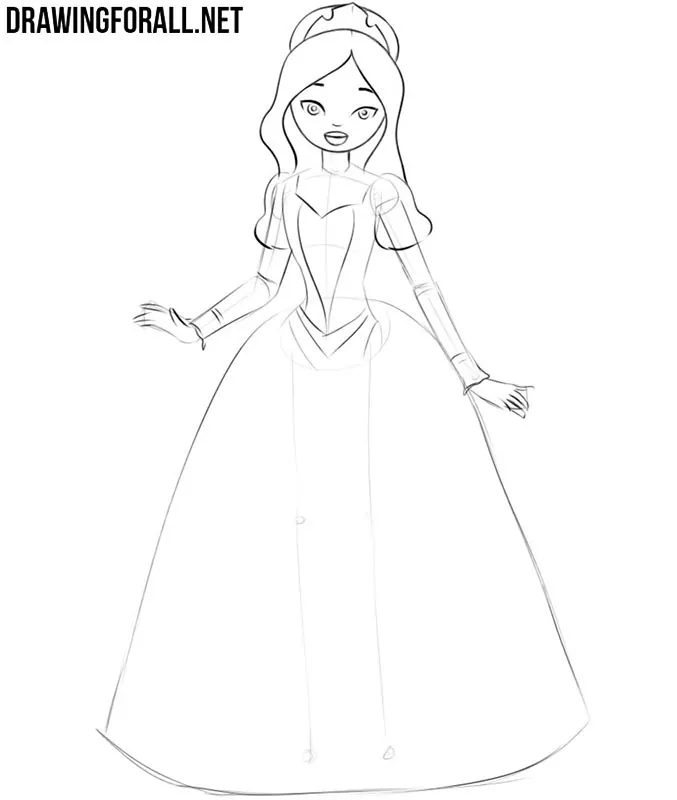
Step 7: Detail the upper dress
Now do the same with the torso of the princess. With the help of dark and clear lines, trace the upper part of the dress and refine the neckline and decorative details. Add the necessary folds and contours around the waist. To make this part of the drawing look clean and complete, erase all unnecessary guidelines.
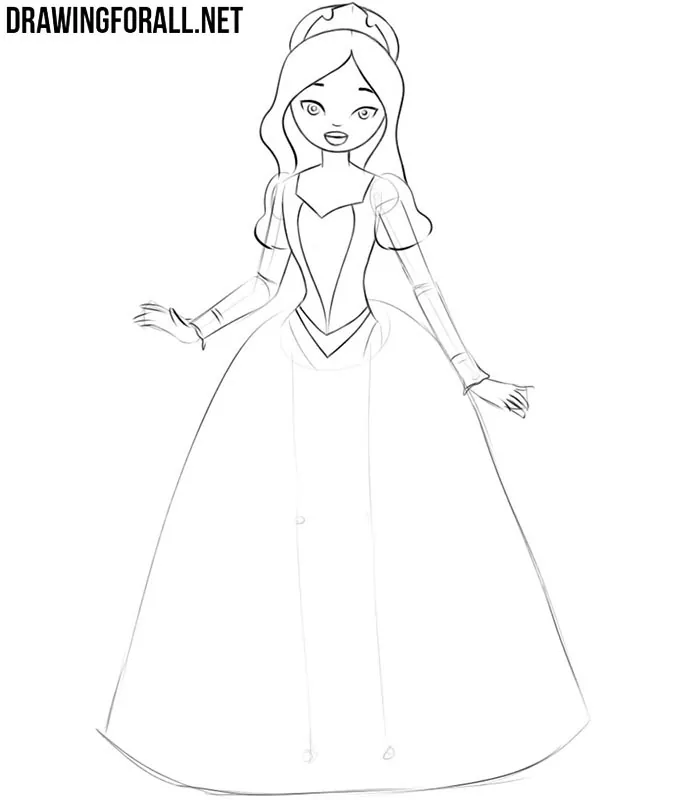
Step 8: Refine the arms and hands
Continuing the lines of the torso, trace the shoulders, arms, and hands of the princess. Pay special attention to the princess’s fingers; by the way, to learn more about them, visit our tutorial on how to draw hands. Refine the sleeves and add the necessary folds. Complete the stage by removing all unnecessary guidelines from the upper limbs.
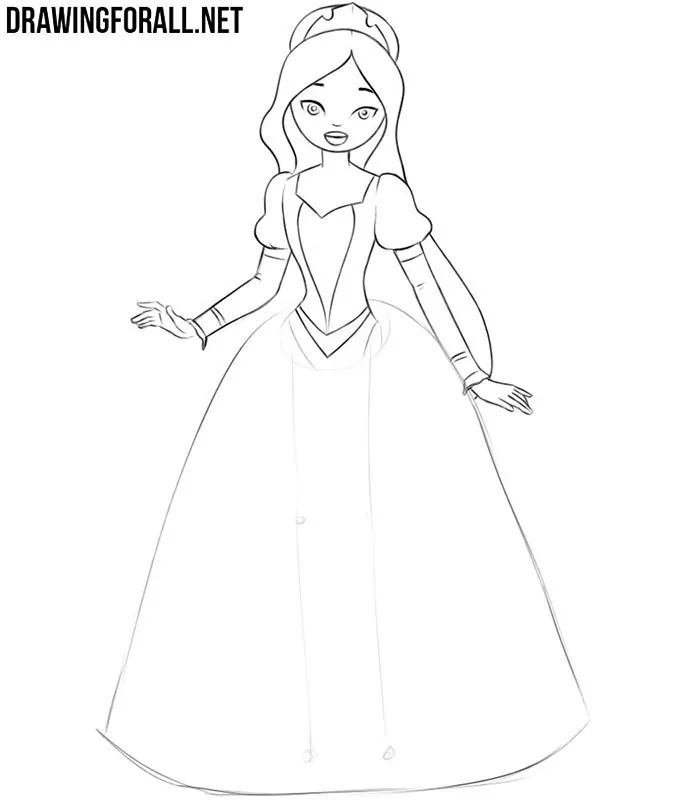
Step 9: Finish the long skirt
Now trace the long lines of the princess dress with clear and smooth contours. Next, remove all unnecessary auxiliary guidelines from the lower part. Add several long vertical folds to show how the fabric falls toward the floor. If you did everything correctly, the princess drawing should now look almost complete.
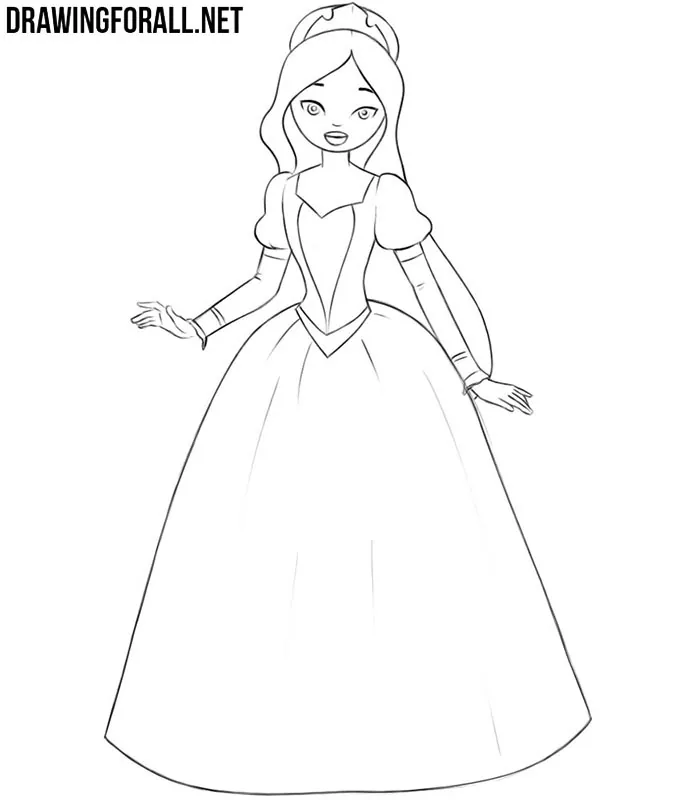
Step 10: Add shadows to the princess
To make the princess drawing more realistic, add some shadows. Use light and smooth hatching on the areas that receive less light, especially around the folds of the dress. You can also add some color to the princess drawing or apply additional layers of hatching in the darker areas.
The princess here is depicted in a very simple style, although the figure itself has fairly convincing shapes. For a more detailed version, be sure to visit our tutorial on how to draw a princess in a realistic style.
You can also try to draw a prince using the same dimensional and realistic approach.




mines looks like a monster
Yeah, my pencil had broken
Yeah, my pencil had broken
haha
helpful as am still learning
A bit easier than usual
EZ