

How to Draw a Princess Crown
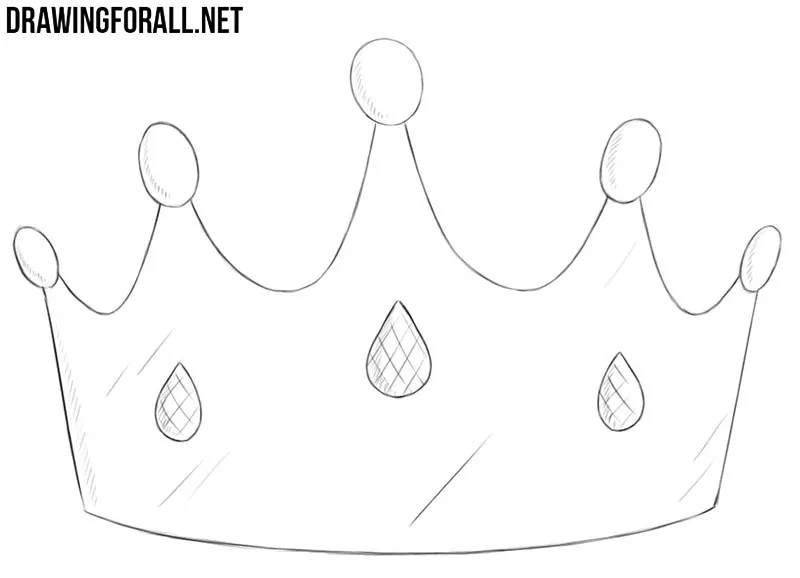
A crown is an essential part of the classic image of a princess, just as armor and a sword are associated with a knight. In this tutorial, we will show you how to draw a princess crown with a simple, symmetrical shape and traditional decorative details.
How to draw a princess crown step by step
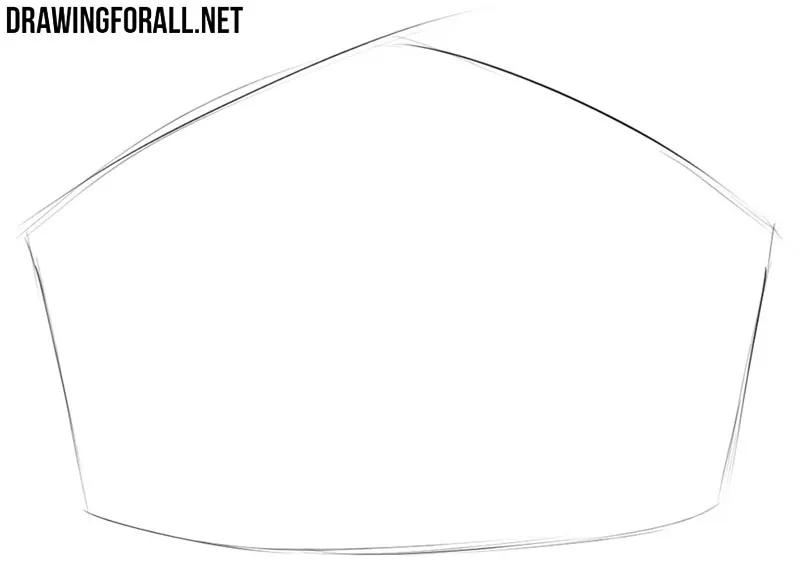
Step 1: Sketch the basic crown outline
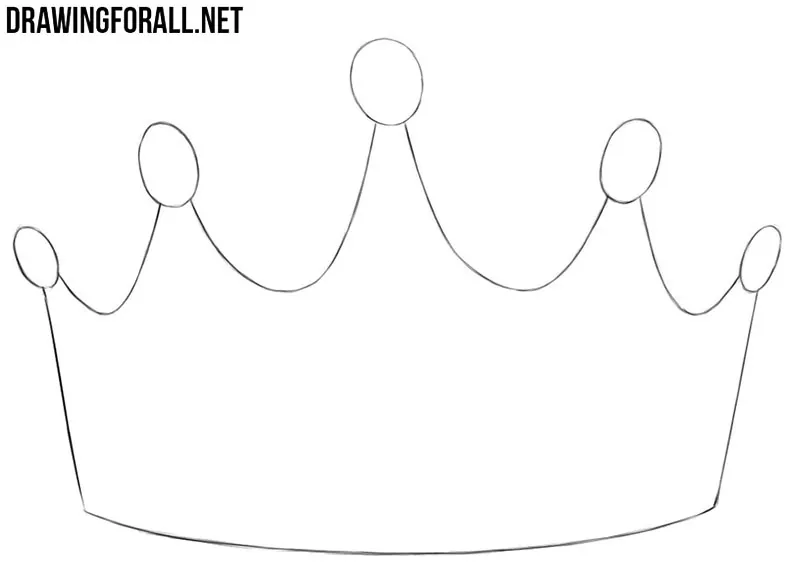
Lightly sketch the overall outline of the princess crown. Crowns come in many forms, and for this tutorial we chose a simple classic shape with a curved lower edge and a raised center. Try to make the left and right sides symmetrical, but do not make the lines too dark or precise at this stage.
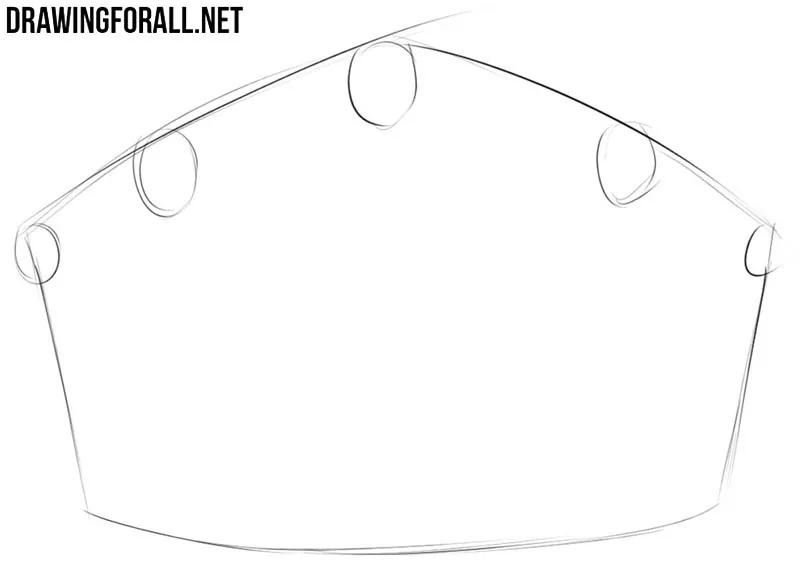
Step 2: Mark the five crown tips
Draw five small ovals along the upper edge of the crown. These ovals will form the decorative tips of the crown. Place the central oval higher than the others and compare the left and right sides. Try to maintain symmetry.
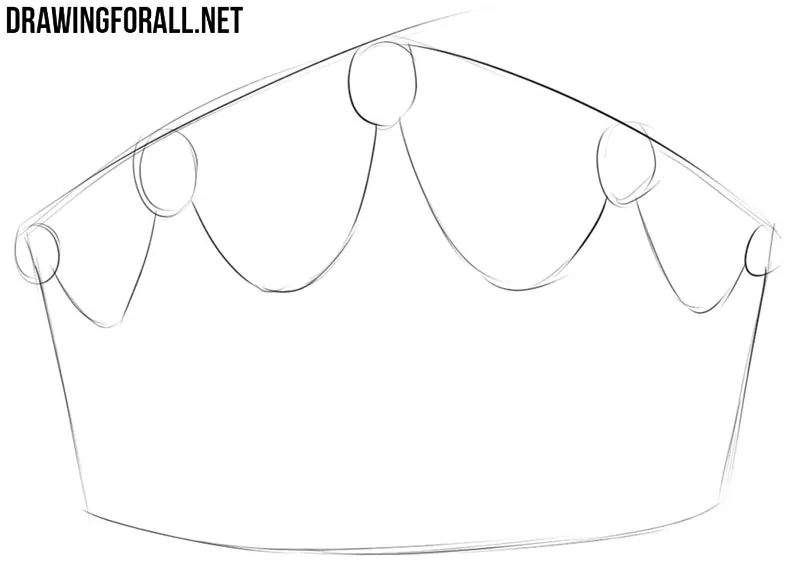
Step 3: Connect the tips
Connect the ovals with four deep curved lines to form the crown’s points. The outer points sit closer together than the three in the center. Draw the curved lines deeper toward the center of the crown and make the left and right sides as symmetrical as possible.
Step 4: Clean up the crown outline
Erase the construction lines, then trace the crown with clean, darker contours. Make the curves smooth and clear, and correct any noticeable differences between the left and right sides. You can use a marker or ink if you want stronger final lines.
Step 5: Add gemstones to the crown
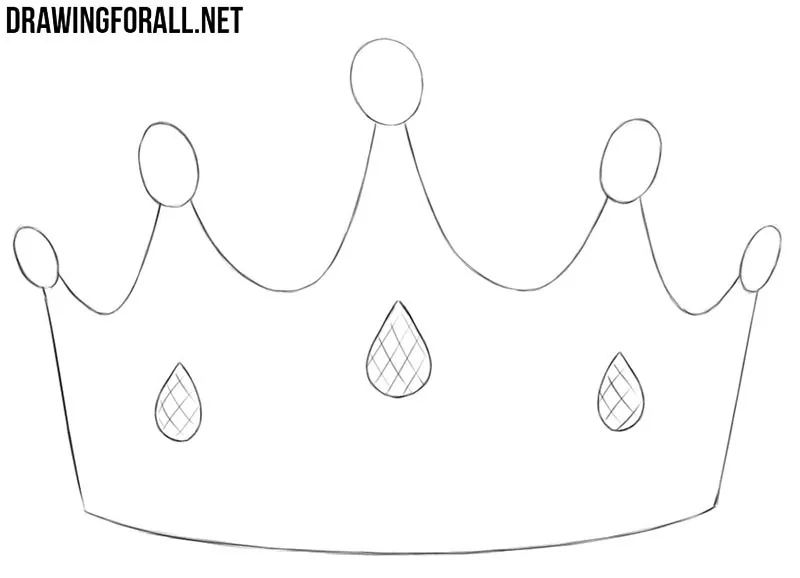
Crowns are often decorated with precious stones. Draw three teardrop-shaped gemstones on the princess crown and add a simple crosshatched pattern inside each one. Arrange the gemstones symmetrically and follow the curved shape of the crown.
Step 6: Add shadows and reflections
Add light hatching to the decorative ovals, gemstones, and side edges. Use a few longer, widely spaced strokes across the crown to suggest reflections on the polished surface. Add darker hatching near the edges and leave most of the central surface light.
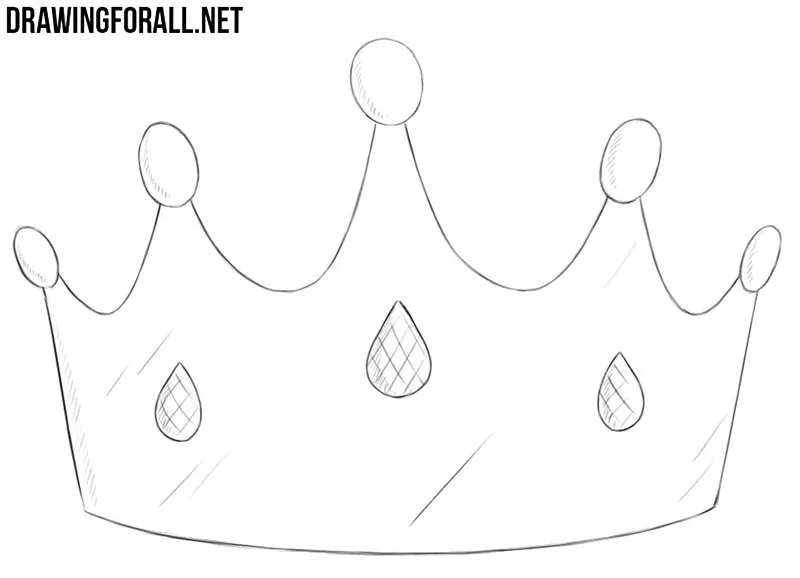
Now you can use this crown as part of a complete character drawing. For example, draw a princess and place a crown like this on her head. You can adjust its size and shape to match the angle of the head.
You can also continue the medieval theme and draw a knight or draw a castle. These subjects can be combined with the princess and crown in a more complete medieval composition.

great how to draw
Good
hi
Heyyyyy