How to Draw a Prince
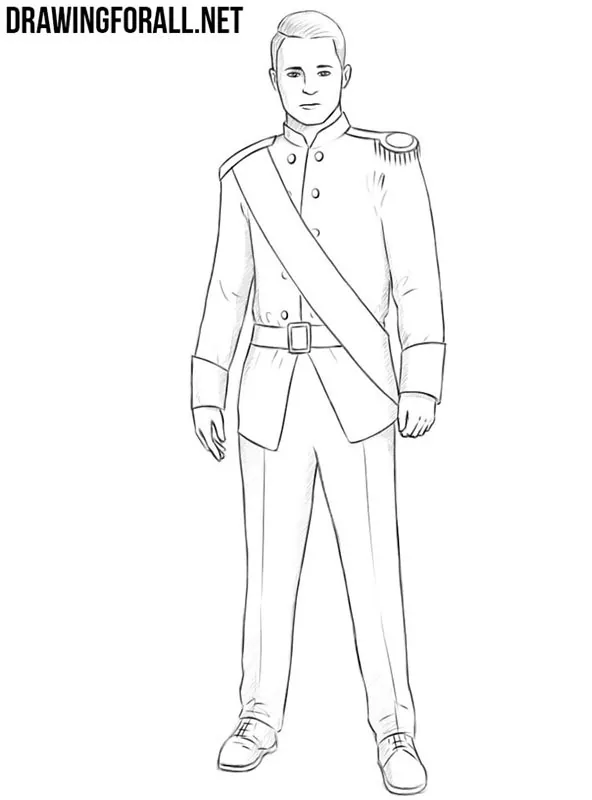
Using a realistic and detailed style, we will show you how to draw a prince step by step. Earlier, we showed you how to draw a princess in the same realistic style, and now you will learn how to create a prince to go with her.
This tutorial will be quite simple, but by the end of the steps you will get a fairly realistic drawing of a prince.
How to draw a prince step by step
Step 1: Sketch the prince skeleton
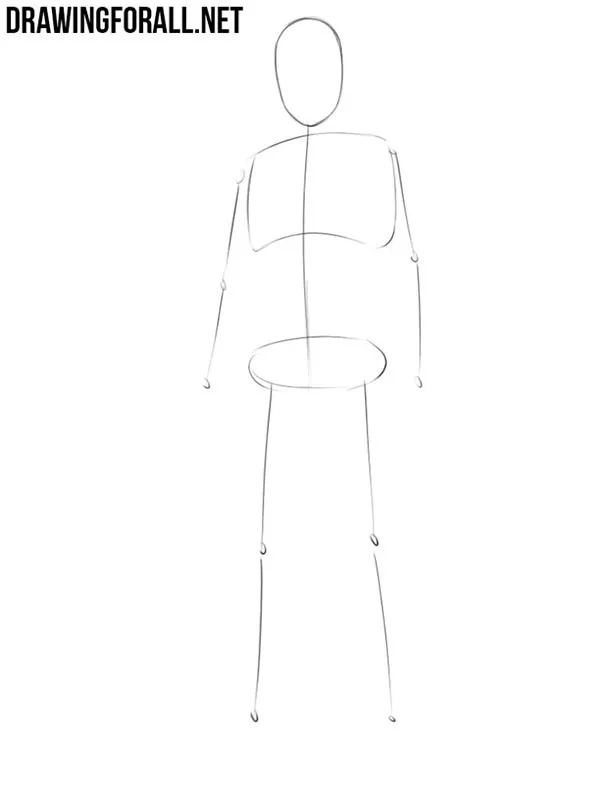
Let’s sketch a skeleton that will serve as the basis for the future prince drawing. Mark the head in the form of an oval and the spine as a simple long line. On the spine, sketch the chest and pelvis. The limbs of the prince should also be marked using simple and very light lines.
Step 2: Build the neck and torso
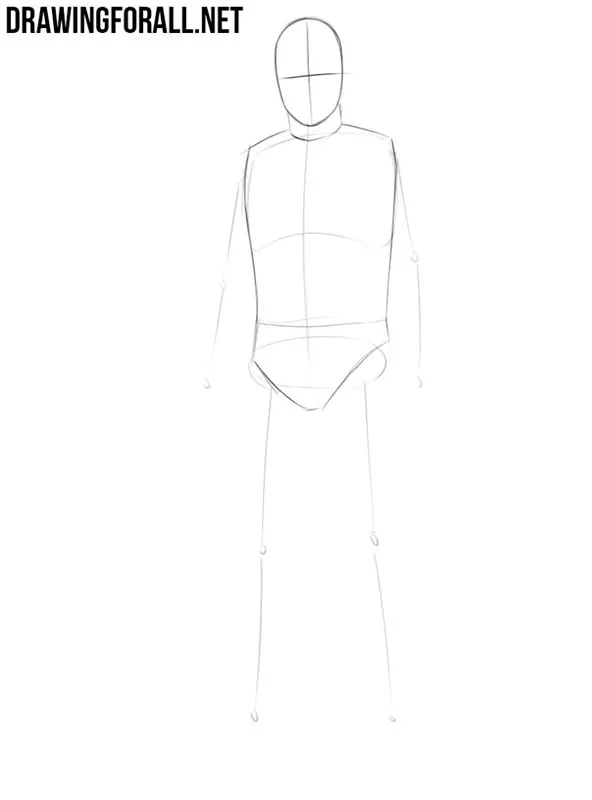
Sketch the guidelines on the head that will help you draw the facial features correctly. Now depict the neck and torso using simple geometric forms. Keep the shoulders fairly broad and gradually narrow the torso toward the waist. By the way, all the lines in these initial stages should be drawn very lightly.
Step 3: Add the arms and legs
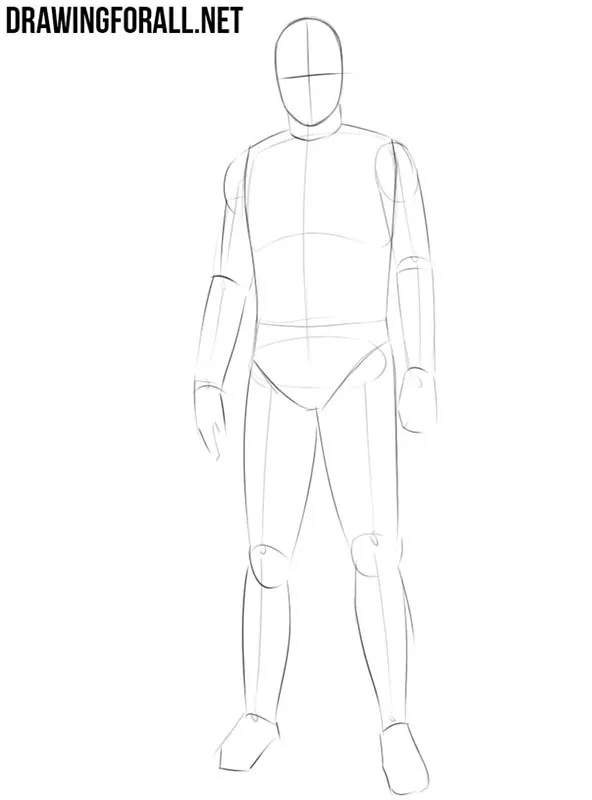
Now let’s outline the limbs of the prince. Mark the arms and legs with simple shapes similar to modified cylinders, and indicate the joints with rounded forms. With the help of simple and very light lines, sketch the hands and feet. At this stage, focus only on the general shapes without adding small details.
Step 4: Mark the facial features
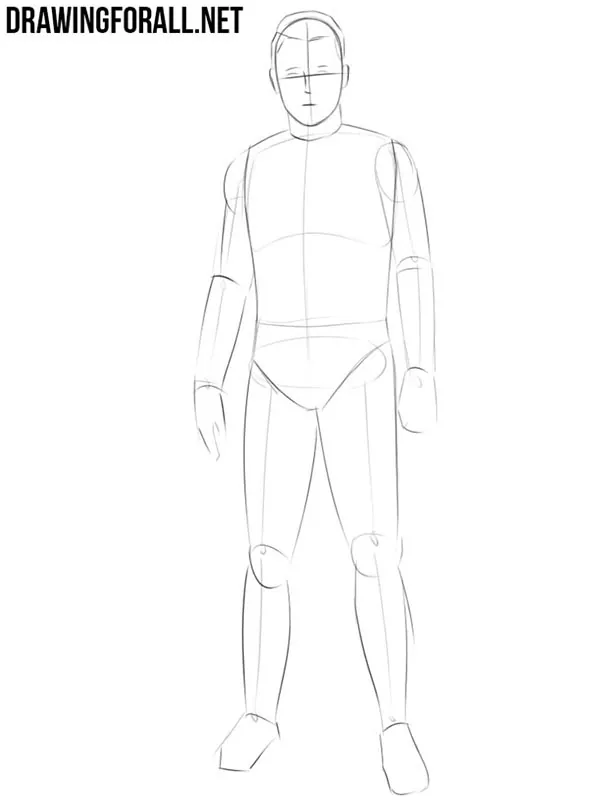
Using light and rough lines, begin adding the basic details to the prince sketch. Guided by the lines from the second step, mark the eyes along the horizontal guideline. Above them, sketch the eyebrows, and below draw the nose and mouth. In the same step, mark the ears and outline the hairstyle.
Step 5: Sketch the prince costume
Now let’s move to the details of the prince’s clothing. Start with the high collar and epaulettes on the shoulders. Next, carefully sketch the outlines of the formal jacket over the torso and arms. Complete this stage by drawing the long sash that runs diagonally across the torso.
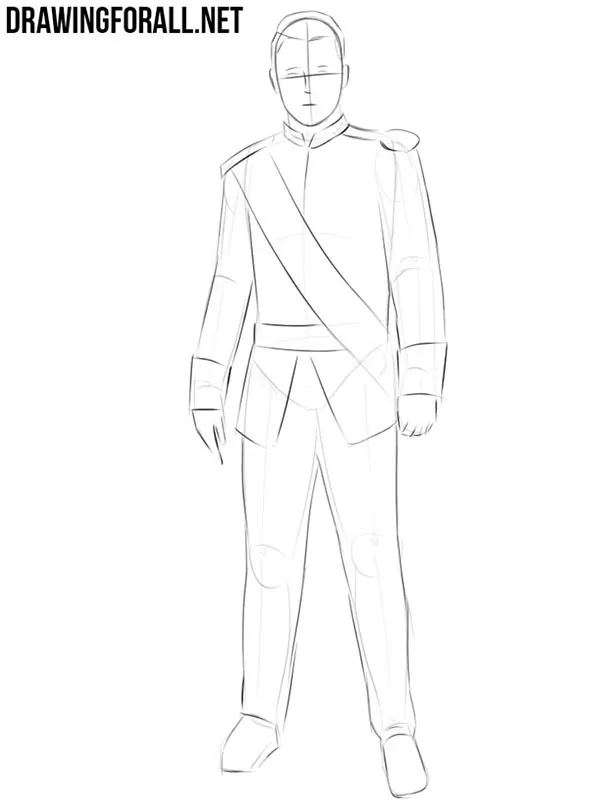
Step 6: Refine the prince head
Starting from the sixth step, we will work on the final details of the prince drawing. Carefully trace the outline of the face with clear and dark lines. Draw the eyes, pupils, eyebrows, nose, mouth, and hairline more precisely. Do not forget to erase all unnecessary guidelines from the head when the details are complete.
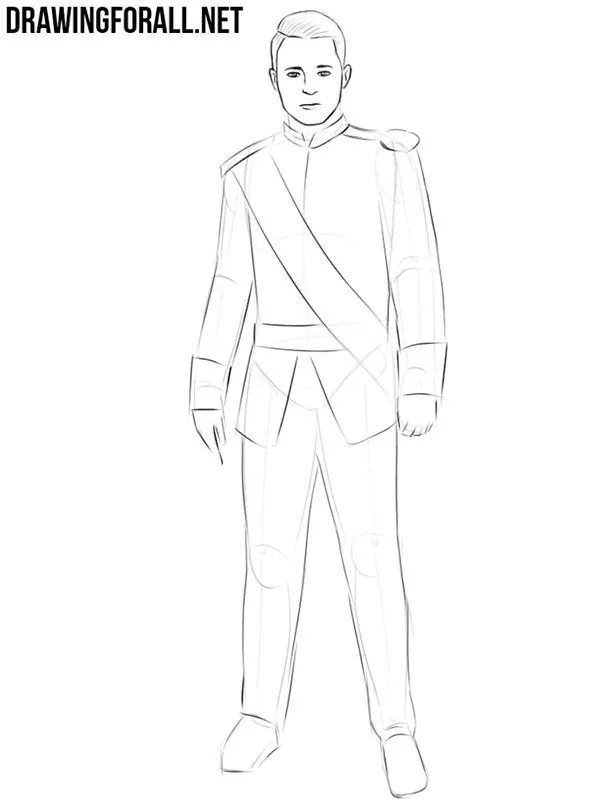
Step 7: Detail the jacket and sash
Continuing the lines of the head, carefully trace the visible part of the neck, collar, and epaulettes. Next, refine the contours of the torso and draw the double row of buttons on the jacket. Trace the sash and belt with clear lines and add the necessary clothing details. To make the torso look cleaner, erase all unnecessary guidelines from this area.
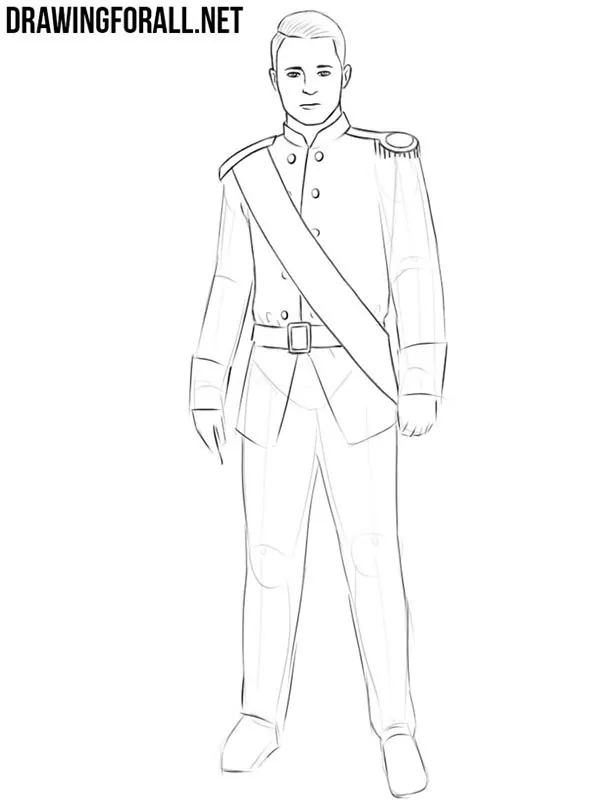
Step 8: Refine the arms and hands
Now we need to do the same with the prince’s arms. With clear and dark lines, carefully trace the sleeves and their folds, following the shapes from the previous stages. Draw the hands using smooth lines and malign them look more detailed. After that, remove all unnecessary guidelines from the arms.
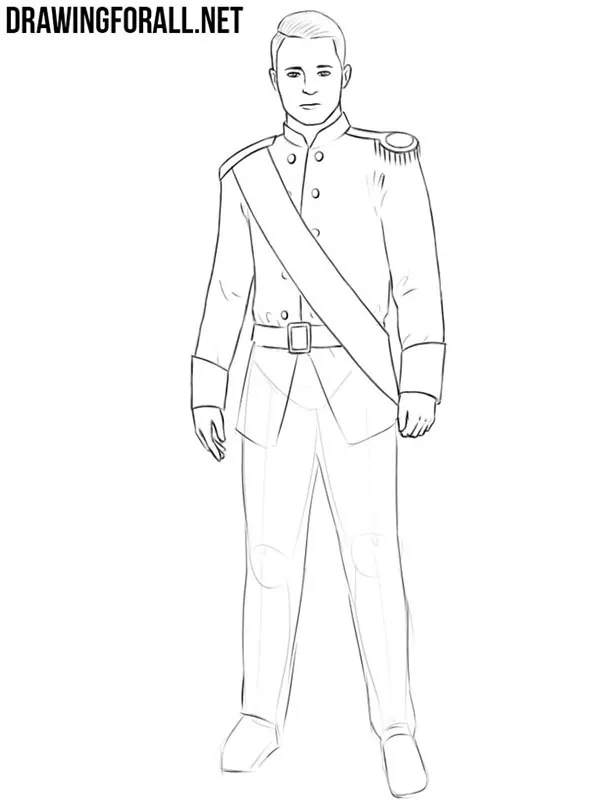
Step 9: Finish the legs and boots
In this step, we will finish drawing the prince’s body. With long and smooth lines, trace the legs and carefully refine the contours of the trousers. In the same step, draw the boots with their laces and other visible details. Using an eraser, remove all the remaining unnecessary guidelines from the prince drawing.
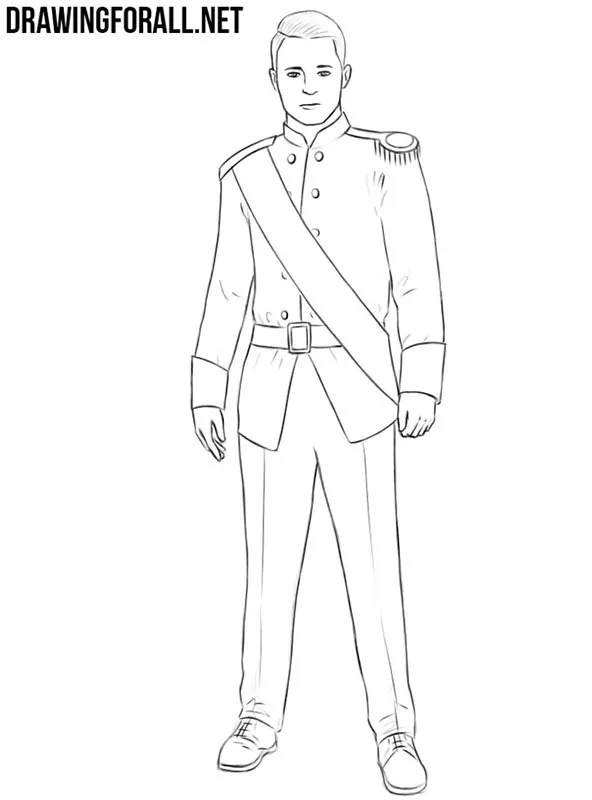
Step 10: Add the final shadows
Now let’s make the prince drawing look more dimensional and complete. For this, use dense and even hatching in the areas that receive less light. Add shadows beneath the clothing folds, along the sides of the body, and around the legs. To make the shadows darker and the drawing more contrasting, add another layer of hatching where necessary.
The prince here is drawn in a relatively modern style, so we did not add many archaic details from past centuries.
You can add any of these elements yourself. For example, you can sketch a crown on his head or draw a cape behind his back.
For a more detailed and deeper study of constructing the human body, be sure to visit our tutorial on how to draw a man.