

How to Draw a Cartoon Boy’s Head
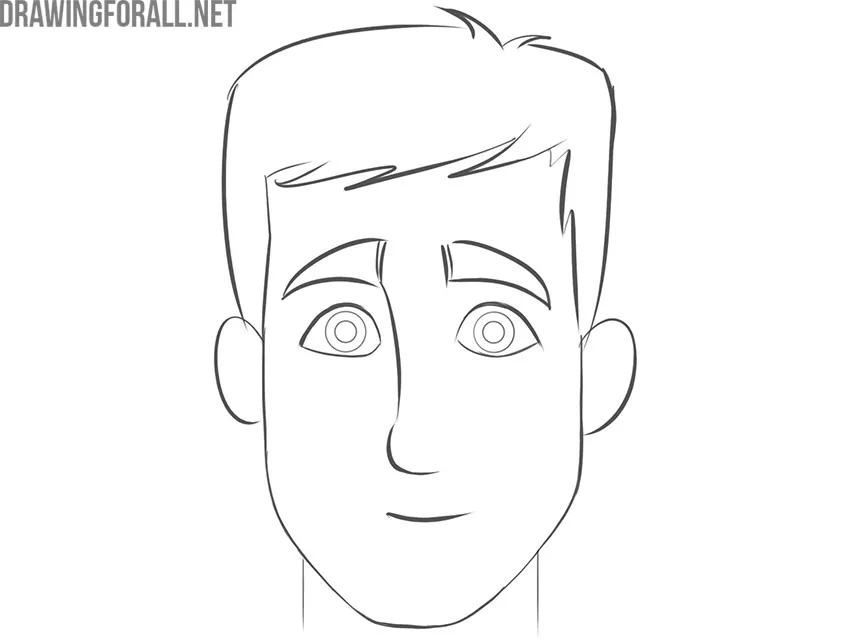
In this drawing guide, we will show you how to draw a cartoon boy’s head.
This is a simple drawing tutorial for artists who want to draw portraits but need a more accessible guide. A simple cartoon style allows you to focus on the basics, such as drawing the oval of the head or using simple lines.
How to draw a cartoon boy’s head step by step
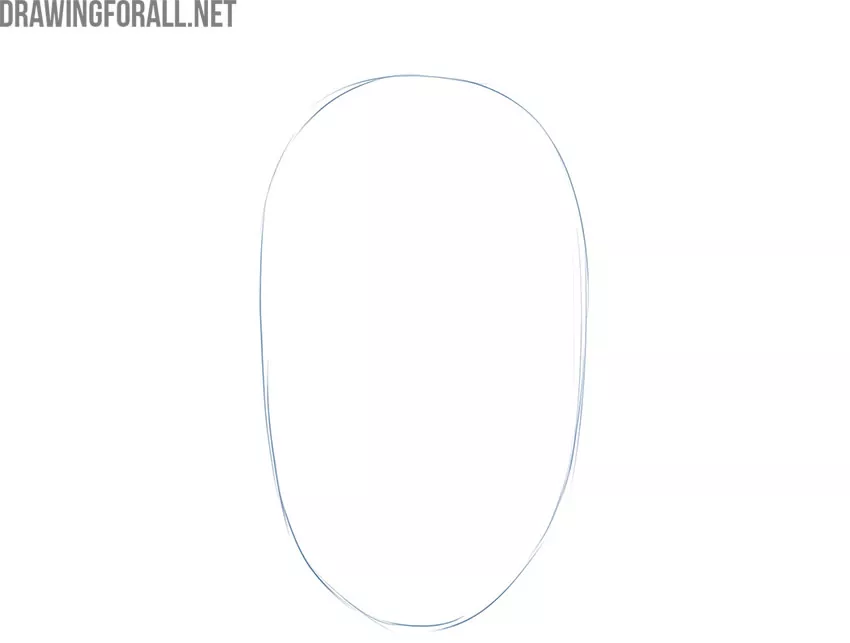
Step 1: Outline the boy’s head
First, draw a rough outline of the boy’s head. It looks like a vertically elongated oval with smooth top and bottom edges. Place this oval in the center of the paper if you are drawing a portrait. Don’t try to create a perfectly even, symmetrical outline. Use light lines that you can erase later.
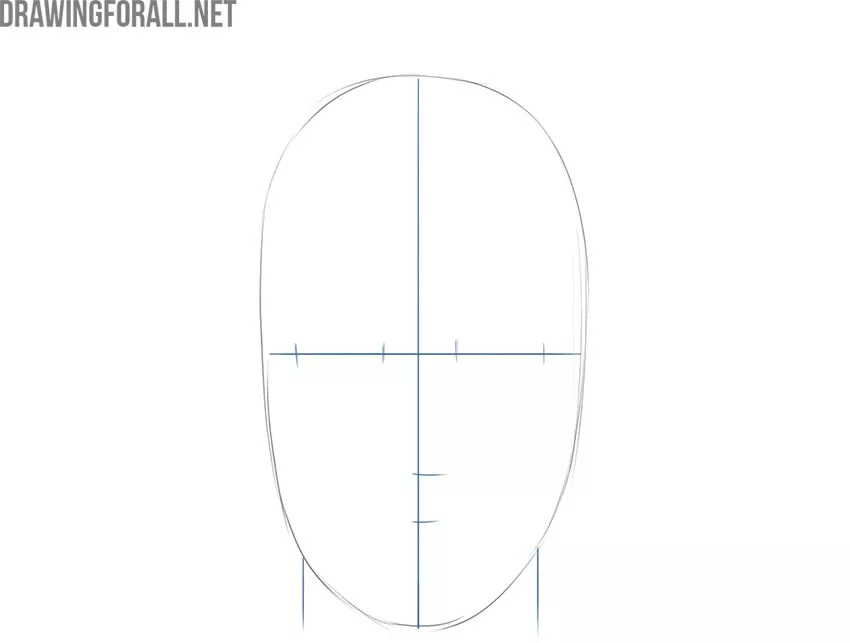
Step 2: Mark the facial features
First, draw two crossing lines. The vertical line divides the head outline in half. Place the horizontal line across the middle of the oval. Use short vertical lines to mark the inner and outer corners of the eyes. Use similar short strokes to mark the locations of the nose and lips. Also, add the neck with two slightly angled lines.
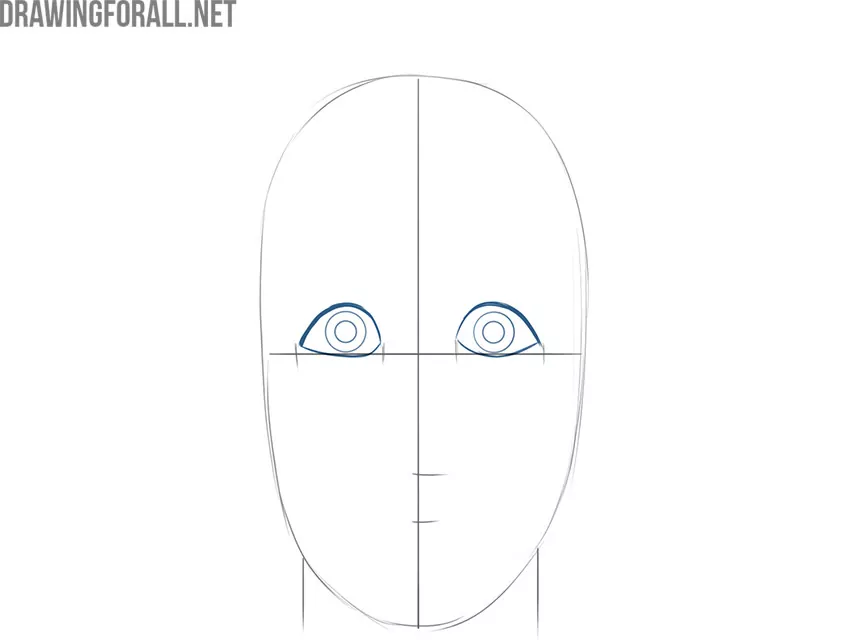
Step 3: Draw the cartoon eyes
The outer shape of each eye resembles a leaf. Follow the guidelines sketched earlier to draw the cartoon eyes. The position of the pupils affects the character’s direction of gaze. Inside each eye, draw two concentric circles for the iris and pupil. The irises are located at the center, making the character appear to look directly at you.
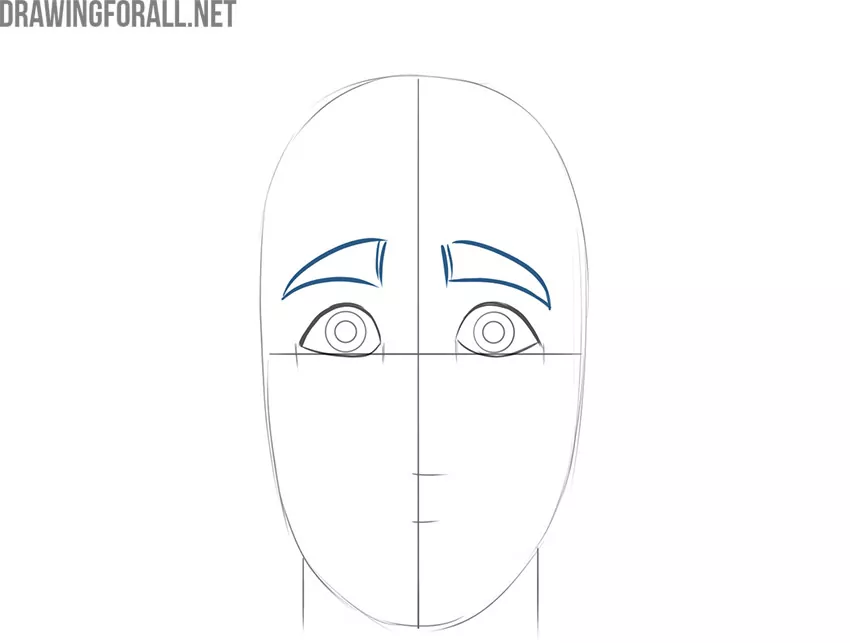
Step 4: Add the curved eyebrows
Now draw the eyebrows of the cartoon boy as two tapered shapes formed by smooth, curved lines. Their height is almost equal to the height of the eyes. Avoid adding too much detail to the eyebrows. They should look like simple cartoon shapes.
Step 5: Sketch the nose and mouth
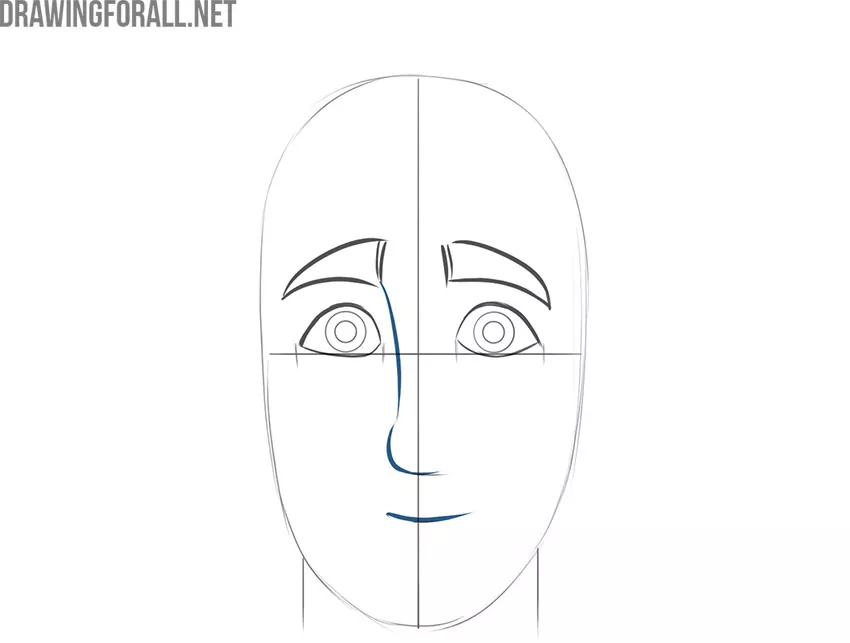
Next, sketch the boy’s nose with one smooth, curved line. This line starts near the inner corner of the left eyebrow, moves downward, curves slightly, and forms the tip of the nose. Then draw the mouth as one continuous arc.
Step 6: Refine the jaw and ears
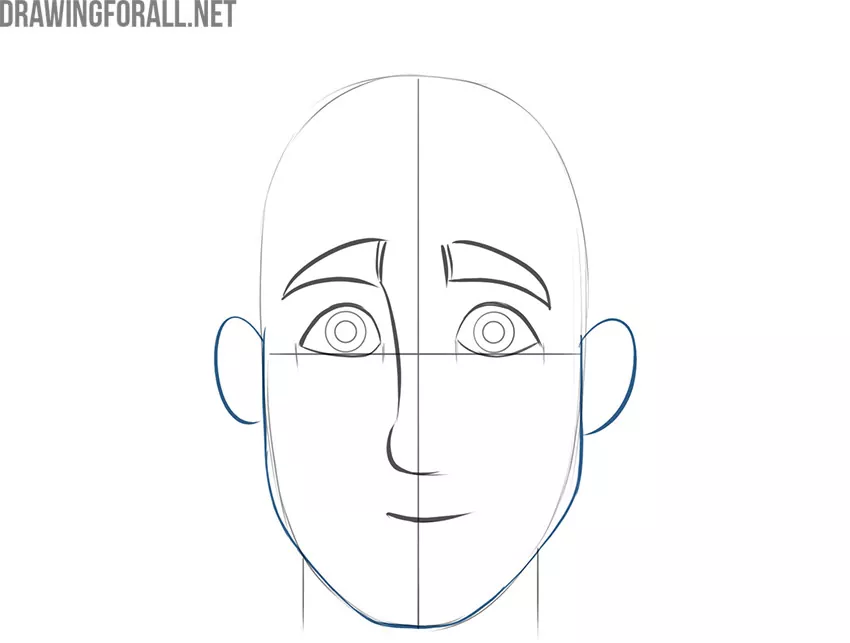
Draw the lower part of the face and the ears. The final outline of the chin follows the bottom edge of the original oval. Slightly widen the face at the corners of the lower jaw to give it a more natural shape. After that, sketch the ears as two small ovals. Use the eyes and nose as reference points when placing them.
Step 7: Draw the tousled hair
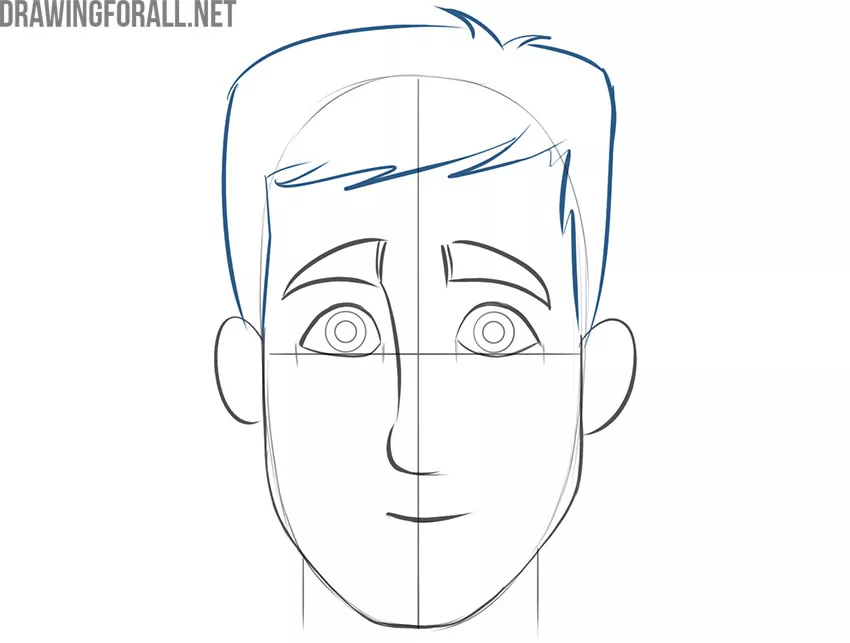
You can change the hairstyle according to your imagination. Here, the hair looks slightly tousled, with pointed locks along the bangs and crown. Avoid adding too much detail, as this would make the drawing more complicated and weaken the simple cartoon style.
Step 8: Finish the cartoon boy’s head
Check that all the shapes and facial features look correct. Erase the construction lines that are no longer needed. Make the final lines cleaner and darker. You can also add a few shadows.
If you like the result, repeat the steps several times while drawing cartoon boys with different facial features.
After that, try drawing the head from different angles. This practice will help you better understand how to draw a cartoon boy’s head and make the process more familiar.
If you want to learn more ways to simplify facial features, visit our cartoon face drawing tutorial.
You can also continue with our guide on drawing a boy’s face, where you’ll learn how to develop expressive facial features in more detail.


Thank you for this tutorial, it really helped my godmother’s grandchild on drawing a face for their assignment.
good