How to Draw a Bath
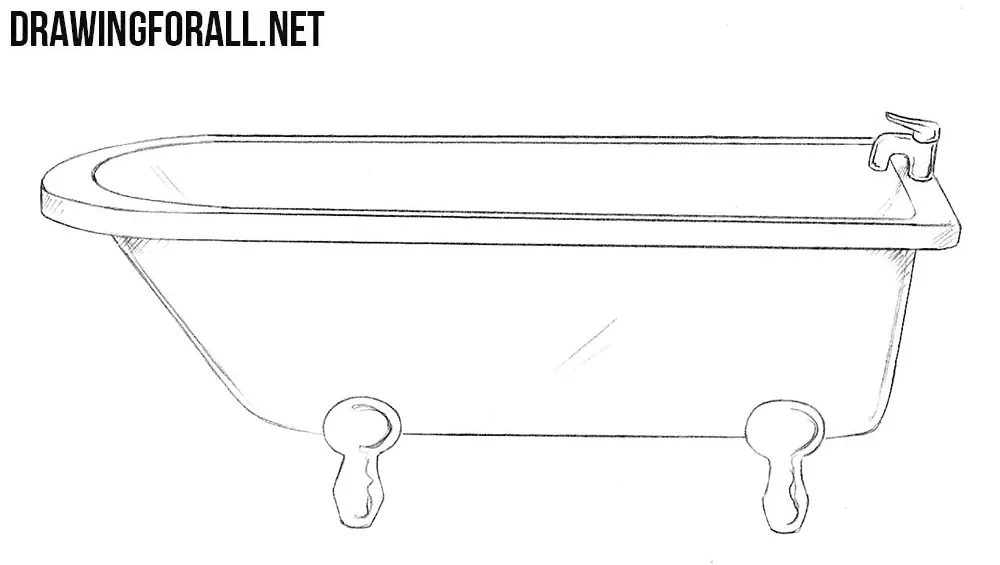
In one of the previous drawing tutorials we showed you how to draw a tap. In this lesson we decided to show you how to draw a bath.
Step 1
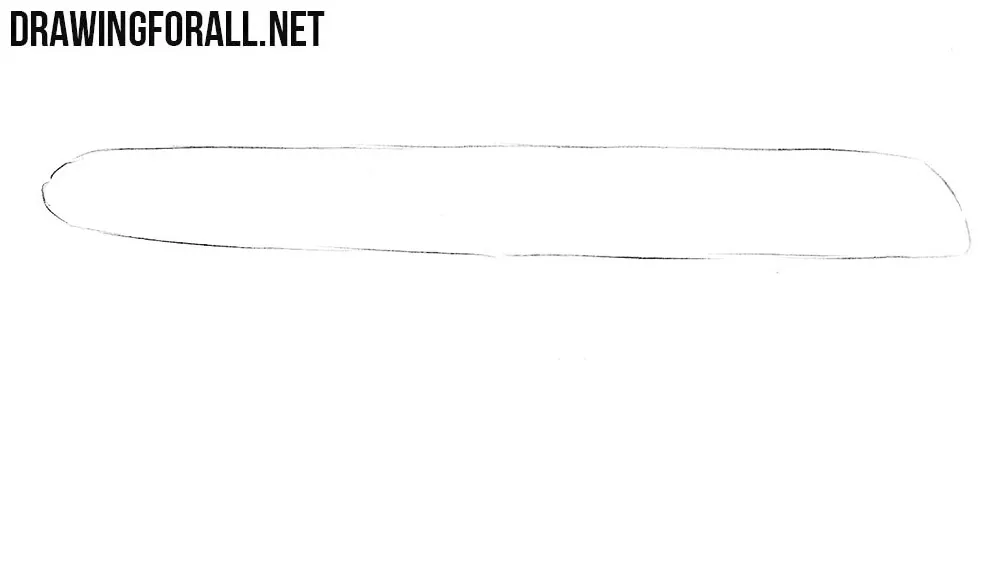
Grab a pencil and sketch out the upper part of the bath as in our example. Use the lightest lines to make it easier to erase unwanted lines and make changes in subsequent steps.
Step 2
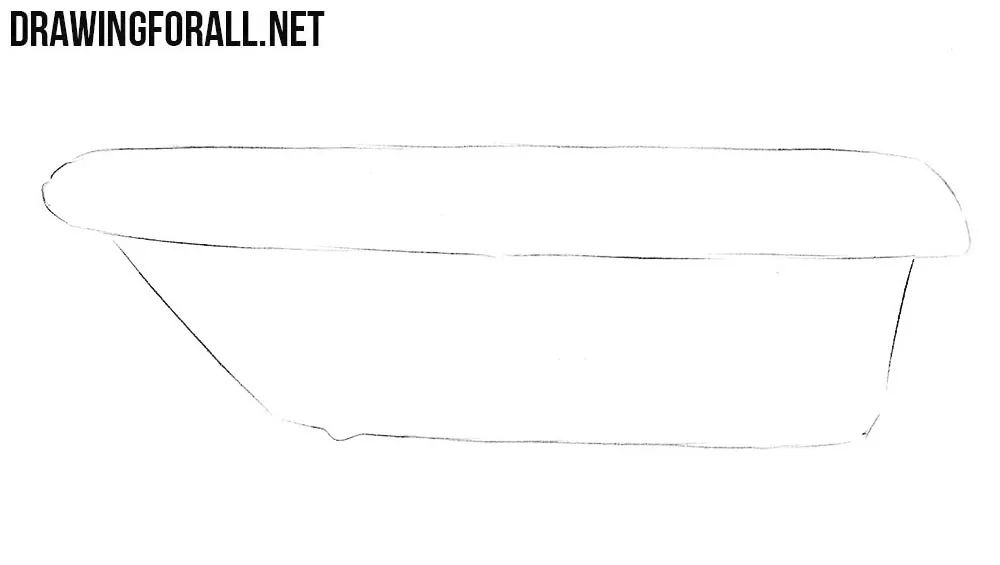
Draw out the lower part of the bath. In this and previous step we use slightly visible lines. Don’t forget that we will erase all the guidelines in the further steps.
Step 3
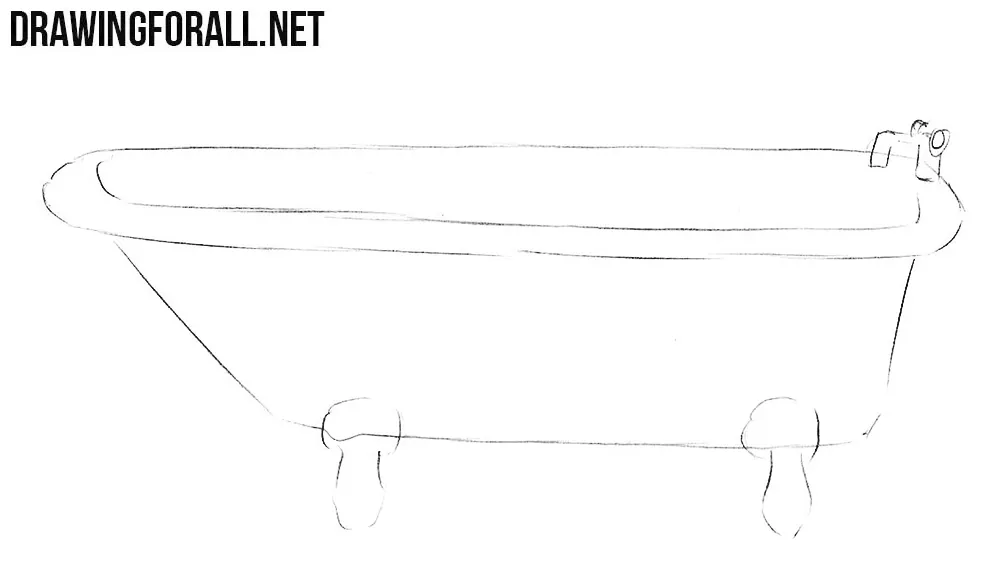
Add some general details to the bath. At the upper part draw the tap and edges of the bath. At the lower part draw the legs. Baths are now more often built into the floor or a special niche, but we decided to draw a more classic bath.
Step 4
Let’s start adding final look to our bath. Carefully draw out the tap. Then, using very sharp lines draw out the upper edges as in the example of the artists of Drawingforall.net below.
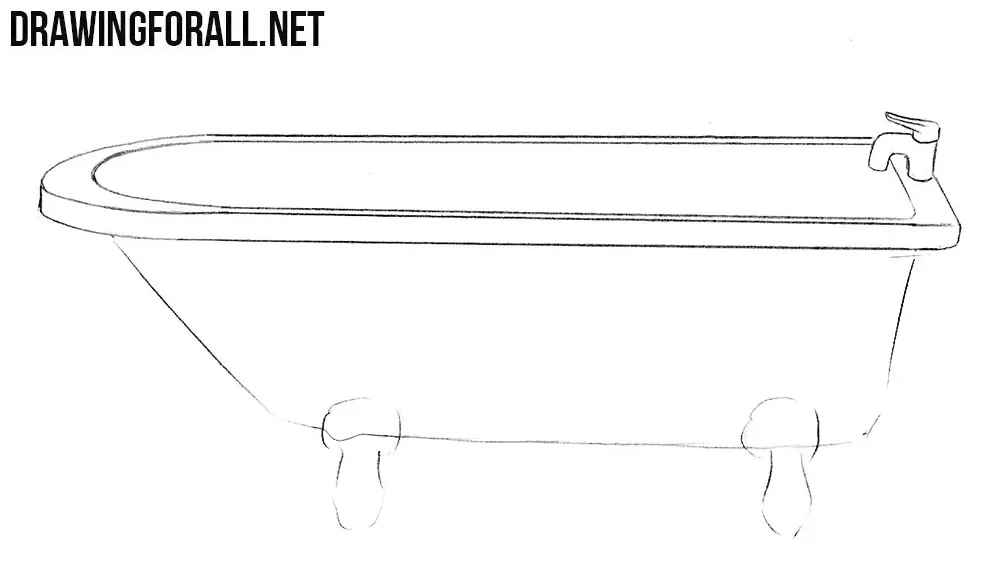
Step 5
Now draw out the lower part of the bath. Carefully draw out the legs. We have drawn very simple legs, but you can draw then in a shape lion paws for example. You can also add some patterns to the legs and the side surface of the bath.
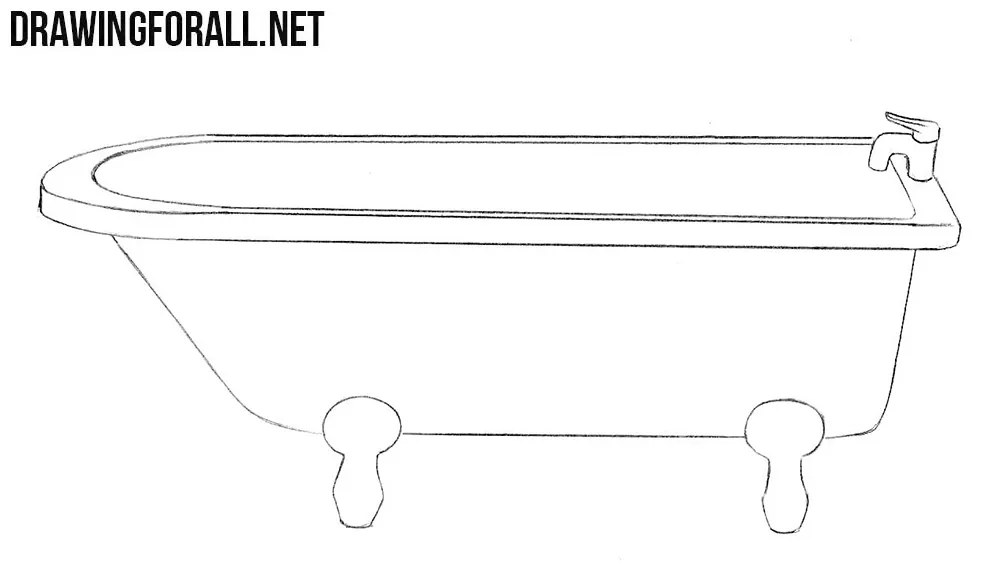
Step 6
And at the last step of the tutorial on how to draw a bath remains only to draw shadows and glare. To make glare more realistic, draw the contours of the glare as in our example. To make the shadows darker and more voluminous, add more shading layers.

It was a drawing tutorial about how to draw a bath. We think that it was very simple tutorial and you want something harder, visit articles about a Mini Cooper or boots. Also, you can find us in social media (for example, in Facebook, Pinterest, Twitter and many other social networks) and write your wishes or criticism about our drawing lessons.





Awesome tub drawing lesson