How to Draw a Mini Cooper
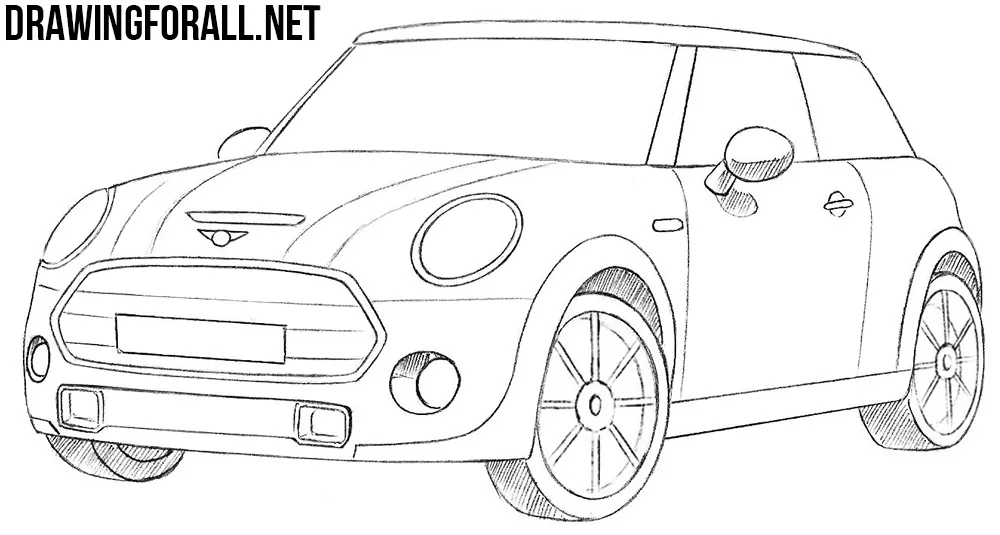
Hello everyone, today we will tell and show you how to draw a Mini Cooper. This legendary car was remembered by many due to its nice appearance and the fact that it was a car of Mr. Bean in the eponymous series.
Step 1
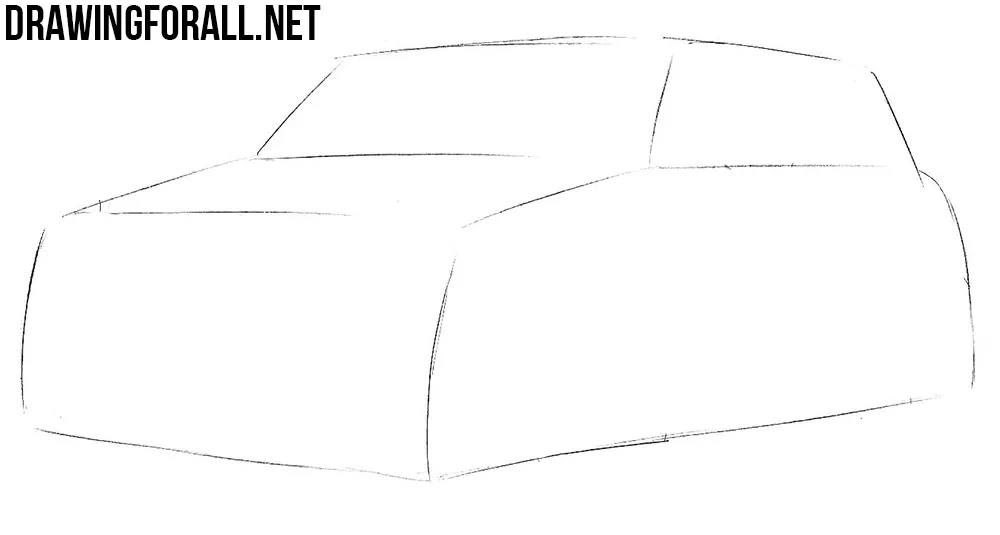
Let’s start drawing the Mini Cooper sketching out the general outlines of our future car, as you can see in the example below. Use light and translucent lines in this and the next step.
Step 2
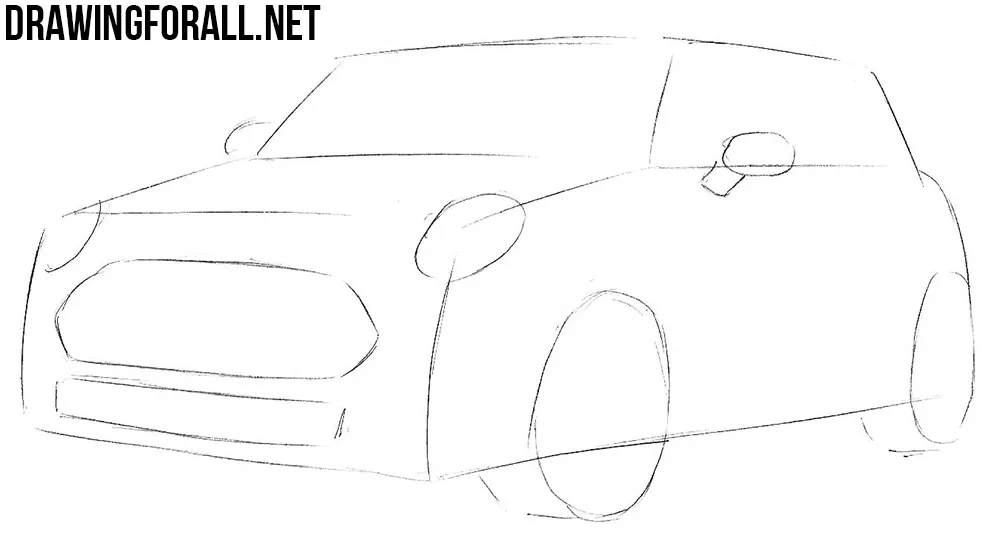
Continuing to use light and translucent lines, we sketch out the rounded headlights and grilles in the front part. On the side of the car sketch out the wheels and mirrors for the rear view.
Step 3
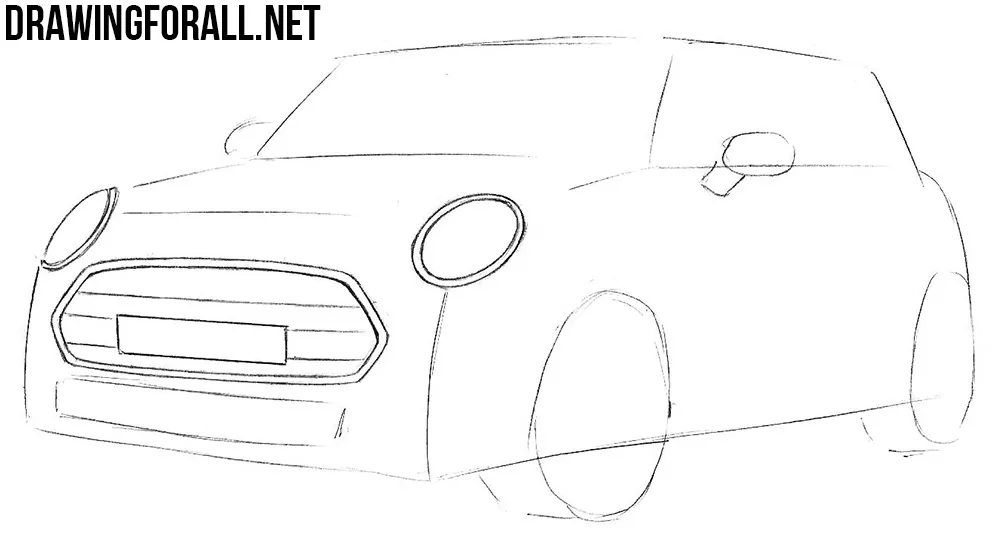
Take a darker pencil and begin to add the final details, following our advice. First we draw round headlights and a radiator grille with a number plate in the center.
Step 4
We continue to draw the front part of our Mini Cooper. Using a smooth line draw a bumper and a hood. In the center of the hood draw the Mini Cooper logo and a small air intake. In the lower part of the bumper draw the fog lights.
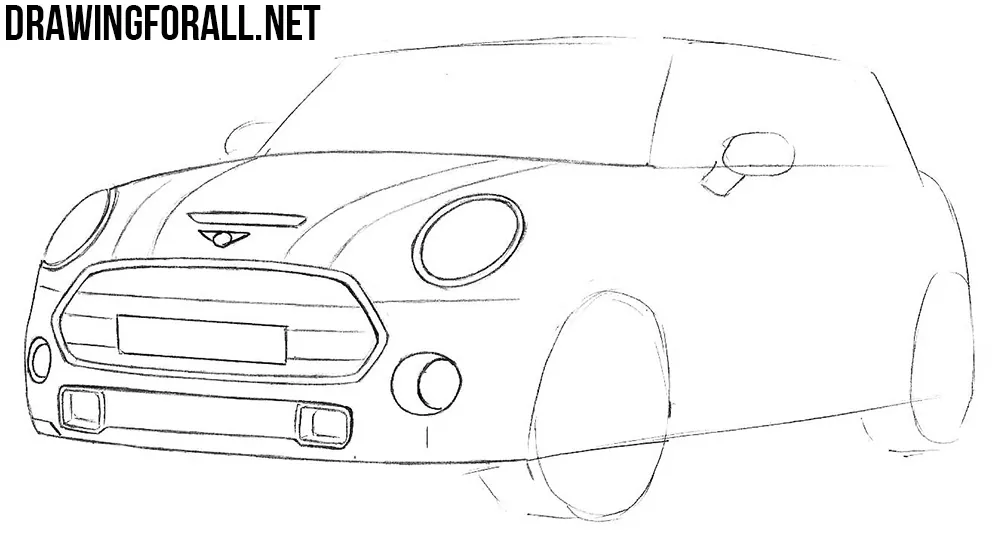
Step 5
Draw out the windshield and then the roof, guiding on the lines from the first step. Next, draw the side windows and the rear-view mirrors.
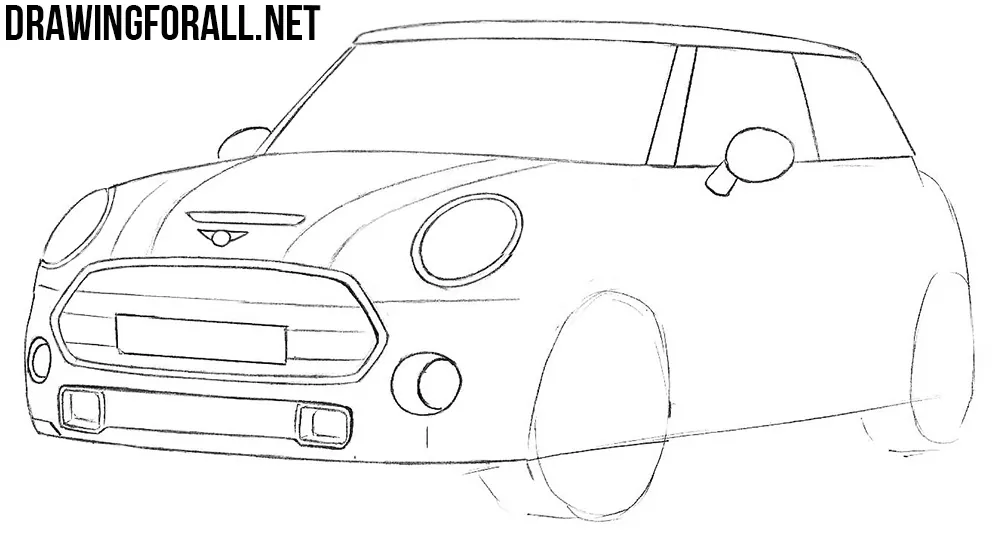
Step 6
We continue the drawing lesson about how to draw a Mini Cooper. Here we draw out the door, the handle and the bottom of our car.
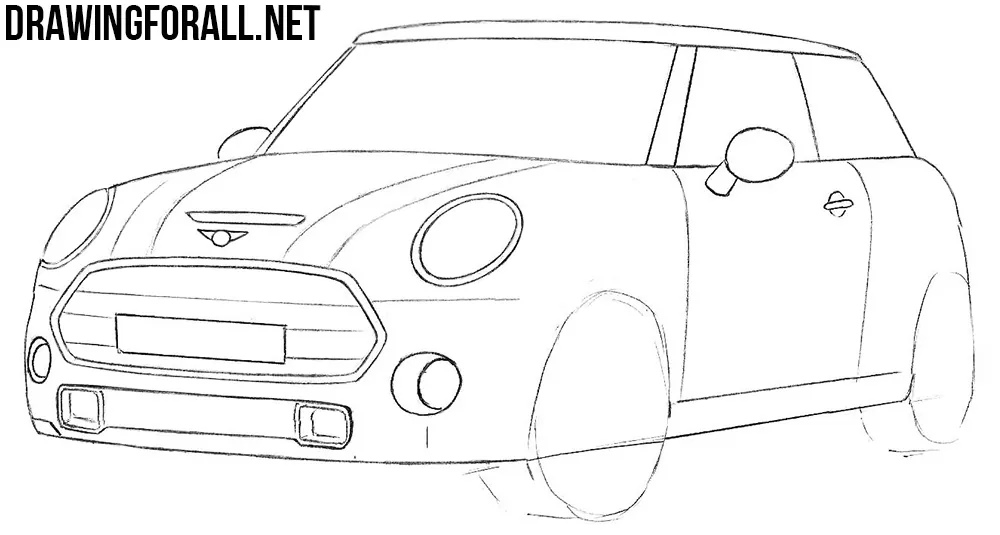
Step 7
/
Using very smooth lines draw out round wheels as in our example. Do not forget to draw out voluminous wheel arches.
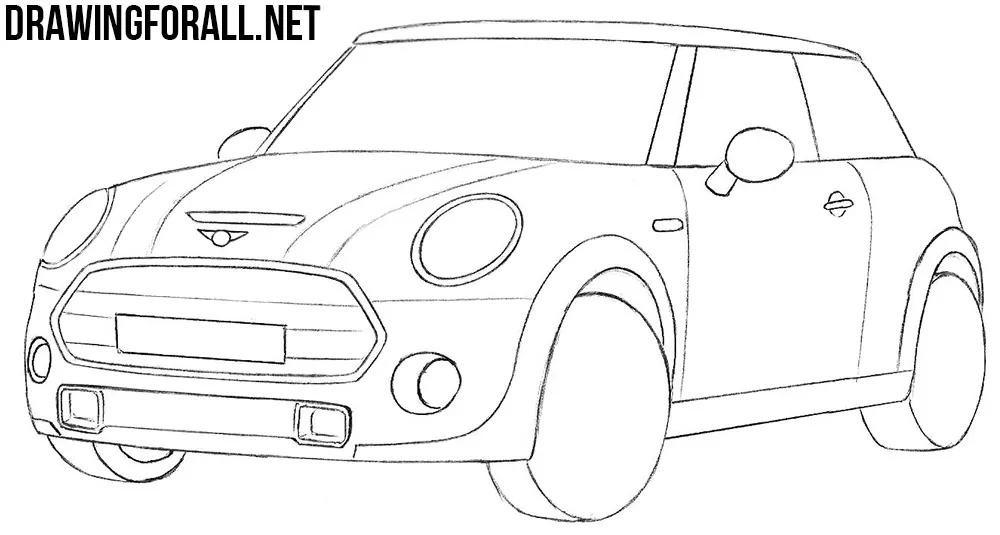
Step 8
Draw wheel rims as in our example (or make your own design of rims). If your drawing of the Mini Cooper is made in the technique of a simple pencil, then you must shade the drawing. This will give the car a three-dimensional view and the volume. Using light hatching add shadows like in our example.

Our mini Cooper is ready. You can draw a car either separately or in some composition, for example on the road.


Excellent drawing teacher
Nice
Cool
hello there i would like to drawn a mini cooper easy
Amazing 10000/10
Wow i like how you draw a car