How to Draw a Baby Face
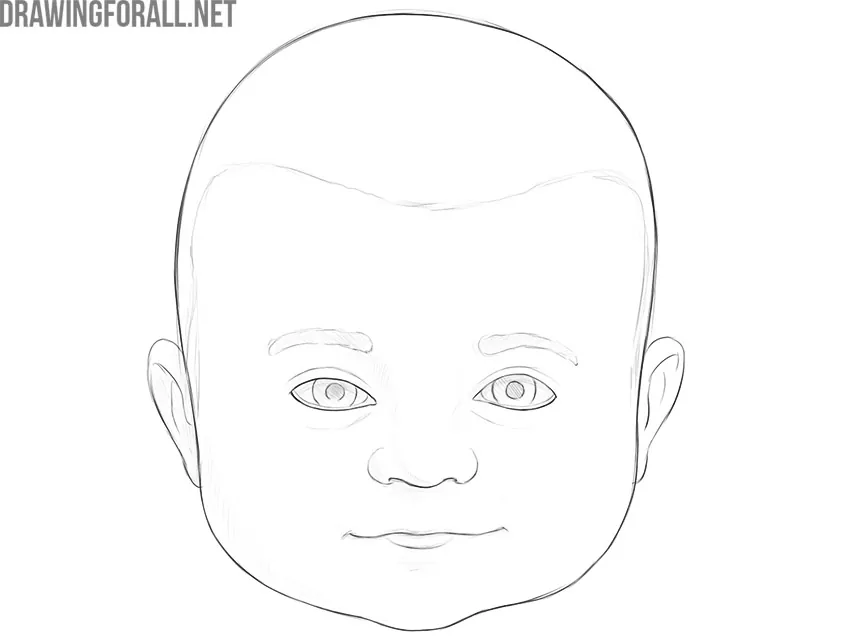
In this drawing guide, we will tell you how to draw a baby face. As you know, the face of a small child has many differences from that of an adult.
If you are great at drawing portraits of adults, you cannot immediately create a perfect portrait of a child without training. Therefore, we have created this guide that will allow an artist of any level to practice the skills of drawing children.
Step 1
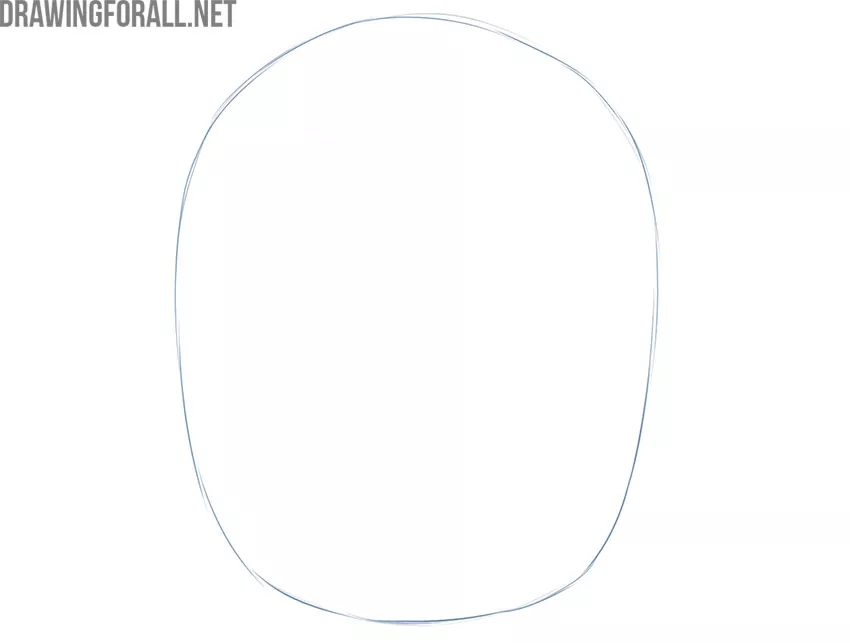
So let’s start the lesson on how to draw a baby face. Determine the location of the sketch on the sheet of paper. If you are drawing a portrait, then draw an oval shape in the very center of the sheet. Don’t try to draw a perfectly straight outline. Use light lines.
Step 2
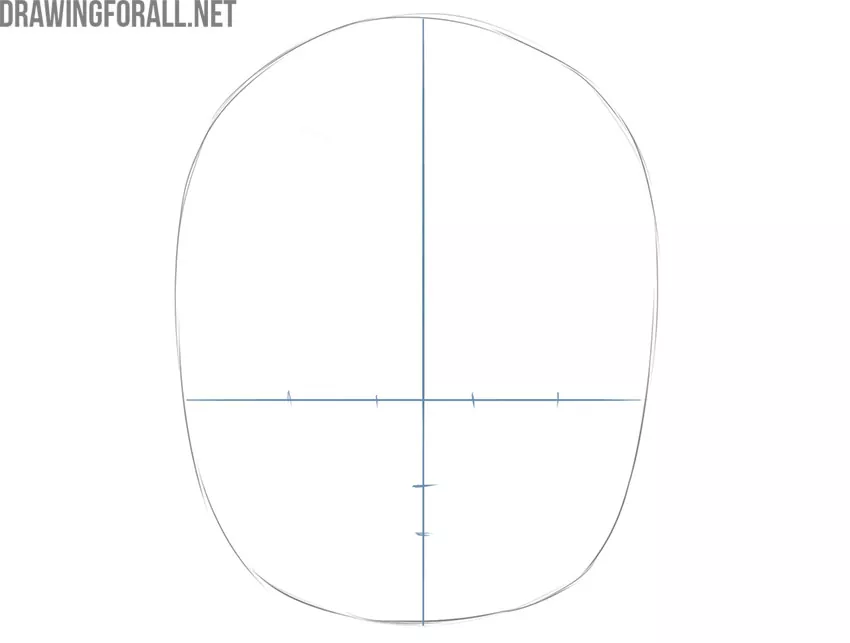
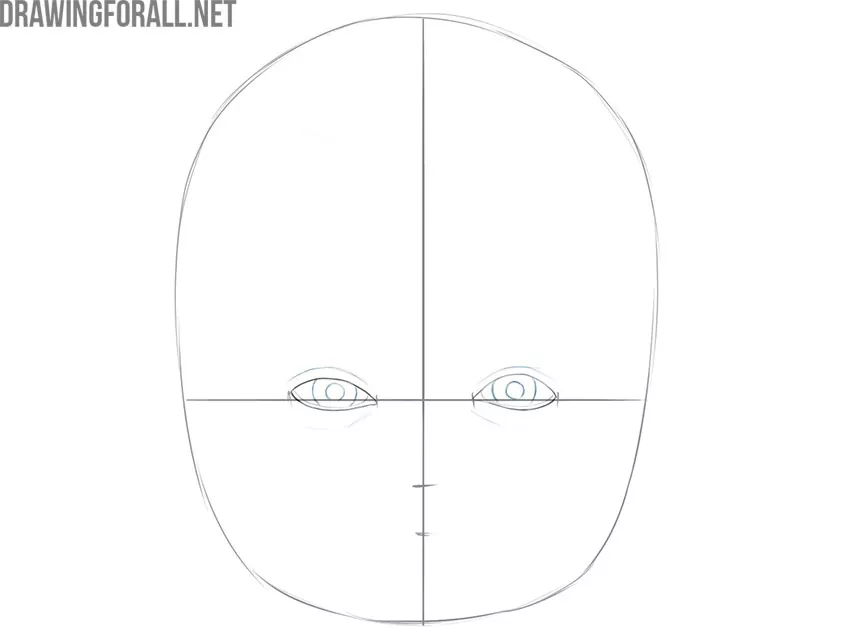
Draw two intersecting guidelines. The vertical guideline indicates facial symmetry, and the horizontal guideline indicates the location of the eyes. Please note that the horizontal guideline is not located in the center of the oval, but in the lower third of the face. Then mark the position of the eyes, nose, and lips with short strokes.
Step 3
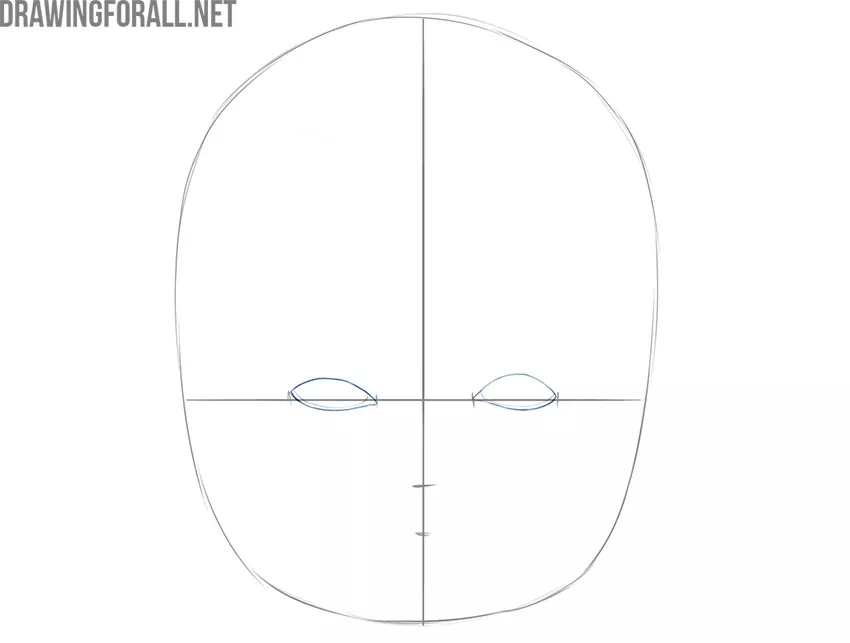
Draw the eyes. It looks like two elongated lemon-like shapes. Focus on the strokes from the previous step. Don’t try to make them exactly the same to keep them realistic. As you can see, the baby’s eyes are quite close to each other. The horizontal guideline does not divide the eyes into two symmetrical parts. The upper part of the eye is much larger than the lower one.
Step 4
Add some detail to make the kid’s eyes livelier. Draw two circles inside the outlines of the eyes. As you can see, these circles vary considerably in size. Using smooth arched lines draw the upper and lower eyelids. Note that these lines are parallel to the contours of the eyes. By the way, if you want to draw a tired cartoon character, focus on the lower eyelids.
Step 5
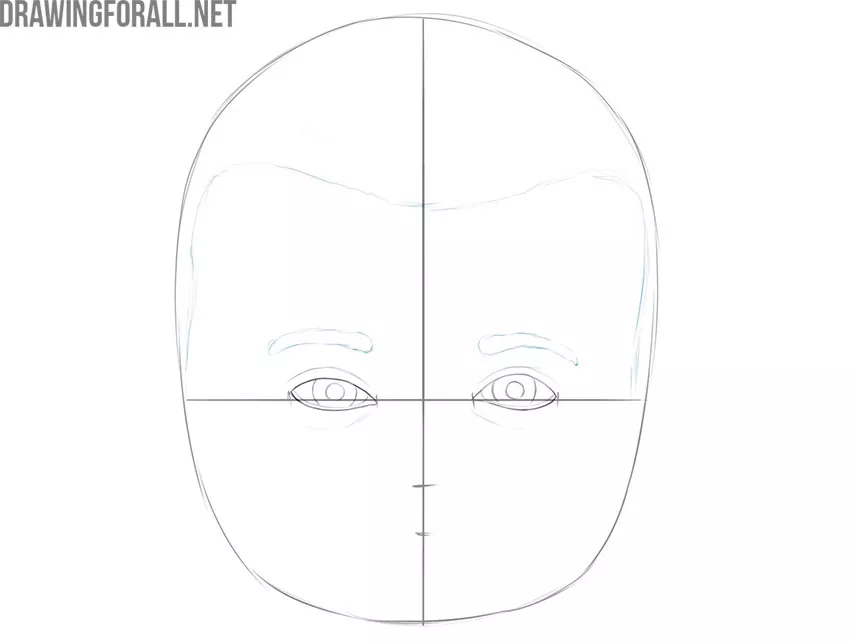
So, we continue to work on the lesson on how to draw a baby face. Draw the outlines of the hair on the head. As you know, babies don’t have long hair or weird hairstyles, so it looks like a hairline with only one line. Pay attention to the distance from the hair to the eyes. This greatly affects the face as a whole. Focus on the auxiliary facial guidelines. Draw the eyebrows in two elongated shapes located above the eyes.
Step 6
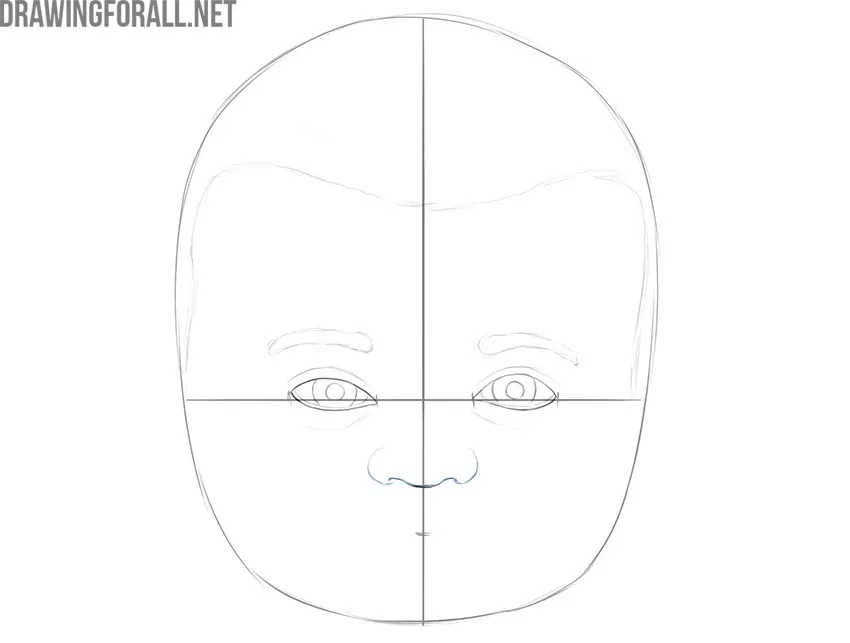
Draw the nose of the baby. Focus on the top stroke on the horizontal line. This stroke denotes the localization of the tip of the nose. It looks like a small forest mushroom. The facial features of babies are very different from those of adults. So don’t be alarmed if you have little strange facial features in your drawing.
Step 7
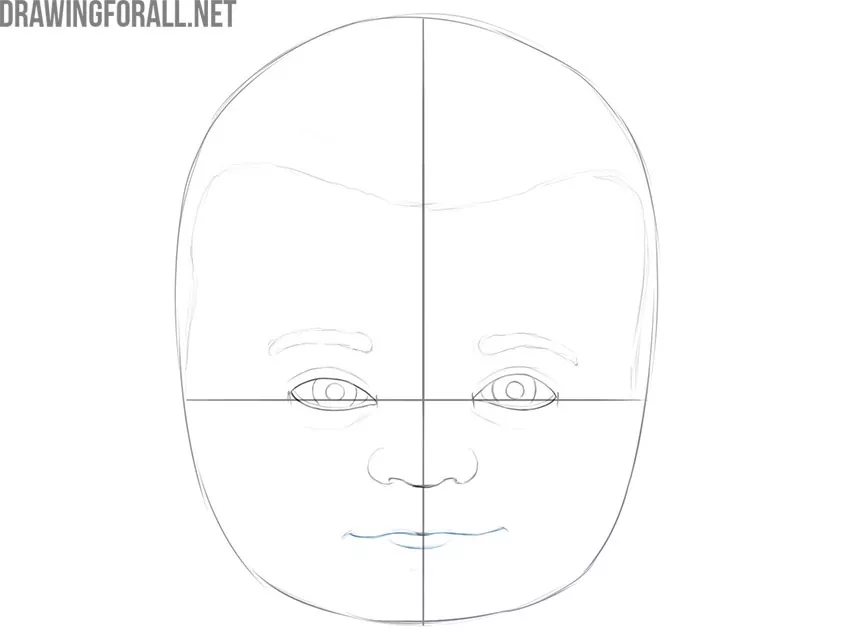
If you look at the illustration, you might think that this is quite difficult. However, we only create two smooth, curved lines. The top line is much longer and curved. The bottom line is short and looks like a small arc. Pay attention to the distance to the nose and chin. Distorting one of these distances will greatly change the outline of the entire face.
Step 8
If you’ve ever seen babies, then you’ve probably noticed the disproportionately large and round cheeks. This contour is formed by adipose tissue, which dissolves as we grow older. Draw the unusual shape of the cheeks by curving the bottom of the child’s face. A slight tapering of the head contour at the temples will enhance this effect.
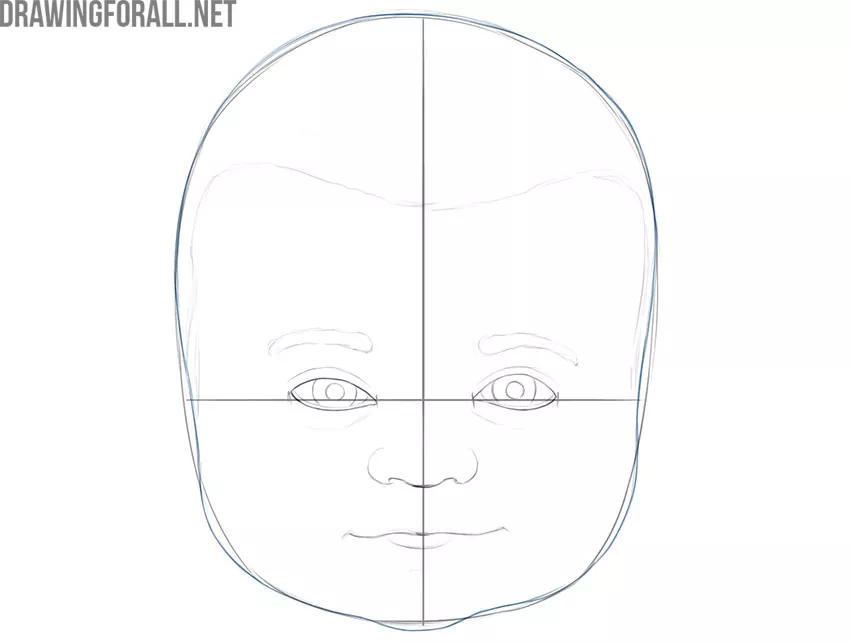
Step 9
We have done a great job and now we are at the home stretch. Draw rounded small ears of the baby. The lower parts of the ears line up with the tip of the nose, and the upper parts of the ears line up with the eyebrows. Be sure to check out our ear anatomy tutorial to draw all the inner lines of the ear correctly.
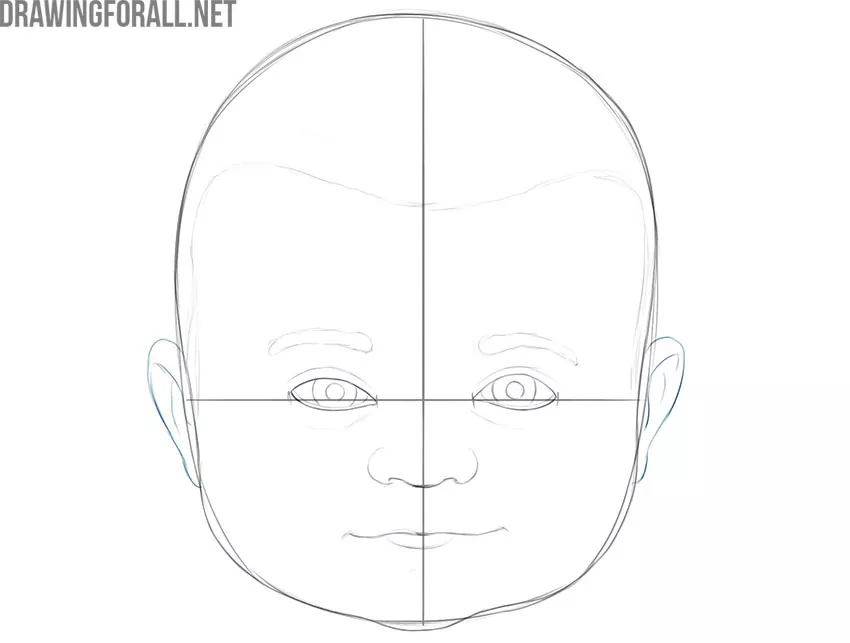
Step 10
Delete any unnecessary construction lines from the baby face. Draw the final outlines of all the facial and head features. Make sure all lines and shapes are correct. After that, add light shadows in the form of a single layer of hatching. The pupils of the eyes should be painted over as intensely as possible.
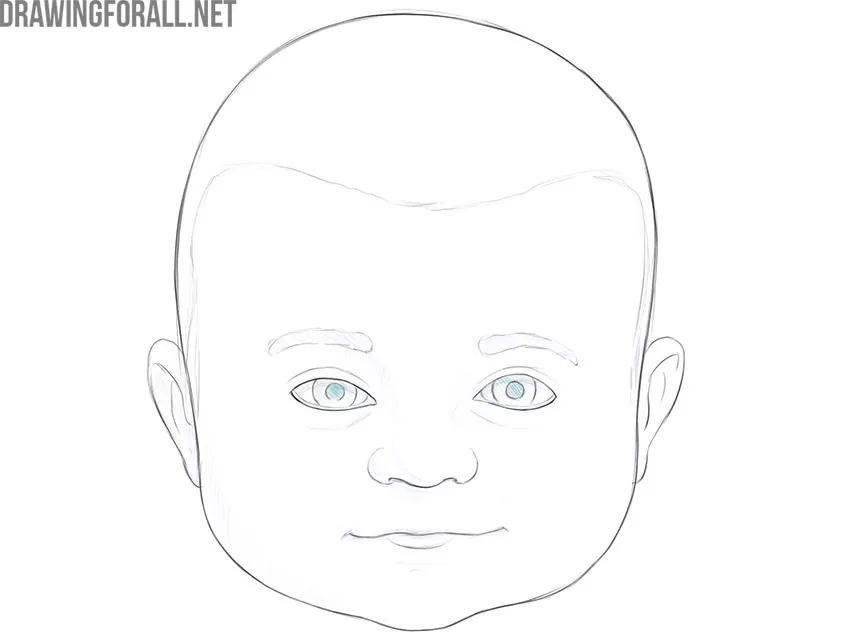
Step 11
So, it is a final step and you have drawn a baby face. Congratulations, this is a great result! Check that all proportions and lines are correct. After that, remove all extra lines. Add some more shadows for the eyes and nose. Try drawing other kids and teenagers.


i stuck
I did so bad but drawing looks so good
It doesn’t look anything like the end pic. Mabey I’ll get better.