

How to Draw Harry Potter
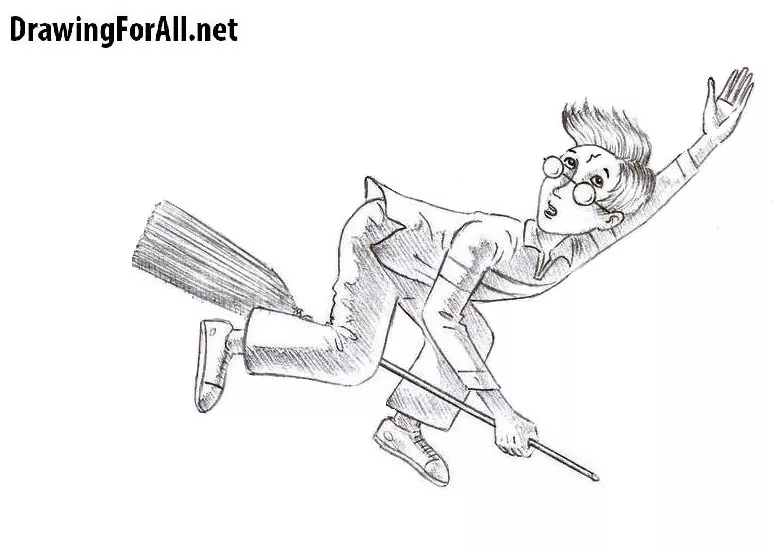
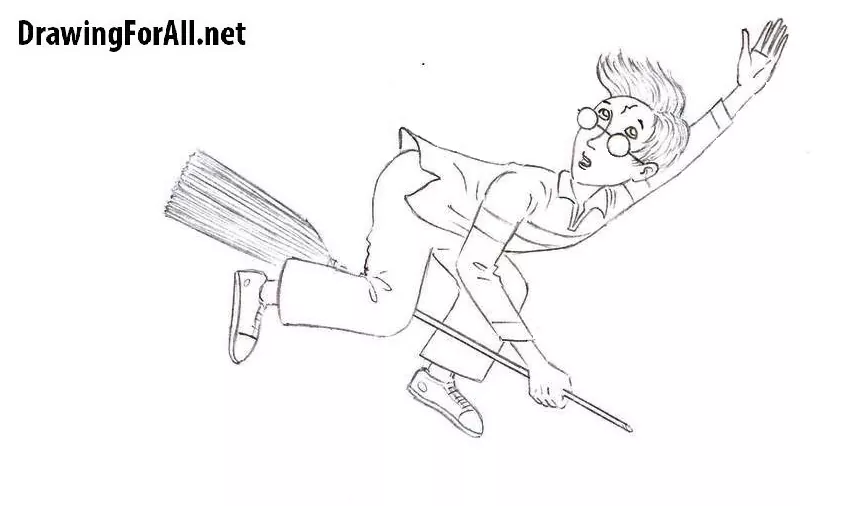
Welcome to our step-by-step tutorial showing how to draw Harry Potter in his classic form. We used an illustration from the cover of one of the earliest Harry Potter books as a reference.
How to draw Harry Potter step by step
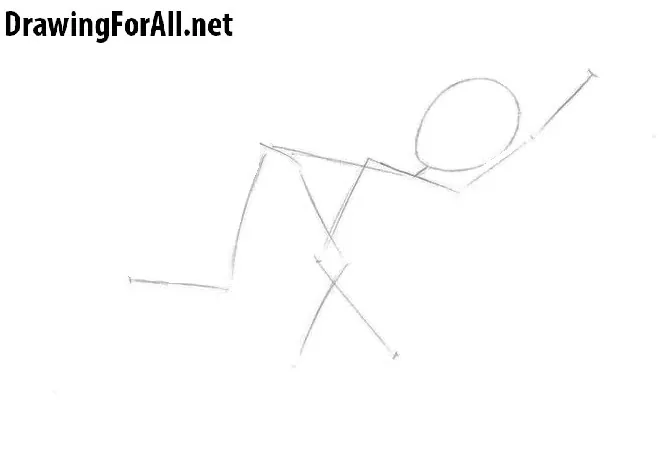
Step 1: Establish Harry’s flying pose
First, examine the pose. The line of our hero’s torso, marked in red, is almost parallel to the line of the broom. We also marked the shoulder line in blue. Together with the torso line, it forms a very acute angle.
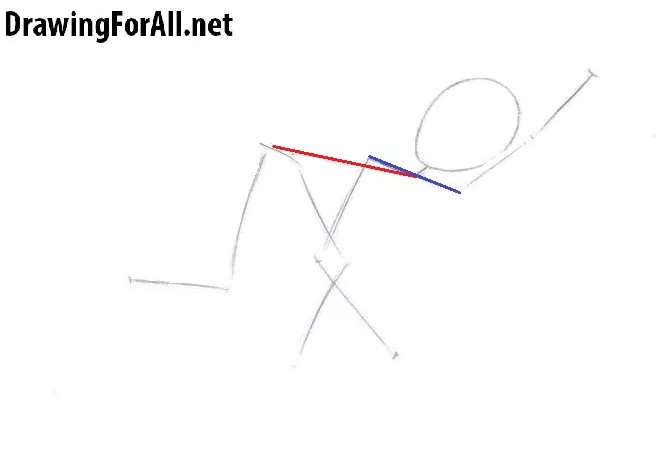
The head resembles an inverted egg but is more pointed at the bottom. An important point is that the upper part of the head is located near the elbow joint.
Step 2: Build the figure and broom
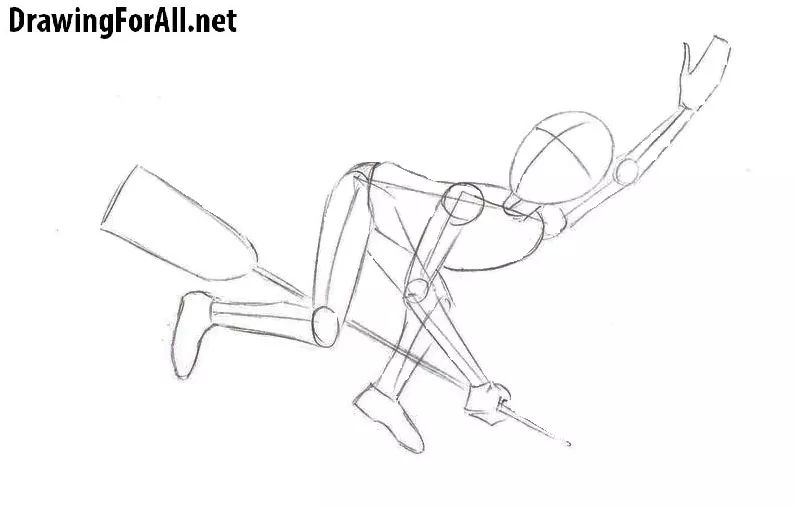
Now create the contours of the silhouette, beginning with the upper body. First, draw the neck as a short cylinder attached to the head. Then draw the arms.
If you do not divide the arms into sections, they resemble cylinders that gradually taper toward the palms. The palm raised above the head resembles a snake’s head. Sketch this simple shape to establish the hand correctly.
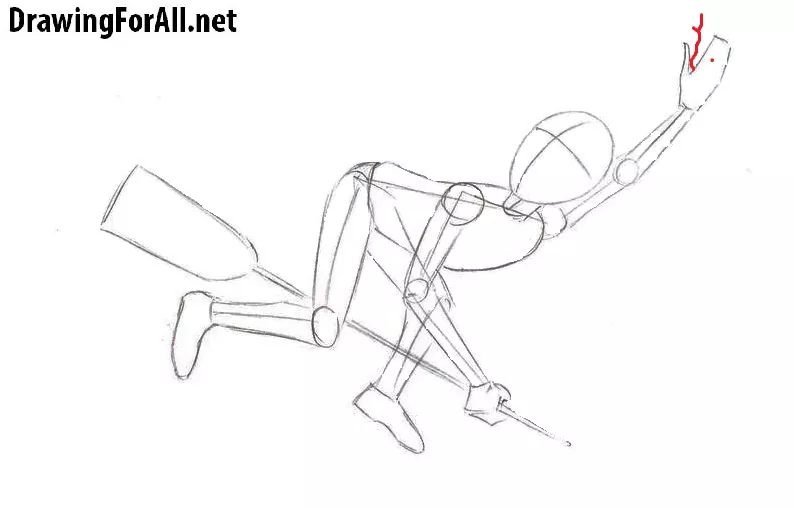
Do not forget the facial guidelines: the vertical line indicates facial symmetry, while the horizontal line marks the position of the eyes.
Also work on the legs. The thigh, from the waist to the knee, is slightly longer than the lower leg, from the knee to the foot. Point the feet slightly forward and mark the knees with circles. The feet should be large and wide. Finally, draw the broom of Harry Potter.
Step 3: Add hair, eyes, and glasses
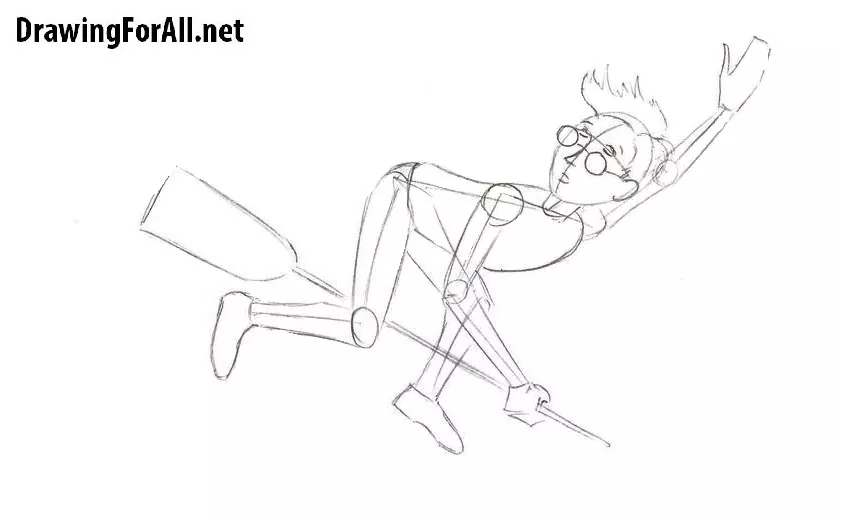
This stage may seem very simple. However, errors here may distort the entire drawing. First, draw the hair of Harry Potter. Remember to draw the strands from the roots toward the tips. After that, outline the eyes and draw the glasses.
Step 4: Refine Harry Potter’s face
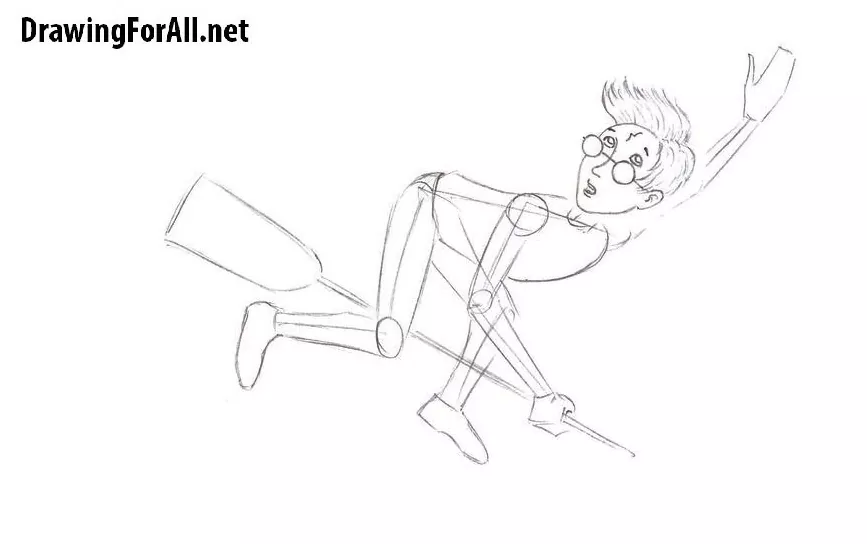
Detail Harry Potter’s face. Pay special attention to the position of the pupils, which depends on the direction of the character’s gaze. Do not forget to draw the legendary lightning-shaped scar in the middle of the forehead.
Step 5: Detail the body and broom
Now that the face is detailed, begin refining the torso and drawing the hands of Harry Potter.
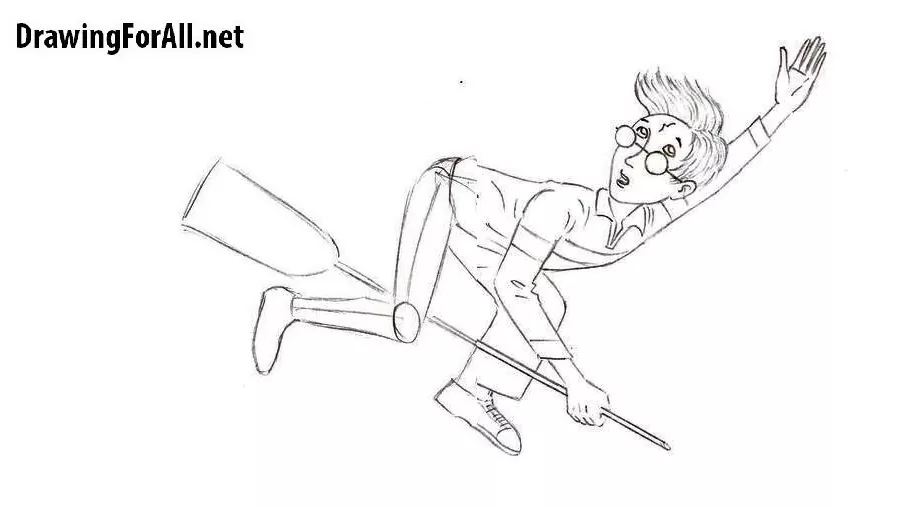
After that, draw the final outlines of the leg on the left. Also, refine the details of Harry Potter’s broom.
Step 6: Draw shadows and add tone
The final stage is adding shadows. This Harry Potter sketch uses a comic-style approach, so the shadows can be drawn very simply. Divide this process into two actions:
- Outline the boundaries of the shaded areas;
- Apply the hatching.
As you can see, most of the shadows are located on the inner side of Harry Potter’s figure.
This step-by-step tutorial showed you how to draw Harry Potter in his classic appearance. If you’d like to continue drawing characters from the same magical world, try drawing a wizard.
Many of the same techniques used for the robe, staff, and facial details can also be applied here.
You can also continue with sketching a cartoon wizard if you’re looking for a much simpler fantasy character.




Awesome tutorial. Looked awesome on my homework!