How to Draw a Dog
This lesson will show you how to draw a dog in a realistic style and will also demonstrate two simpler additional methods.
Here we will use a classical academic method of constructing the animal’s body, gradually building the framework first, then adding mass and volume, and finally refining the details and shadows.
At the end, we will also show two simpler methods for those who want to prepare for the main realistic lesson or expand their skills by learning new approaches.
How to draw a dog step by step
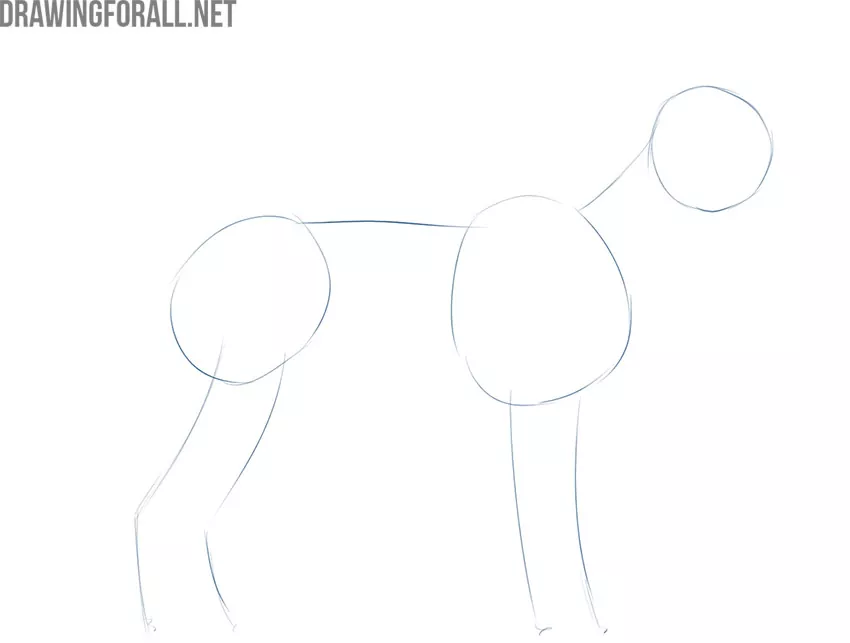
Step 1: Sketch the main parts of the dog
To draw a dog correctly, start with the simplest forms and gradually move to more complex ones. First, draw the head, ribcage, and pelvis using circles. Then sketch the neck, spine, and legs with simple lines. Do not draw any details or define the form at this stage. Simply mark the placement of the body parts and position the dog on the sheet of paper.
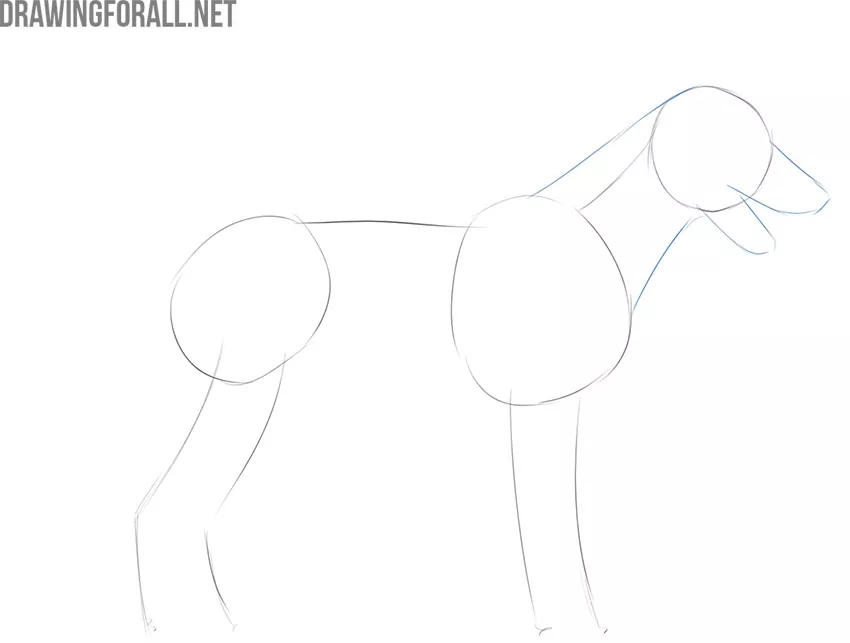
Step 2: Draw the neck and muzzle of the dog
Begin gradually adding basic forms and larger details. Connect the head to the torso with a pair of smooth lines to form the neck. Then draw the dog’s muzzle on the head, without going into excessive detail at this stage. Dogs can have very different muzzles, so you can draw it with varying lengths or shapes.
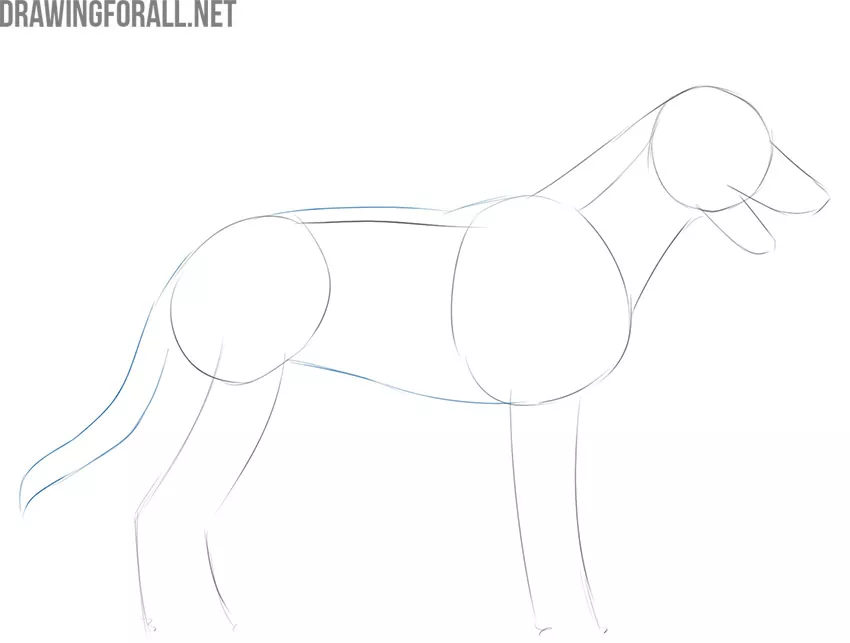
Step 3: Mark the animal’s torso and tail
Form the dog’s torso by connecting the ribcage and pelvis with two lines. The upper line represents the back, and the lower line represents the belly. Give both lines a natural appearance, and make the torso narrow slightly in the abdominal area. Then sketch the tail using two light lines without adding details yet.
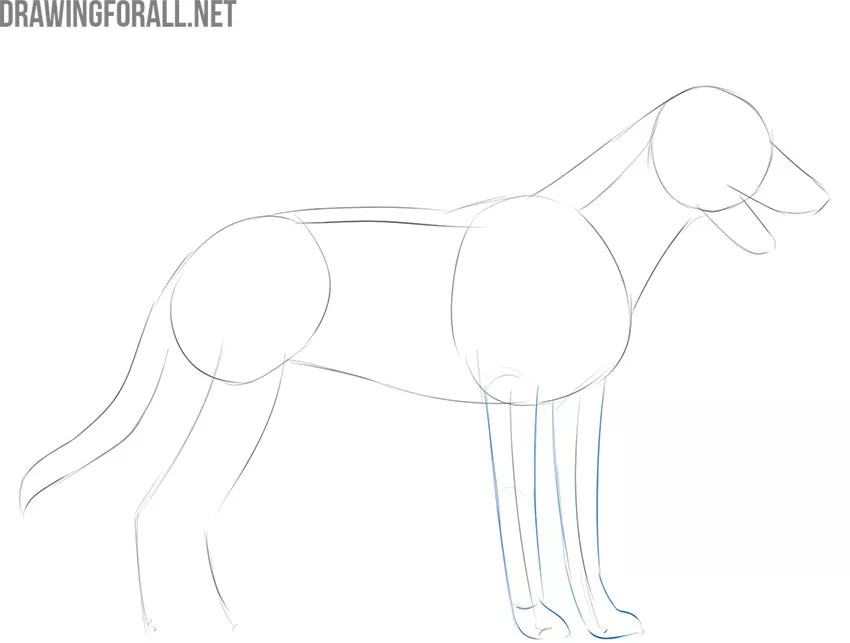
Step 4: Build the front leg volume
Using the guideline lines for the front limbs, sketch the volume and shape of the dog’s front legs. Indicate the placement of the paws at the lower ends. At this stage, simply block in these forms with light lines, focusing on maintaining correct proportions and their relationship to the overall shape of the dog.
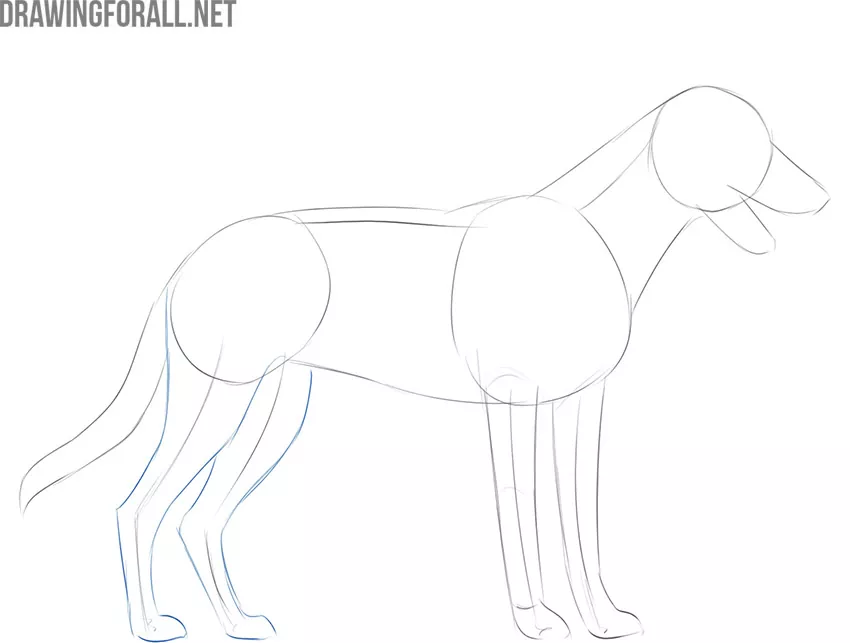
Step 5: Build the hind leg structure
In the same way, sketch the shape of the hind limbs, keeping in mind that the hind and front legs of dogs, like those of many mammals, differ noticeably. The hind legs should be slightly wider at the top and have a more pronounced bend than the front legs. Indicate the paws at the bottom using simple overall shapes.
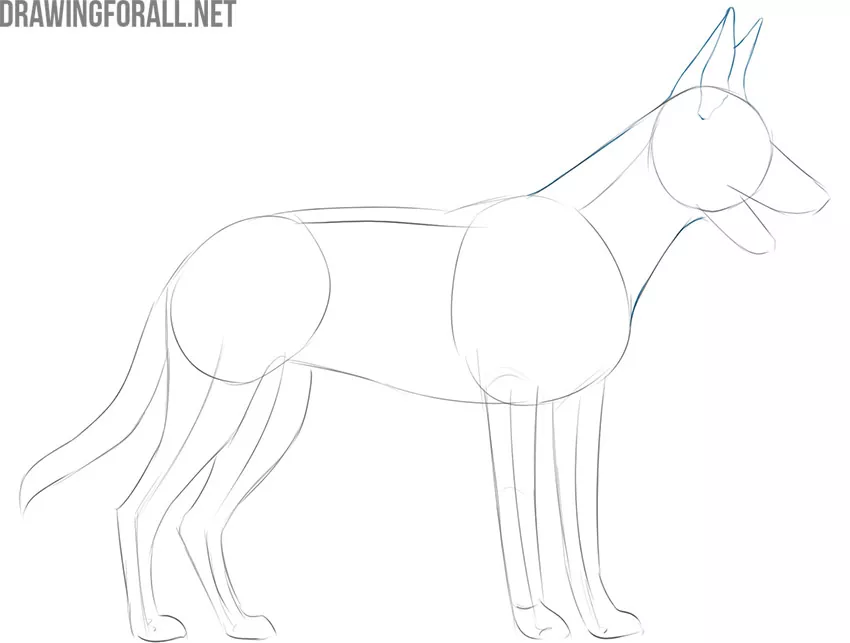
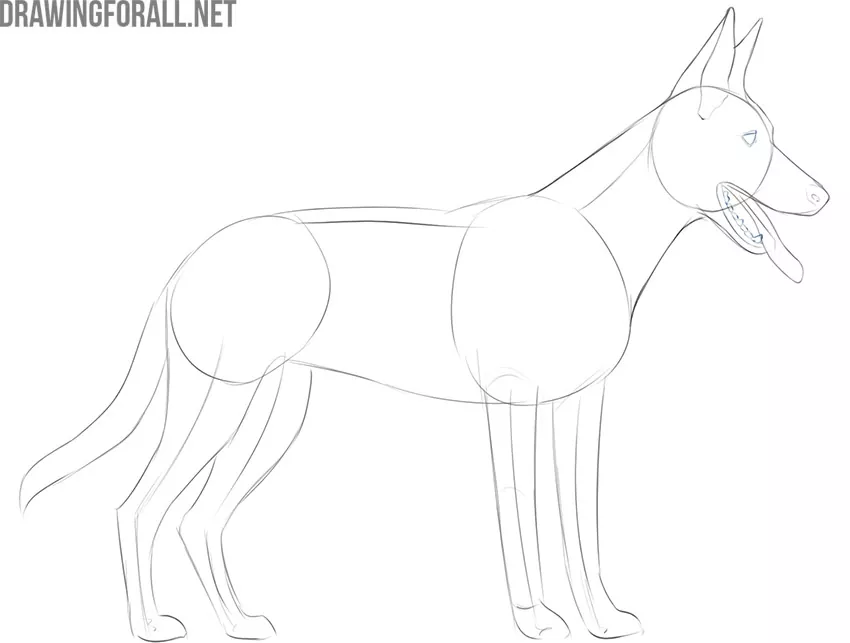
Step 6: Draw the ears of the dog
Now that the main forms and basic contours are established, begin gradually adding details to the dog drawing. Start with the head and draw the ears, keeping the principle of linear perspective in mind – the nearer ear should be slightly larger than the one farther away. Refine the neck outline to give it a more natural and accurate appearance.
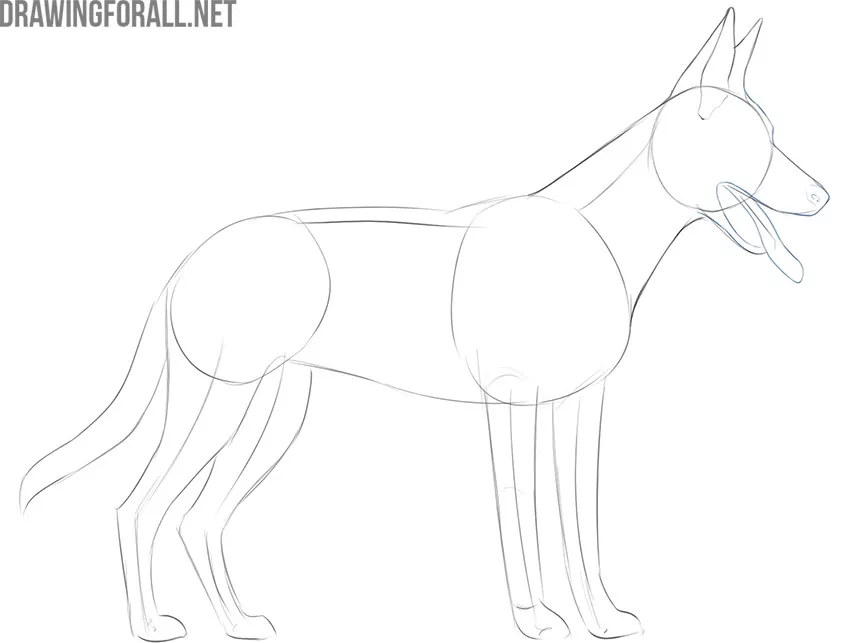
Step 7: Refine the face and muzzle
Move to the face and carefully start drawing the dog’s head in more detail. Refine the contours of the forehead and muzzle to make them more accurate. Indicate the dog’s nose and outline the open mouth with smooth lines. Draw the characteristic tongue sticking out of the mouth.
Step 8: Draw the eye and teeth of the dog
Draw the dog’s eye in the upper part of the head. Pay special attention to how the eye appears from a side view. Then draw the lower row of teeth visible inside the mouth, while the upper row remains hidden under the dog’s upper lip.
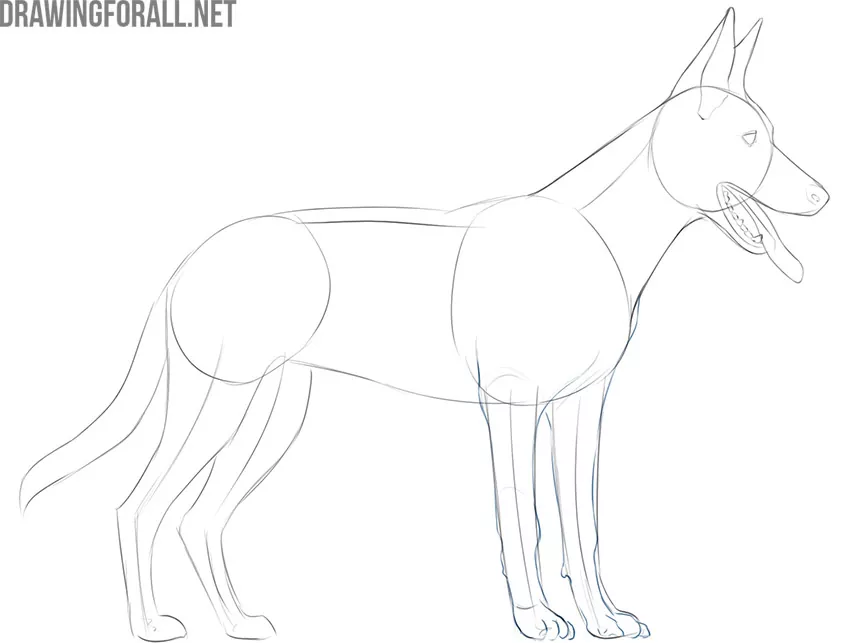
Step 9: Trace and detail the dog’s front limbs
Refine the front limbs to give them a finished appearance by redrawing them with clearer and more detailed lines. Keep in mind the muscles and bone structure beneath the skin. At the bottom, draw the paws with toes and subtly indicated claws.
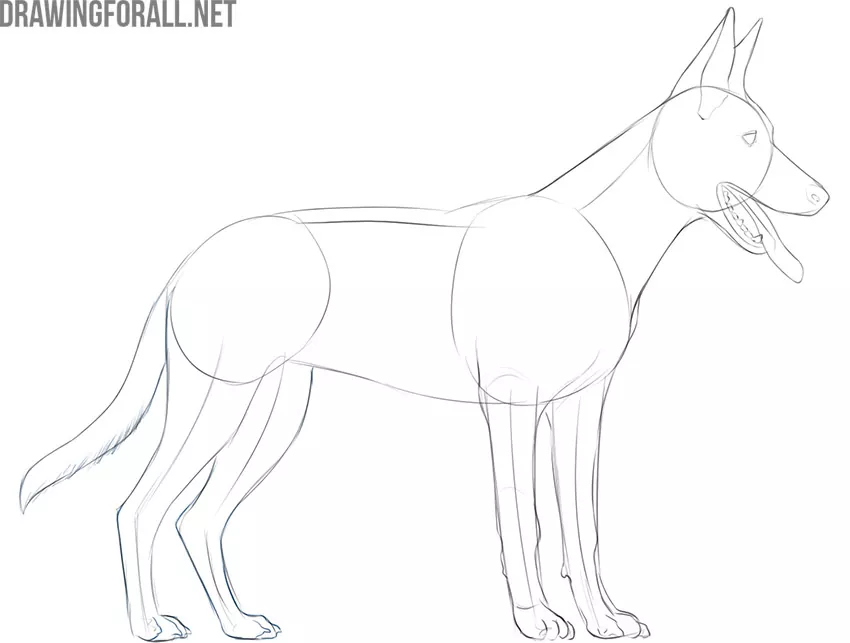
Step 10: Refine the hind legs and tail
Now do the same with the hind limbs, refining their outlines while keeping the structure of muscles, bones, and tendons beneath the skin in mind. At the bottom, draw the dog paws, separating the toes and indicating the claws. Then refine the dog’s tail, adding light strokes to suggest the fur.
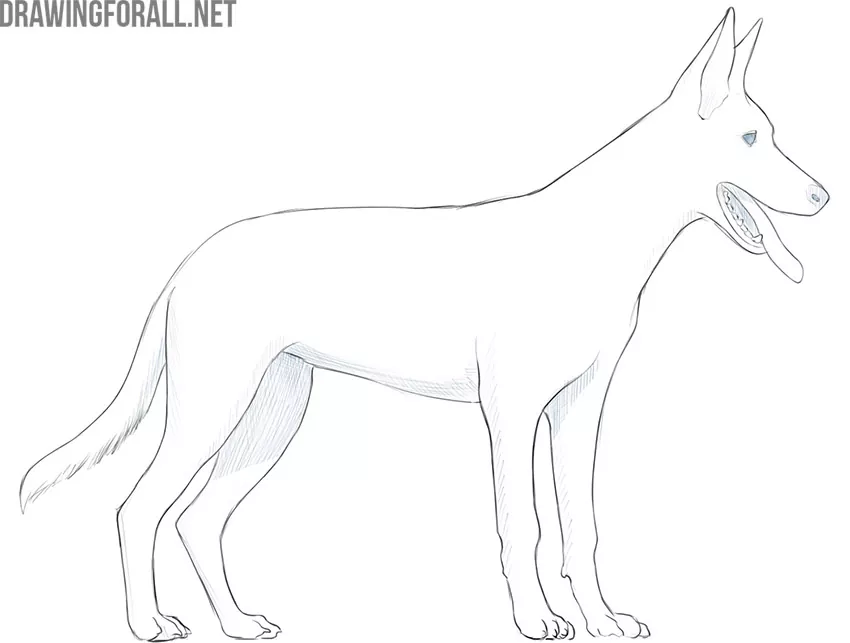
Step 11: Erase guidelines and place shadows
Carefully erase all the construction lines from your dog drawing, gradually refining and clarifying individual parts while comparing them to the overall form so the drawing remains proportional. Indicate the general placement of shadows, keeping the principles of light and shadow and basic hatching techniques in mind.
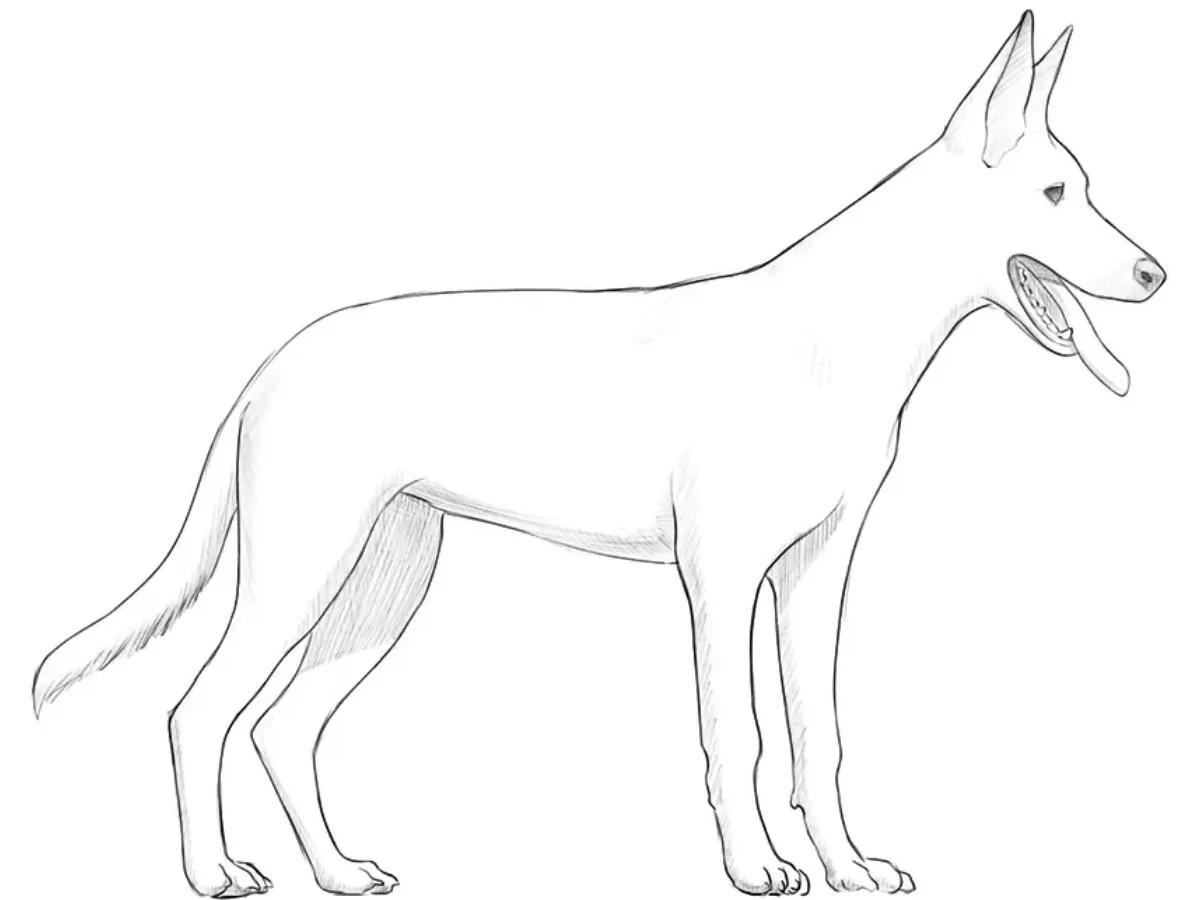
Step 12: Strengthen the shadows and contrast
Deepen the shadows and make them more defined and three-dimensional. Add a bit more fur texture if needed, and strengthen the core shadows on the body. Add highlights in the eye and on the upper surface of the nose. Review the entire drawing again from different angles.

Now that you have completed the dog drawing lesson, it is time to think about variations and practice. Drawing this animal based on fundamental principles of visual art offers many possibilities that open a wide range for practice. You can draw a dog in many different ways, experimenting with various poses, techniques, and styles.
Practice and variations
Draw a dog using a simplified technique
Simplification is one of the most important aspects of drawing, both during the learning process and when creating individual artworks.
The ability to simplify forms and volumes correctly is an essential skill for any artist, including when creating sketches.
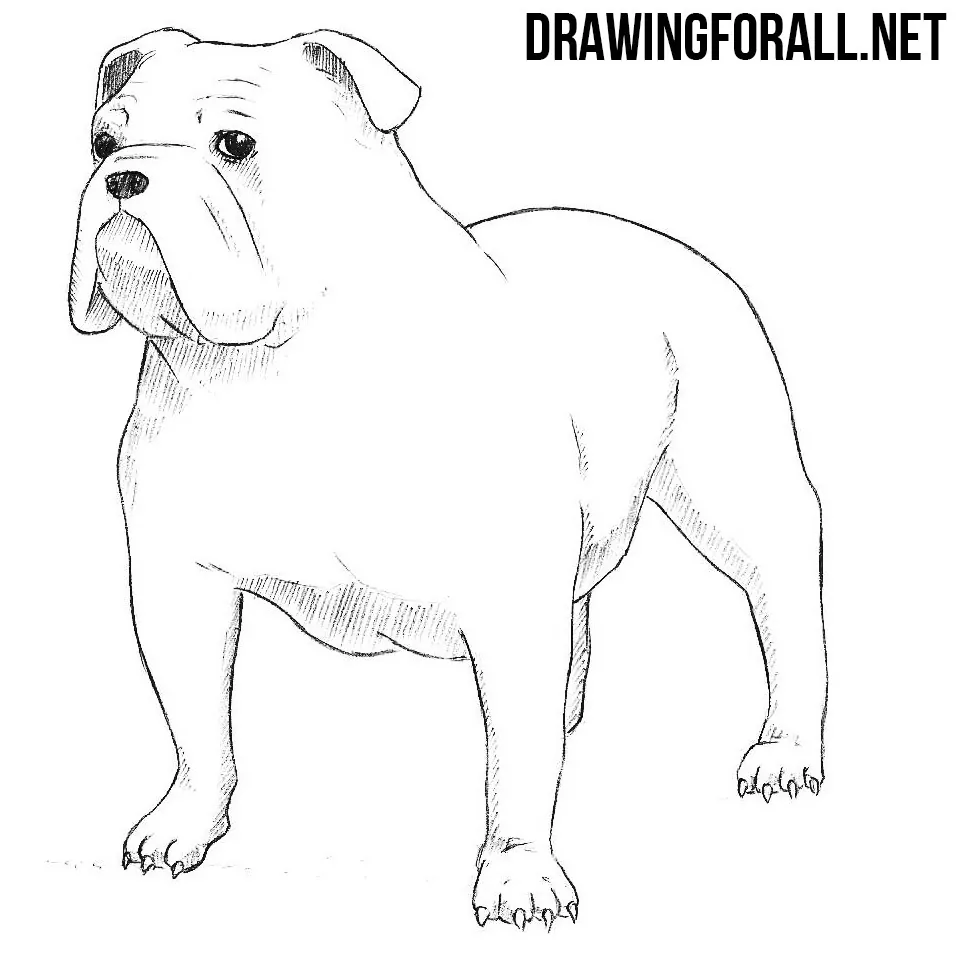
In this additional lesson, we show how to draw a dog using a more simplified technique without shading or hatching.

Draw a stylized dog
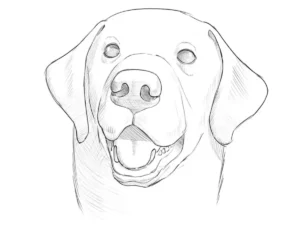
In addition to simplification, stylization is another important aspect of drawing dogs. Strong simplification, close to drawing general and primitive forms, helps develop greater versatility in your artistic skills.
As you can see here, the same shapes and features of the dog are reduced to their minimum. Alternating between more complex drawings with shading and realistic volume, as in the main lesson, and simplified versions like this one will help you build a well-rounded foundation in drawing dogs overall.

Practice drawing dogs in different posss
In addition to experimenting with different levels of stylization and volume in your drawing, you can practice drawing dogs in various poses.
It is important that your drawing skills allow you to depict this animal not only in static positions but also in more dynamic ones while maintaining a natural and authentic appearance. To achieve this, practice drawing different poses and viewing angles.
Repeating this kind of quick sketching in different poses will help you build a strong foundation in drawing dogs. For example, you can draw a sitting dog using a quick technique, or a draw dog in a lying pose.

And once again, the most important thing is practice. Above, we carefully broke down the entire process of drawing a dog in a realistic, three-dimensional style and showed the methods and approaches used to represent a volumetric, realistic dog on a flat surface. We also briefly demonstrated several variations you can practice when drawing dogs.
Now the rest depends on practice. Repeat different styles, poses, and viewing angles when drawing dogs. Add more shadows and volume, alternating this with drawings of highly stylized and unusual-looking dogs.
Create longer drawings with many tonal transitions and midtones, and also make quick sketches while timing yourself. All of this will help you build a strong foundation in drawing dogs as well as animals in general.
nice
I drew it but it looks way better on my computer than on my paper it looks so weird on my paper i drew it kinda bad tho I am going to try better on a different paper