How to Draw a Mallard
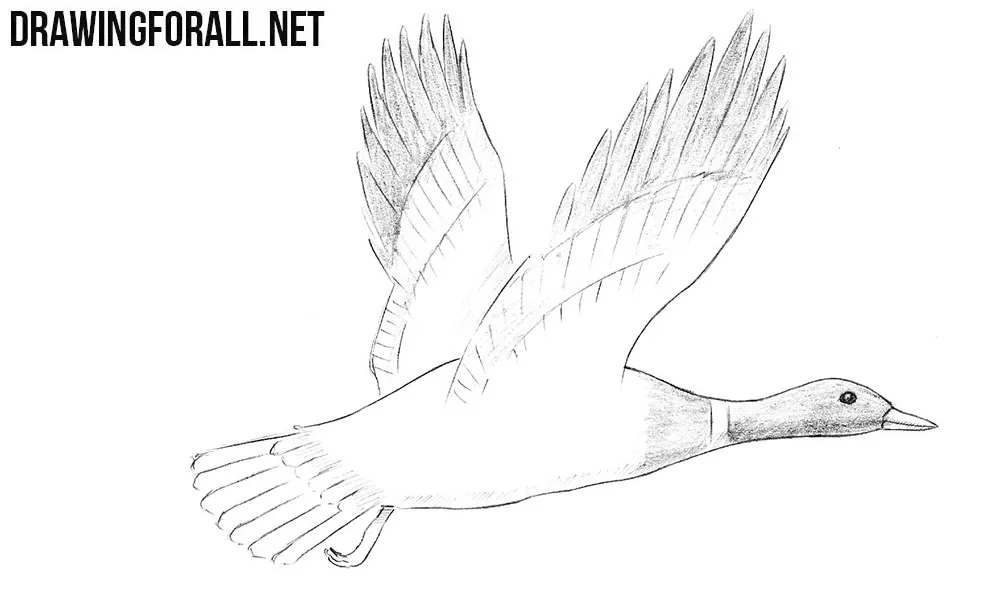
In this lesson the team of Drawing For All will show you on how to draw a mallard – the most famous and widespread wild duck.
Step 1
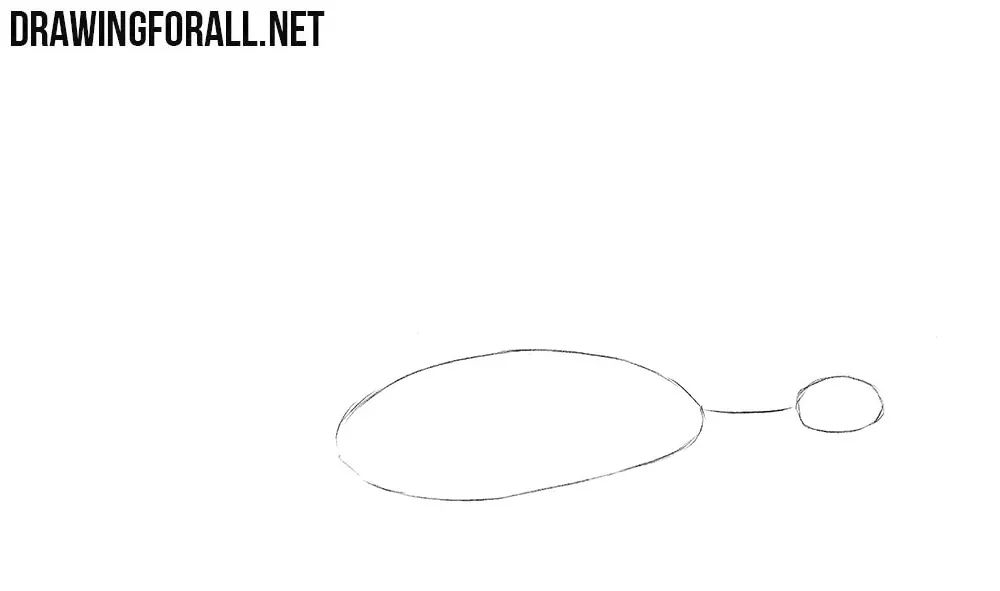
Even an ordinary duck can be drawn so that it turns out an interesting and beautiful drawing. So sketch out two ovals – small for the head and large for the torso. Connect them with a neck line.
Step 2
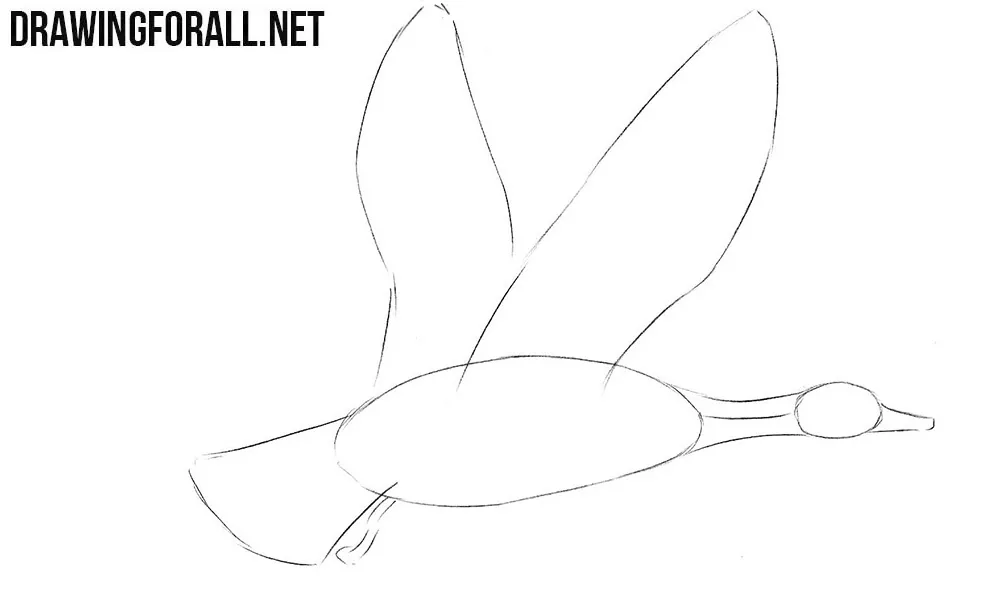
Sketch the outline of a flat beak. Next draw the contours of the neck and large raised wings (we draw a mallard in flight). In the back part draw a wide tail and legs.
Step 3
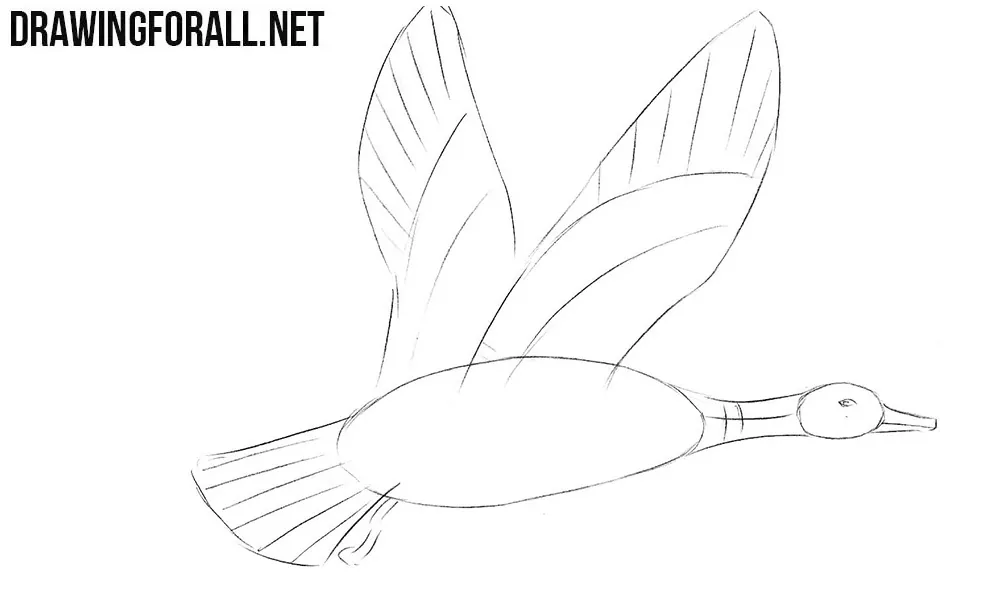
Divide the beak and draw a small almond-shaped eye. On the neck mark a transverse strip. Draw outlines of large feathers on wings and tail.
Step 4
Silhouette is ready, it remains only to refine the details. By clear and dark lines draw out the head and torso. Draw out the legs of the feathers of the tail in detail.
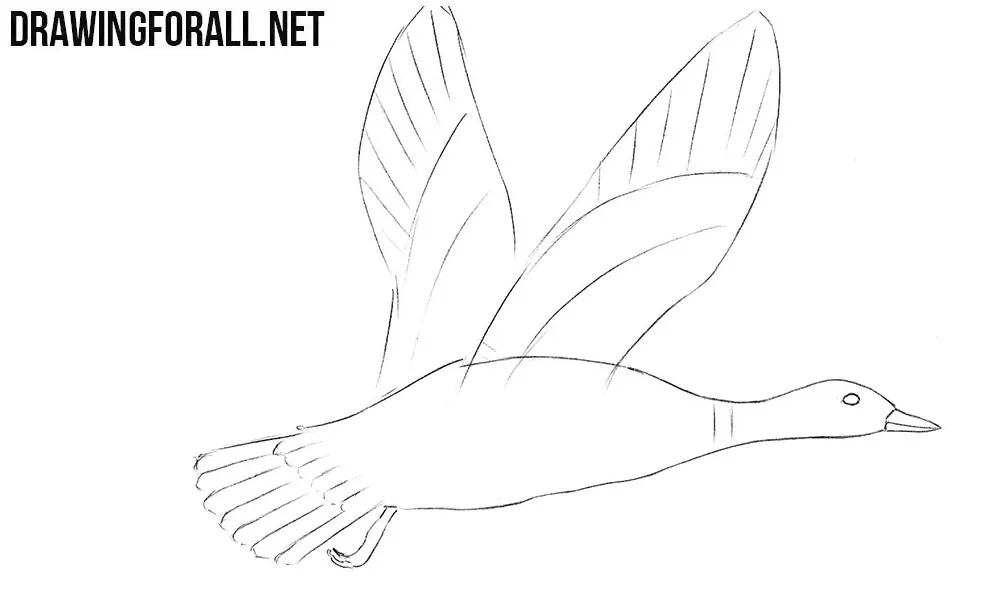
Step 5
Now we need to work with the wings. Here we carefully draw out all the feathers as we did in the drawing below.
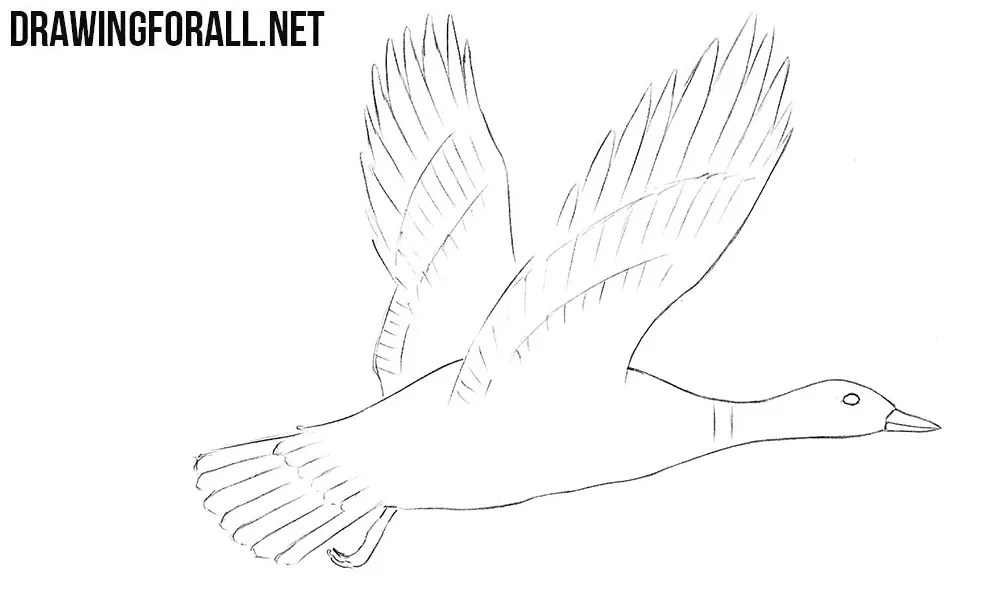
Step 6
Paint the eye in black, leaving a highlight. Darken the head, neck and tips of the wings. Add some shadows using hatching.

We hope that the lesson about how to draw a mallard was not only useful but also interesting. Do not hesitate, write your wishes and criticism in the comments below the article. And we want to remind you that we have not only this very site, but also pages in all known social media. So click on the buttons of social networks, share your lessons and subscribe to us.



Iont like it boyz