

How to Draw a Floor
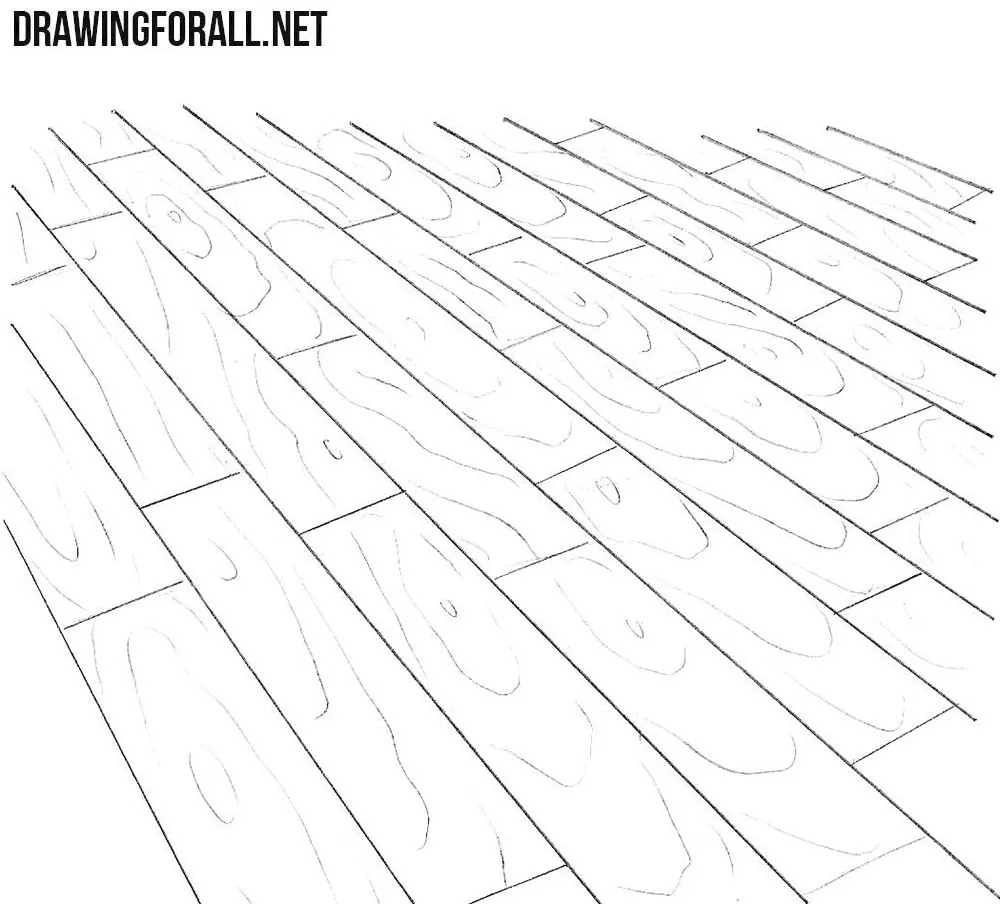
Drawing a floor will help you better understand how to draw convincing interiors. In this tutorial, we will show you how to draw a floor made of classic wooden boards with a wood texture.
Here we will depict the flooring as if we were looking at it from human eye level. We will also try to show you how to convey linear perspective to make the composition more realistic.
How to draw a floor step by step
Step 1: Draw the floorboards in perspective
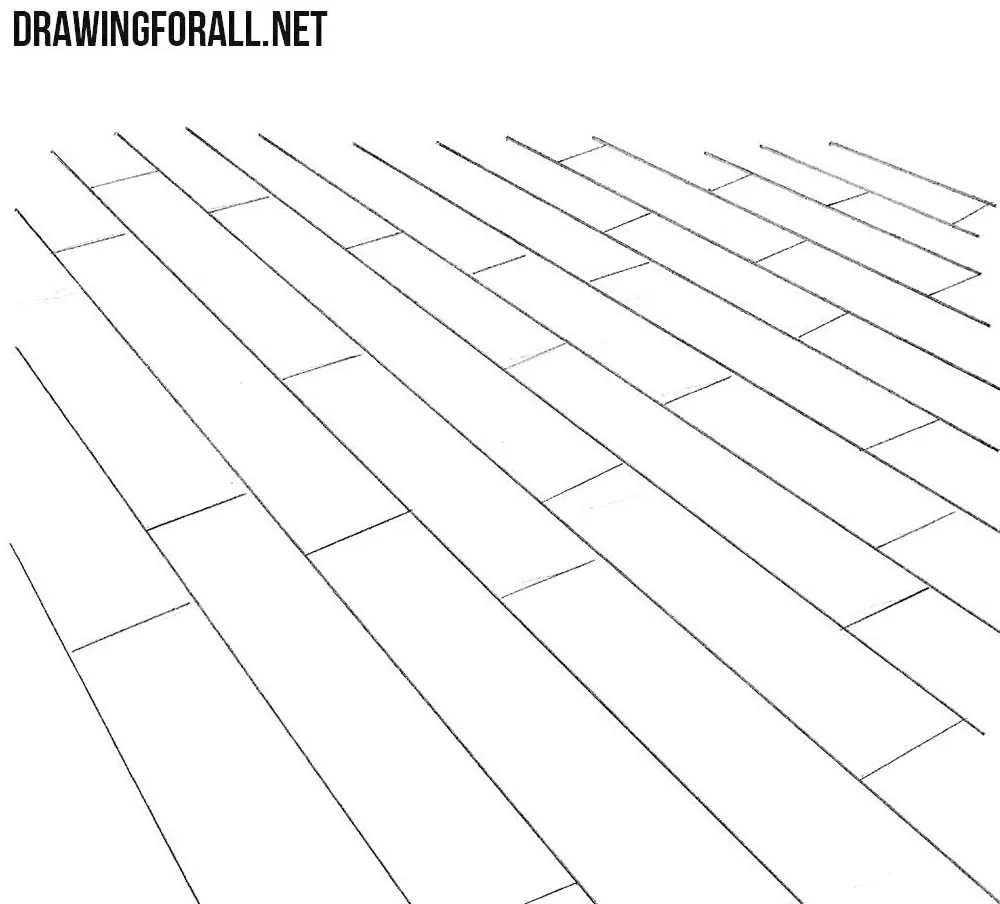
Here we will draw a classic wooden floor. To do this, draw long straight lines for the floorboards with the spacing between them increasing as they approach the viewer. The wooden boards should therefore become progressively narrower toward the distant part of the floor. By the way, to improve your skills, try drawing these lines without using a ruler.

Step 2: Add the floorboard joints
Using short crosswise lines, divide the long strips into individual floorboards. Do not place the joints in one continuous row across the wooden floor. Stagger them along neighboring boards, as in our example, and reduce the visible length of the floorboards toward the distance. Try to convey the size of the boards and the perspective to make the drawing look more realistic and three-dimensional.
Step 3: Add wood grain and knots
Let’s draw the wood grain texture on our floor. Do this with smooth, uneven lines that follow the length of the floorboards. On some boards, curve the grain around small oval or elongated knots, then continue the lines along the wood. Keep each grain pattern inside its individual board so that it stops at the crosswise joints. Try to make the wood grain lines more varied. Also, do not make them too dark.
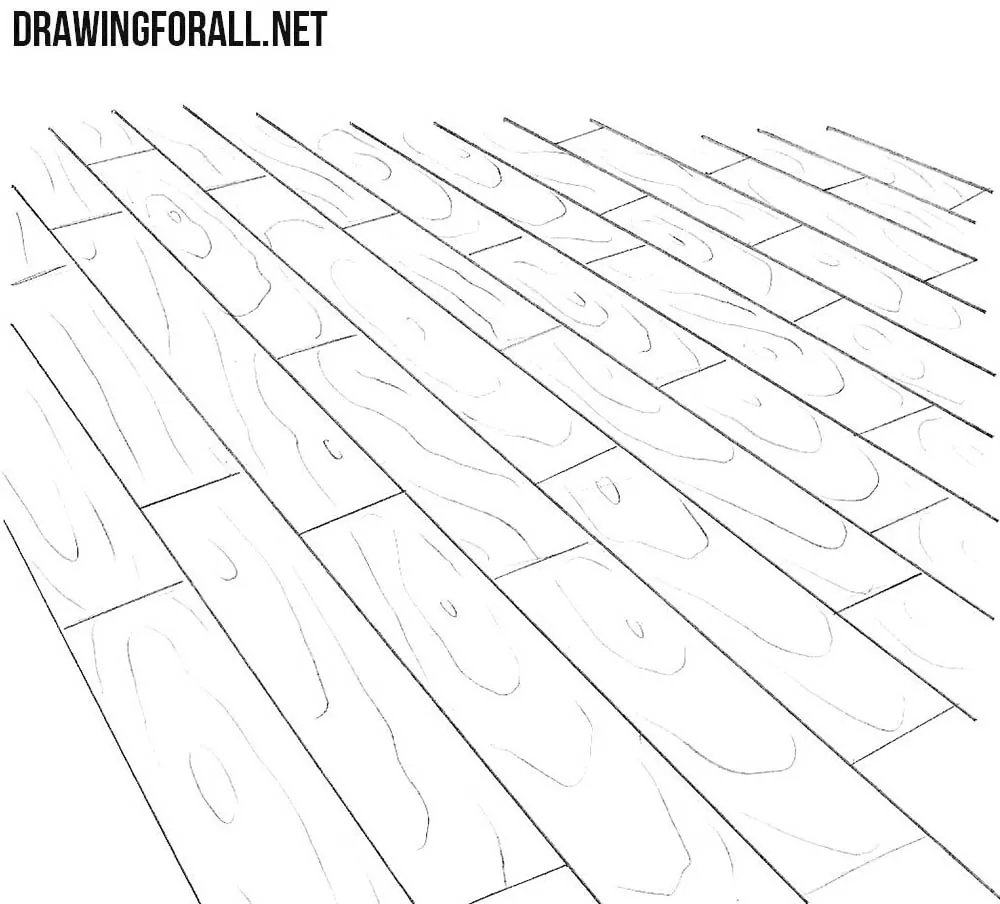
Here we showed you how to correctly draw floorboards in perspective and convey the wood texture. It is extremely important to make sure that all the lines and textures lie correctly in the same plane. Try following the steps again, but change the texture or the size of the boards.
Besides positioning the elements of the floor correctly in the same plane, it is also important to position objects so that they do not appear to fall in different directions.
Try drawing a table and then draw a chair next to it. Start by creating such a simple composition. Or you can draw a couch and then draw an armchair next to it to create a different interior composition.
When depicting all of this, try to make the entire composition look convincing and cohesive, with all the elements following the same perspective.

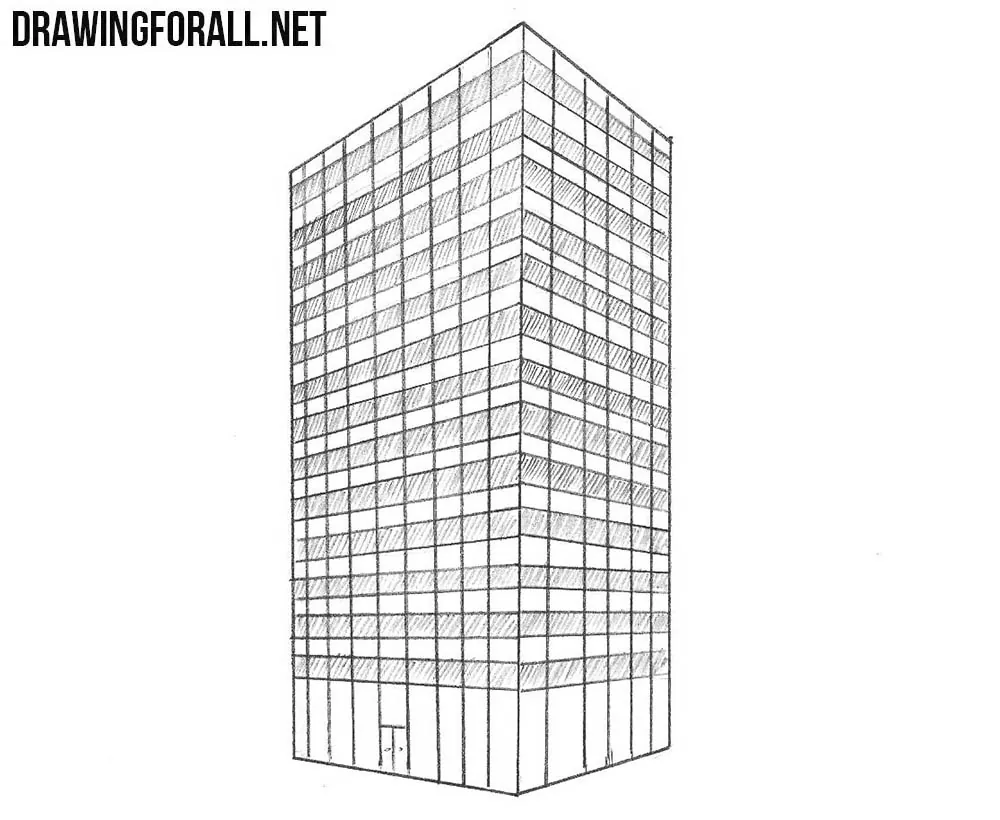



How to draw various types of floor sketch
Could you make a how to draw different type of floors? It would help a lot