

How to Draw a Peach
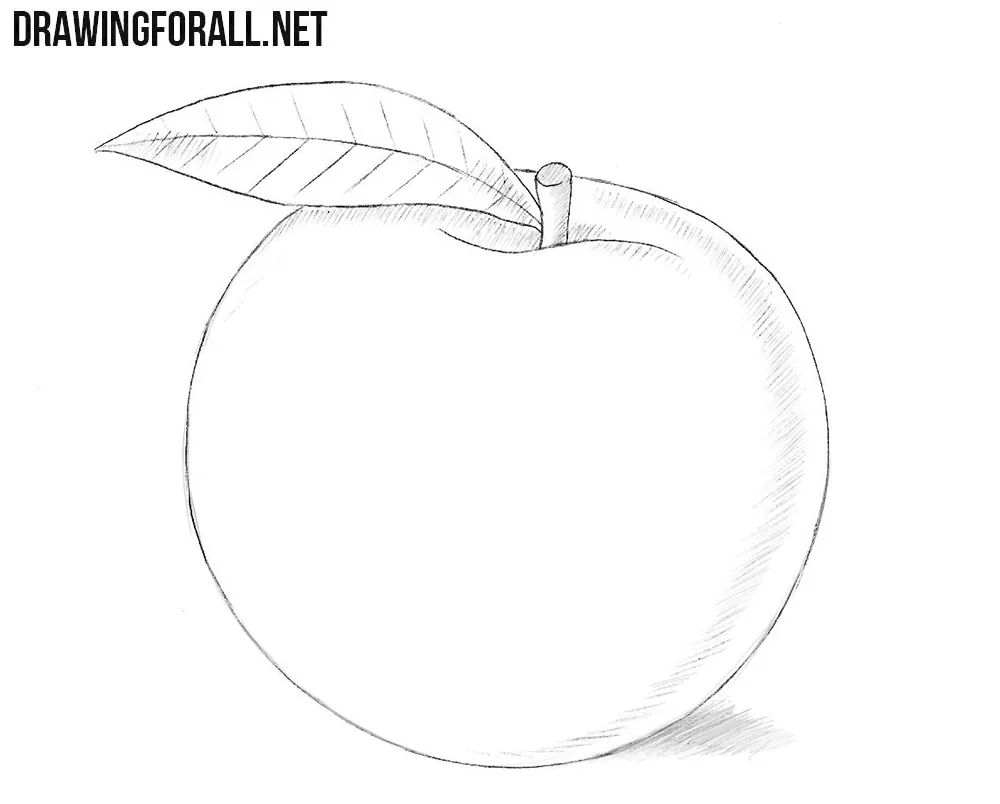
Drawing simple fruits is one of the most useful skills for an artist. In this tutorial, we will show you how to draw a peach, depict its shape, and convey volume with simple shadows.
Although this fruit does not have any particularly complex elements, there are several important nuances to drawing it that we will discuss throughout the steps.
How to draw a peach step by step
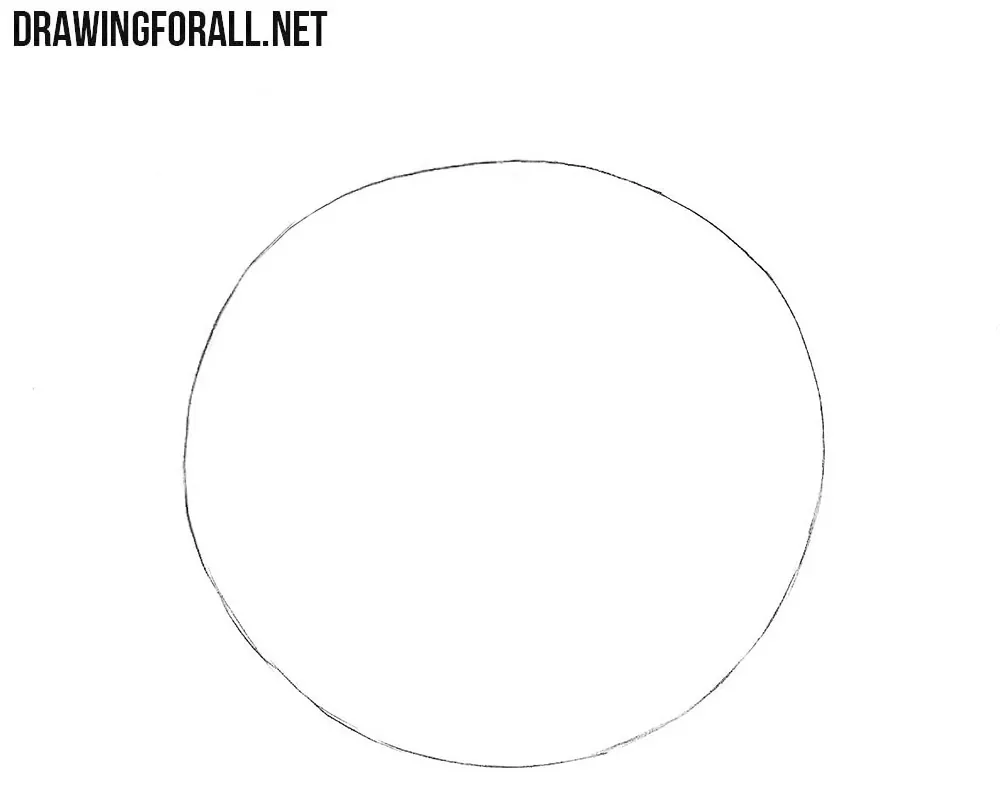
Step 1: Sketch the peach shape
Being constructing the peach by drawing a spherical shape. In the following steps, it will become the outline of the fruit. This is a very important step, so do not be afraid to erase and draw again if you could not get the shape right the first time. Do not try to make the contour perfectly circular. Give it a slightly irregular shape and use very light lines.
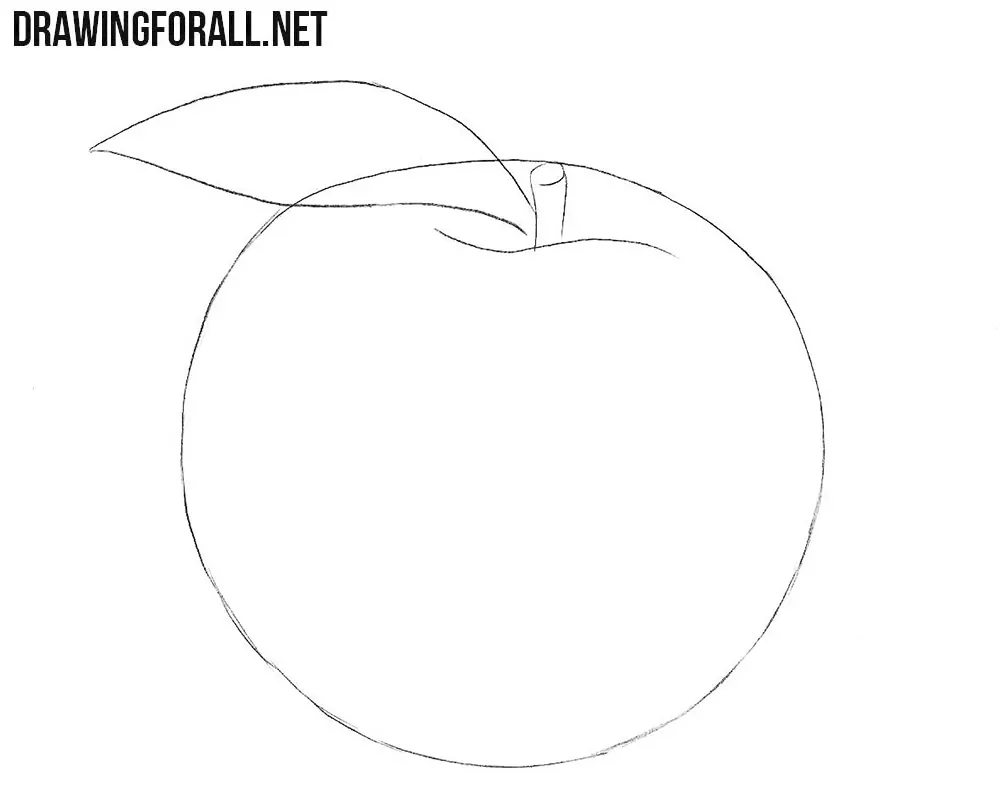
Step 2: Draw the peach stem and leaf
Make the leaf long and pointed, extending to the side from the top of the fruit. Draw the short stem as a small cylindrical form and indicate its upper surface with an oval. To make the peach look more realistic, draw a smooth curved line below the stem. This line indicates the characteristic indentation at the top of the fruit and helps distinguish the peach from a simple sphere.
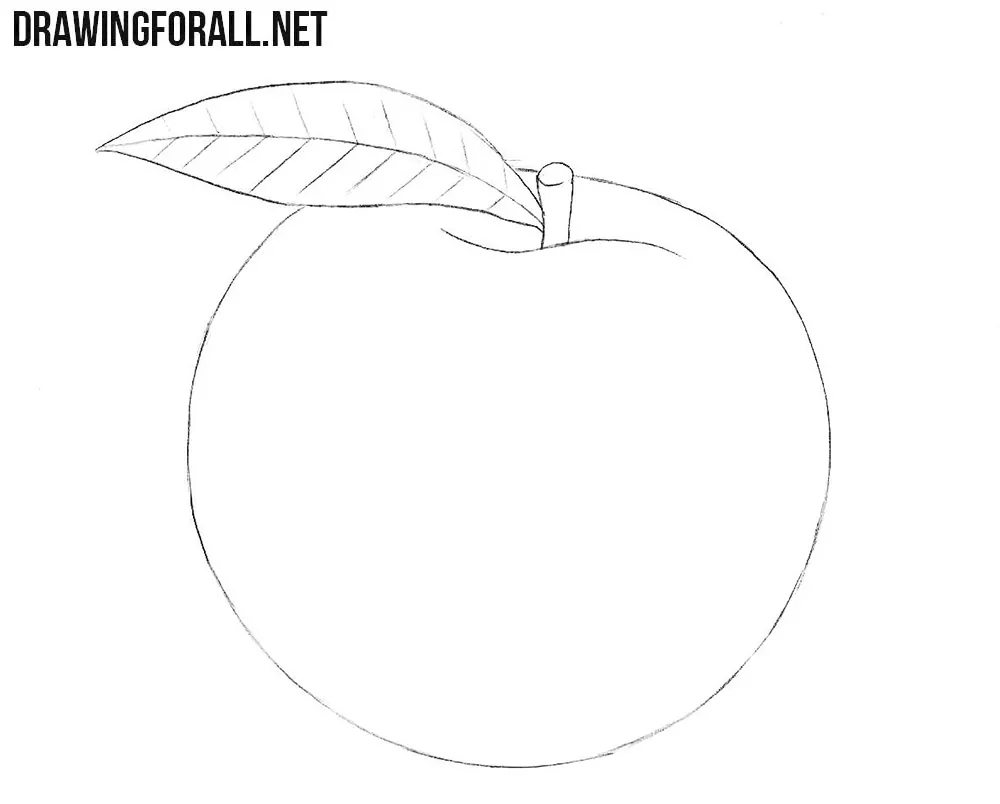
Step 3: Draw the peach leaf veins
In this step, erase the lines inside the peach leaf so that it does not look transparent. Then draw the central vein along the length of the leaf and add the smaller veins extending from it toward the edges. Notice how these lines follow the long, slightly curved shape of the leaf.
Step 4: Shade the peach with hatching
First, determine the light source and its direction. After that, draw the shadows in the areas where the light does not fall. In our case, the shadows are drawn with light hatching. Place most of the hatching along the right side of the peach and gradually make it lighter toward the illuminated central area. Let the strokes follow the spherical form of the fruit instead of placing them as a flat band along the contour. Add smaller shadows under the leaf, around the peach stem and upper indentation, and draw the cast shadow beneath the fruit.
As we said earlier, such tutorials help artists understand how to draw lines and shadows. The peach is especially useful for practicing how light and shadow describe a simple spherical fruit, while the indentation around the stem shows how even a small change in the surface affects the shadows.
By the way, the techniques you have learned in this tutorial will be useful not only for drawing peaches. Using the same principles but with some changes, you can draw an apricot or even draw a nectarine. In separate tutorials, we explain how to do this correctly.
You can draw a peach either separately or draw a still life using this fruit as an en element of the composition. In order to find ideas for other items that could be part of your future still life, go to our sections called “Food” and “Still Life”.


This helped a lot, Thanks!
this helped very much my art teacher will be happy
this helped very much my art te
acher will be happy