How to Draw an Apricot
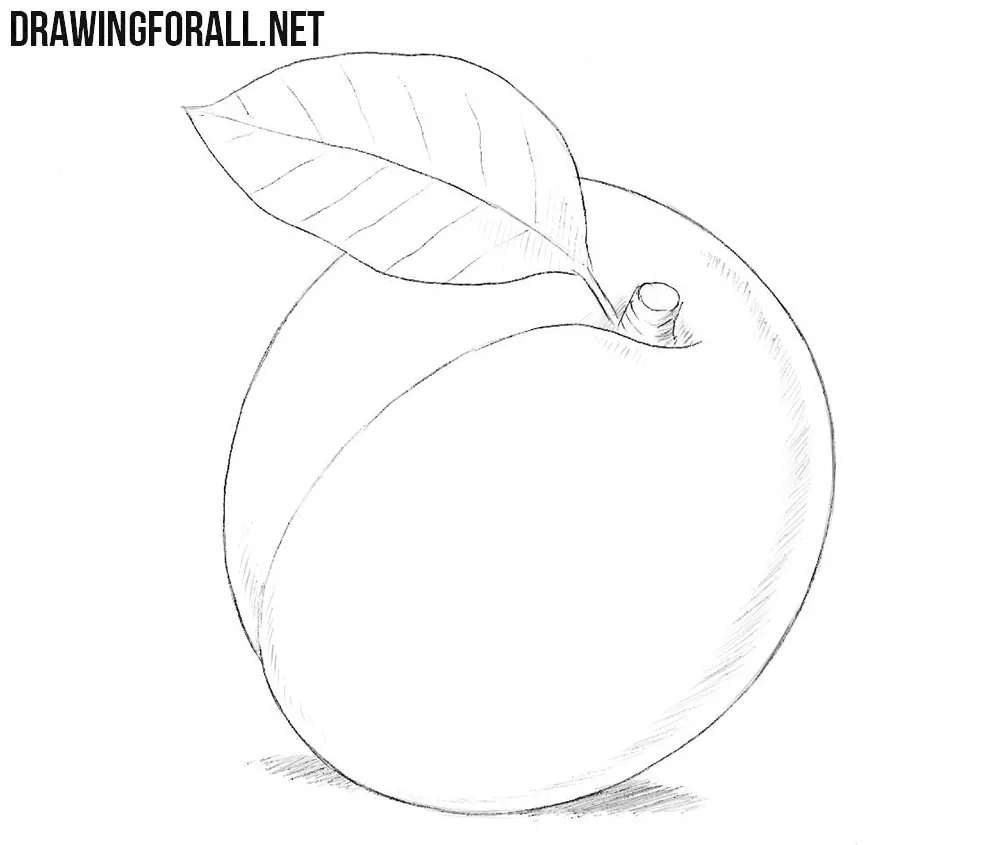
We have created for you a new simple but realistic drawing lesson. We believe that fruits and vegetables are great for training basic drawing skills. And today we have created a lesson about how to draw an apricot step by step.
Step 1
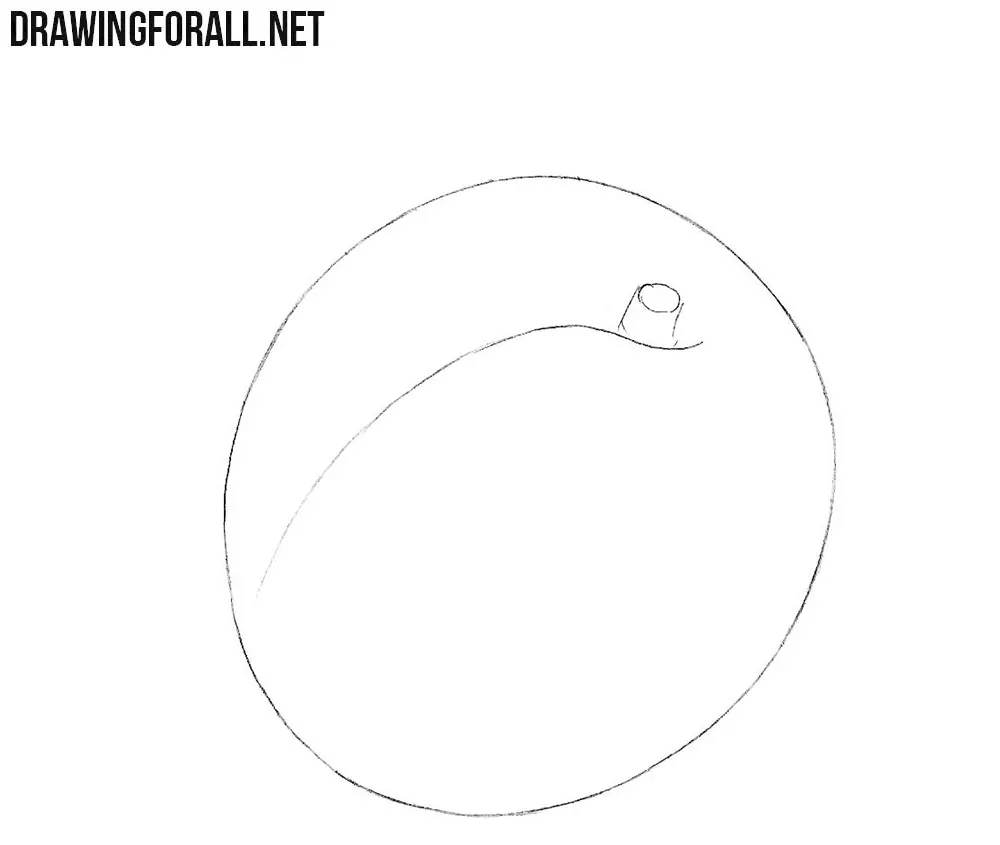
Draw a rounded outline of apricot. In nature, it is almost impossible to find perfect symmetry, as you know. Therefore, do not strive to draw the perfect circle. Draw a small flattened oval without the aid of any circular objects.

Step 2
Split the apricots in two smooth lines. The line of separation should not reach the top of the apricot. At the end of the line, draw a round stalk to which the stem is attached.
Step 3
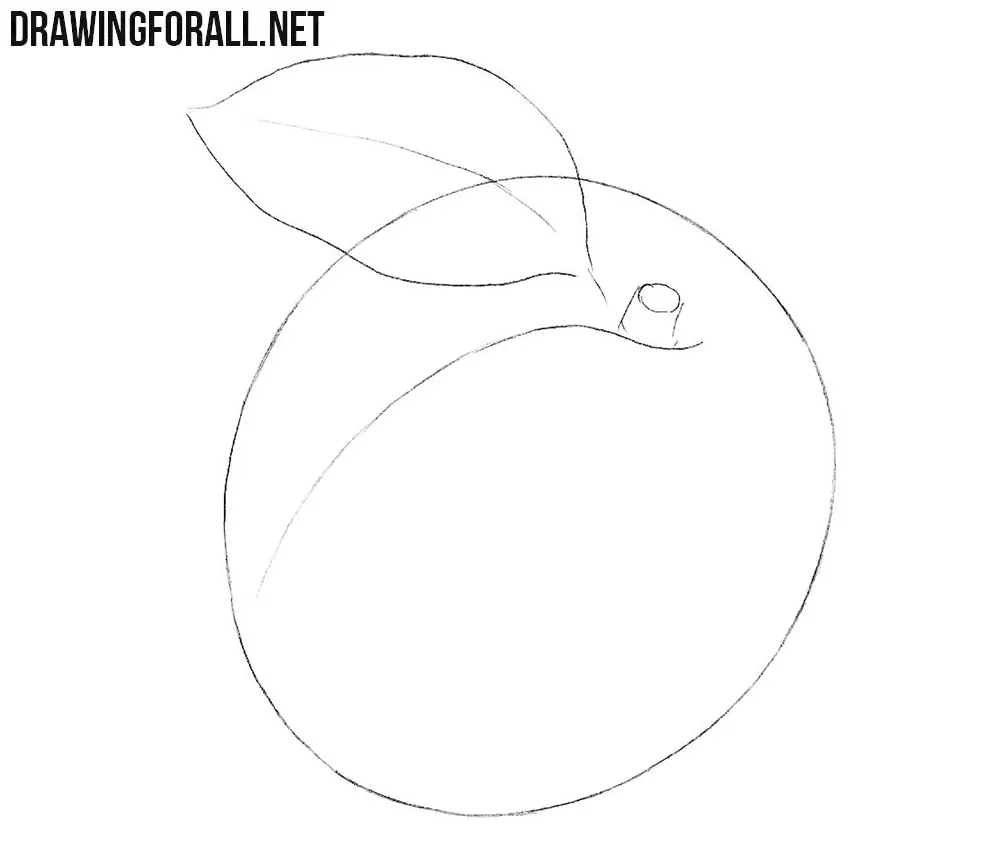
So, we continue to tell you how to draw an apricot easily. Draw the outline of the leaf. Apricot has rounded leaves. Try to draw this step as accurately and correctly as possible. Inside the outline of the leaflet draw a long vertical line.
Step 4
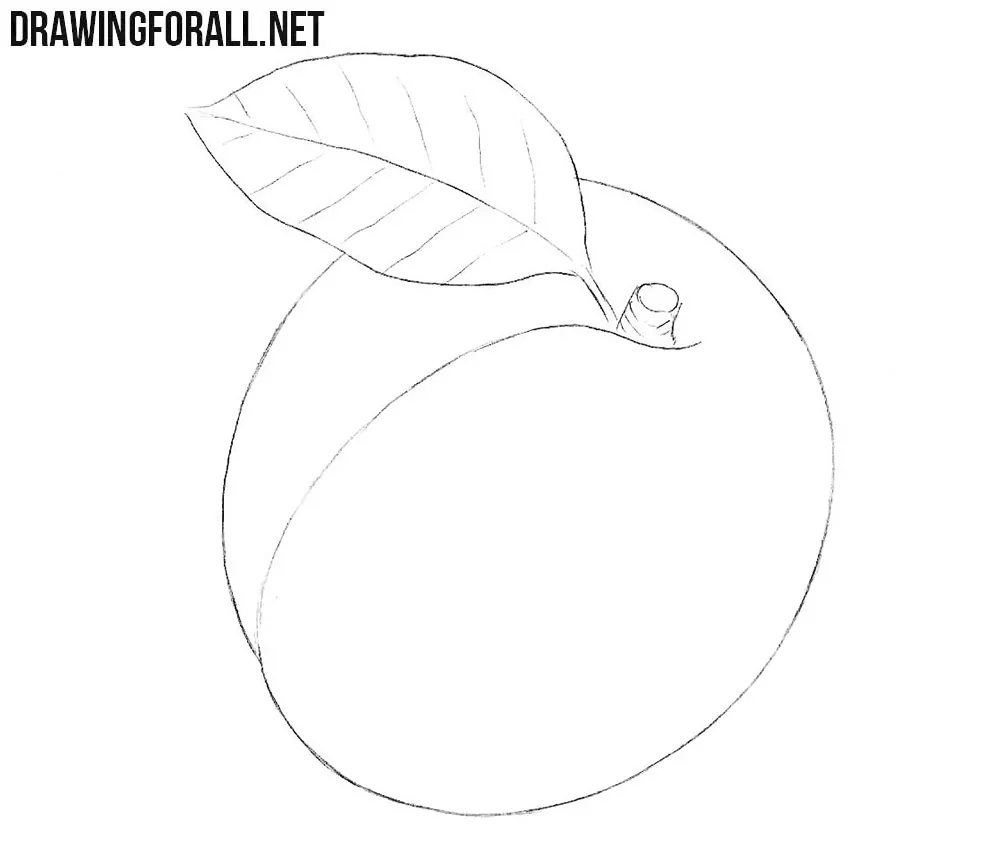
In this step, we erase the extra lines from the leaflet that we drew in the last step. We draw streaks on leaf that look like oblique lines. The apricot leaf will no longer look transparent after this action.
Step 5
Add some shadows to our fruit. You can see the areas of shading on the edges of the apricot, on the ground and on the leaflet.
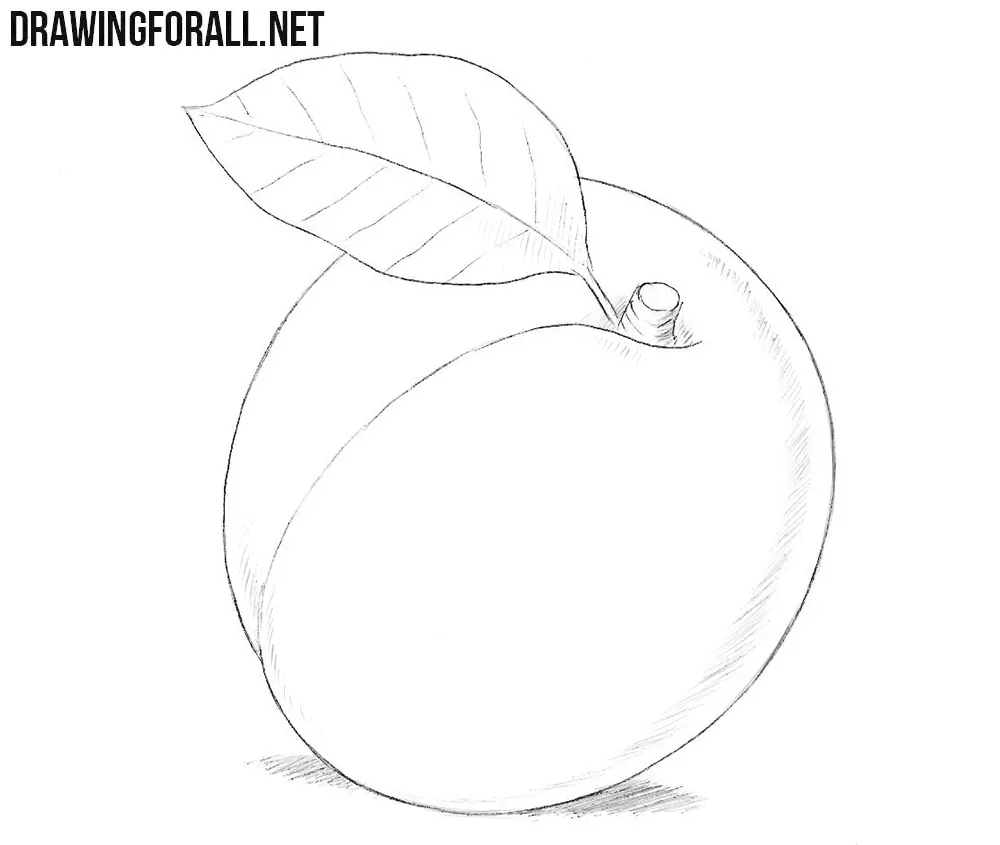
Drawing an apricot is not such an easy task. In fact, if you followed the correct sequence of steps and drew correctly, you should get an excellent result. Something went wrong? Write about it in the comments, we are waiting for you!


