

How to Draw a Nectarine
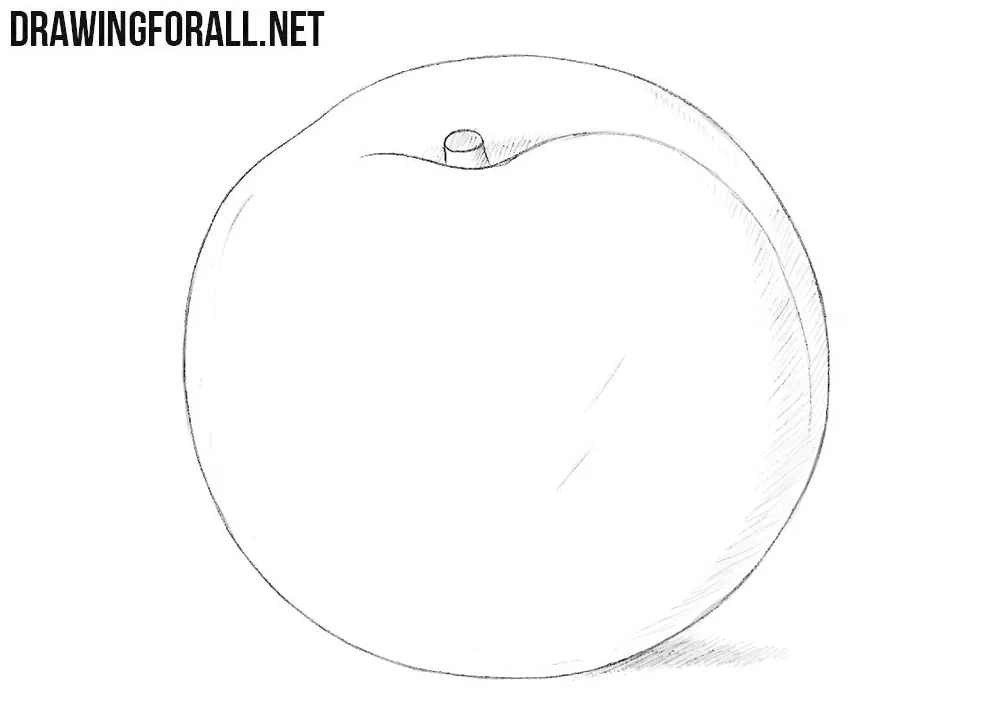
A nectarine looks like a peach and is drawn in much the same way. In this step-by-step tutorial, we will show you how to draw a nectarine with its characteristic form, depicting the fruit at a slight angle and adding light shadows.
In terms of shape, a nectarine is a spherical form with a smooth division along one side and a stem at the top. These small transitions in form also need to be conveyed correctly in the drawing, and in this tutorial, we will show you how to do that.
How to draw a nectarine step by step
Step 1: Sketch the nectarine shape
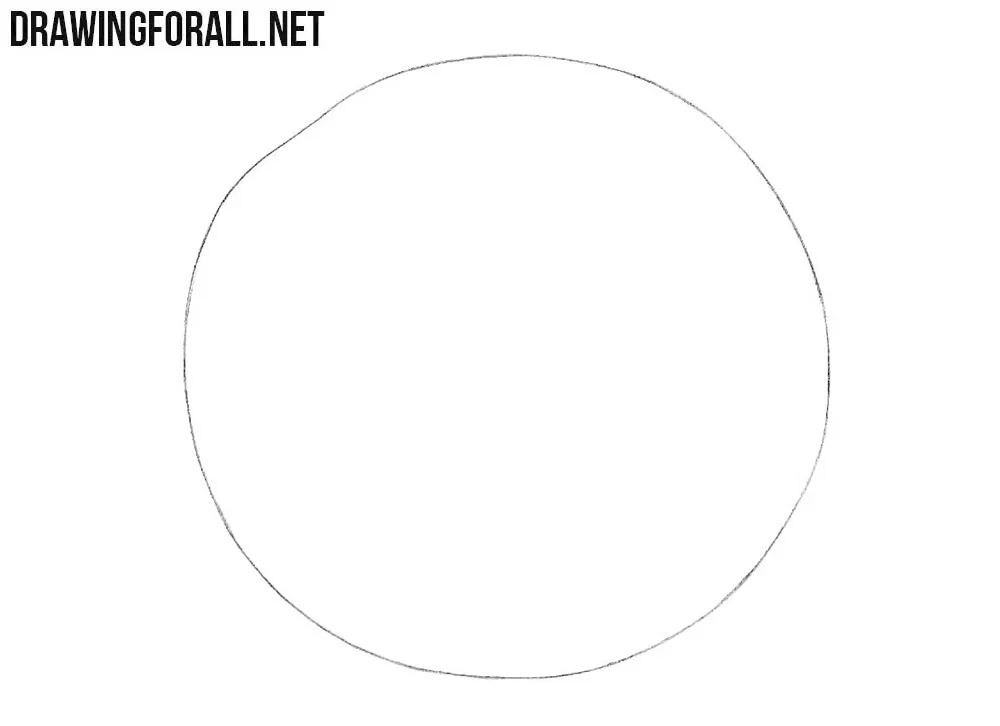
Almost all of our fruit drawing tutorials begin with a simple circle, and this nectarine tutorial is no exception. Sketch a simple circle using light lines. Treat this circle as the silhouette of a spherical fruit form rather than as a flat disk.
Step 2: Draw the curved surface groove
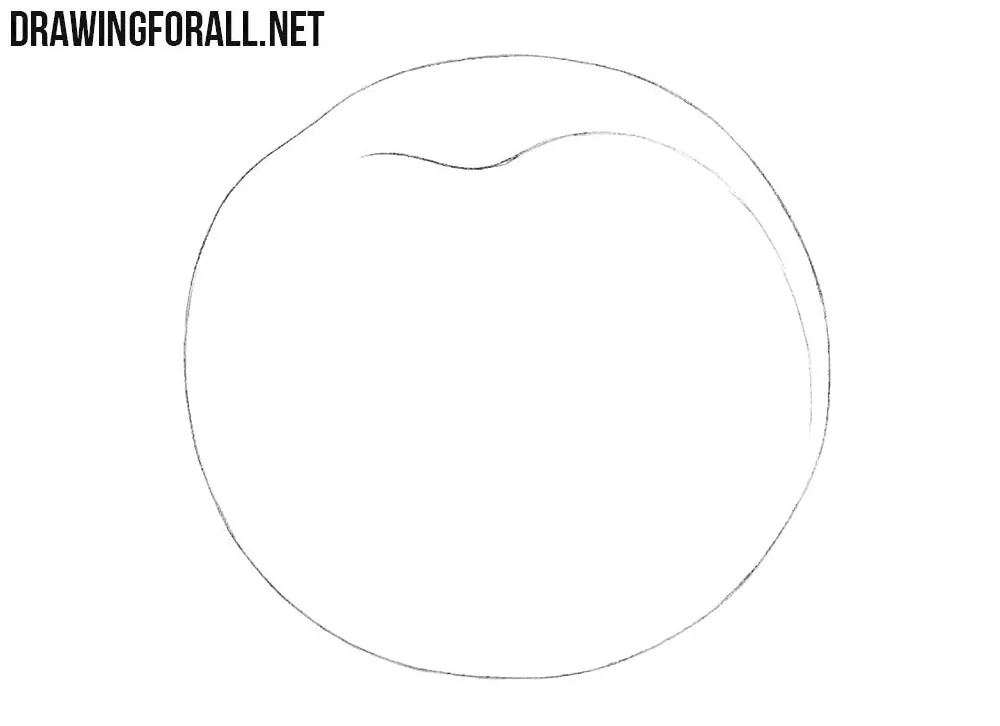
Now let’s make the drawing look more like a nectarine. To do this, draw a long, slightly curved groove running from the top toward the bottom. Begin this groove in the shallow stem depression at the top, swing it toward the right side, and stop it before it reaches the lower edge. This line should emphasize the spherical form of the fruit.
Step 3: Draw the short stem
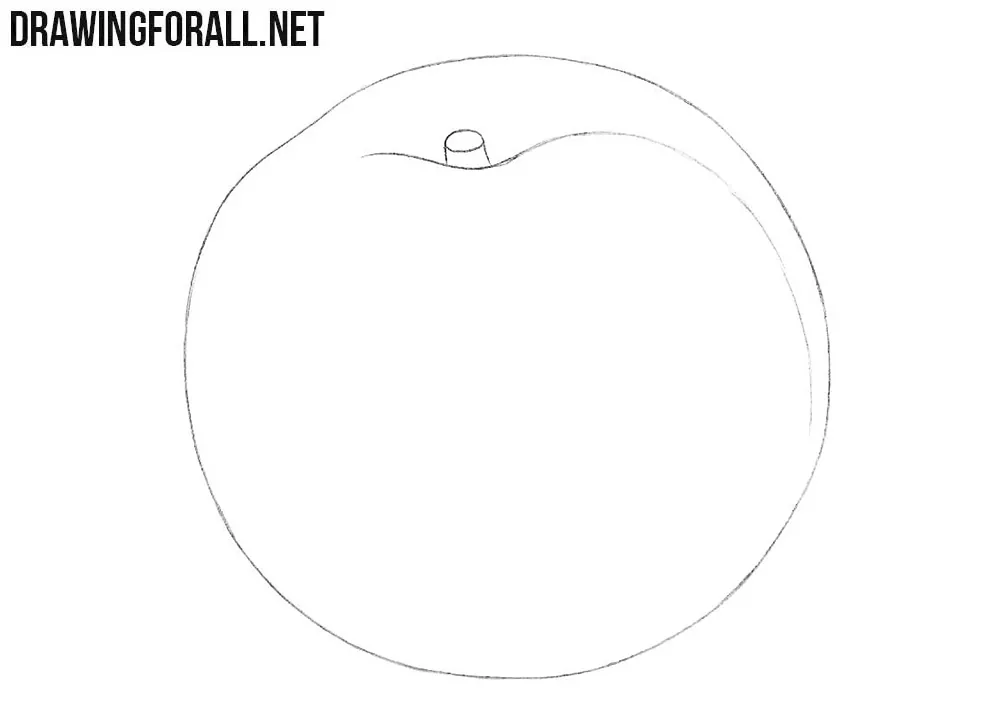
Construct it as a small truncated cylinder with two short sides and a narrow oval for the cut end. Set its base inside the stem depression formed by the groove. Instead of a short cut stem, you can draw a longer one with a leaf on the side.
Step 4: Shade the nectarine and cast shadow
Using dense hatching, add shadows along the right and lower parts of the fruit and draw the cast shadow on the surface beneath it. First, you can add the general shadow to the darker right side of the fruit, then separately add small shadow accents to both halves along the dividing line. This will create additional volume in this area. Make the cast shadow darkest at the point where the fruit touches the surface and extend it slightly to the lower right.
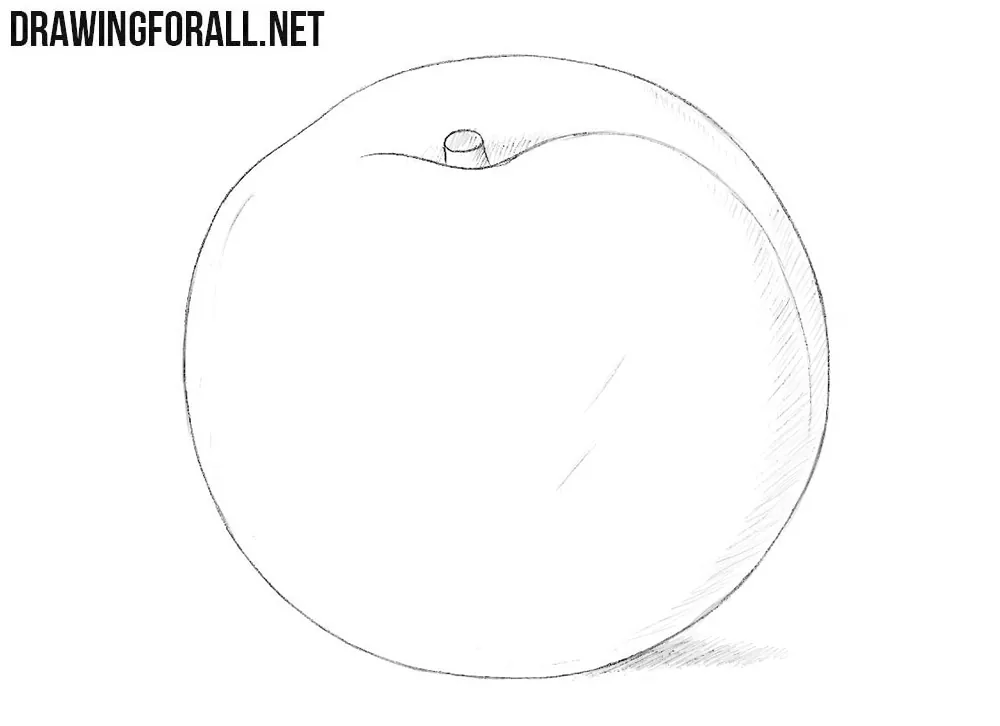
As we said at the beginning, the steps in this tutorial are very similar to the process of drawing a peach. First, you create the overall mass of the fruit, then indicate the characteristic dividing line, draw the stem, and add shadows according to the form.
You could also see a similar process when drawing an apricot, another fruit with a somewhat similar appearance.


