How to Draw Spider-Man

In this tutorial, we will show you how to draw Spider-Man in a characteristic pose using a classic comic-style technique.
We will show how to first build a simple framework of the figure using lines to establish the character’s movement, then add mass with basic geometric forms, gradually develop the details, refine the drawing with clean, dark lines, and finally add classic comic-style shadows.
Next, we will cover the key aspects of drawing Spider-Man, the differences in his design across various media, and how to train your skills to draw him in a comic-style manner.
How to draw Spider-Man step by step
Step 1: Mark the hero’s head and spine
Start by sketching a framework for superhero’s body. First, draw the head of Spider-Man as an oval slightly narrowing toward the bottom, resembling an upside-down egg. Then indicate the line of the torso, or spine, with a light curved line. Because of perspective and the bend of the pose, this line will appear quite short.

Step 2: Mark the arms and legs of Spider-Man
At the top, use a couple of short strokes to mark the shoulders, showing the tilt of the torso. Then draw the arms of Spider-Man with simple, light lines, marking the elbows with small circles and the hands with larger ones. In the lower part, use a short horizontal line to indicate the pelvis, and from it sketch the legs with simple strokes as well. The lines of the shoulders and pelvis already establish the tilt of the body, while the guide lines of the arms and legs show the general direction of movement.

Step 3: Draw the facial guidelines and torso shape
Use a light, smooth line to mark the central axis of the face, dividing it in half to help place the mask correctly. Then draw a horizontal eye line that intersects the vertical line at the bridge of the nose. Moving downward, use soft, flowing lines to indicate the mass of the torso, aiming to accurately convey the tilt of the head and the curve of the body.

Step 4: Draw the arm masses of Spider-Man
On both sides of the upper torso, use two spheres to mark the shoulders of the superhero. Then draw the upper and lower arms using cylindrical forms. At the ends, sketch the hands of Spider-Man using simple, generalized shapes for now. Keep the principle of linear perspective in mind, making parts of the body appear larger as they come closer to the viewer and smaller as they move farther away.

Step 5: Add the leg volumes of the superhero
Use larger, more massive cylindrical forms to block in the legs. Indicate the feet with rough, simple shapes. Keep the anatomy of the leg muscles in mind and try, even at this stage, to define the overall contours without adding unnecessary detail. Also pay attention to foreshortening and how forms overlap one another, as this will help create a stronger sense of volume in your drawing.

Step 6: Draw the eyes of Spider-Man
The overall framework and masses are established, the proportions are set, and the bends and turns of the body are clearly visible. Now, using this base sketch, begin adding details to your Spider-Man drawing, working from top to bottom. Start with the eyes: first draw the outer contour of the shape, then add the inner outlines, keeping in mind that they sit on the curved surface of the head and emphasizing this in your drawing.

Step 7: Detail the superhero’s torso
Using smoother and darker lines, begin refining the shoulders, torso, and arms of the superhero, giving them a cleaner and more finished look. As you go over these areas, erase the construction lines and adjust the contours if any mistakes were made earlier. Use light lines to indicate the muscles of the chest, abdomen, and arms, keeping them simple and not overly detailed.

Step 8: Refine the legs of Spider-Man
In the same way, carefully refine the outlines of the legs, giving them a cleaner and more finished look while gradually erasing the construction lines. Indicate the contours of the knees and joints where they are visible. Add detail to the feet – mark the sole on one foot and outline the big toe, showing the tension in that area.

Step 9: Separate the red and blue suit areas
Start by drawing symmetrical, smooth lines on the chest, slightly narrowing toward the pelvis and transitioning seamlessly into the belt with a subtle pointed dip at the center. Continue these lines across the torso and along the arms, following the form of the muscles and smoothly blending into the gloves. On the legs, indicate the outlines of the footwear with lines that follow the muscle contours and the perspective.

Step 10: Sketch the radial web lines
Start with the mask by drawing lines radiating outward from the bridge of the nose, following the curvature of the head. In the same way, draw lines on the torso that originate from the neck and move outward, following the contours of the muscles and the perspective. Use the same approach to add longitudinal lines on the legs.

Step 11: Draw the cross web pattern of Spider-Man
Also start with the head, connecting the longitudinal lines with slightly curved cross lines, beginning at the center of the bridge of the nose and moving outward. In the same way, following the contours of the body and the perspective, draw the curved cross lines of the web pattern, moving from the neck downward and toward the ends of the arms and legs. On the hands and fingers, add cross lines as well, following their form and foreshortening. Draw the Spider-Man emblem in the center of the chest.

Step 12: Indicate the shadow areas
In comics, shadows are very high-contrast and often go fully black, while midtones are conveyed with hatching. Keep this in mind – indicate the shadow shapes mainly on the blue parts of the suit, following the contours of the muscles. On the red areas, indicate only the outline of the shadow cast from the head onto the chest.

Step 13: Fill in the shadows and add hatching
Now fill in the shadow areas with solid black, and show the transitions and midtones with clear, dark hatching that follows the surface contours. Then add small shadows on the red areas of the suit as well, using strong, high-contrast black fills.

Key aspects of drawing spider man
In this lesson, we used a classic comic drawing approach, building the figure with simple lines and shapes and gradually refining it into a finished result with strong contrast shadows and the characteristic web pattern.
This method is based on the core principles of comic art, but it also includes many nuances, and drawing any specific character involves its own set of rules and decisions.
For example, when drawing Spider-Man, the artist should aim for an average athletic build, avoiding making him overly muscular like the Hulk or Colossus, or too thin.
His suit is divided into two main areas: the red sections with the web pattern and minimal shading, and the blue sections without the web but with deep, strong shadows.
Both the web pattern and the shadows must follow the form, emphasizing the convex and concave areas of the muscles while also respecting perspective.
For instance, on an arm extended toward the viewer, the web pattern becomes visually compressed – the cross lines appear closer together and their curvature increases.
On the head, the web follows a specific structure as well, radiating from the bridge of the nose and wrapping around the head, then continuing down the neck and across the body toward the hands and feet.
These are part of the fundamental principles that most artists follow when drawing Spider-Man. At the same time, much depends on the specific comic, film, animated series, or game.
In each version, Spider-Man differs slightly, as the artist or designer introduces their own stylistic choices and interpretation.
In this lesson, we demonstrated how to draw Spider-Man in a classic comic style inspired by the 1960s–1970s era.
The same character in a similar pose could also be drawn in the style of Sam Raimi films or in the style of the Ultimate Spider-Man comics, using different proportions and stylistic approaches.

How to practice drawing Spider-Man
Much also depends on the specific pose and scene depicted in your drawing. Perspective distortion changes with each turn of the body or its parts, so it is important to keep the fundamental principles of drawing in mind – understanding volume and form while constructing the figure.
To develop this, consistent practice is essential. Draw the superhero in a variety of poses and situations – swinging on webs, crawling on walls, and more.

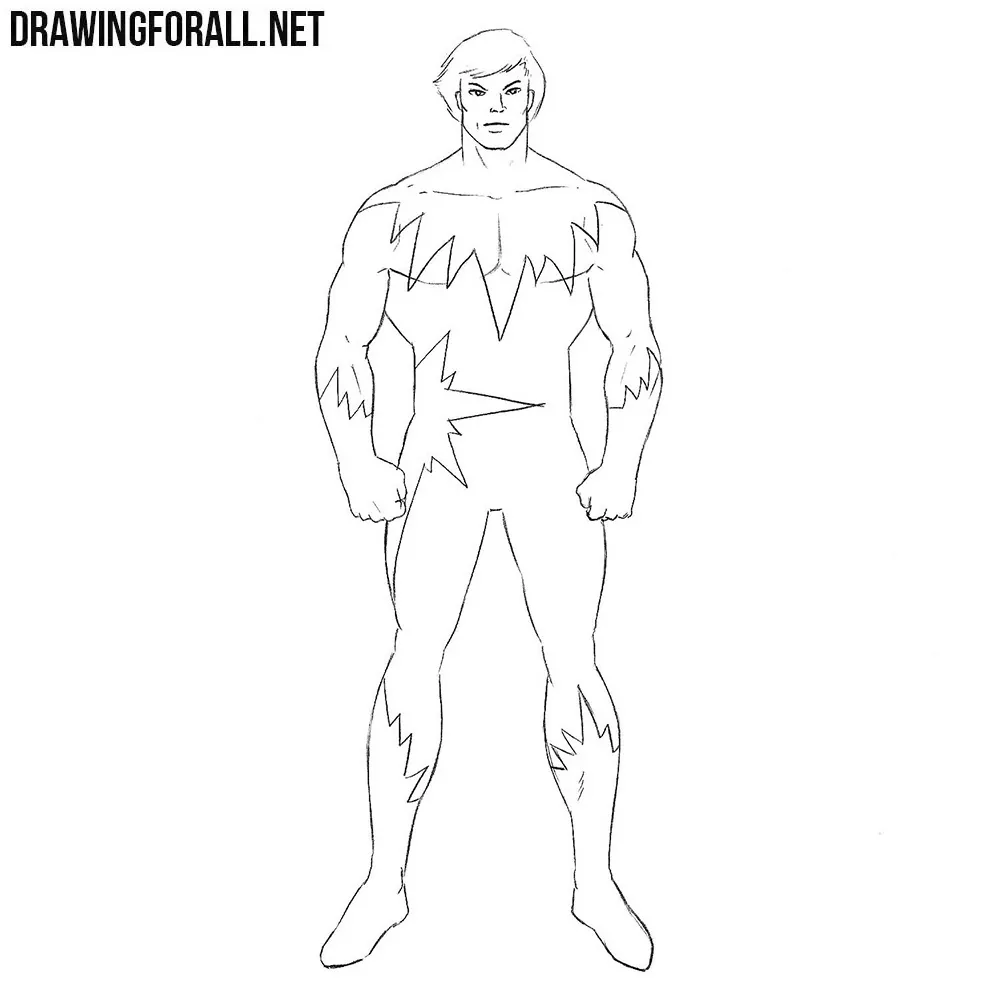
For more well-rounded practice, start by learning how to draw Spider-Man in a standing pose – we have a separate tutorial dedicated to that.
In that tutorial, we focus more on depicting the character and his suit without perspective distortion, which helps complement this tutorial without overloading it.
We also include a simpler approach at the end if you want to start from the very basics.
After that, practice drawing Spider-Man swinging using our detailed and in-depth guide on flight poses.
There, we cover not only the specific poses of the superhero while swinging, but also how to draw the web, handle perspective distortion in the figure and patterns, and add more energy and movement to the scene.

it dos not help at all
How bro the steps are so clear it’s just a bit hard from step 1 to 2 but after that it’s so easy
bruh pls post more i am your fan
its really good and i had a good drawing at the end
Honestly I am a big fan of Marvel and I am trying to draw my own spider-man character, so this was really helpful. Thanks!!
Monkeyman 95 approves of this message
Thank God i got it,please i need drawings of goku,because some other websites has it and i don’t like theirs.
Man!, you got talent
Very very helpful not only for those the biginners but also for those professionals……i Like it….
Thank you very much. That was exactly our intention – we wanted this and our other lessons to be useful both for beginner and experienced artists. We are glad to hear that users of our website confirm that this idea is helping people improve their drawing skills.